A beginner-friendly guide to building beautiful, cohesive mixed media cards—without the overwhelm
Have you ever looked at a mixed media project and thought:
“That’s beautiful… but where do I even start?”
I’ve been there.
When I first started exploring mixed media, everything felt overwhelming. There were so many techniques, products, and styles—but very few beginner-friendly guides that actually simplified the process.
So after years of experimenting (and yes… making a glorious mess or two), I created something I wish I had from the beginning:
Karen’s Mixed Media Recipe
A simple, repeatable framework that works on almost every project.
And today I am sharing it with you.
This post is part of my Mixed Media Series where I share simple techniques for creating layered, artistic cards using backgrounds, texture, and focal points. You can explore the full series here: Mixed Media Made Simple or visit my Mixed Media Cards Made Simple Learning Center.
✂️ In This Post, You’ll Learn:
• My simple 3-step mixed media framework
• How to create a quick, cohesive background
• The 4 “must-have” layers I use on almost every project
• Why limiting your color palette makes everything look better
🧁 Karen’s Mixed Media Recipe (Quick Recap)
This is the exact process I follow again and again:
Step 1: Create an interesting background
Step 2: Add 4+ layers
Step 3: Add a strong focal point
That’s it. No overwhelm. No guessing.
📌 Save this for later so you can come back when you’re ready to create.
And today? We’re diving into the part where the magic really happens…
👉 Layering
If you missed earlier posts in this series:
• Mixed Media Made Simple: My 3-Step Recipe for Fun & Easy Tags
• Ink Smooshing 101 — My Favorite Mixed Media Background Starter
The next post in the series: Beyond the Basics: 3 Mixed Media Layers to Try
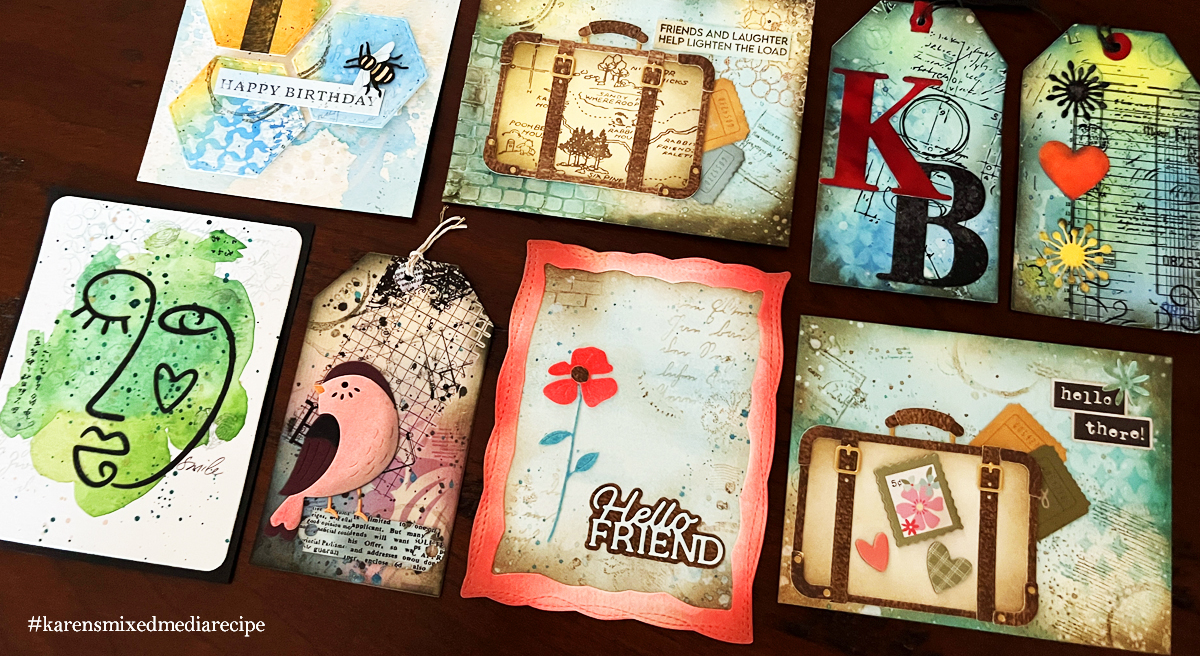
And if you try this recipe, I would LOVE to see it—tag your project with
👉 #karensmixedmediarecipe
Browse my Favorite and Most Used Cardmaking Supplies.
Mixed Media Layering
🎨 Step 1: Create a Background
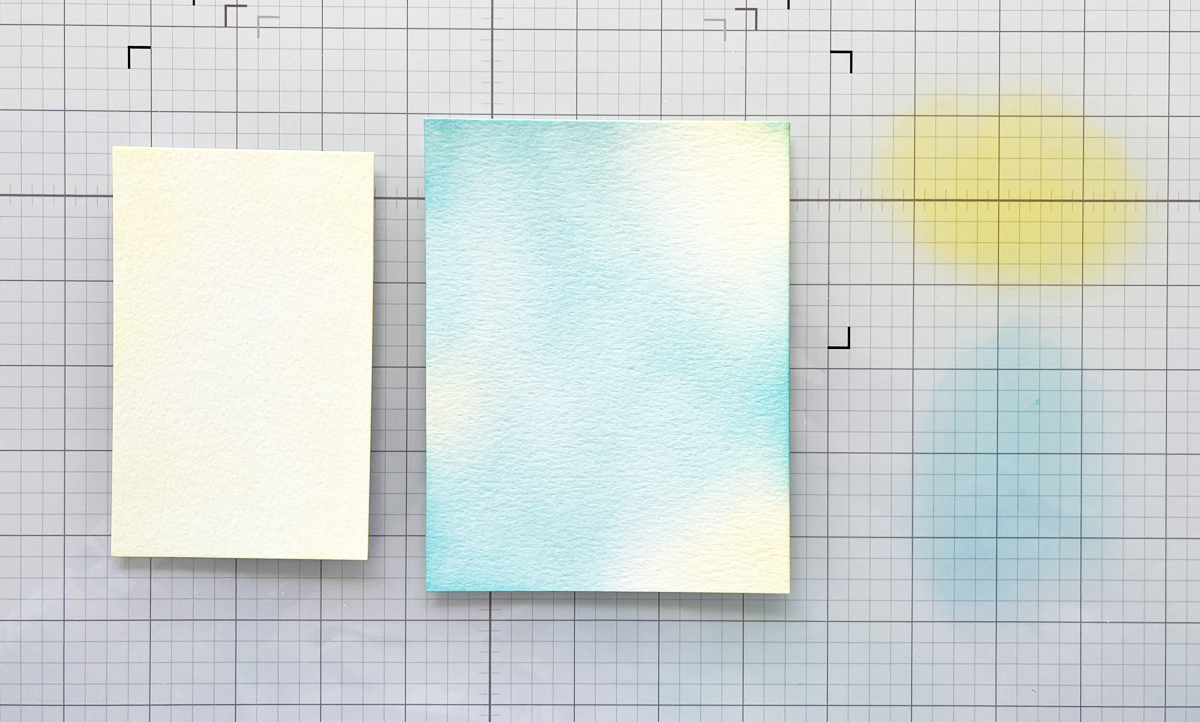
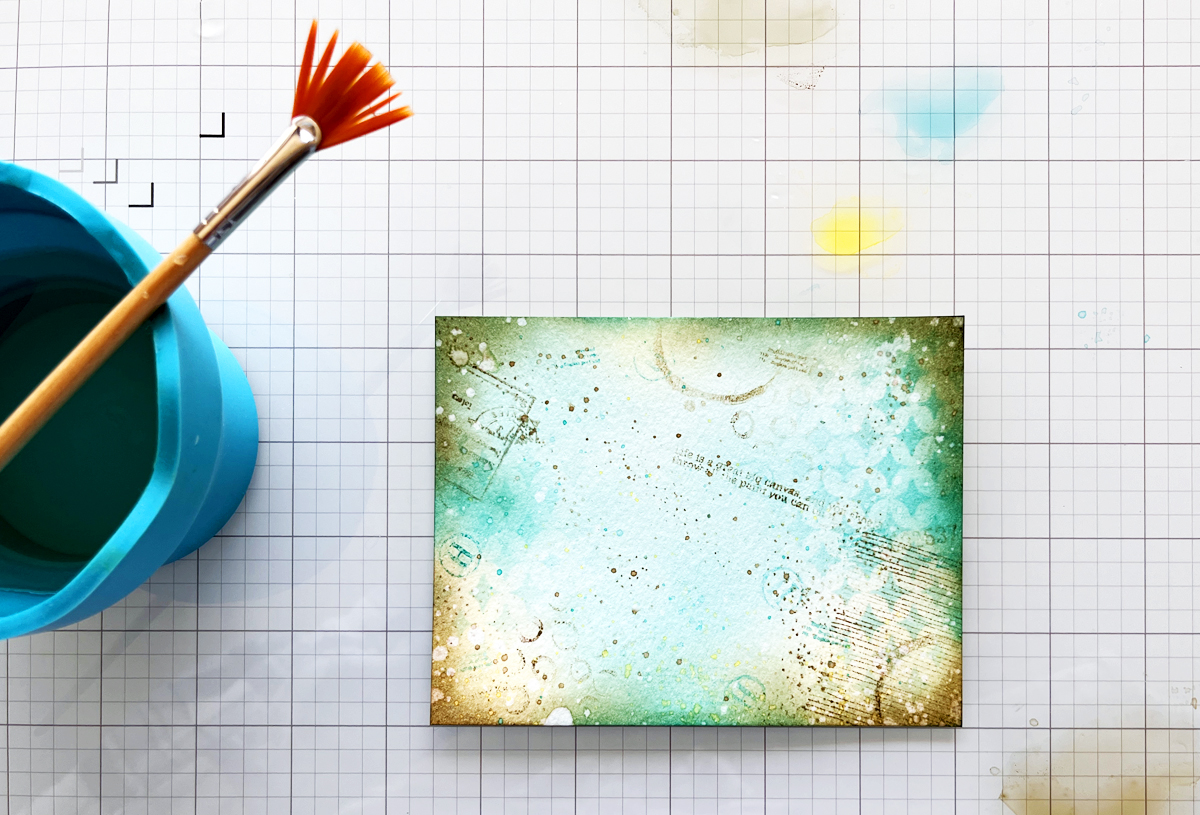
For today’s project, I created a soft ink-blended background on watercolor paper.
I chose colors that sit near each other on the color wheel:
• Aqua
• Yellow
When these blend, they create a soft, beautiful green—no harsh transitions, no muddiness.
✨ Beginner Tip:
Avoid opposite colors (like purple + yellow or red + green) unless you want brown.
I used reactive inks, which means they respond to water—this becomes important in our 4th layering step (hello, splatters!).
I also created a second panel in yellow for my focal point.
✨ Step 2: The Fab 4 Layers (My Go-To Every Time)
If mixed media had a “starter pack,” this would be it.
These are the four layers I use on almost every project—they are reliable, forgiving, and incredibly effective.
I call them…
💛 The Fab 4
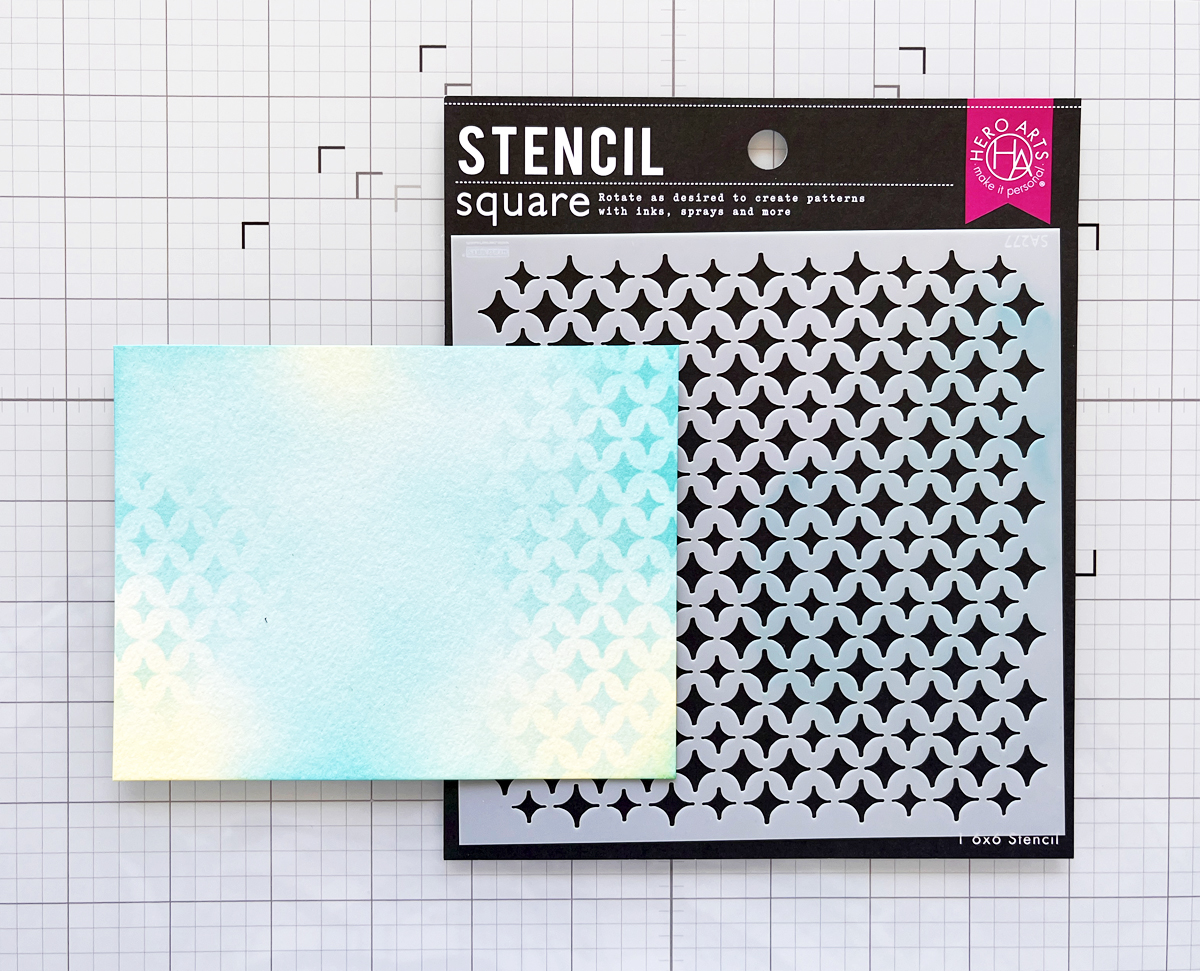
1. Stenciling (Adds Pattern)
This is where your background starts to come alive.
I used a diamond stencil to add soft pattern using the same aqua tones.
✔ No perfect placement
✔ No covering the whole background
✔ Just touches of pattern
Think: “strategic randomness”
I’ve listed my favorite mixed media stencils in My Go-To Cardmaking Supplies page.
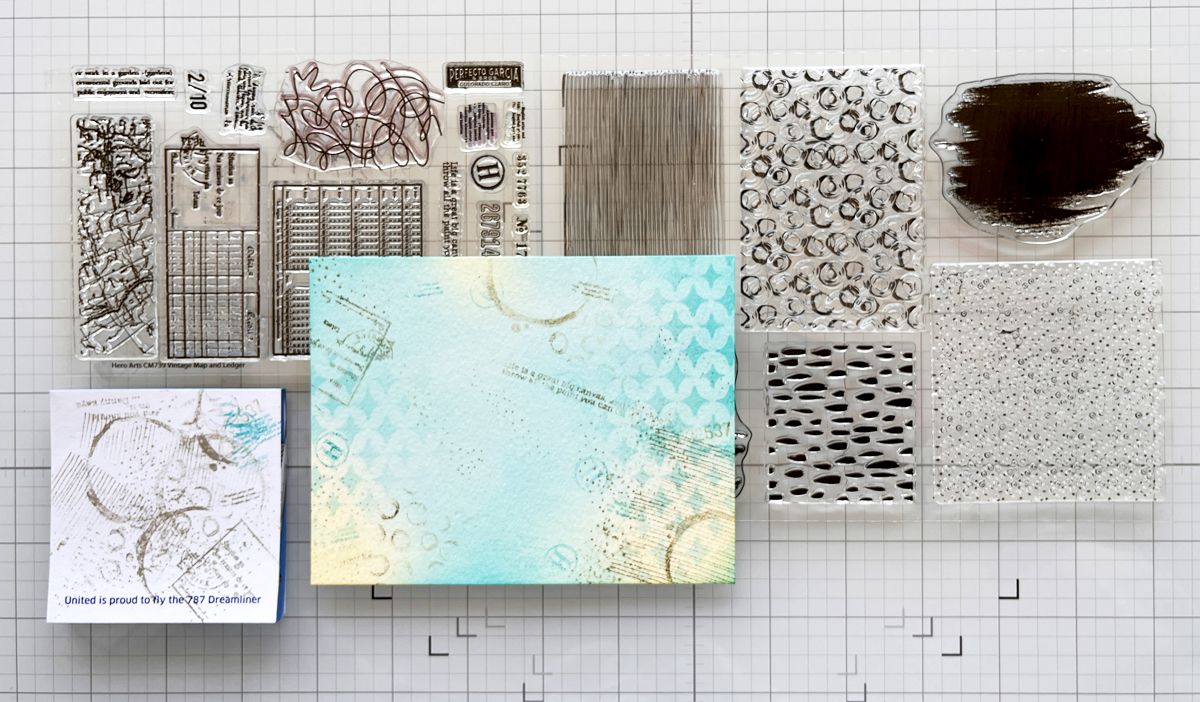
2. Stamping (Adds Personality & Vintage Charm)
Now we add character.
I used imperfect, sketch-style stamps—dots, lines, circles—for that slightly vintage feel.
✨ Beginner Trick:
Try second-generation stamping (stamp once on scrap, then on your panel) for softer impressions.
I introduced a third color here:
• A neutral brown
This grounds the entire design and keeps things from feeling too “floaty.”
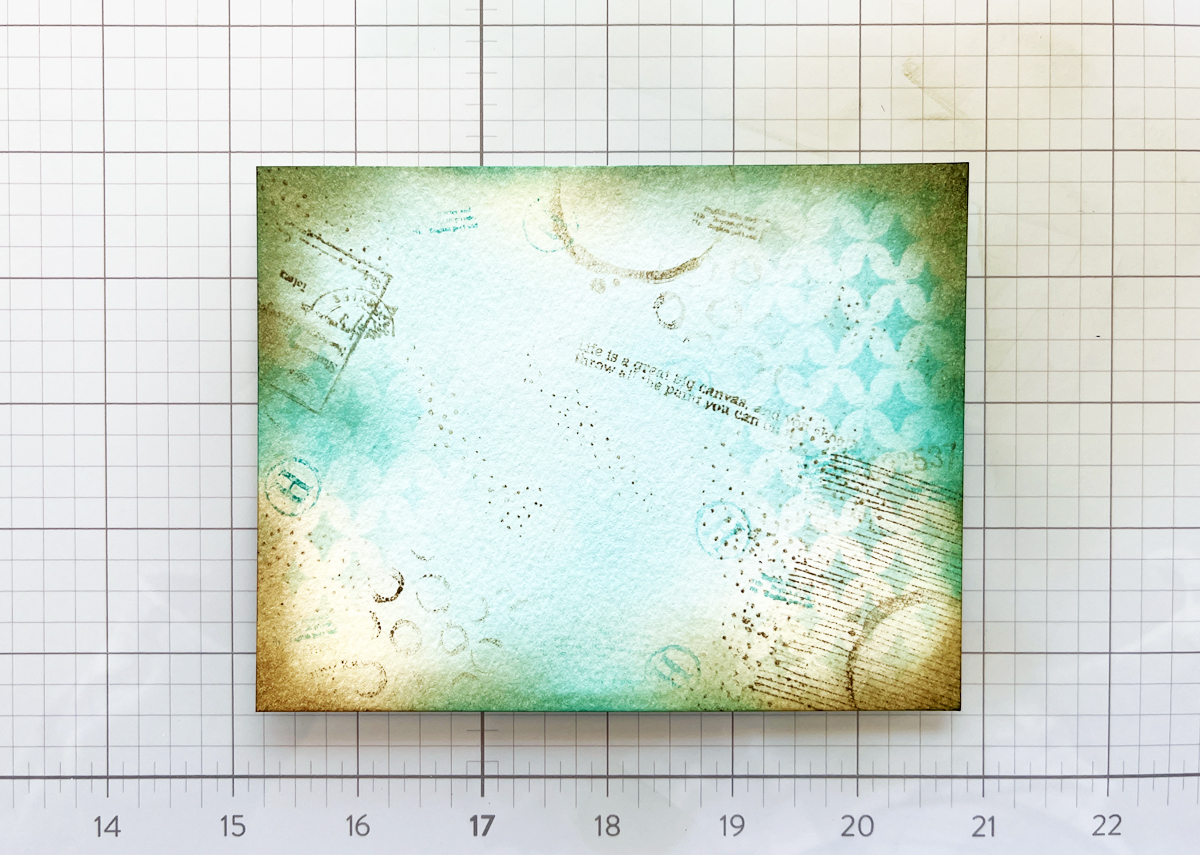
3. Distress the Edges (Adds Depth)
Time to gently “grunge it up.”
I blended brown and a touch of blue around the edges.
This simple step:
• frames your design
• adds age and depth
• makes everything feel more finished
4. Splatters (Adds Movement & Magic)
This is where everything comes together.
First: water splatters (reactive inks = magic ✨)
Then: light splatters of all three colors
Turn your panel as you go—this keeps things natural and balanced.
🎯 When to Stop?
After the Fab 4, pause and look.
Ask yourself:
👉 Do I love it?
👉 Does it feel balanced?
If yes—STOP. 🎉
If not—add one more layer and reassess.
Remember: we’re going for “imperfect by design.”
🧳 Step 3: Add a Focal Point
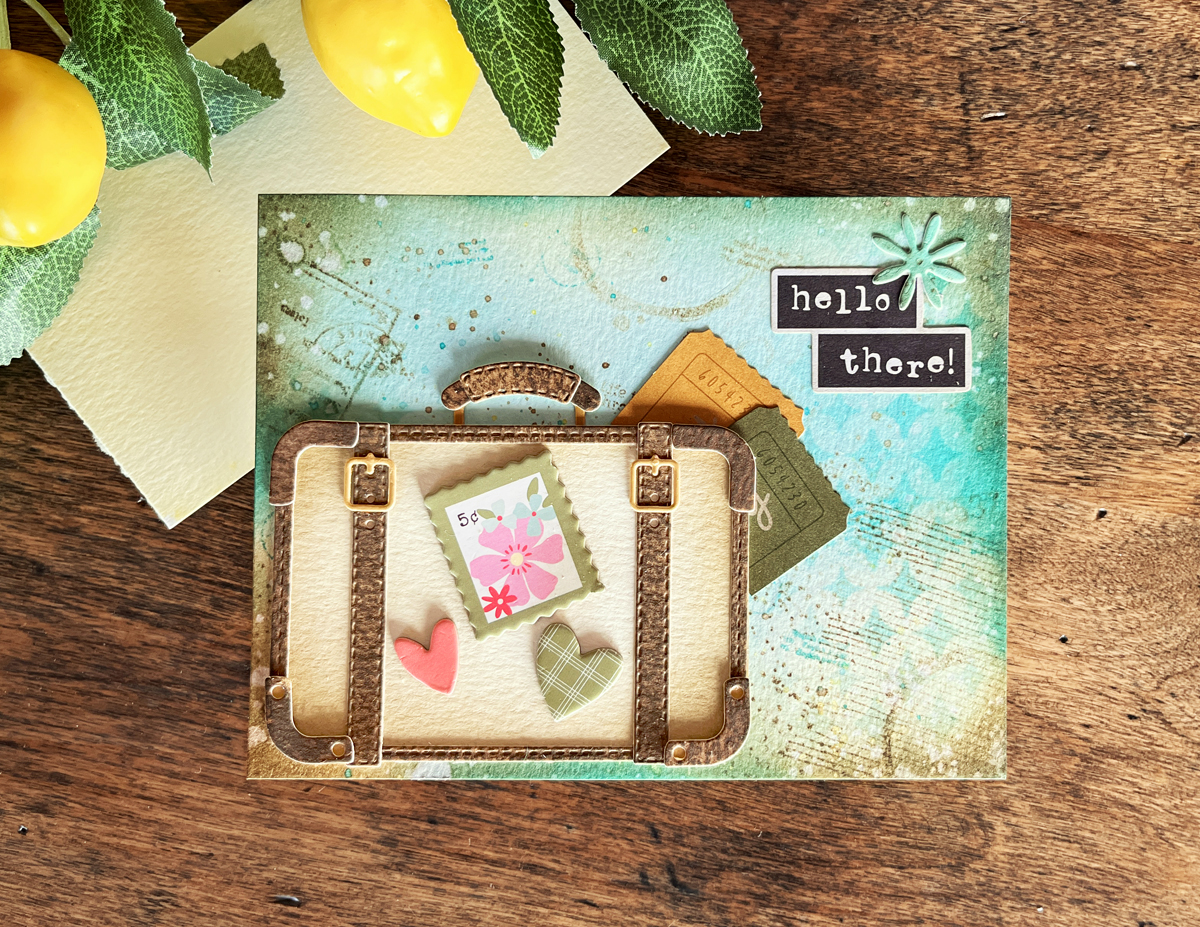
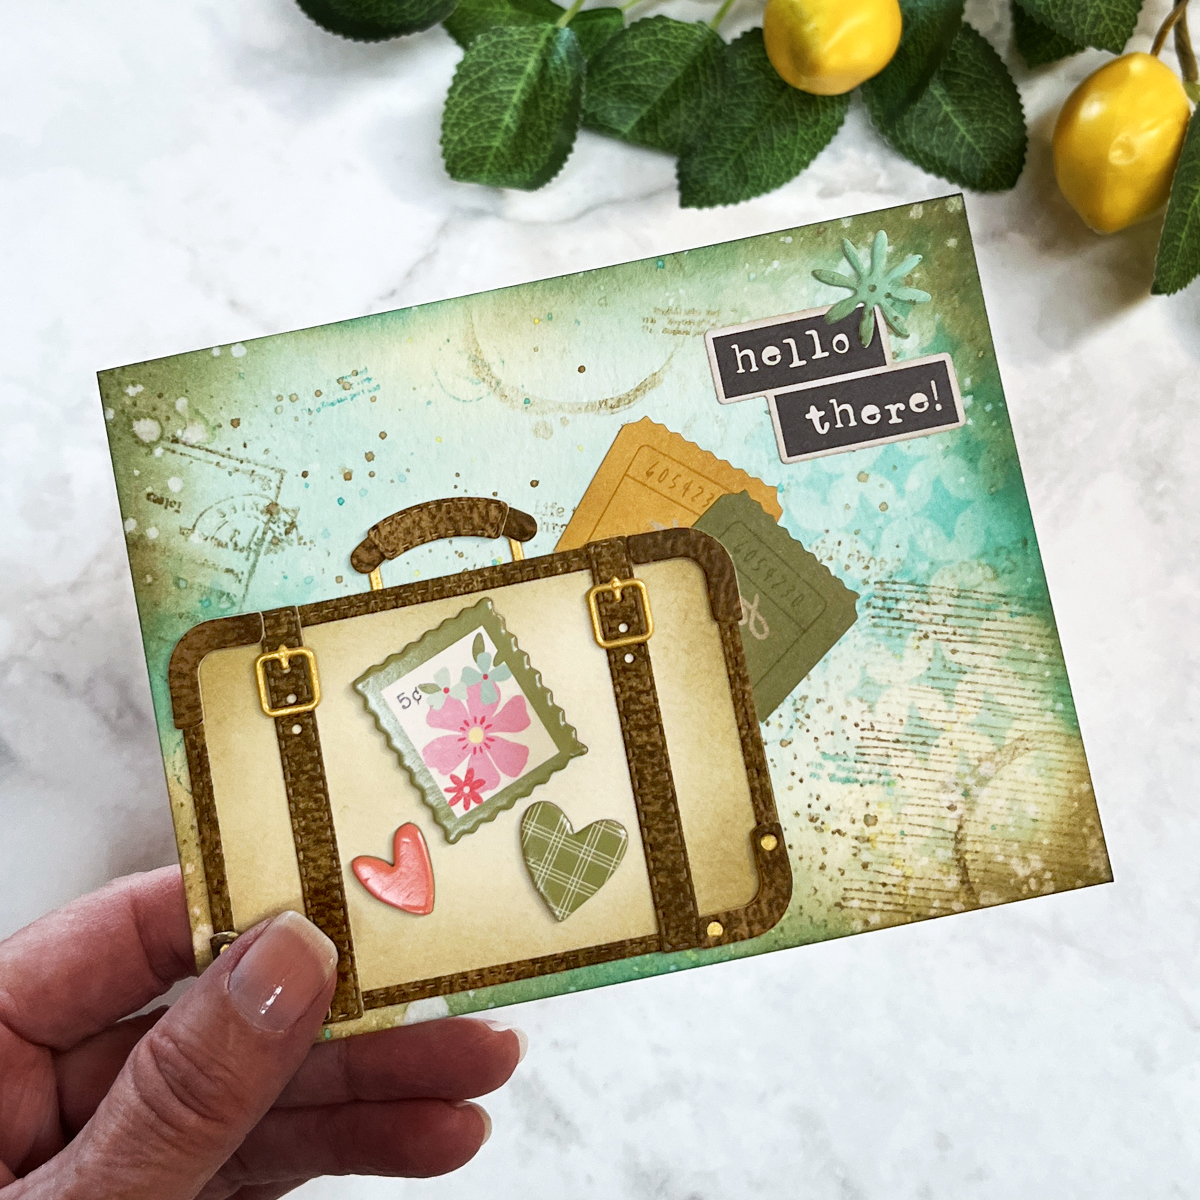
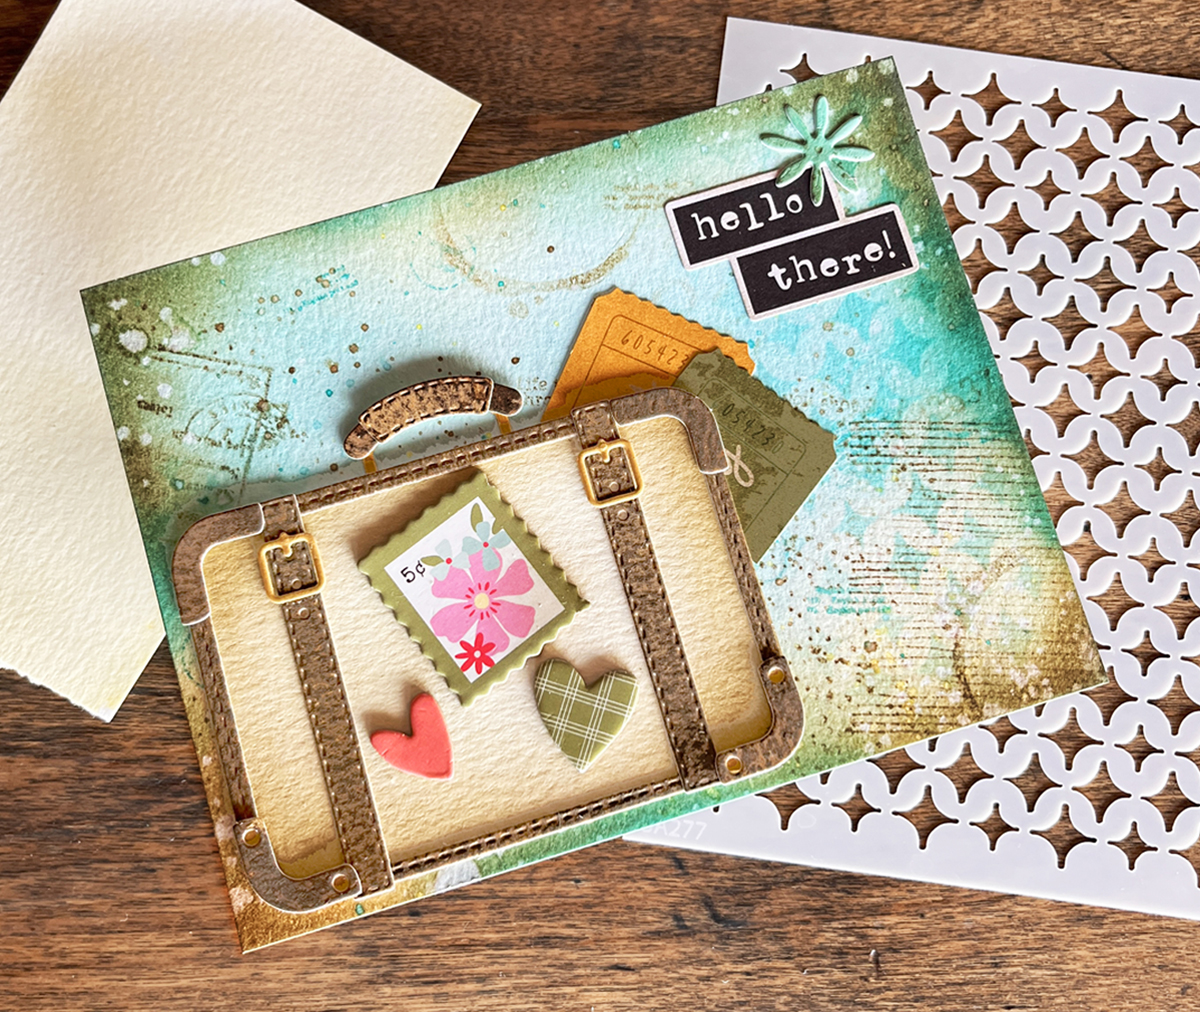
I chose a vintage-style die cut suitcase (because… how cute is that?!).
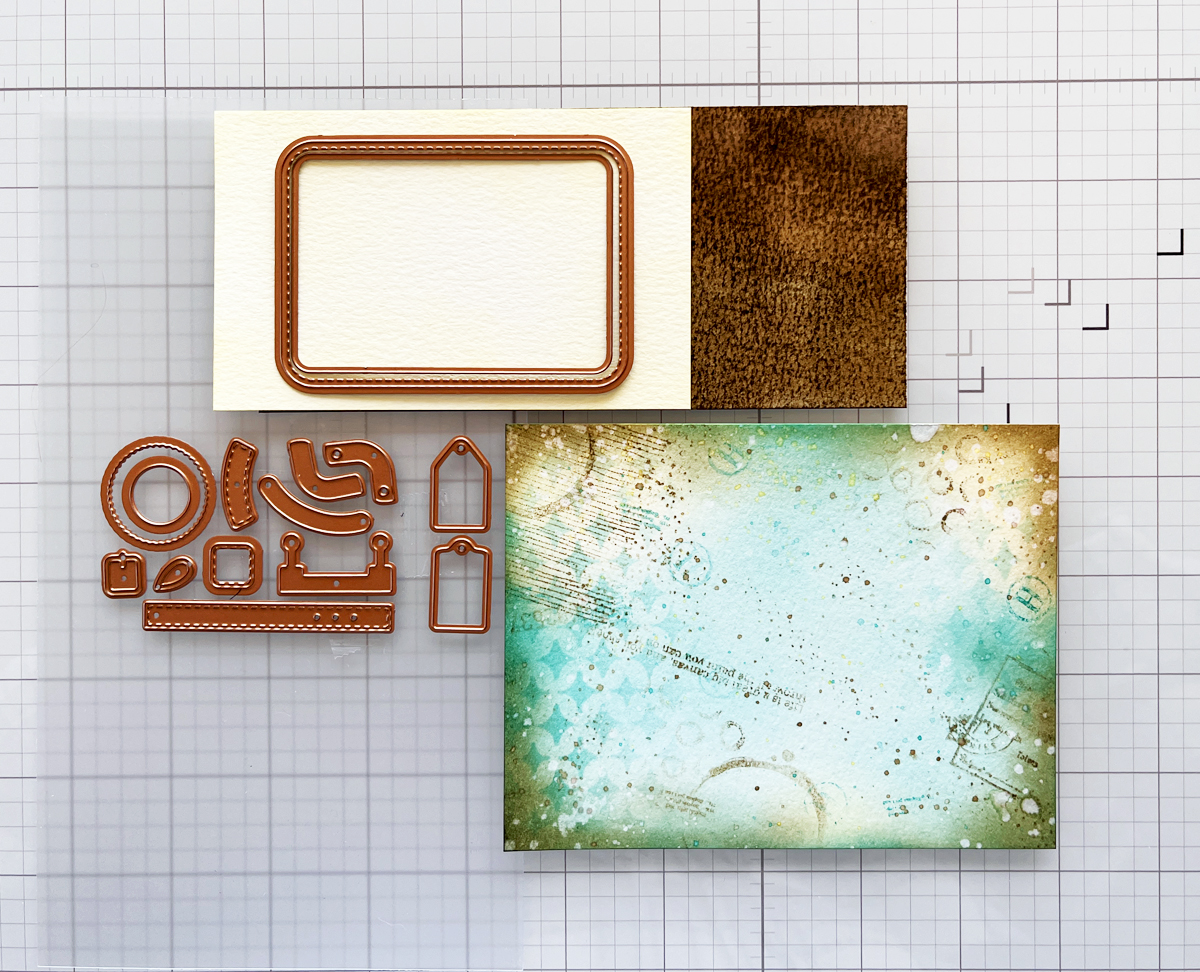
To keep the look cohesive, I created custom panels instead of using cardstock:
• Yellow panel for the suitcase body
• Brown “leather” panel using direct-to-paper + water
This gives it that worn, travel-ready feel.
✨ Pro Tip: Instant Layering Shortcut
Even experienced mixed media artists use this:
👉 Pre-printed ephemera
I tucked in:
• tickets
• a sentiment (such an easy option)
• small embellishments
These add detail without extra effort.
I placed the suitcase slightly off-center—like it’s ready to hop on a train and go on an adventure.
📌 Save this for later on Pinterest.
🎨 Let’s Talk Color (The Secret Sauce)
I kept everything to just three colors:
• Aqua (calm)
• Yellow (energy)
• Brown (grounding)
Using the same colors in:
✔ background
✔ layers
✔ focal point
…creates instant cohesion.
More colors ≠ better
Fewer colors = harmony
✨ Why These Layers Work
- Easy to learn and effective everytime
- Build depth without clutter
- All 4 layers work well together
- Add a polished, finished look
🧰 Supplies Used From My Toolbox
You might also be interested in my 14 Best Cardmaking Supplies for 2026 post.
Focal Point:
Retro Suitcase Die from the We Have Baggage Collection
Inks:
Reactive Inks (aqua, yellow, brown tones)
Tools & Layers:
Blending Brushes
Background Stamps: Background Builder and Vintage Maps and Ledgers
Stencils – Sparkle Weave
Ephemera – chipboard, tickets/sentiments
Basics:
Watercolor paper (140 lb.)
Die cutting machine
Adhesives
💭 Final Thoughts
If you’re new to mixed media, start here.
The Fab 4 layers will take you from:
👉 “flat and plain”
to
👉 “textured and full of life”
…without overwhelm.
Layering isn’t about doing more—it’s about doing the right things in the right order.
And now you have that order. 💛
📌 Save this for later so you can come back when you’re ready to try this technique
📌 If you try this, tag your project with #karensmixedmediarecipe
I would truly love to see what you create.
✨ Coming Next…
If you enjoyed these foundational layers, you’ll love the next step—Beyond the Basics: 3 Mixed Media Layers to Try, where I build on the Fab 4 to create richer, more dimensional designs.


I love mixed media but often get too heavy handed and have a very dark end piece. I really like your simple recipe that I can follow time after time.
So good to hear from you and thanks for your comments.