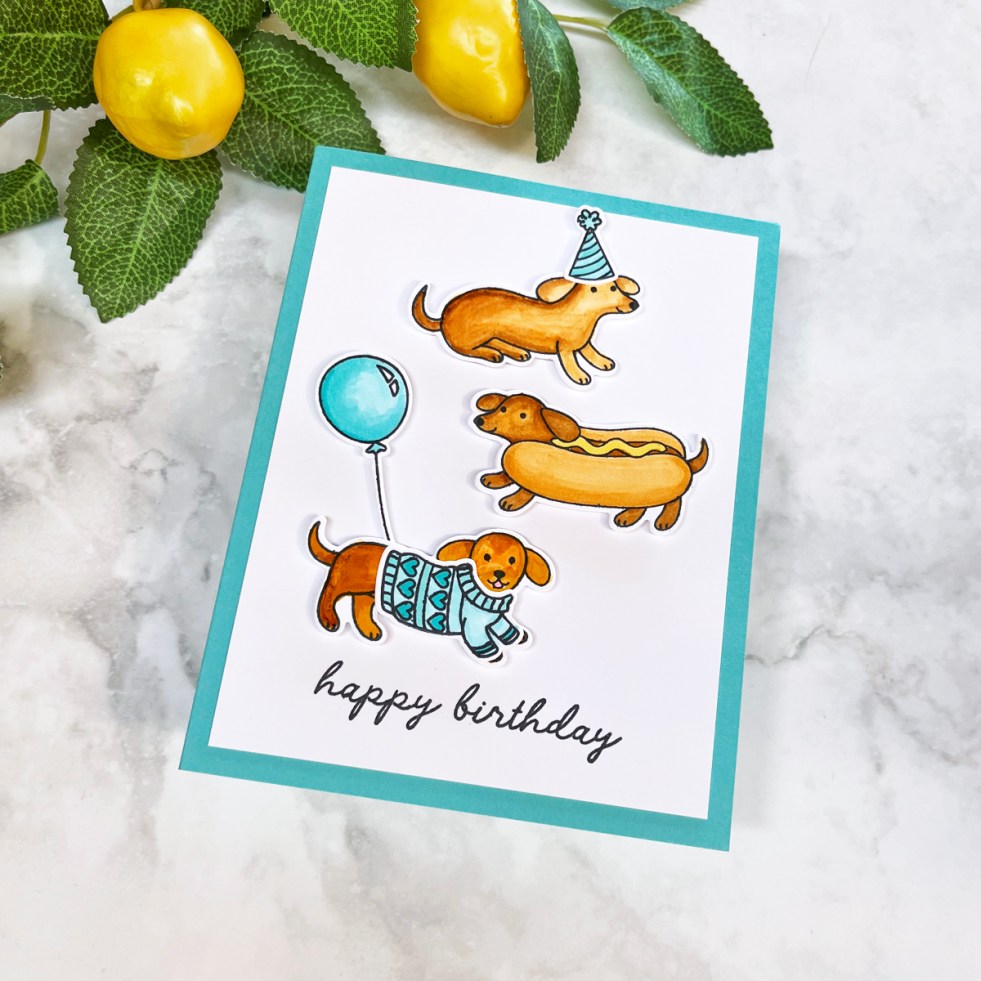
Learn how to create playful DIY birthday cards featuring adorable dachshund stamps, punny sentiments, and easy scene-building ideas. This beginner-friendly handmade card tutorial uses simple coloring, die cutting, and limited color palettes to create cheerful, memorable cards that are sure to make recipients smile.
Tag: Stamping
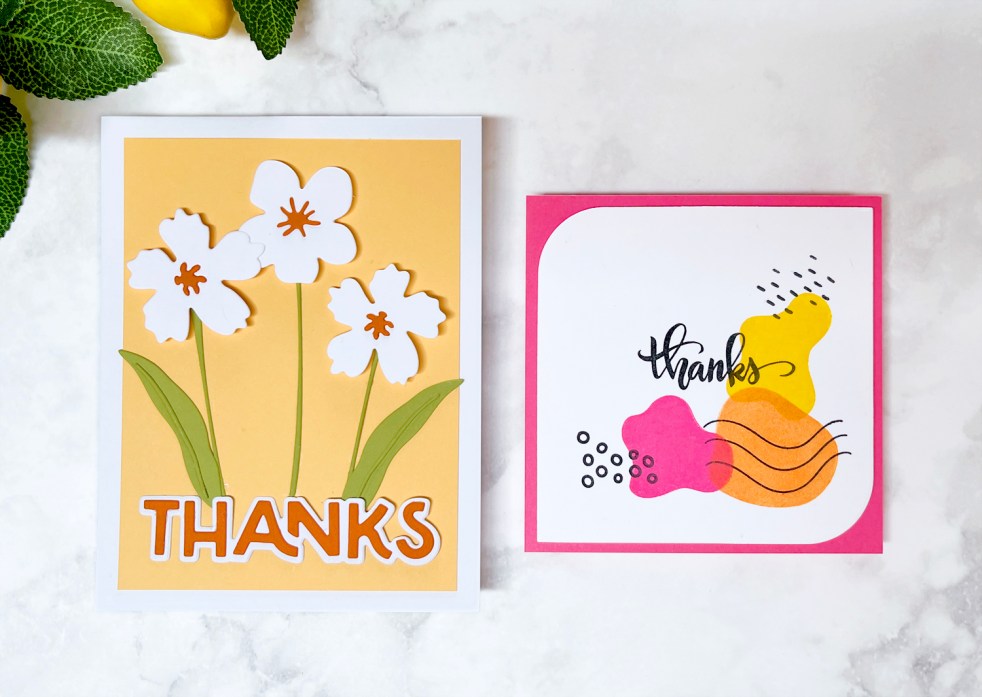
3 Quick and Easy Thank You Card Ideas
Create three quick and easy thank you cards using simple die cutting and artistic stamping techniques. These beginner-friendly handmade card ideas feature harmonious color palettes, clean layouts, and versatile products perfect for everyday crafting.
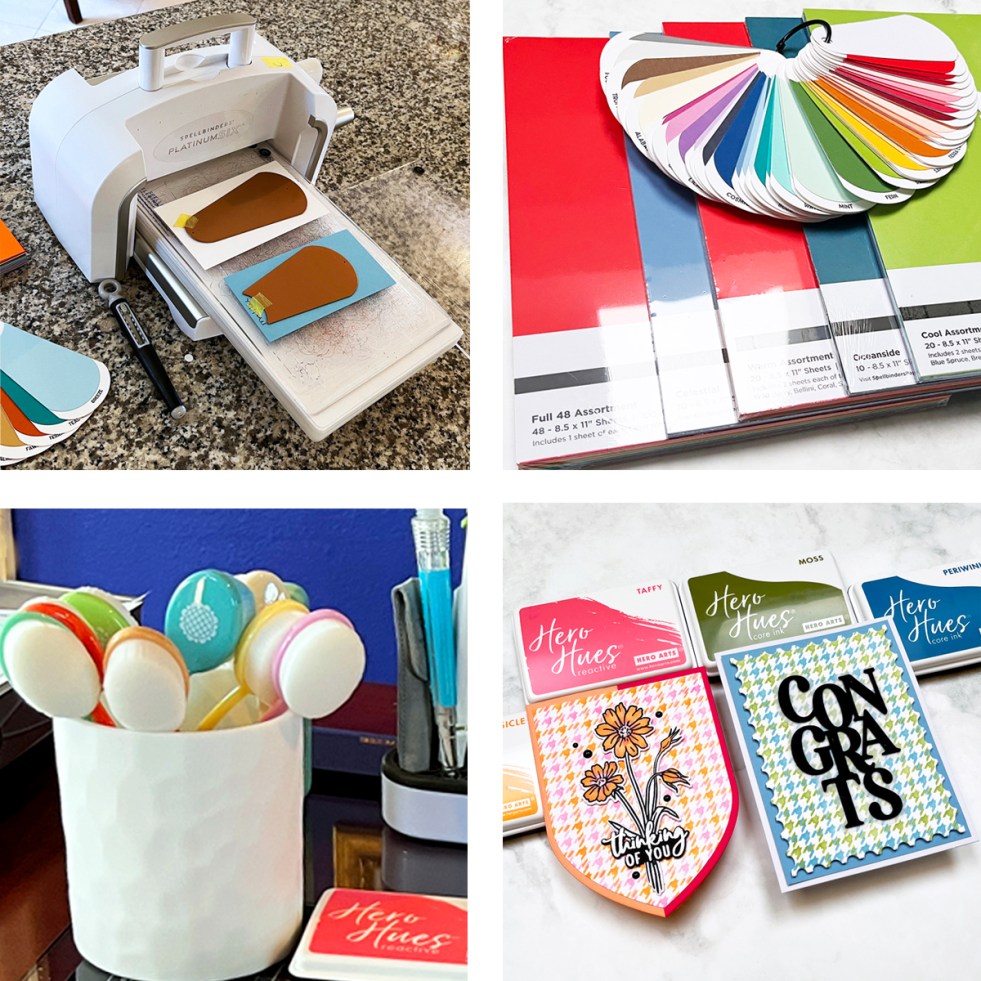
Beginner Cardmaking Supplies: What You Actually Need to Get Started (Simple Starter Kit)
New to cardmaking? This beginner-friendly starter kit covers the essential tools and supplies you actually need—no overwhelm, just simple, effective products to help you start creating beautiful handmade cards.
3 Mixed Media Layers to Try (Beyond the Basics Techniques That Actually Work)
Ready to take your mixed media to the next level? In this post, I build on my “Fab 4” layering techniques and introduce three additional layers that add texture, depth, and artistic detail—perfect for transitioning from beginner to more confident mixed media designs.
Mixed Media Layering Made Simple: The 4 Layers I Use on Almost Every Project
Learn how to build beautiful mixed media card backgrounds using four simple layering techniques. This beginner-friendly guide walks you through stenciling, stamping, distressing, and splattering to create depth and cohesion in your handmade cards.
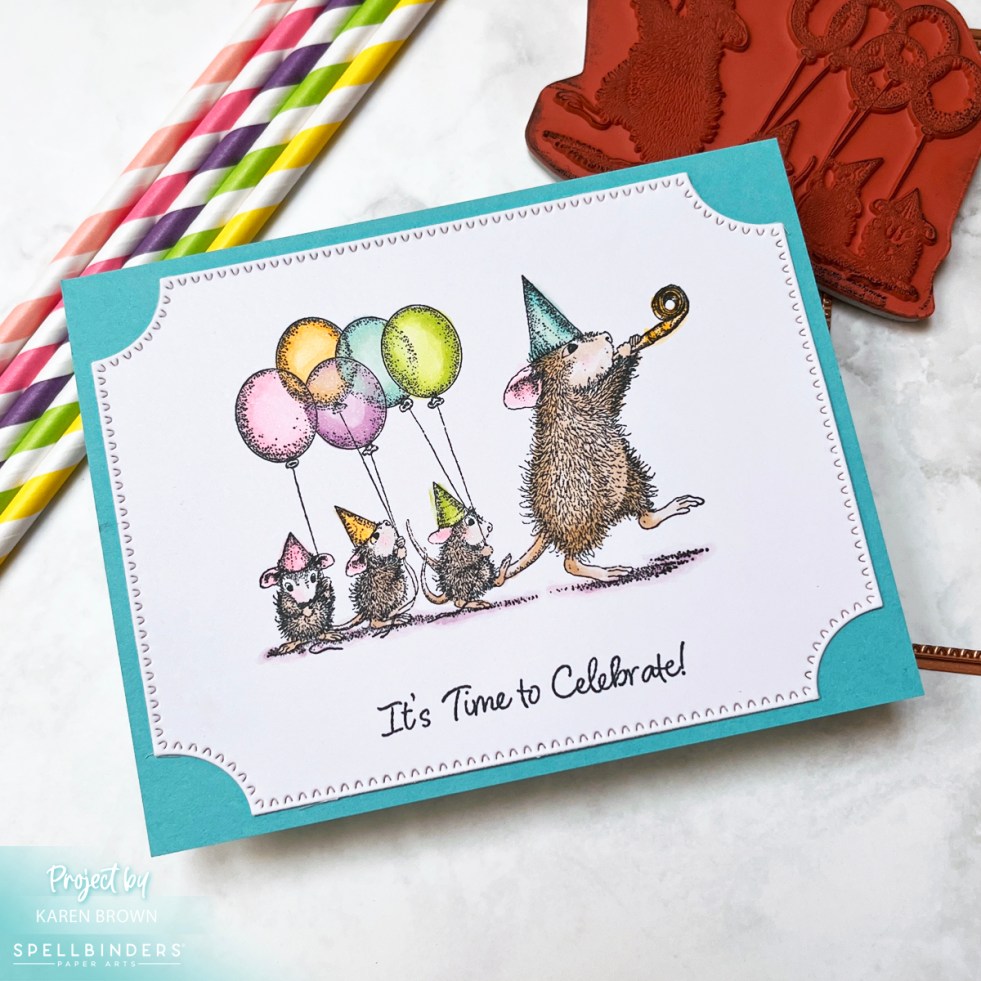
How to Make a Simple Birthday Card for Beginners (Adorable House Mouse Card)
Learn how to create an easy handmade birthday card using the adorable House Mouse Party Parade stamp set. This beginner-friendly card requires minimal supplies and comes together quickly with stamping and simple coloring.
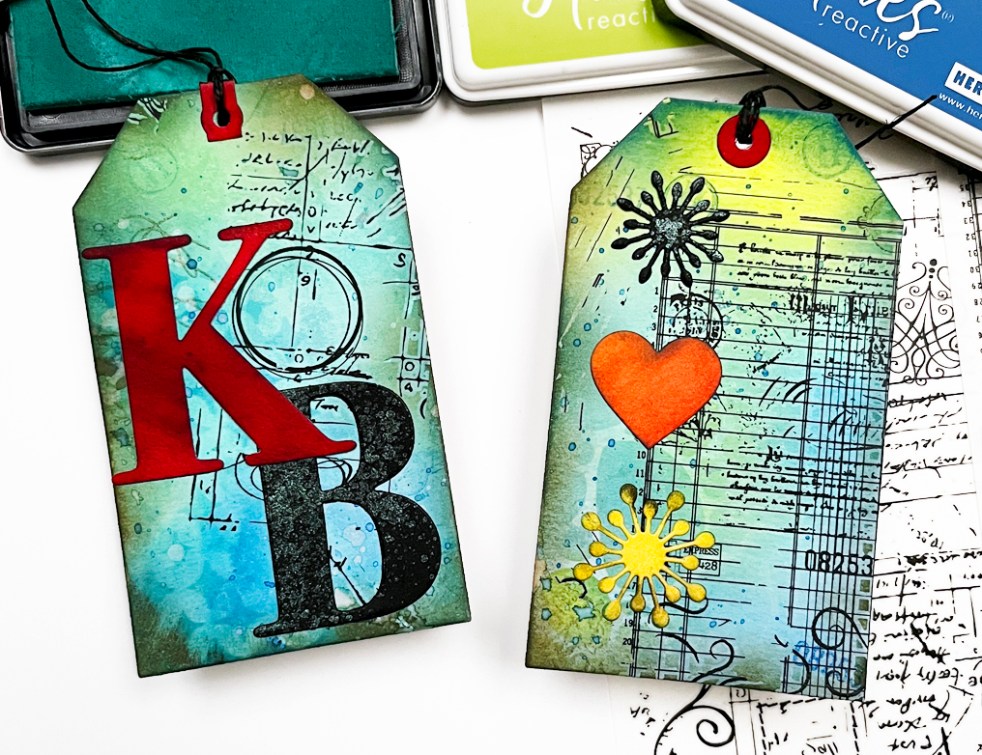
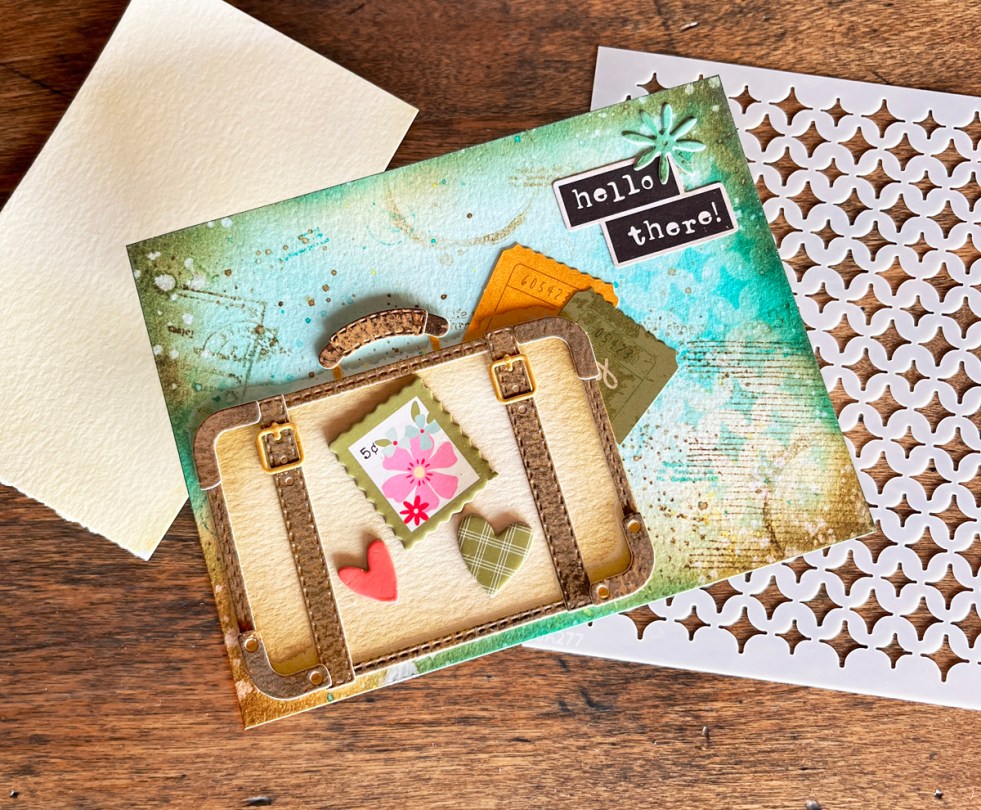
How to Create Easy Mixed Media Tags for Beginners (Step-by-Step Tutorial + Video)
Video and How To Tutorial showing how to create a stunning mixed media art tag in 11 easy steps.
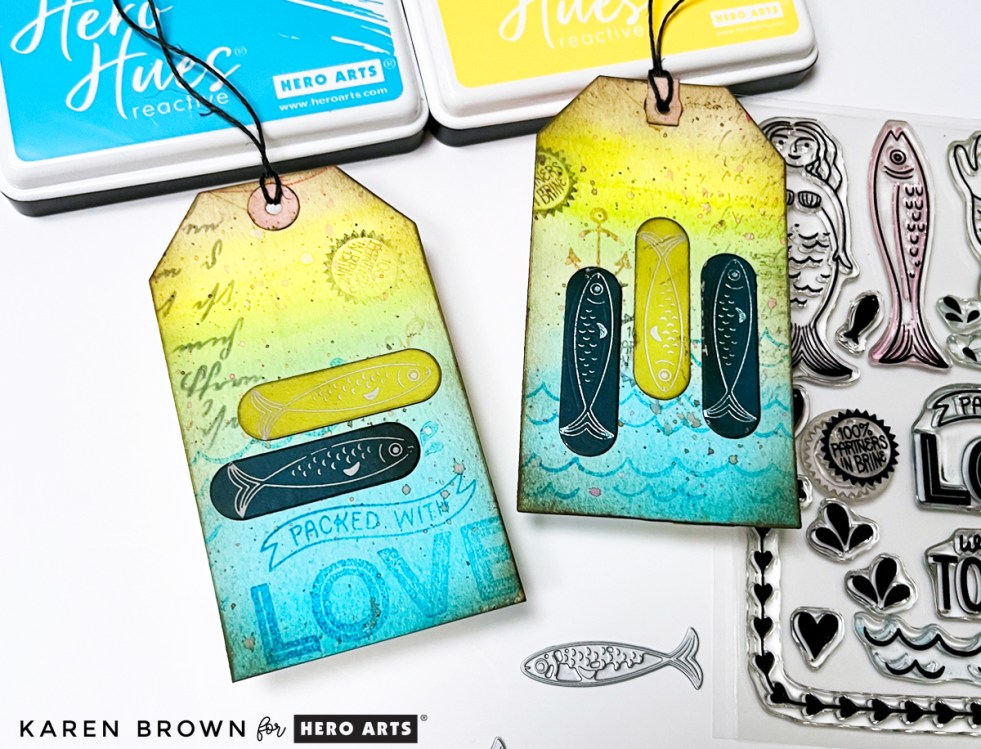
How to Make Mixed Media Tags in 9 Easy Steps | Tutorial
Create beautiful mixed media tags with this easy, step-by-step tutorial. Learn how to layer watercolor, stamping, ink splatters, and hot foil accents using the Partners in Brine stamp set. Perfect for beginners and seasoned crafters alike!

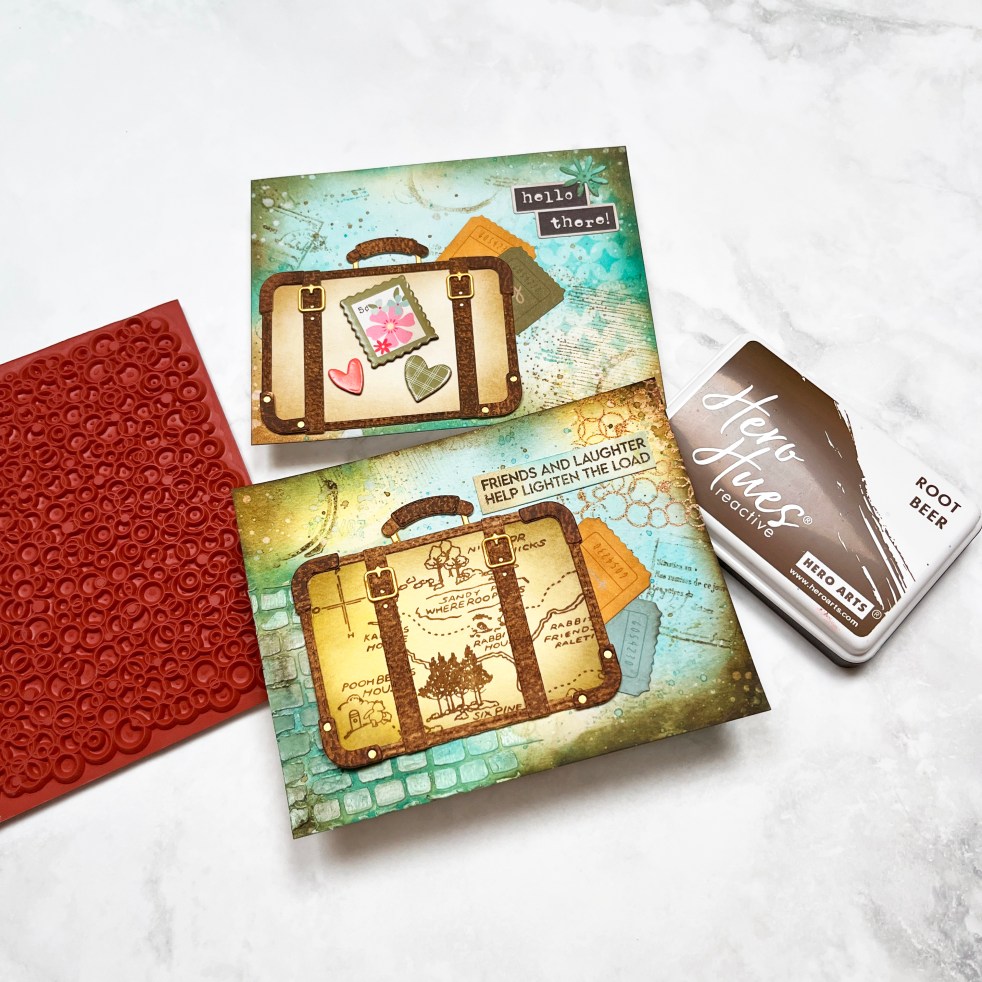
Cute Coffee Theme Thank You Card Featuring House Mouse
Today I’m sharing a cute and easy House Mouse thank you card using the Brew-tiful Day rubber stamp from Spellbinders. I colored everything with Copic markers and used a fun coffee-themed sentiment—because who doesn’t love a latte pun? House Mouse cards always make people smile and this one is quick to create!

Best Quick & Easy Get Well Card
A clean, modern, and easy-to-mass-produce get well card featuring the December 2025 Hero Arts Cup of Love Stamp & Die Kit of the Month. Learn how to build dimension with a simple die-cut circle window, add contrast with black accents, and create a cheerful white-and-yellow design perfect for sending comfort.
