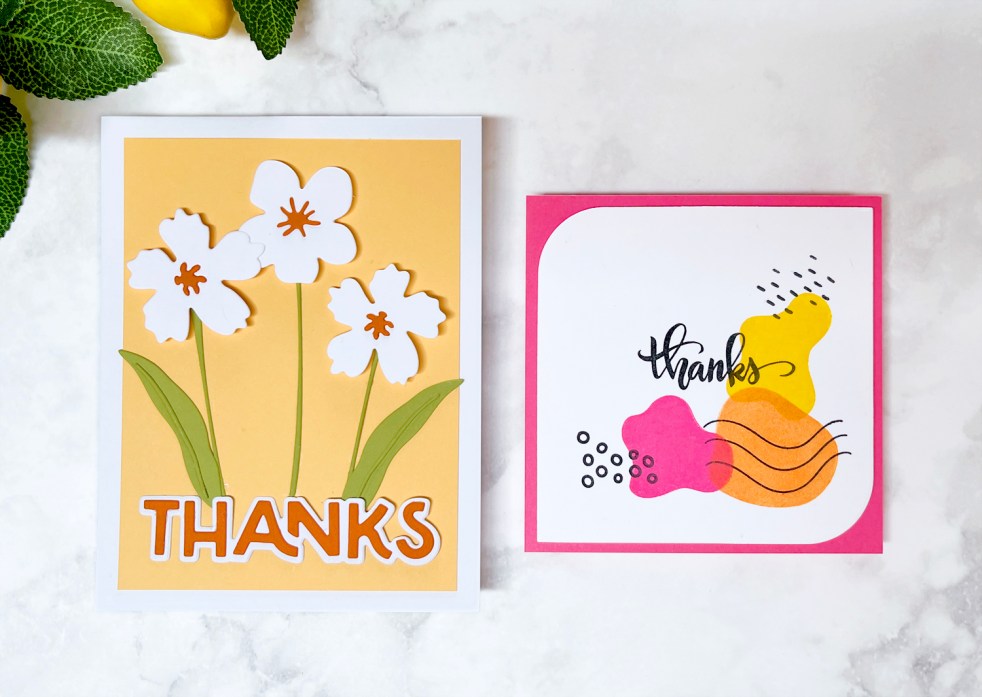
Create three quick and easy thank you cards using simple die cutting and artistic stamping techniques. These beginner-friendly handmade card ideas feature harmonious color palettes, clean layouts, and versatile products perfect for everyday crafting.
Category: Beginner
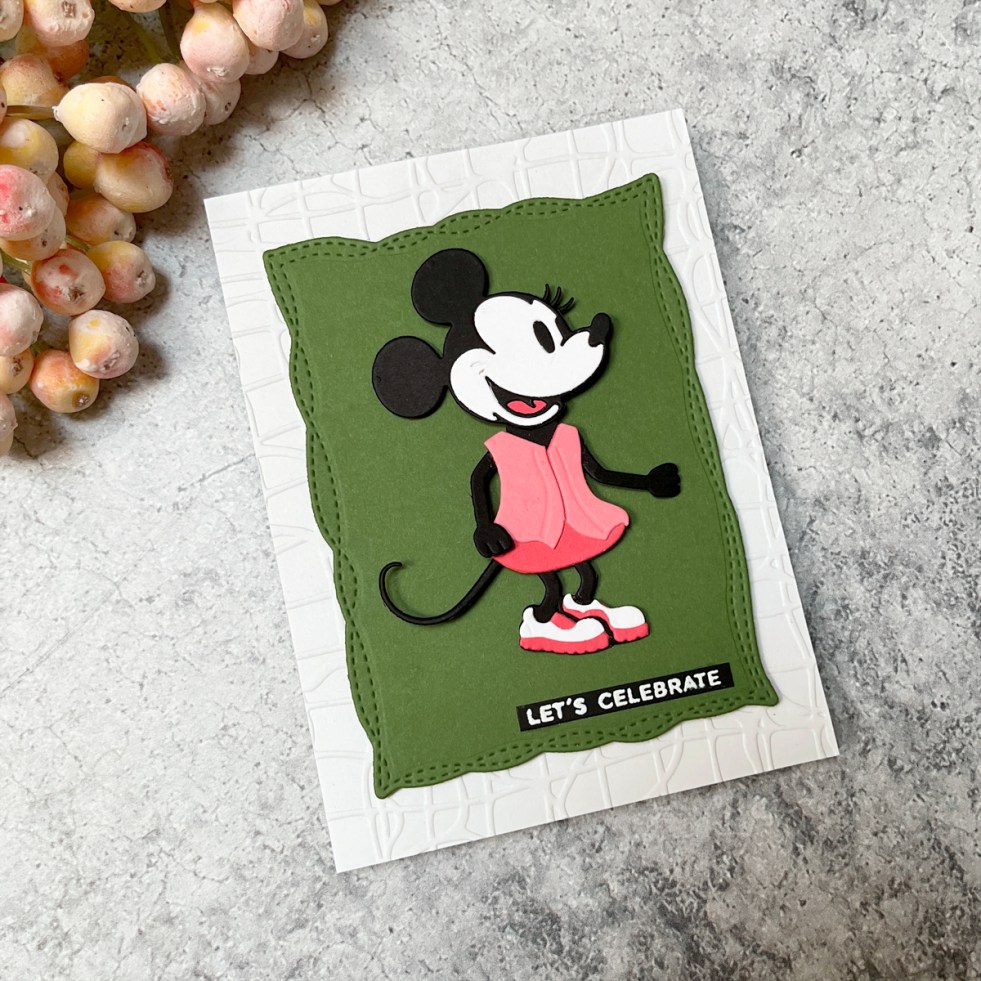
How to Make an Easy Minnie Mouse Birthday Card (One of the Best Die Sets for Beginners)
Create an easy Minnie-inspired birthday card using one of the best beginner-friendly die sets. Learn how to simplify colors, adapt die sets, and design a bold, graphic card with minimal supplies
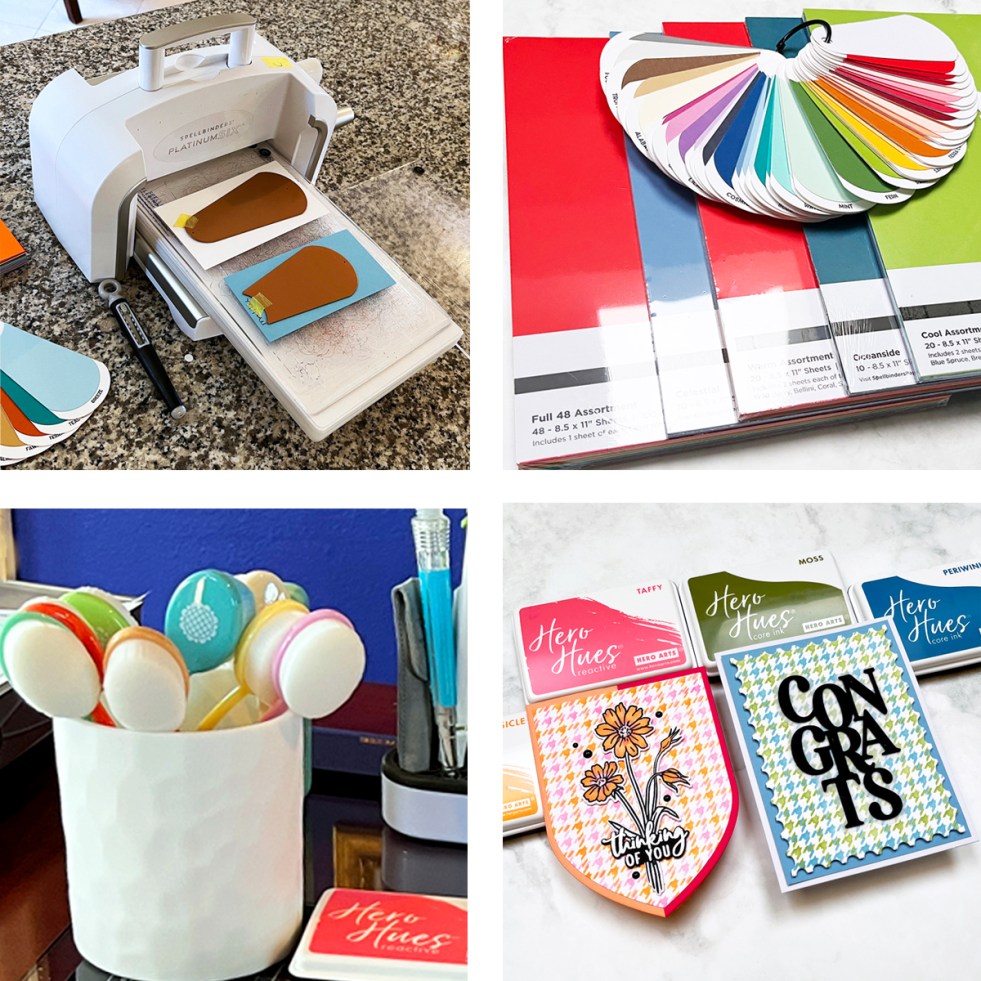
Beginner Cardmaking Supplies: What You Actually Need to Get Started (Simple Starter Kit)
New to cardmaking? This beginner-friendly starter kit covers the essential tools and supplies you actually need—no overwhelm, just simple, effective products to help you start creating beautiful handmade cards.
