
Turn a cute die-cut animal into an action-packed card with simple stenciling, scene building, and a playful wobble.
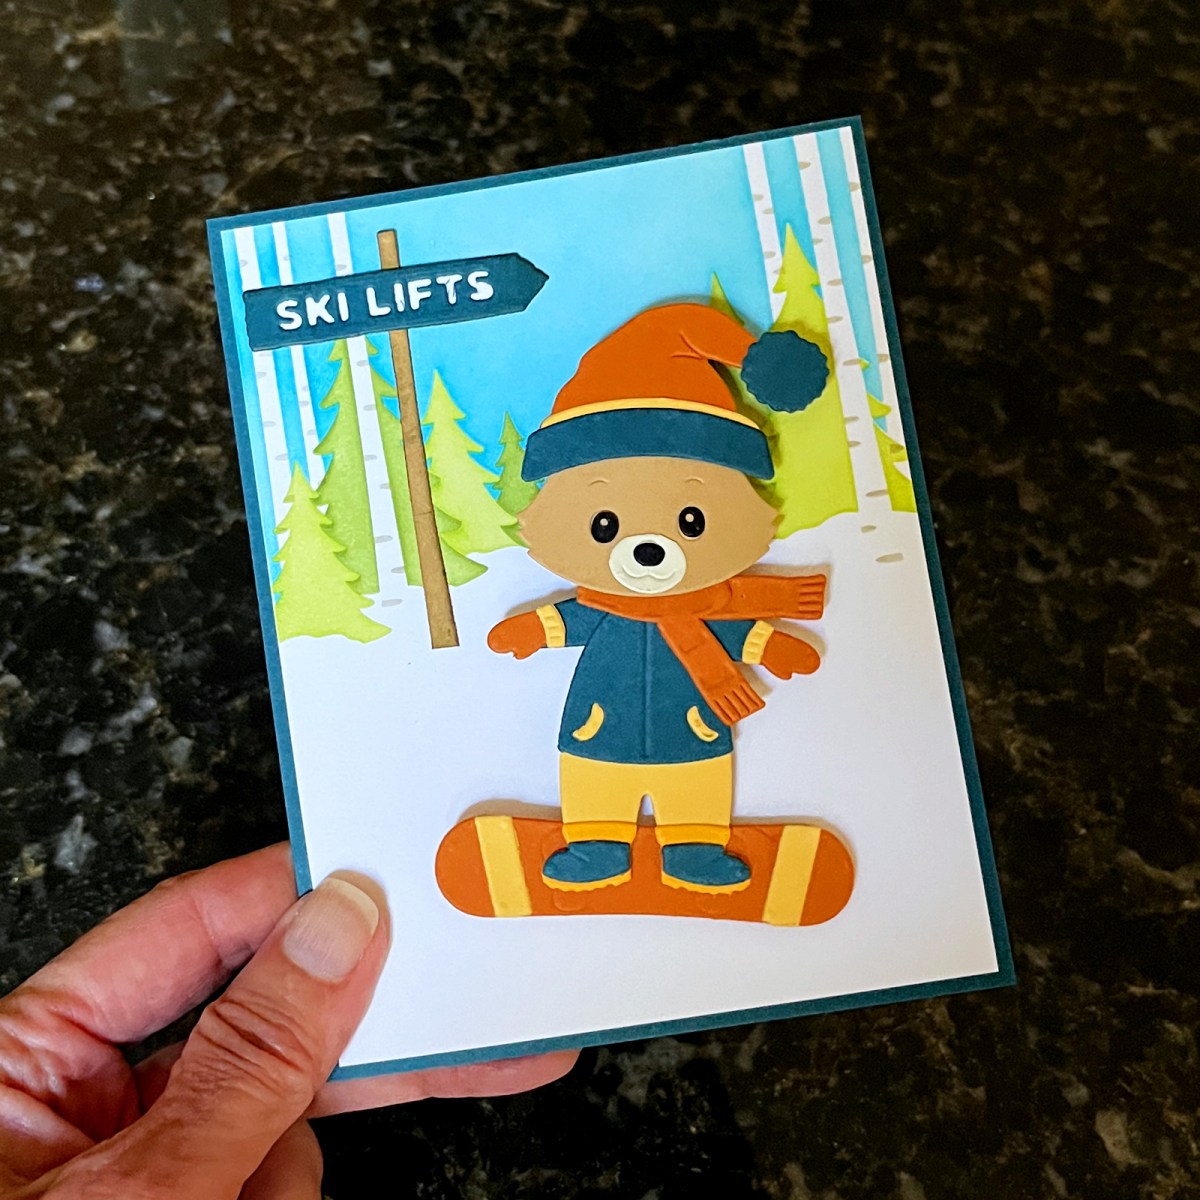
Who doesn’t love a wiggly snowboarding bear? 🐻🏂
After having so much fun creating my interactive Rancher Fox card, I couldn’t resist making another one! This time, I decided to add a little scene building and turn an adorable die-cut animal into a snowboarder cruising down a snowy mountain.
One of my favorite things about DIY interactive cards is the element of surprise. A simple Giggle Spring makes the bear wiggle and wobble, bringing the whole scene to life!
I used dies and layering stencils from Allison Frazier’s new Winter Vacation Collection at Spellbinders to create this happy winter scene. The soft stenciled background sets the stage, while the colorful die-cut bear takes center stage.
And the best part? The wobble doesn’t just add movement—it helps tell the story.
What You’ll Learn in This Post
- How to create a winter scene with layering stencils without adding bulk.
- How to transform a familiar die-cut animal into a completely different character.
- How to use a Giggle Spring to create playful, interactive movement.
- A few simple design choices that help your scene come together.
Start with a Scene That Tells a Story
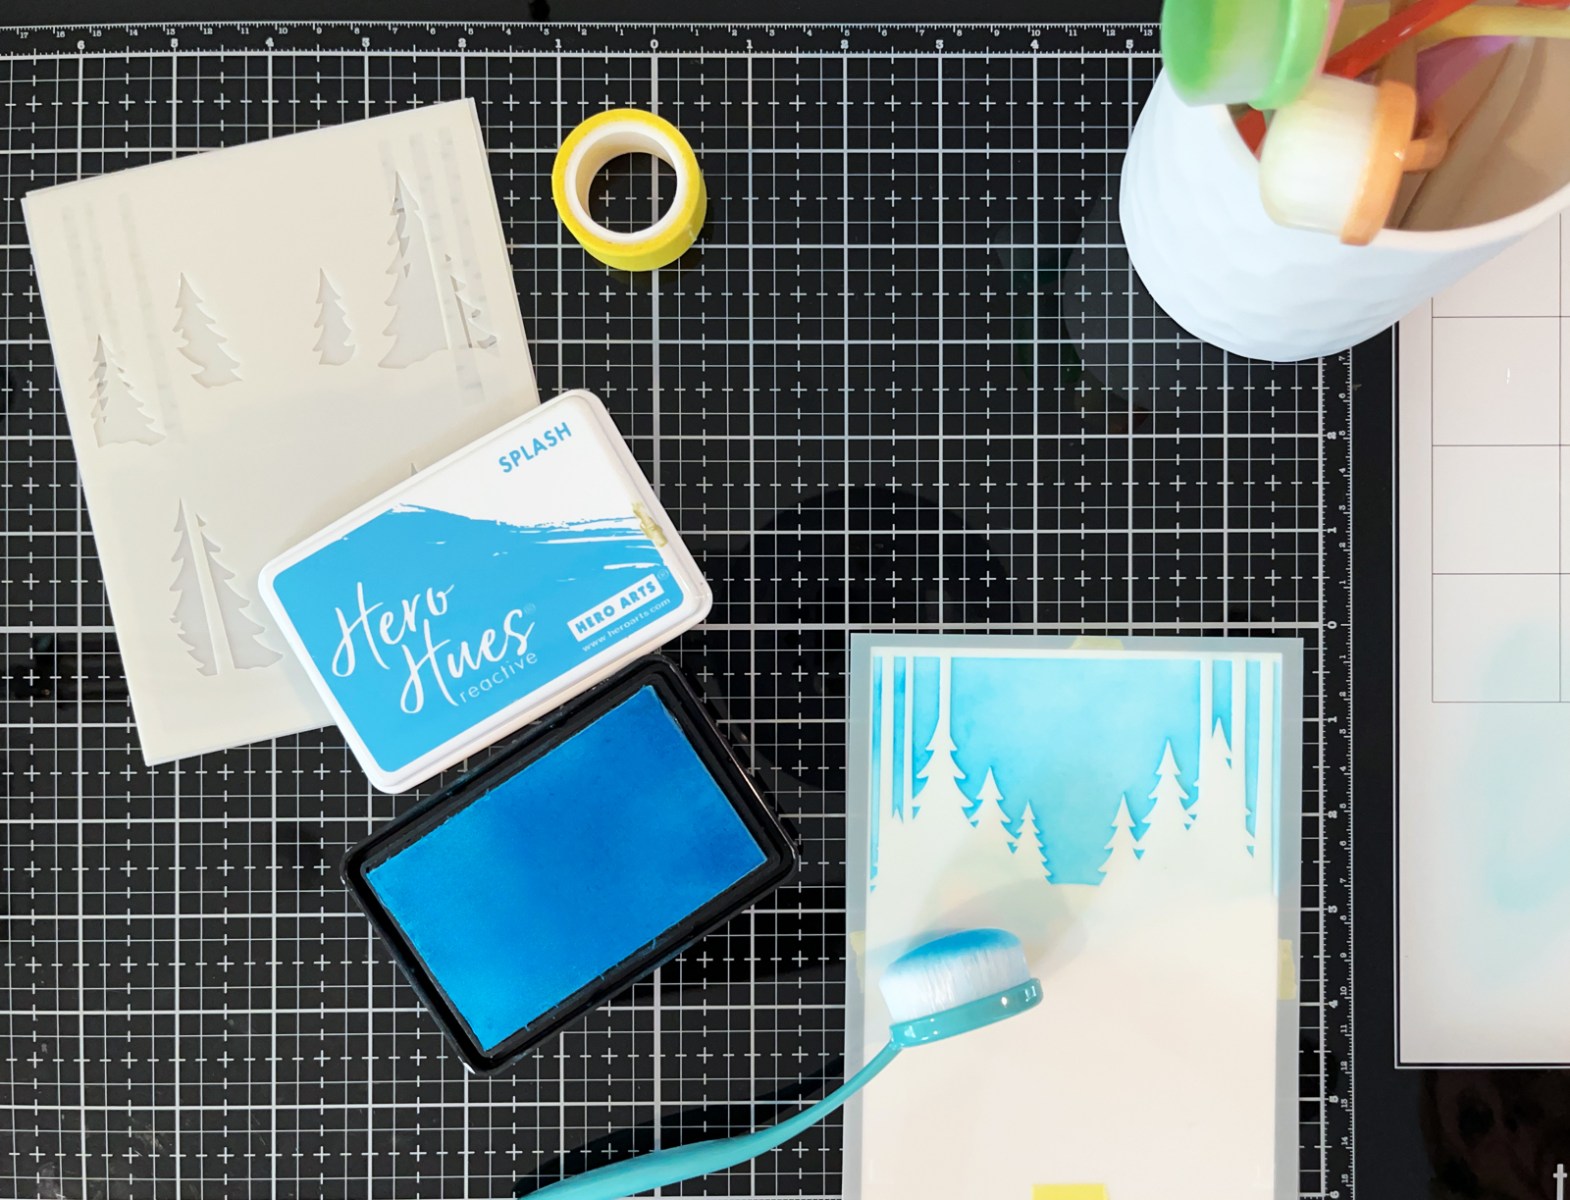
I really enjoy ink blending. For me, it’s one of those relaxing activities where I can settle into my craftroom and simply enjoy creating.
For this card, I started with the Wintertime Memories layering stencils from Allison Frazier’s Winter Vacation Collection.
I wanted a snowy outdoor setting that would make sense for my little snowboarder, so I stenciled a blue sky, subtle aspen tree trunks, and a scattering of pine trees.
I deliberately kept the colors soft and less saturated. The background needed to establish the setting without competing with the colorful bear.
Here’s one of my favorite things about stenciling: it adds visual depth without adding physical bulk.
That’s especially helpful for interactive cards. The stenciled trees and sky give the illusion of a layered winter landscape while keeping the card relatively flat behind the moving focal point.
I added a die-cut ski lift sign from the Snow Covered Days set—the same set that includes my bear’s snowboard. It’s a small detail, but it helps tell the story. Now our little snowboarder isn’t just standing in the snow. He’s enjoying a day on the slopes!
Keep Your Color Palette Simple
I also limited my colors to keep the design cohesive.
The background features a soft blue sky and green trees, while the snowboarder adds stronger colors: dark blue, warm TerraCotta, and a few mellow yellow accents.
I used Spellbinders ColorWheel Cardstock in Oceanside, TerraCotta, and Bees Wax for the main die-cut elements.
The contrast between the softer background and brighter foreground helps your eye go straight to the bear.
Design tip: When your focal point has lots of detail, try using softer colors in the background. You can create a beautiful scene without making everything compete for attention.
Give Your Die-Cut Animals a New Personality
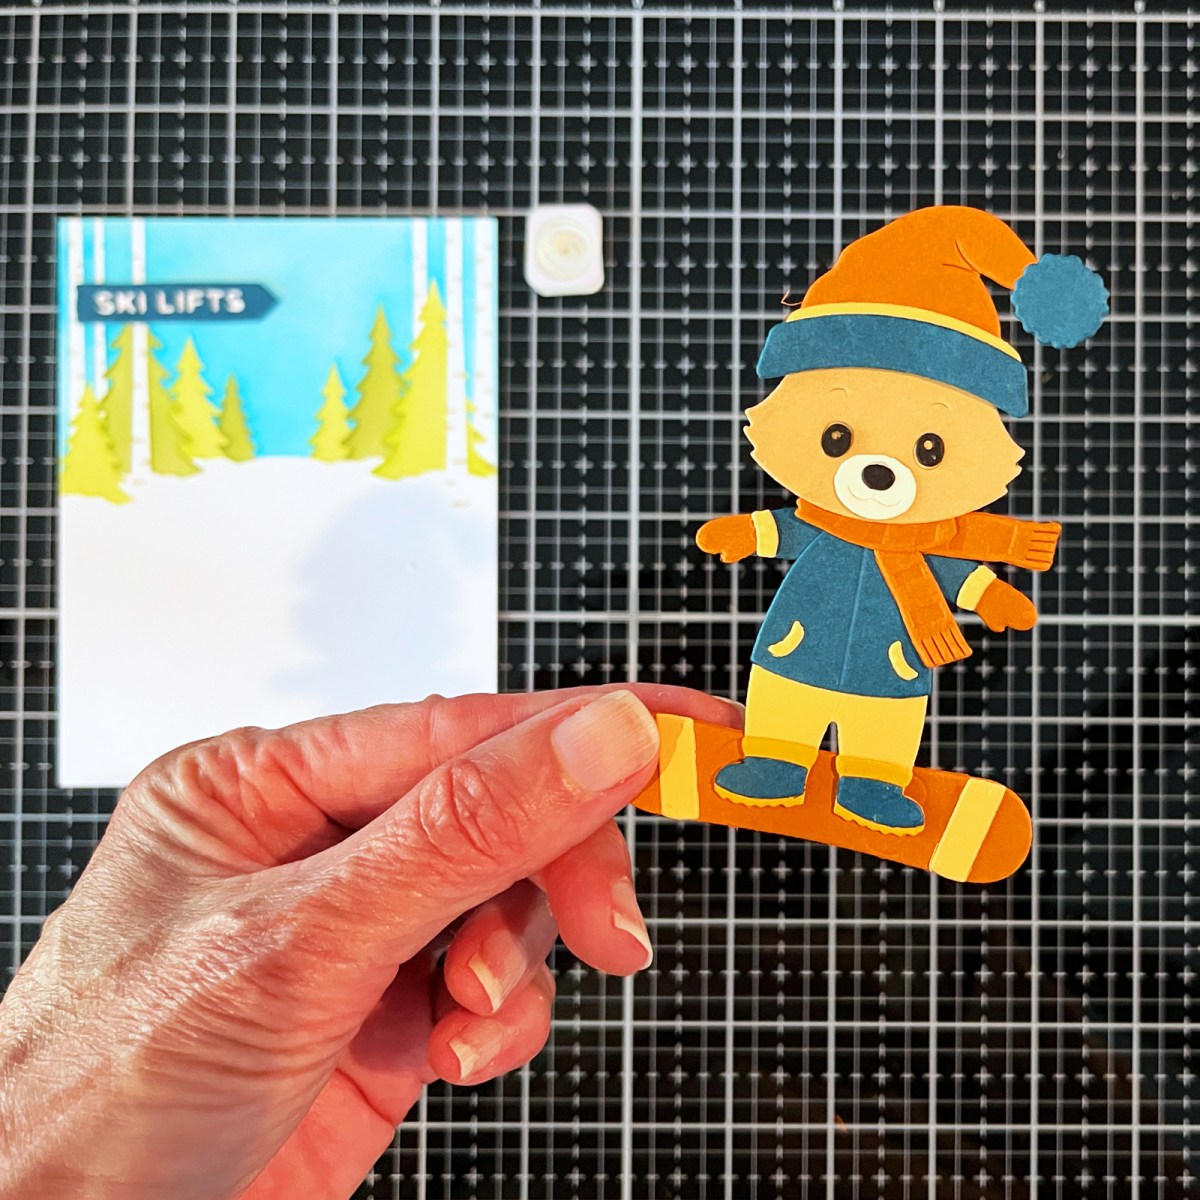
One of my favorite things about Allison Frazier’s animal collections is how easily you can mix and match the critters and their accessories.
For this card, I started with the skunk from the Trailside Trio die set.
Yes, a skunk!
With a little selective trimming, a different nose, no tail, and a change to tan cardstock, my skunk became an adorable bear.
I love finding ways to stretch my die-cutting supplies, and this is such a fun example. You don’t always need a new animal die when a few small changes can create an entirely different character.
Then came the really fun part: dressing him for his winter adventure!
I used accessories from the Winter Vacation Collection to give my bear a stocking cap, winter sports apparel, and a snowboard.
If you enjoy playing dress-up with your die-cut critters, you’ll love these accessory sets. There are winter coats, hats, sporting equipment, and all sorts of adorable extras.
I’m already thinking about the ice skater, hockey player, and igloo.
Next time!
Why I Love Die-Cut Animals
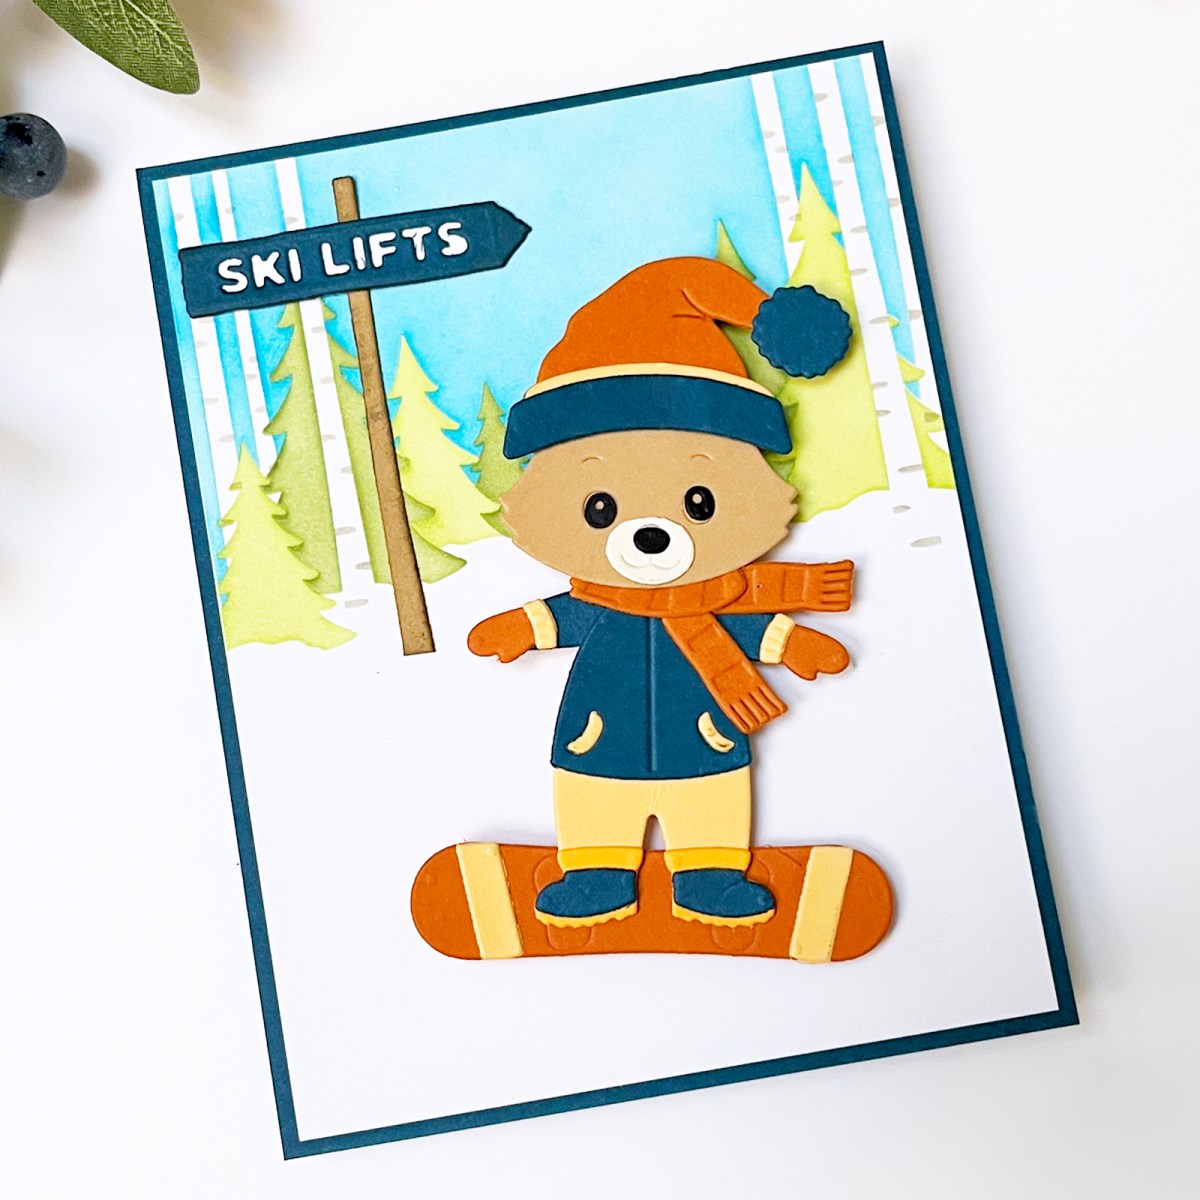
There’s just something about a cute animal that makes me smile. 😊
Die-cut animals bring warmth, humor, and personality to handmade cards. They’re approachable, wonderfully expressive, and appealing to kids, teens, and adults.
My family certainly loves them!
And when you add clothing, accessories, or a little movement, those animals become characters with stories of their own.
If you enjoy creating whimsical critters, you might also like my How to Make Cute Animal Cards with Personality article, where I share the story behind my interactive Rancher Fox.
Make the Movement Part of the Story

Here’s the design idea that makes this card especially fun:
Don’t add movement just for the sake of movement. Make the movement part of the story!
My Rancher Fox wiggled because it was unexpected and funny.
But this time, I wanted the Giggle Spring to simulate the action of snowboarding downhill.
The wobble isn’t simply an embellishment. It’s part of the scene!
Adding the Giggle Spring
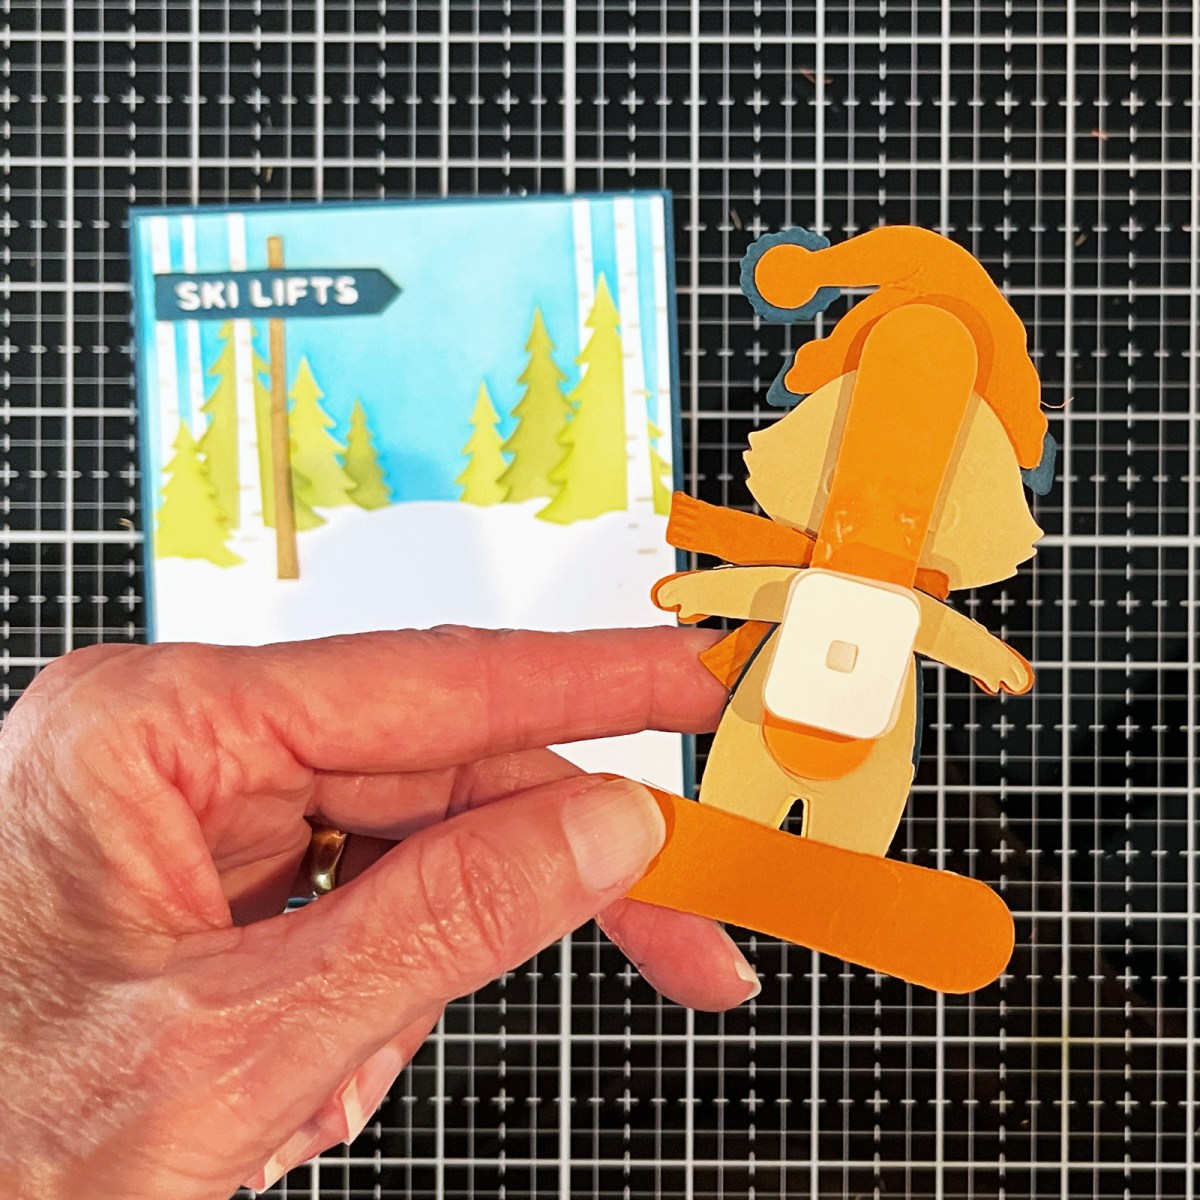
Once my snowboarder was assembled, I added a Giggle Spring to the back.
I positioned the upper attachment near the top of the bear’s shoulders, behind his scarf. This particular focal point was fairly balanced, so that placement worked well for my design.
I also added a small brace to the back of the bear for extra stability. Since this is an interactive card, I expect people will tap him, wiggle him, and make him snowboard over and over!
A little reinforcement helps support those repeated movements.
A few tips for adding wobble mechanisms:
- Assemble your focal point before deciding where to position the wobble.
- Consider the weight and balance of your die-cut character.
- Add support to delicate areas when needed.
- Test the movement before permanently attaching the mechanism
Products Used
Allison Frazier’s Winter Vacation Collection is full of adorable winter accessories, and I love how easily the pieces mix and match with her animal dies. Here are the supplies I used for my snowboarding bear, along with a few coordinating sets that caught my eye.
Featured in My Snowboarding Bear Card
- Trailside Trio Dies — I transformed the skunk into my snowboarding bear.
- Snowbound Style — Winter sports outfits and accessories used to dress up my bear.
- Snow Covered Days — The snowboard and ski lift sign that establish the downhill adventure.
- Wintertime Memories Layering Stencils — The softly stenciled winter landscape.
- Giggle Spring Wobbles — The interactive movement.
- Spellbinders ColorWheel Cardstock — Including TerraCotta, Oceanside, and Bees Wax.
- Waffle Flower Color-Coded Blending Brushes
- Hero Arts Inks
- Spellbinders Platinum 6 Die-Cutting Machine
More from the Winter Vacation Collection
- Winter Vacation Bundle — A convenient way to explore coordinating products from the collection.
- Rinkside Style — More adorable winter sports accessories, including ice skating and hockey designs.
You certainly don’t need every set to make a fun interactive card! One favorite animal, a few accessories, and a simple wobble mechanism are enough to get started.
Some links may be affiliate links, which means I may earn a small commission at no additional cost to you. Thank you for supporting Kenny’s Cards!
From My Craft Table
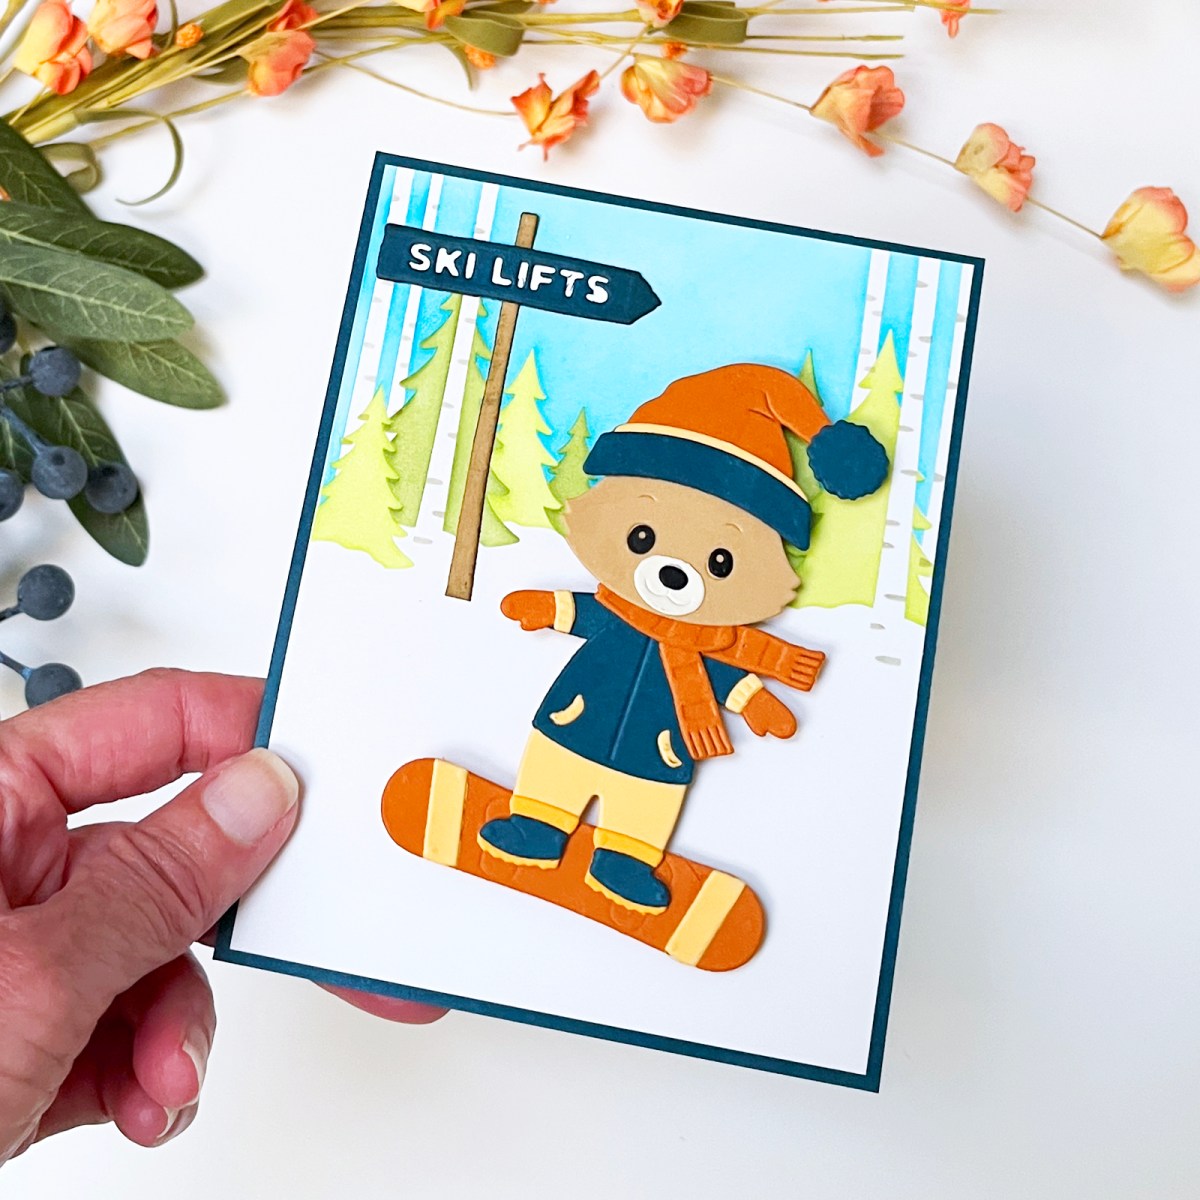
I think this little snowboarding bear may be having even more fun than I had making him!
What I love most about this card is how everything works together. The soft stenciled landscape sets the scene, the winter accessories give our bear personality, and the Giggle Spring makes him look like he’s actually snowboarding downhill.
And that’s the fun of interactive cards. A little movement can turn an adorable die-cut animal into a character with a story of his own.
I hope this project inspires you to look at your dies a little differently. Mix and match your critters, give them a new outfit, and don’t be afraid to add a little action!
Have you tried making a wobble card? I’d love to hear about it in the comments.
Let’s make something beautiful (and keep it simple)!

3 thoughts on “How to Make an Interactive Scene Card That Really Moves”