
Build a little world with color, character and details that tell a story.
When cardmaking, I especially enjoy constructing “little worlds” that tell a story. Today’s card is a playful outdoor scene with an adorable girl as the focal point, eye-catching colors and delightful supporting details. I love the storybook charm and sense of movement and energy in this little scene.

I created my card with the Spellbinders September 2026 Large Die of the Month Kit. If you enjoy subscription kits, you might also be interested in my Best Cardmaking Subscription Kits: 2026 Guide and 13 Tips Die-Cutting Tips I’ve Learned After Creating Thousands of Cards
But today, I want to look beyond the specific dies and talk about why the finished scene works—and some of the design choices you can use when creating die-cut scene cards of your own.

What You’ll Learn
- How to build a die-cut scene around one strong focal point
- How to use color, layering and composition to create a cohesive little world
- How personalized details can help your scene tell a story
- Why grounding and framing can make a scene card look more polished and complete
A Simple Way to Think About Scene Cards
Before we get started, here’s one idea that makes scene building feel much more manageable.
When a scene card starts to feel complicated, I find it helpful to think about it in layers:
Background → Environment → Focal Point → Finishing Details
You don’t have to design the entire little world at once. Start with the setting, give your focal point somewhere to belong, and then add the details that help tell your story.
1. Find Inspiration in Everyday Life
Sometimes in everyday life, you happen upon colors that really speak to you.
That happened with this card. I saw a color combination I loved, so I grabbed my ColorWheel swatches and started matching the hues I wanted to replicate.
My colors turned out to be Oceanside, Rainforest, Peridot and Carrot.

Planning my colors is usually one of my first steps in cardmaking, and it was today. Having that palette established before I started assembling the scene helped all of the individual die-cut pieces feel like they belonged in the same little world.
I use my swaches frequently, and if you are interested in creating your own swatches, you might want to take a look at my Swatching Adventure.
2. Start With a Strong Focal Point
Every scene needs somewhere for your eye to land.
On today’s card, that’s our adorable little girl out for a lovely stroll.
She’s the character in our story, so I wanted her to command attention without overwhelming the rest of the scene.
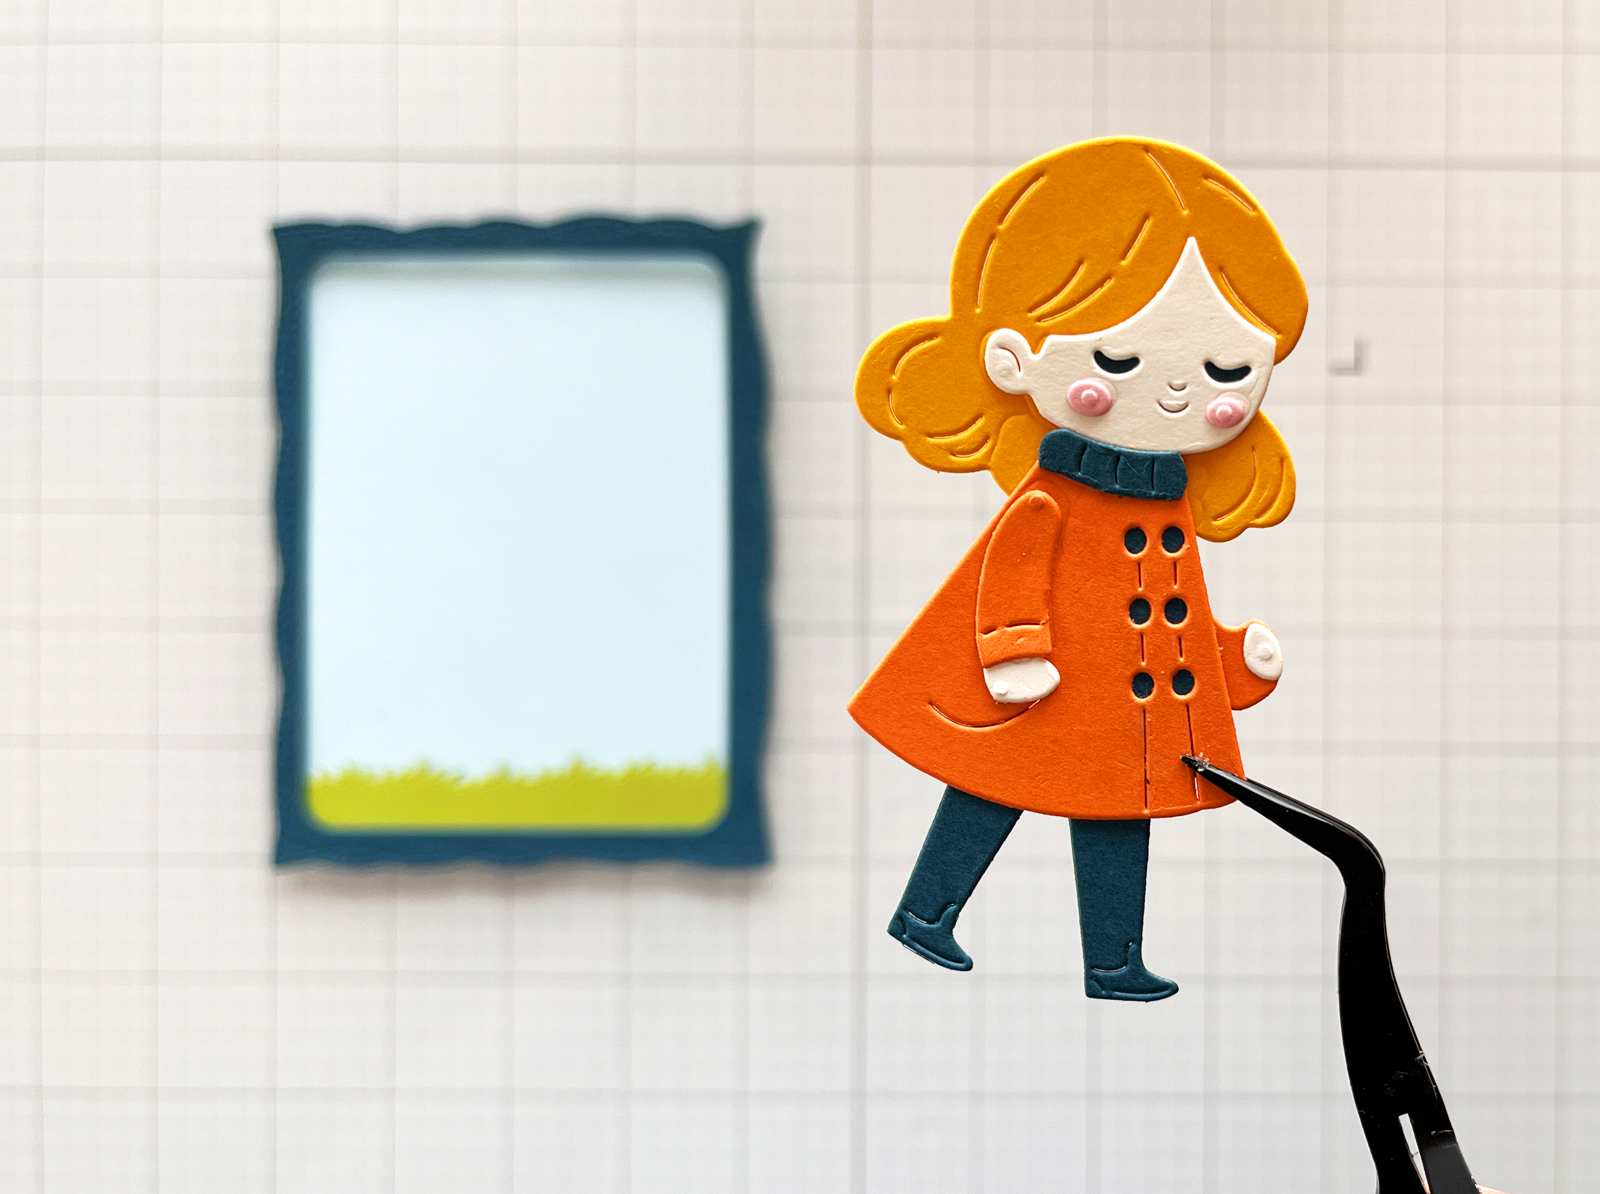
When you’re creating a scene card, try asking yourself:
What do I want my reader to notice first?
Once you know the answer, many of your other design decisions become easier.
3. Personalize the Story
One of my favorite things about handmade cards is how easily we can turn a generic character into someone.
This card is going to a friend, so I gave my little girl blonde hair and blue eyes. My friend also enjoys gardening, which made that wonderfully oversized sunflower feel especially appropriate.
Those details aren’t necessary to create a pretty card—but they make the card more personal.
And personalized cards are some of my favorites to give because they feel authentic to the recipient.
Design Takeaway: The dies give you the character. Your choices can turn that character into someone your recipient recognizes.
4. Ground Your Elements
One of the easiest ways to make a scene feel believable is to give your focal point somewhere to stand.
Something as simple as a strip of die-cut grass anchors our little girl instead of leaving her floating in the middle of the card.
I kept the background itself very simple: a pale blue sky with one fluffy cloud. Then I added the grass to begin establishing the environment around her.
Think back to our layers:
Background → Environment → Focal Point → Finishing Details
The pale blue sky establishes the background. The grass starts creating the environment. And suddenly our girl isn’t simply a die cut anymore—she’s taking a walk outdoors.
If you’d like to explore this idea further, my Sneaker Bouquet scene-card post talks more about some of the key elements I use when building scenes.
5. Add Supporting Details That Help Tell the Story

Once your focal point is grounded, you can start asking:
What else belongs in this little world?
I added a leafy tree and one wonderfully oversized sunflower.
Neither competes with my walking girl, but both help establish the setting and give the viewer more of a story to imagine.
Is she going to pick the sunflower?
Who will she give it to?
I love scene cards that leave just enough unanswered for the person looking at them to finish the story.
Quick Takeaway: Supporting elements shouldn’t just fill empty space. Give them a reason to be part of the story.
6. Layer to Create Depth
Scene cards naturally contain lots of layers, but that doesn’t mean every layer needs foam adhesive.
My scene builds from:
pale blue sky → cloud → tree trunk and grass → leafy tree canopy → focal elements → Oceanside frame
Most of those elements are glued directly to the background.
I saved low-profile foam squares for my little girl and the sunflower bloom. That subtle dimension separates them from the flatter background elements and makes it even clearer that they’re the stars of our story.
This is one of my favorite ways to add dimension without creating an unnecessarily bulky card.
7. Balance Your Composition
You don’t need a perfectly symmetrical layout for a scene to feel balanced.
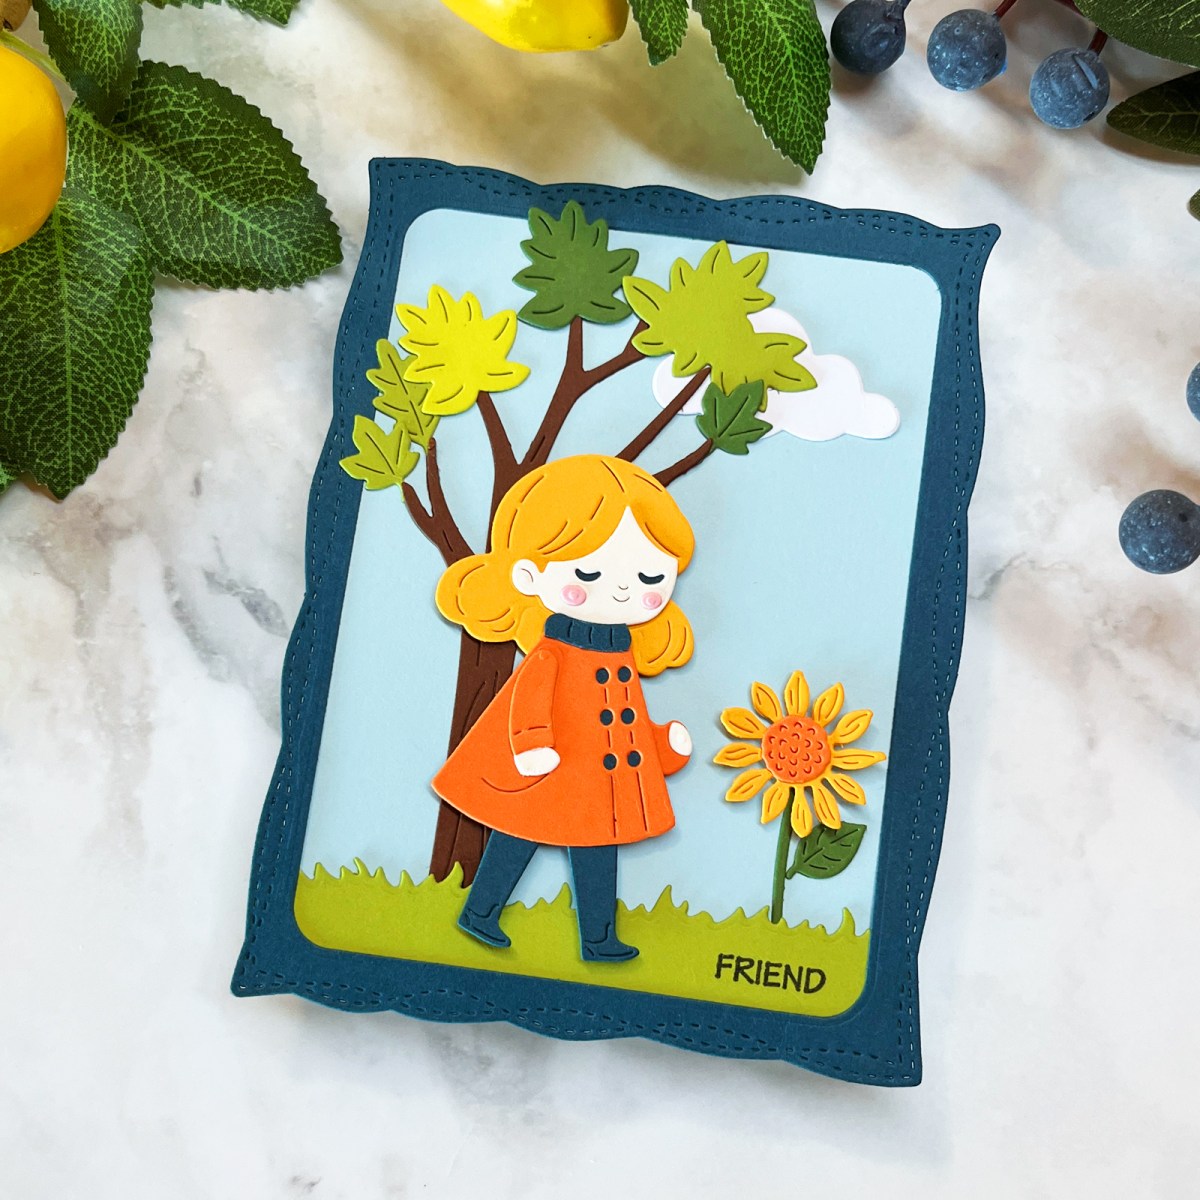
For today’s card, I used a loose triangular composition to create a natural path for the eye.
There’s actually more than one triangle at work.
The girl → sunflower → grass create a smaller focal triangle near the lower portion of the card.
Then the grass → tree canopy → sunflower form a larger triangle that helps balance the overall scene.
These don’t need to be mathematically precise triangles. They’re simply visual relationships that help move the eye around the card rather than letting it land in one spot and stop.
Design Lesson: When a scene feels slightly disconnected, look for three important visual points. Arranging them in a loose triangle can help the composition feel more balanced and intentional.
8. Keep Your Color Palette Focused
I generally work with two to five main colors. That’s enough variety to create interest without letting the color compete with the story.
Our little blonde girl wears a vivid orange coat with teal accents and teal leggings. That same teal appears again in the frame.
The sunflower echoes her clothing with orangey-yellow petals and a warm orange center.
Orange and teal do most of the attention-grabbing work, while shades of green and the pale blue sky act as supporting colors.
Repeating the dominant colors in different parts of the scene helps everything feel connected.
The finished card has plenty of color and energy, but it still feels cohesive rather than chaotic—and those warm orange and yellow focal elements immediately attract the eye.
9. Frame Your Scene
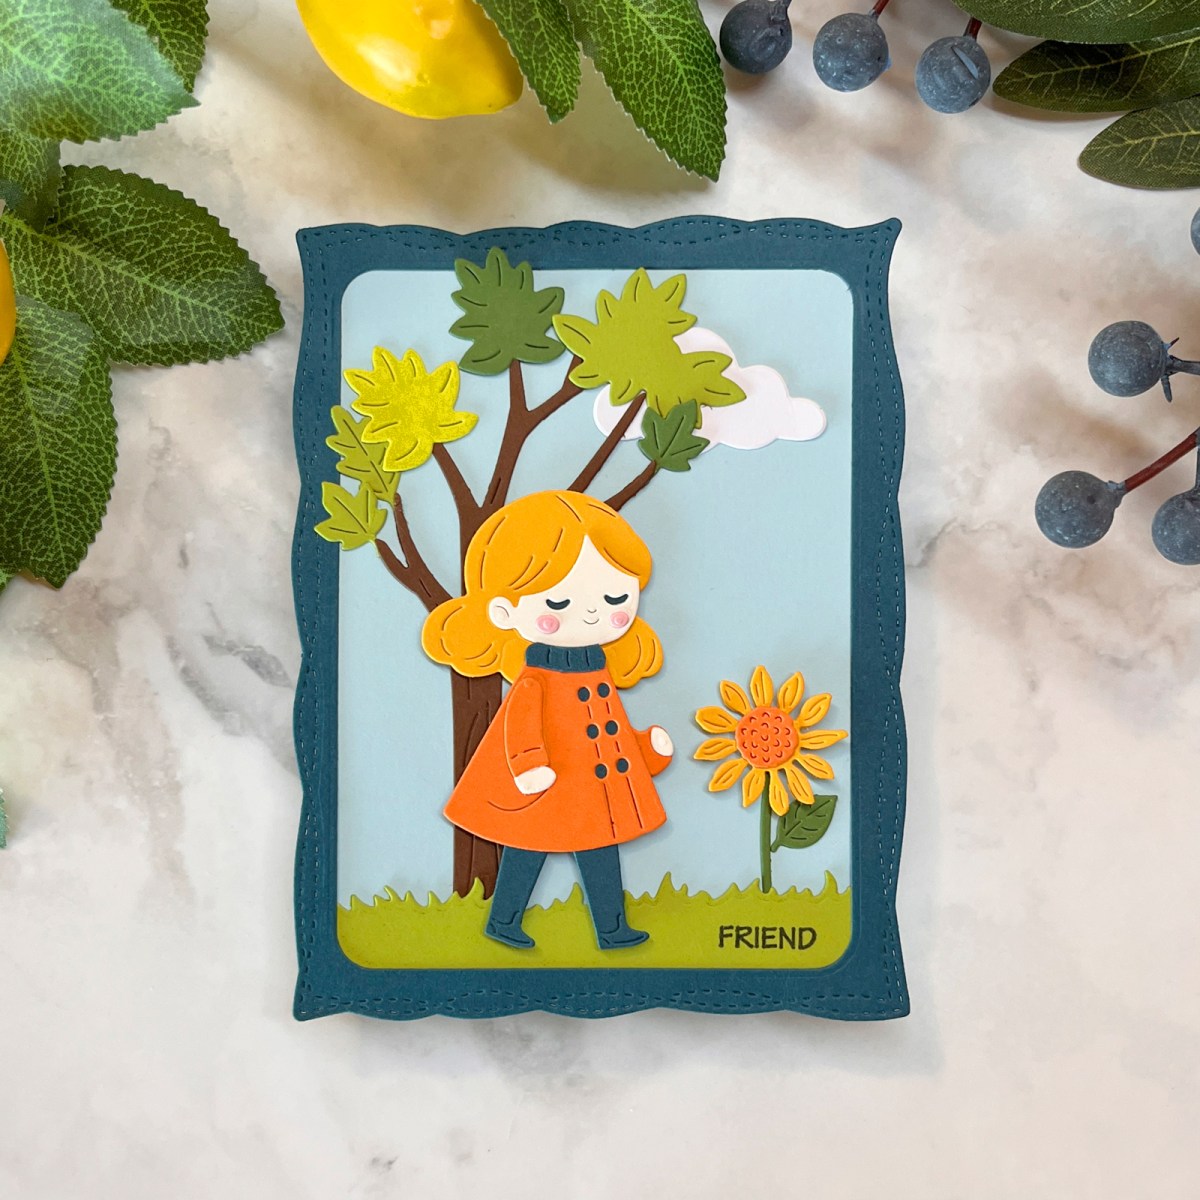
My final tip is one of my favorite cardmaking tricks: add a frame.
Frames create a visual boundary, add another layer of depth and help focus the eye on everything happening inside the scene.
That crisp edge can also make a collection of individual die cuts suddenly feel like one finished composition.
For today’s card, I created a whimsical teal frame with the Playful Stitched Die Set. The Oceanside cardstock repeats the teal from my focal point, helping pull the entire design together.
If you enjoy creating little die-cut worlds, you might also enjoy my How to Create a Whimsical Die-Cut Village post.
And for more scene-building inspiration, visit my Best Scene Card Ideas collection.
Supplies Used
Dies
- Spellbinders September 2026 Large Die of the Month Kit
- Playful Stitched Panels and Frames Dies
- Rounded Rectangle Infinity Dies
- ColorWheel Swatching Dies
Paper
Favorite Cardmaking Staples
I keep a larger list of the tools and supplies I reach for regularly in 14 Best Cardmaking Supplies and Products for 2026.
Build a Little World—and Give It a Story
That’s what I enjoy most about creating die-cut scene cards.
We’re not simply arranging die cuts. We’re building a little world and deciding what story happens inside it.
On today’s card, a girl is taking a walk on a beautiful day. There’s a giant sunflower growing beside the path. Maybe she’ll pick it. Maybe she’s bringing it to someone special.
The dies gave me the pieces.
Color, composition and a few personalized details gave me the story.
What story do you see when you look at this little scene? I’d love to hear what you imagine in the comments.

This was very helpful. Thank you