
Ideas, Variations and Inspiration for your Christmas Cards.
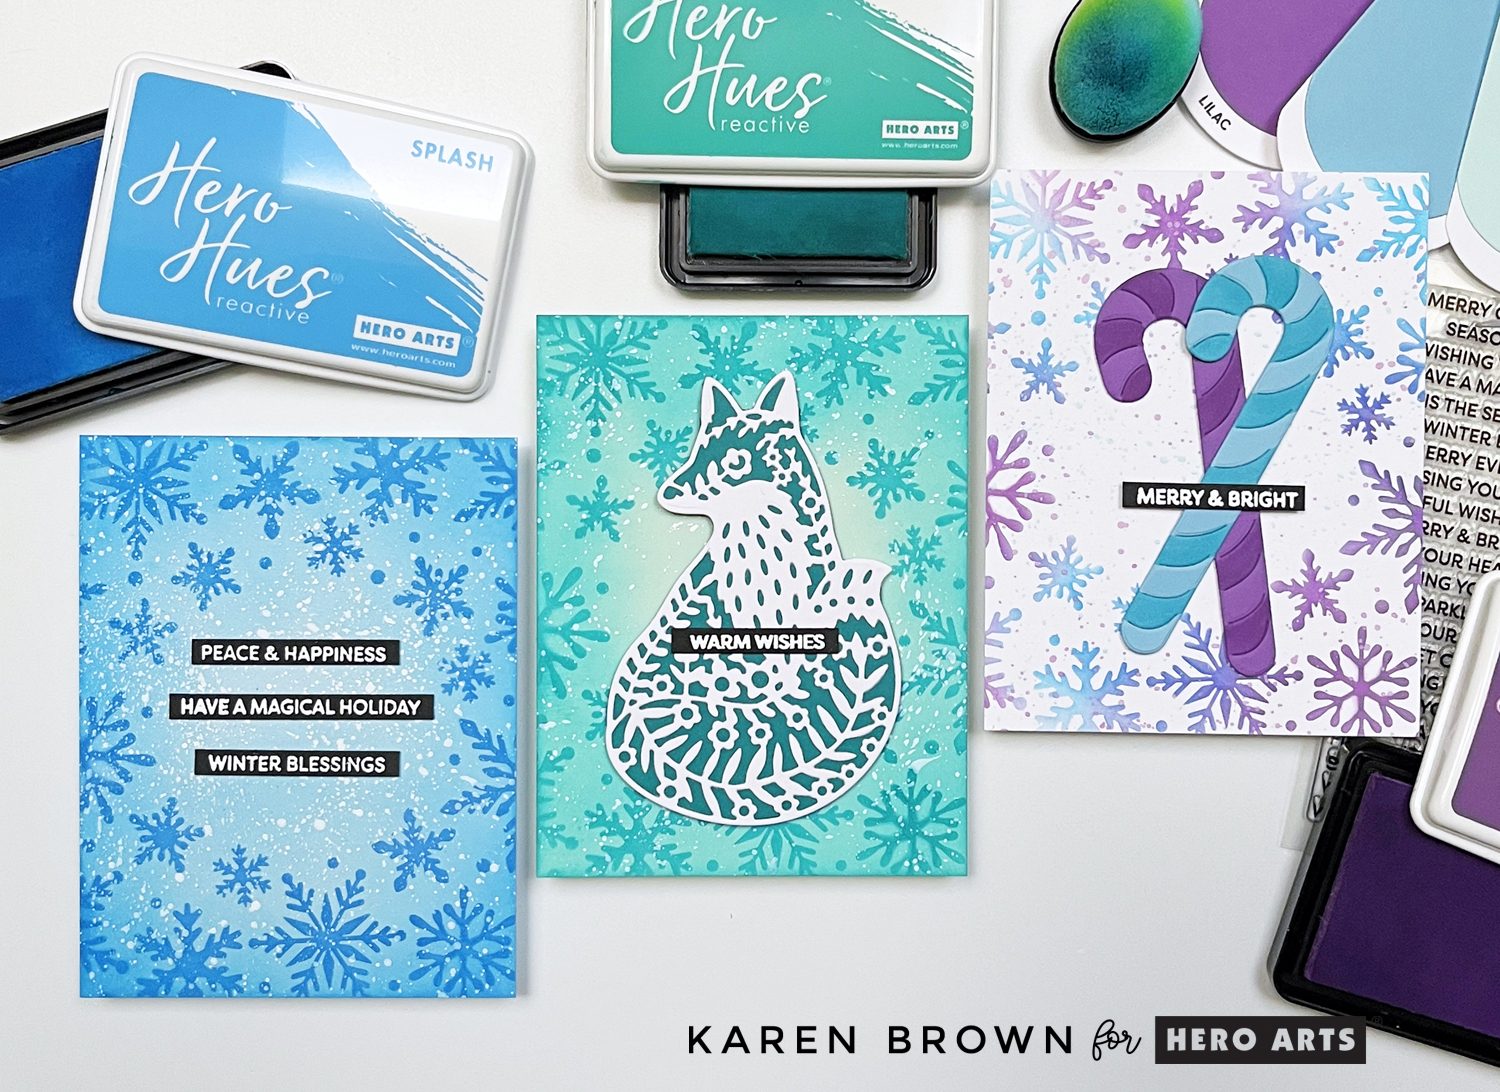
I’m sharing a few ideas for mass-producing holiday cards without sacrificing creativity or style. I came up with four easy-to-replicate prototypes using just a handful of supplies.
👉 By sticking with the same core products, you can either make identical cards quickly or mix and match small details to keep things interesting — perfect for batch crafting during the busy holiday season!
In This Post
- How to Create Quick and Easy Backgrounds
- How I Mass Produce Christmas Cards
- Tips For Getting Crisp Heat Embossing Results
- My Favorite Christmas Sentiments
- Stenciling Ideas
Version 1 & 2: Simple Stenciled Sentiment Strip Cards

For the first two designs, I focused on quick and easy backgrounds using a Snowflake Stencil. The stencil I used is an old favorite, but is discontinued. You could use a favorite stencil from your stash…that is what I like to do.
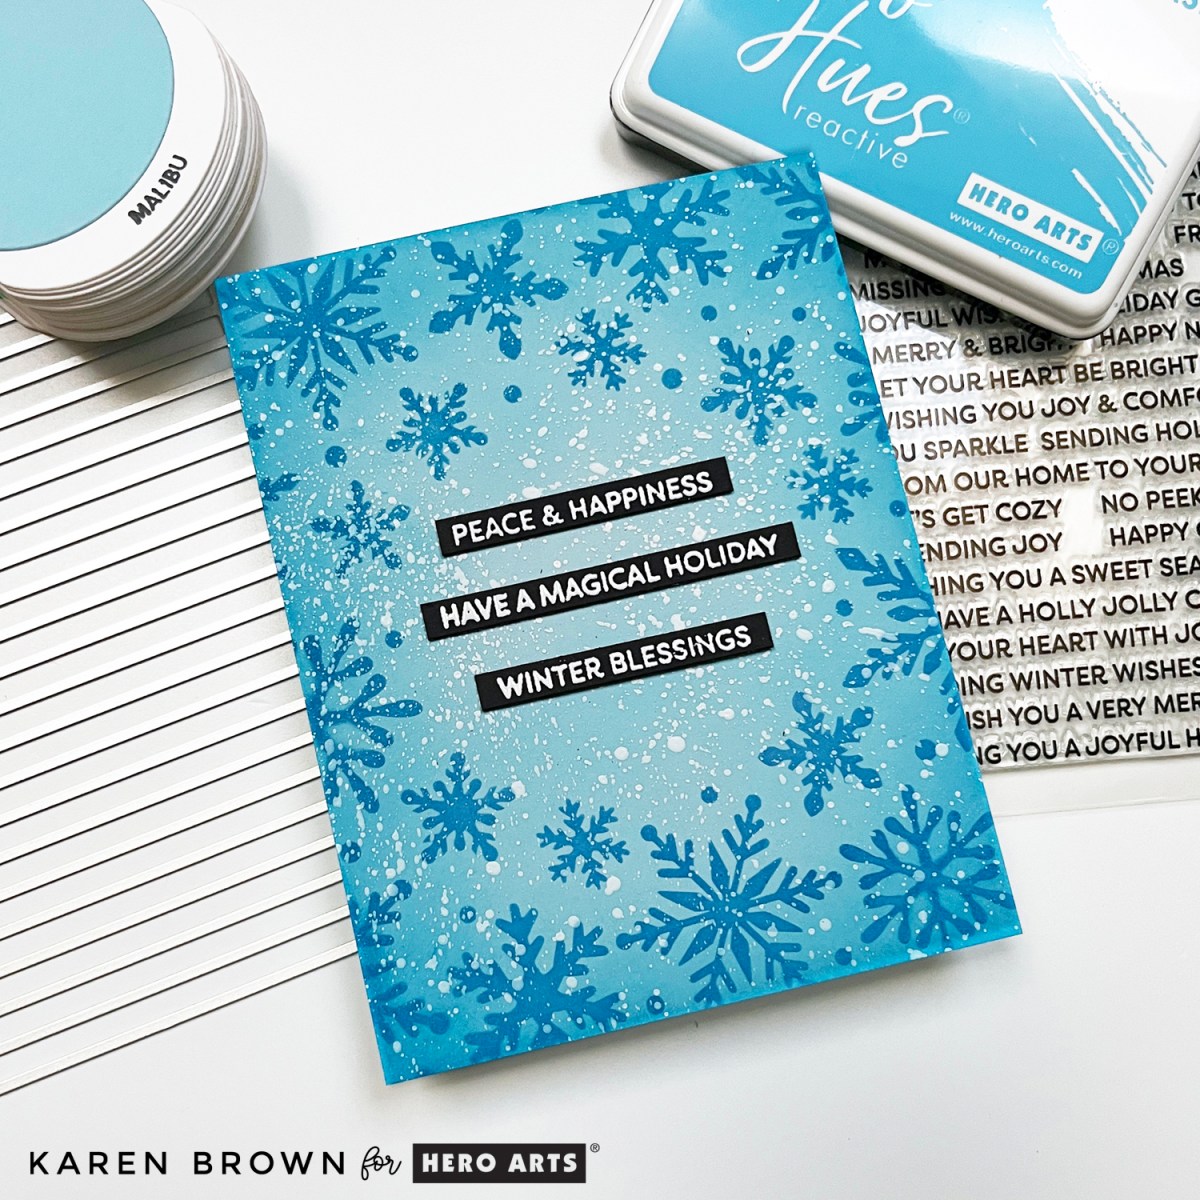
- Version 1: A trio of sentiment strips in blue.
- Version 2: One sentiment strip in teal.
My Mass Production Process
- Pre-trim all your background panels to A2 size (4¼” x 5½”). Pre-cutting saves time and prevents waste…no need to stencil cardstock you will be trimming off.
- Stencil your backgrounds with one or two ink colors.
- Optional: Ink blend around the edges for extra depth. I used the same color ink for the stenciling and edge ink blending.
- Add splatters — I used a fan brush and undiluted acrylic speckle inside a splatter box. It can help to tilt and rotate your panel for more uniform splatters.
- Stamp and die cut your sentiment strips (I line up my die in the center for even spacing). I have more specific heat embossing comments below.
- Assemble your cards! Add focal points if desired.
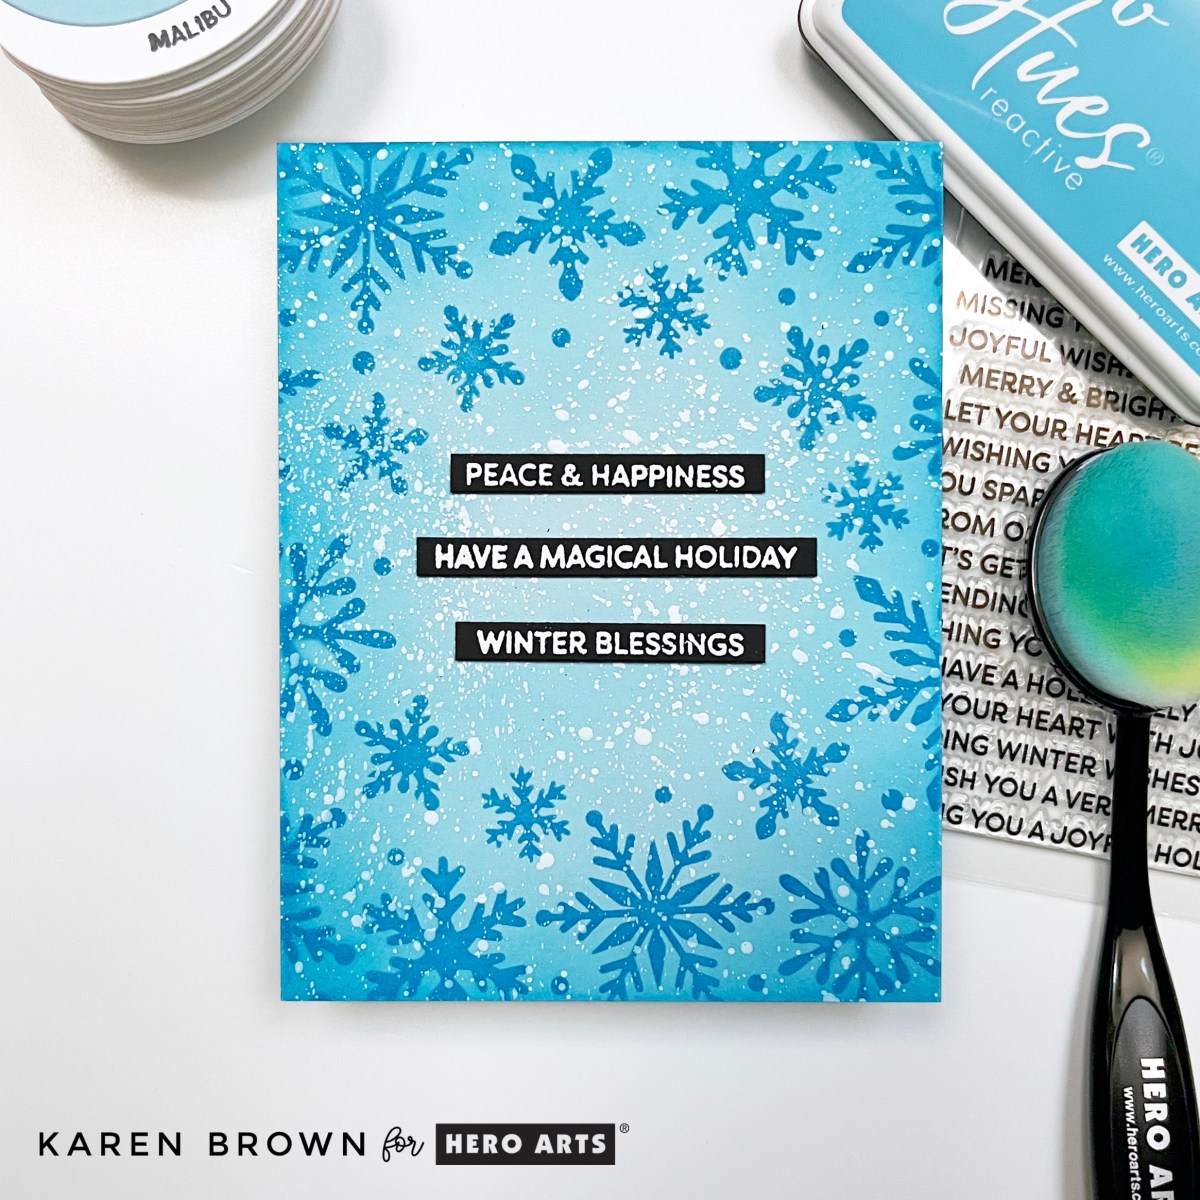
Card 1 uses Malibu ColorWheel Cardstock as the base and then Splash ink for the stenciling and ink blending around the edges.

I wanted to include a process photo of my stenciling with my background pre-cut to an A2 panel (4 1/4″ x 5 1/2″)
Best Way to Heat Emboss Sentiments on Black
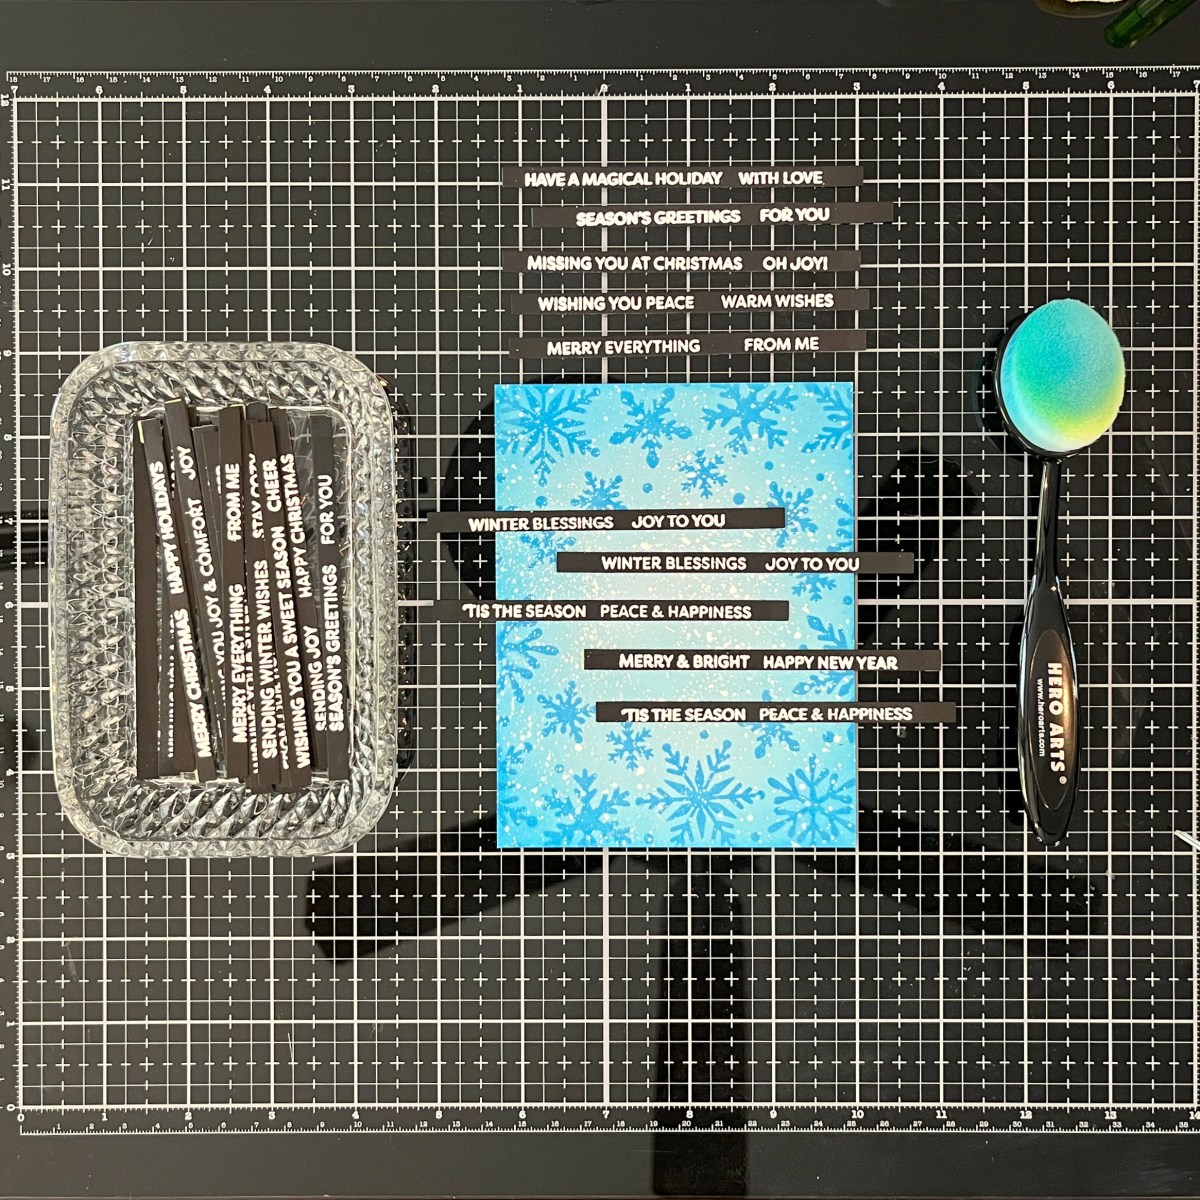
I stamped and heat embossed the sentiments in Unicorn White ink with White Embossing Powder on Pitch Black Cardstock I find this gives the best white on black results.
💡 Tip: Keep a clear envelope filled with pre-made sentiments — it saves time and helps visualize design options.
I also love Everyday Sentiment Strips 2, a versatile all occasion stamp set.
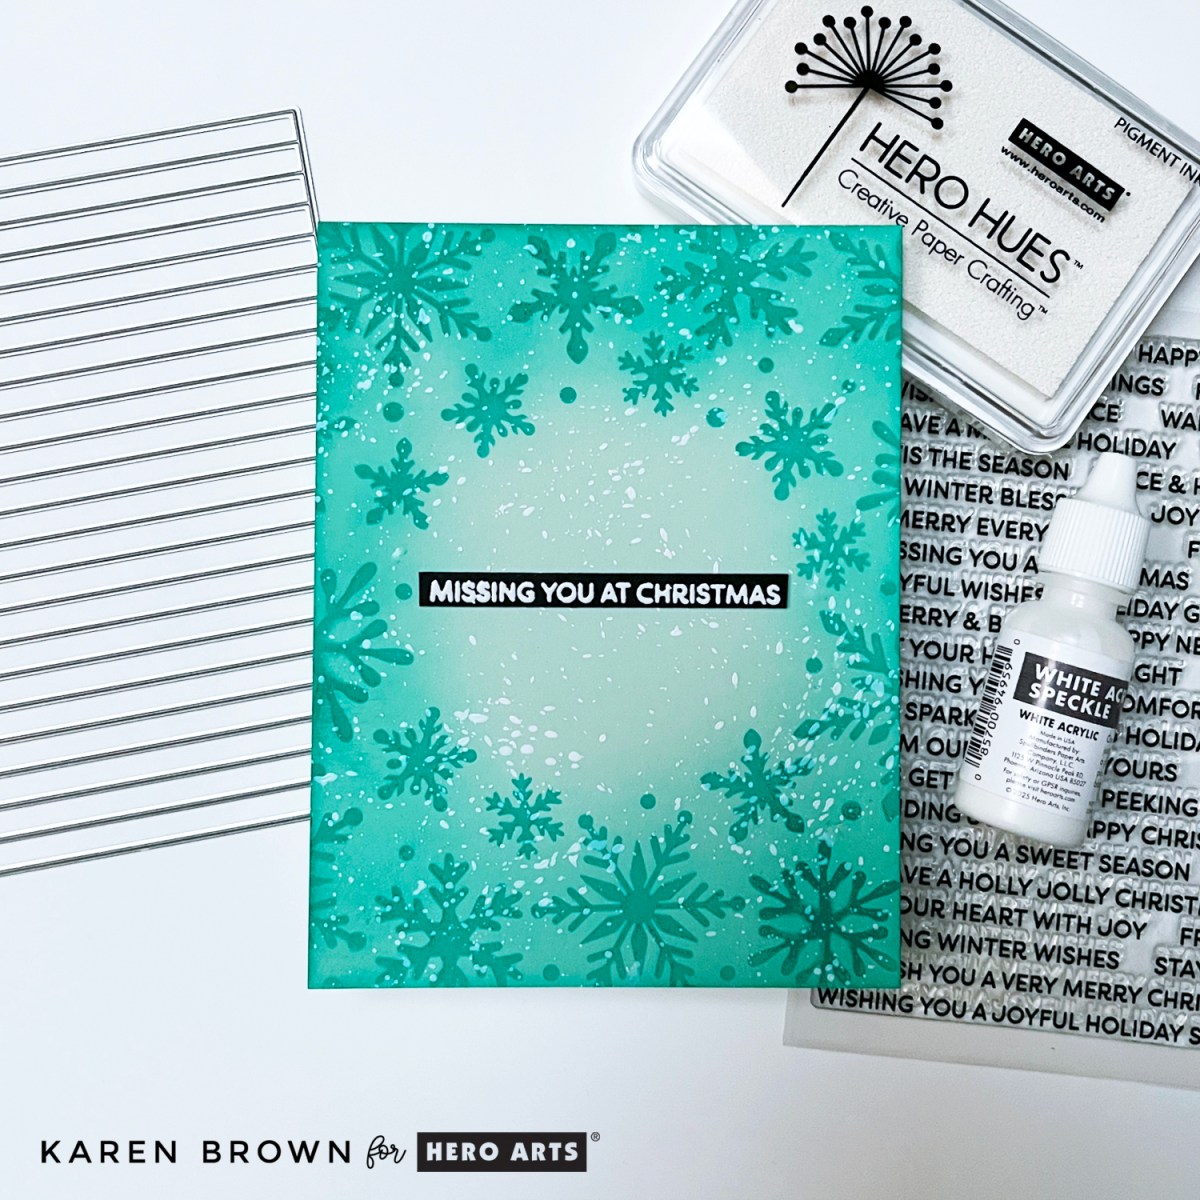
Card 2 uses Seaside ColorWheel Cardstock blended with Blue Raspberry Ink, topped with white splatters for a snowy finish.

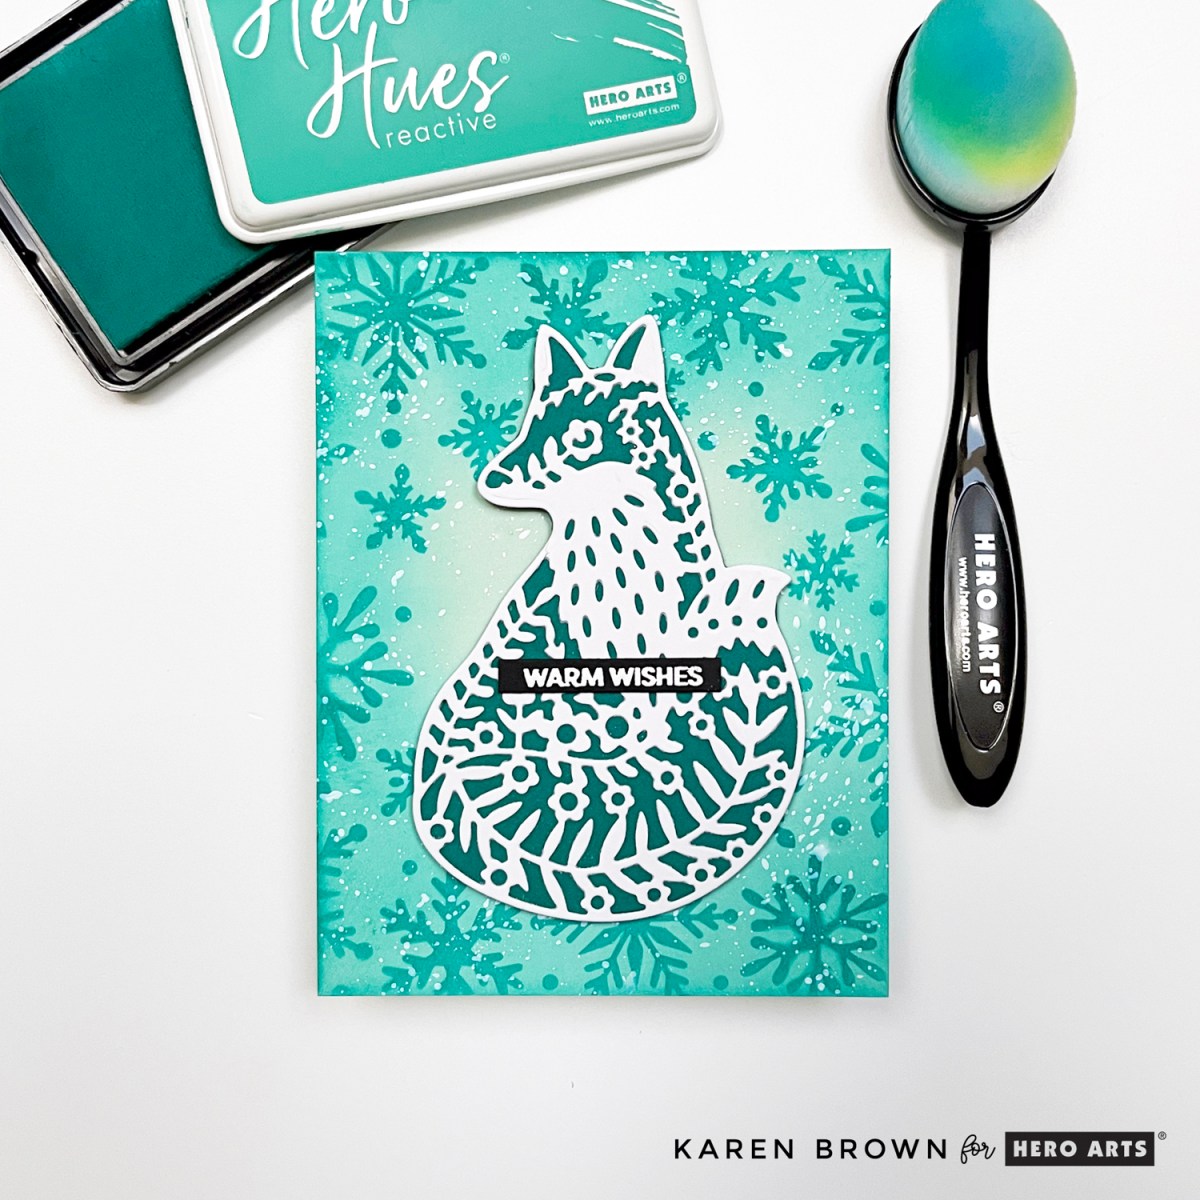
Version 3: Add a Focal Point
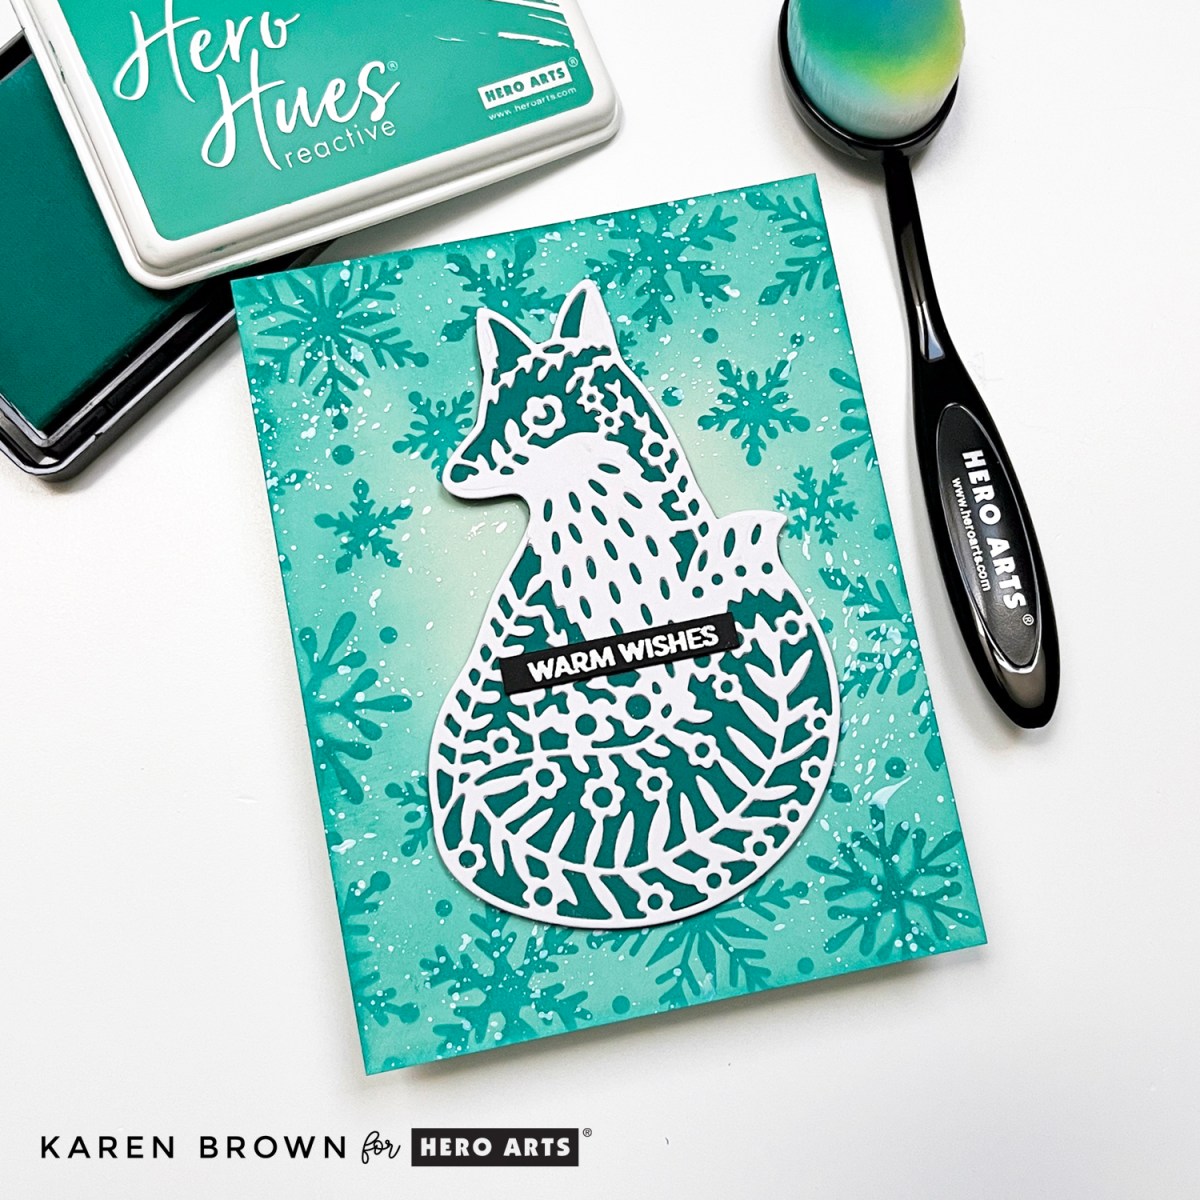
Next, I wanted to show how easy it is to step up a stenciled card by adding a die-cut image. For this design, I stenciled Blue Raspberry Ink over Seaside ColorWheel Cardstock, then added a Folk Fox die cut layered on Blue Spruce Cardstock.
It’s amazing how one small element instantly adds charm and depth!
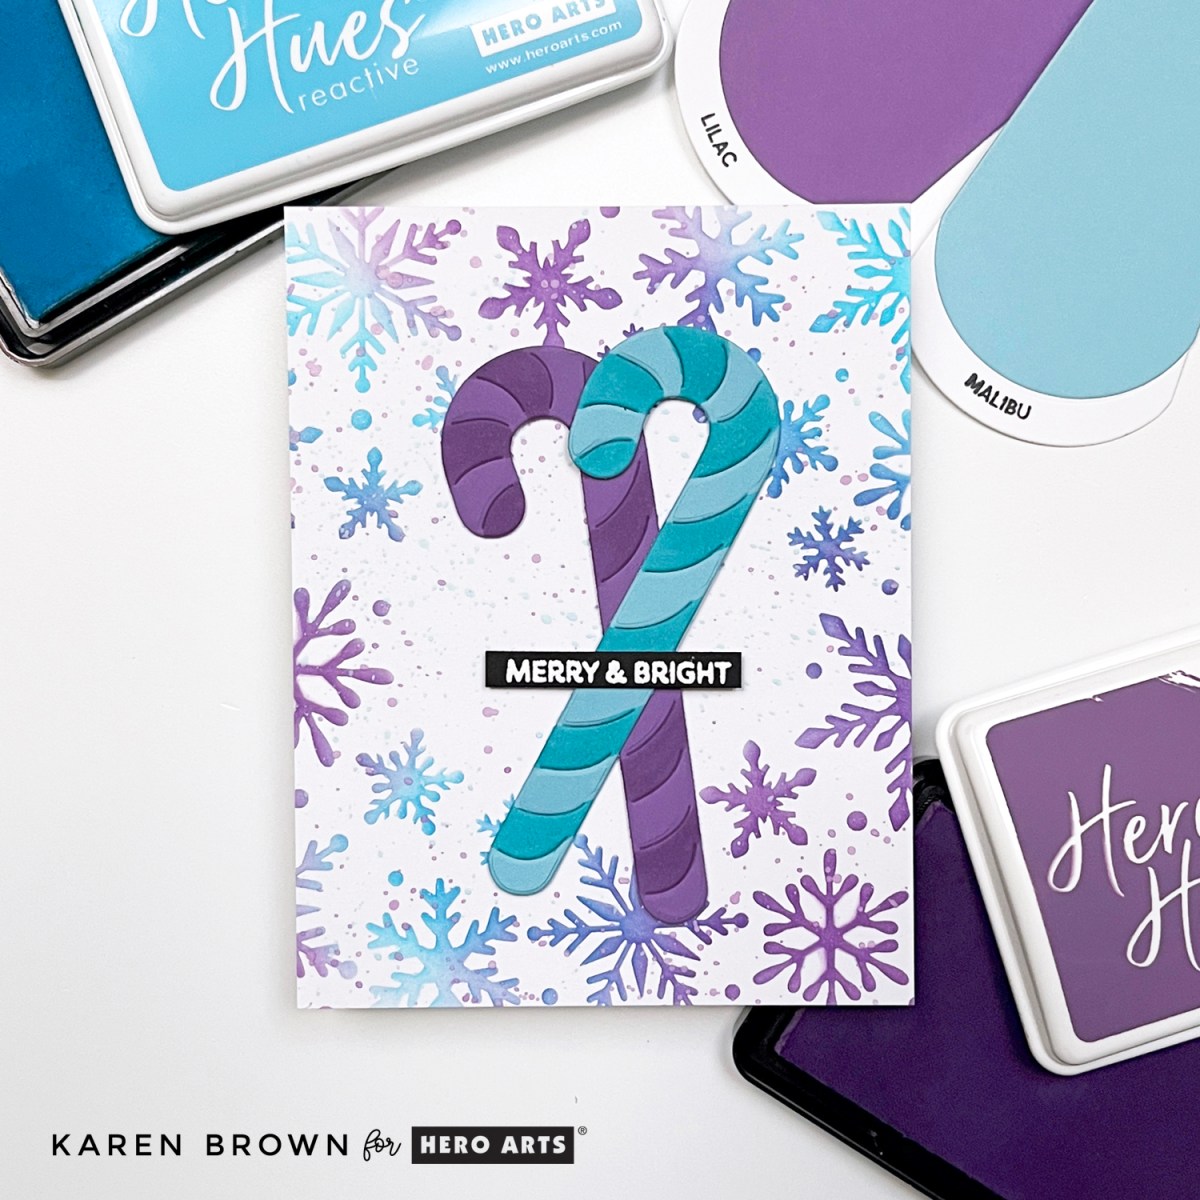
Version 4: Two-Tone Stenciling for Extra Interest

For the final variation, I reached for white smooth cardstock and inked the snowflakes with Splash and Grape Slush inks for a cool two-tone look. I made sure to overlap the colors during my stenciling.
I added Candy Canes (these are similar…the ones I used are discontinued), coloring them with alcohol markers for a playful pop. Then, I custom tinted my white splatter with a few dabs of the same inks and water — a fun way to make coordinated splatters that tie your color palette together.
Why This Process Works:
- Easy to create backgrounds
- Ideas for simple variations
- Using batch made sentiments
- Easy to use cost effective supplies
Other Posts You Might Enjoy:
- 14 Best Cardmaking Products & Supplies for 2026
- Best Cardmaking Subscription Kits | 2026 Guide
- Hero Arts Stenciled Front Door Chrismas Card
- 5 Steps I Use on Almost Every Card
🎄 Final Thoughts
Mass-producing holiday cards doesn’t have to mean making identical designs. With a few key supplies and small creative variations, you can build a cohesive set that still feels fresh and handmade.
Which version is your favorite? Let me know in the comments below!


3 thoughts on “My Favorite Ways to Batch-Make Christmas Cards | 4 Versions”