New to cardmaking? This beginner-friendly starter kit covers the essential tools and supplies you actually need—no overwhelm, just simple, effective products to help you start creating beautiful handmade cards.
3 Mixed Media Layers to Try (Beyond the Basics Techniques That Actually Work)
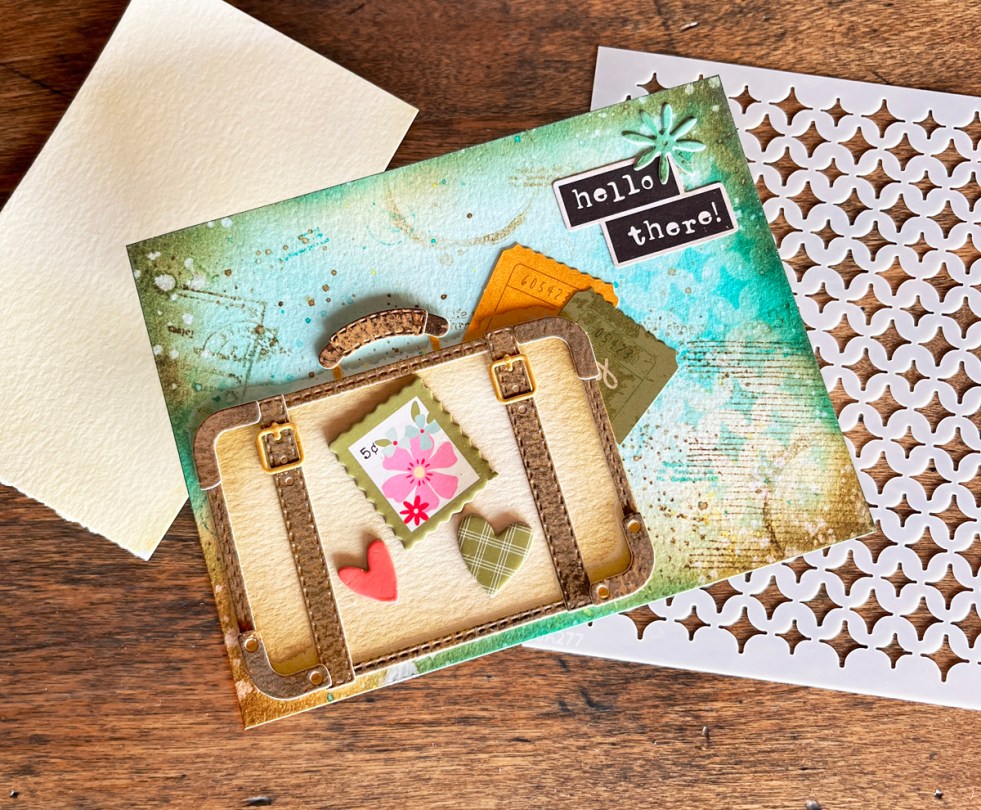
Ready to take your mixed media to the next level? In this post, I build on my “Fab 4” layering techniques and introduce three additional layers that add texture, depth, and artistic detail—perfect for transitioning from beginner to more confident mixed media designs.
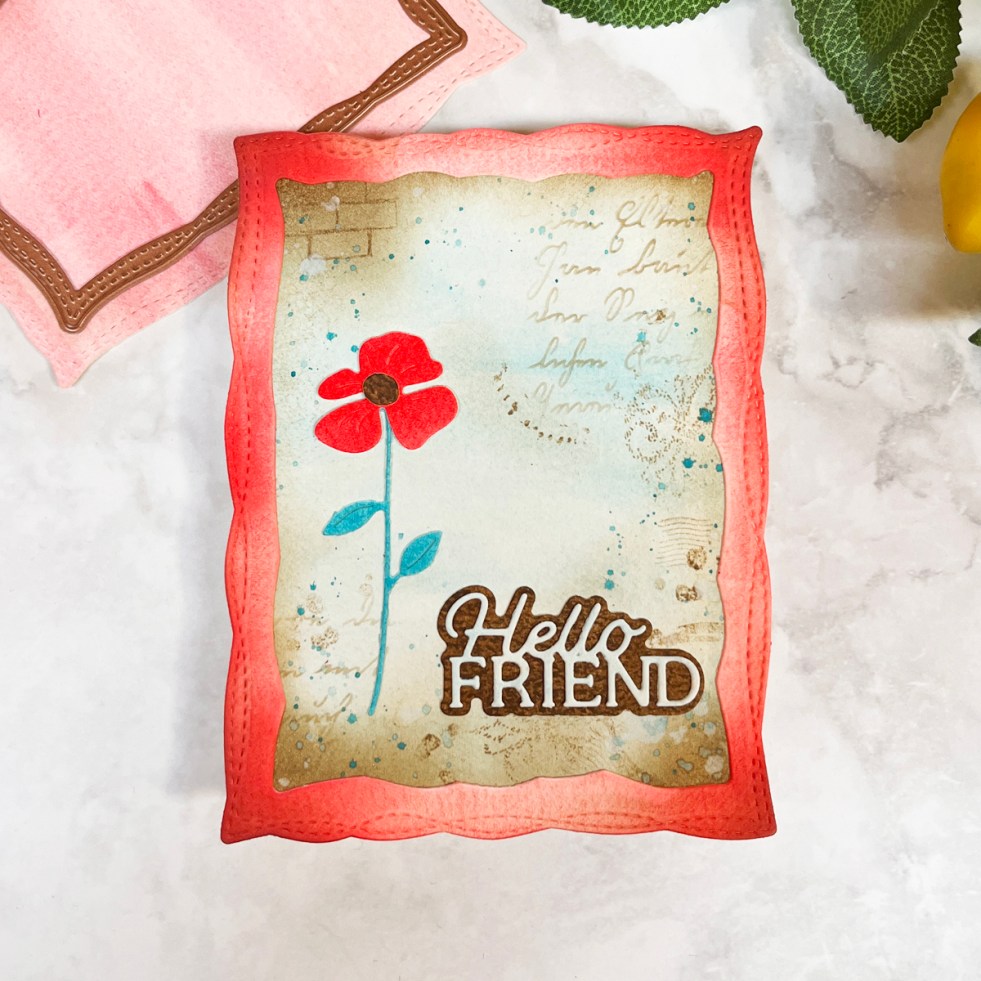
Mixed Media Made Simple: Easy Watercolor Background Panels
Learn how to create easy watercolor background panels for mixed media cards using a simple wet-on-wet technique. This beginner-friendly tutorial includes layering tips, color guidance, and a floral die-cut focal point.
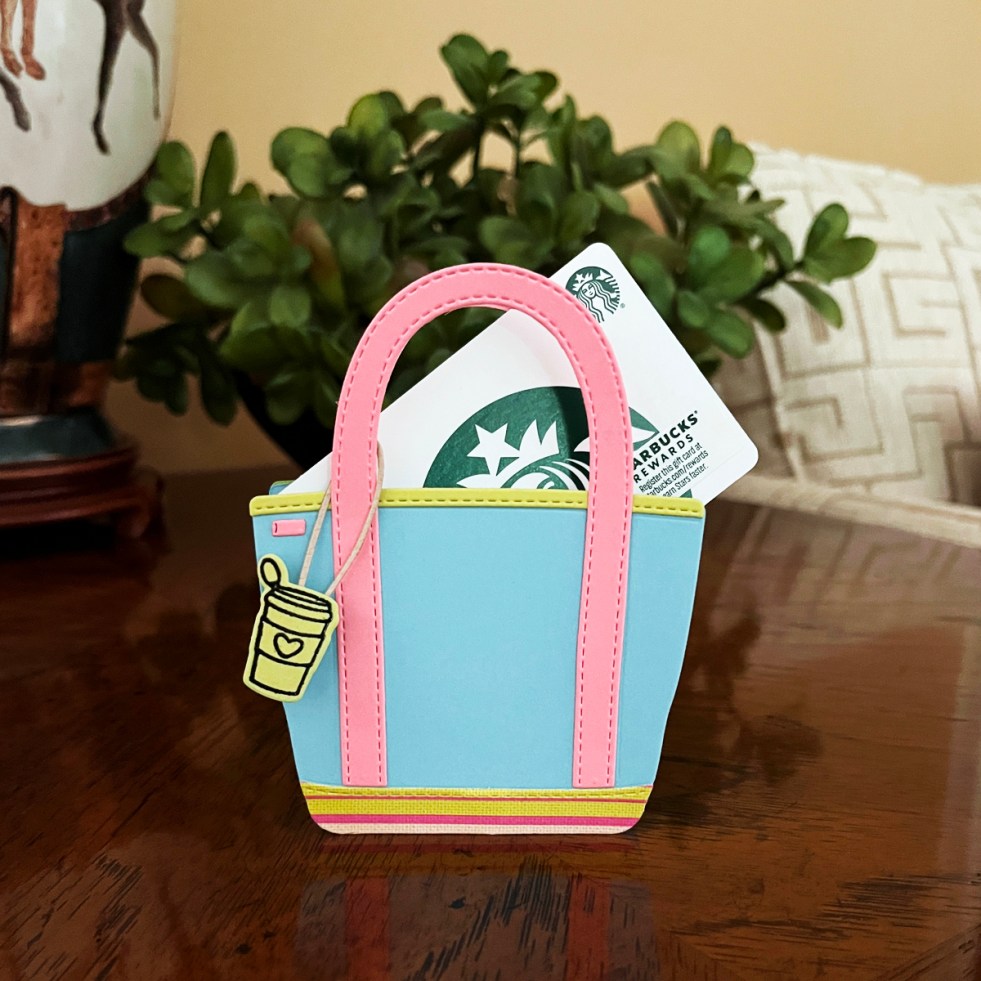
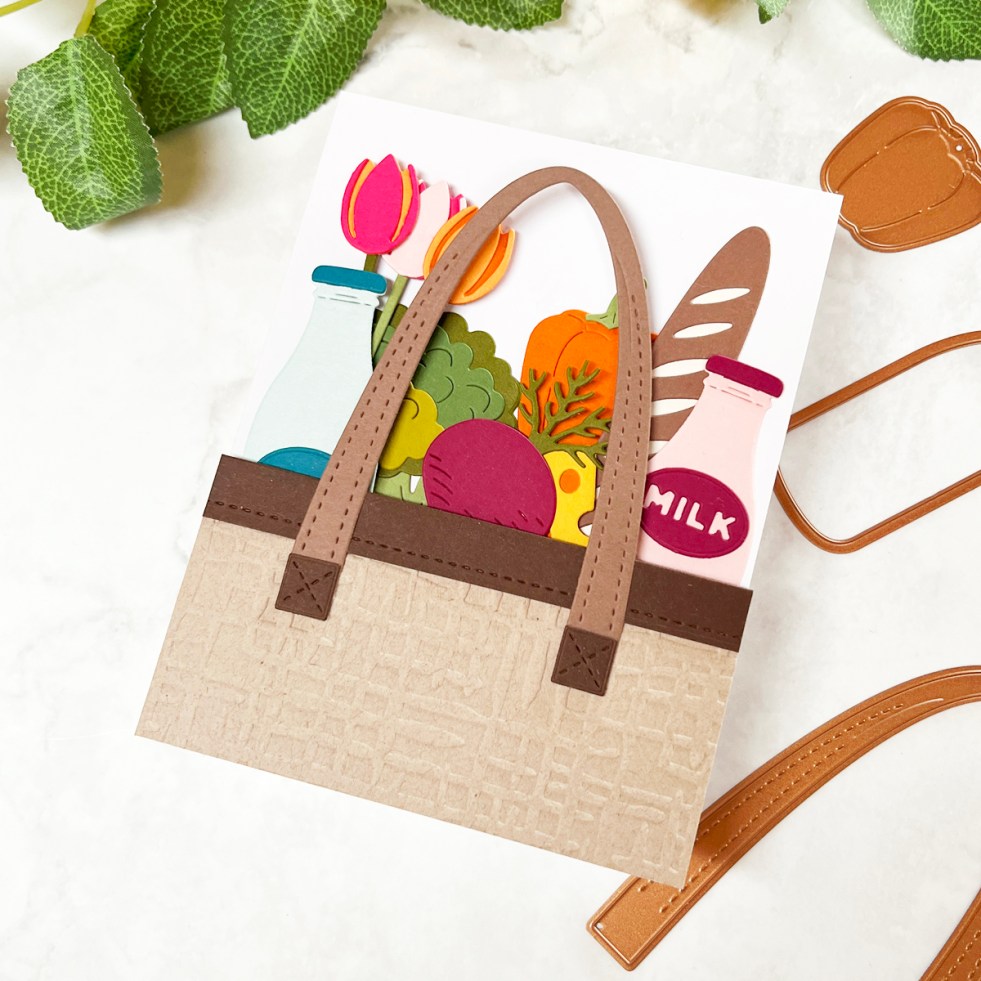
How to Create a Dimensional Die-Cut Tote Bag (That Doubles as a Gift Card Holder)
Learn how to create a dimensional die-cut tote bag that doubles as a unique gift card holder. This beginner-friendly papercraft project is customizable, display-worthy, and perfect for any occasion.
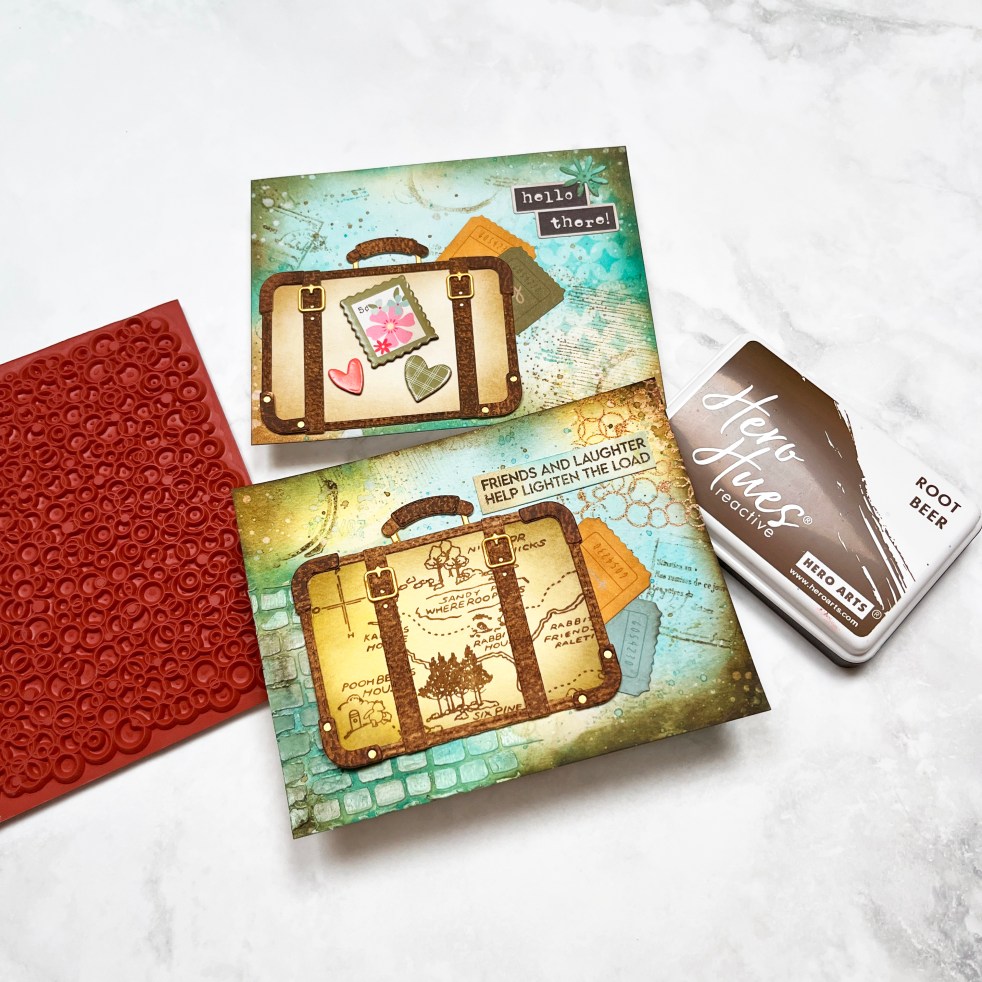
Mixed Media Layering Made Simple: The 4 Layers I Use on Almost Every Project
Learn how to build beautiful mixed media card backgrounds using four simple layering techniques. This beginner-friendly guide walks you through stenciling, stamping, distressing, and splattering to create depth and cohesion in your handmade cards.
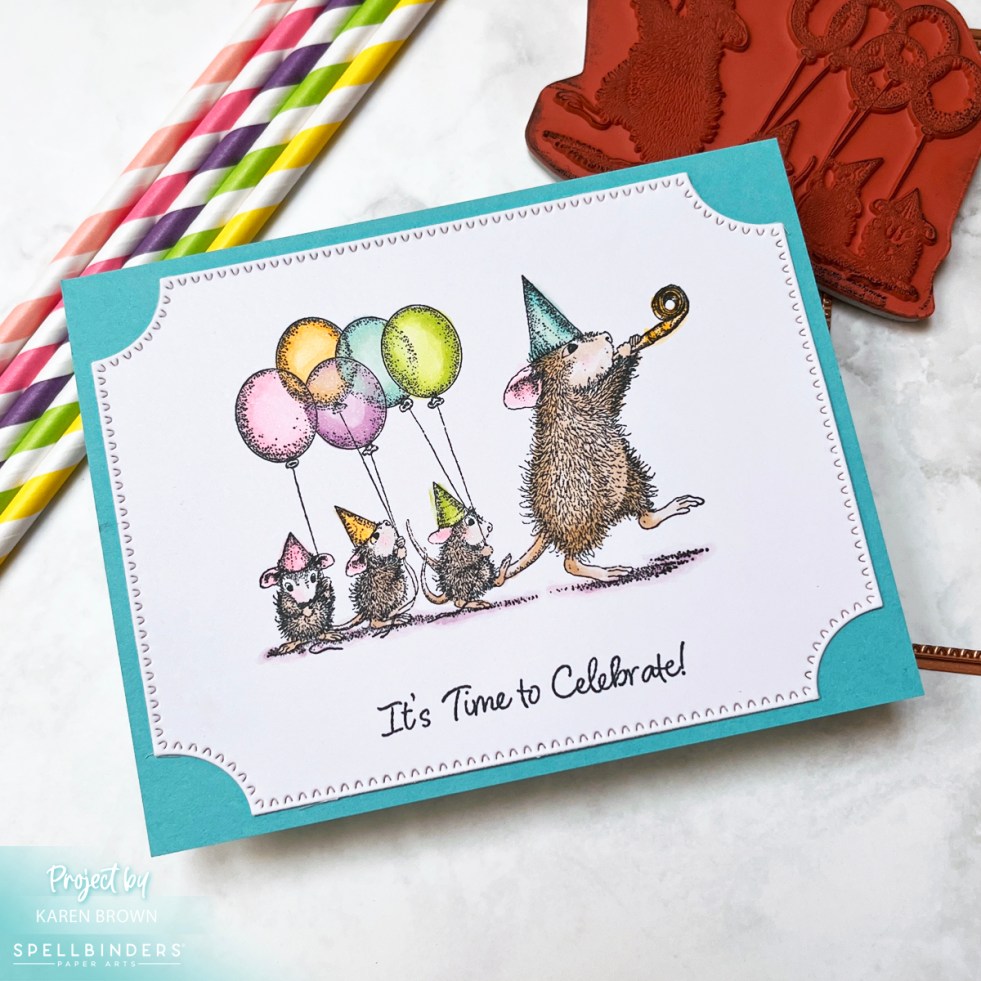
How to Make a Simple Birthday Card for Beginners (Adorable House Mouse Card)
Learn how to create an easy handmade birthday card using the adorable House Mouse Party Parade stamp set. This beginner-friendly card requires minimal supplies and comes together quickly with stamping and simple coloring.
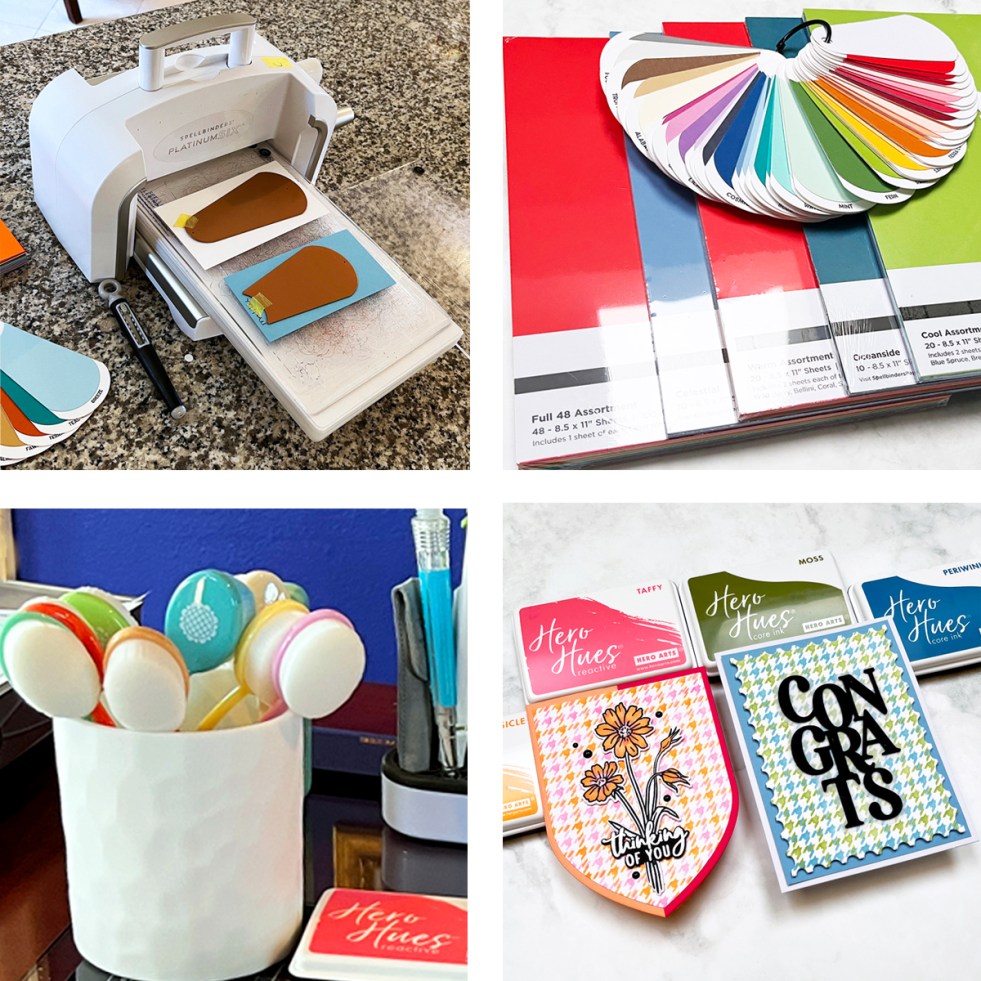
Best Cardmaking Kit Subscriptions (2026 Guide) | My Favorite Craft Kits
Discover the best cardmaking subscription kits for 2026 including Spellbinders and Hero Arts monthly clubs. This guide shares the kits I personally use, the value they offer, and why subscription craft kits are a great investment for cardmakers.
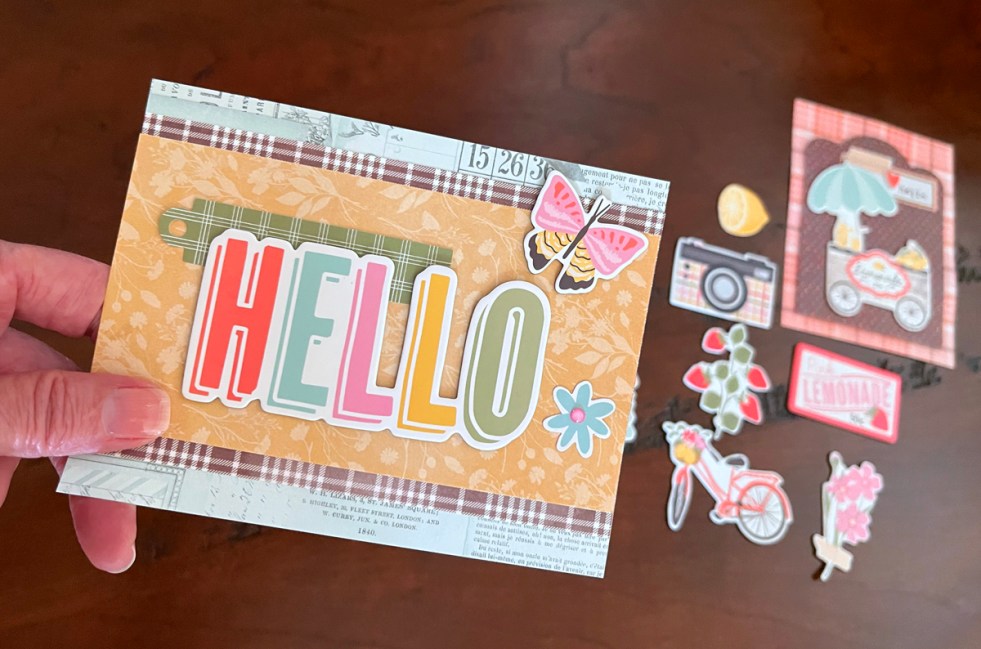
Easy Beginner Cardmaking Ideas | 2 Bright Cards Using Pre-Printed Supplies
Create quick and cheerful handmade cards using pre-printed supplies from the Pink Lemonade collection. This beginner-friendly cardmaking tutorial shows how to design bright layered cards with minimal tools and simple layouts.
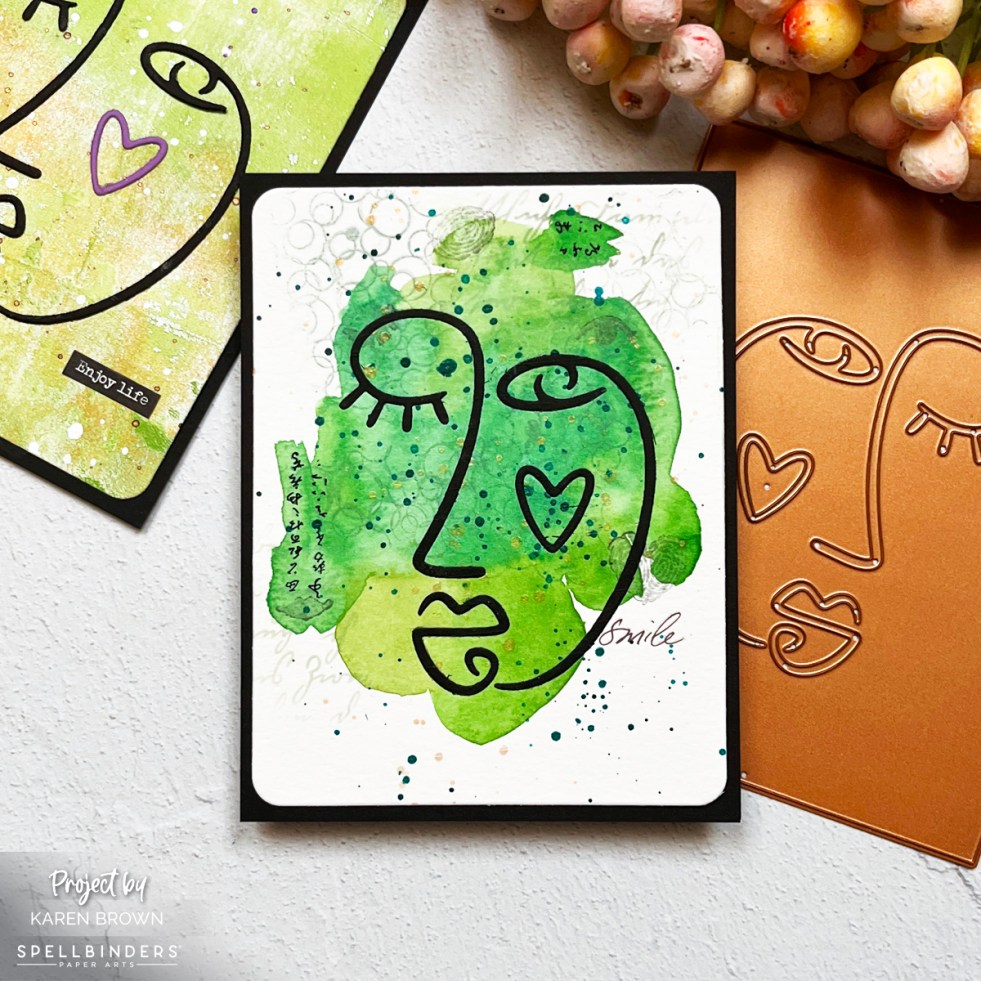
3 Easy Mixed Media Cards for Beginners | Line of Being Die
Explore three mixed media “lite” cards featuring the Line of Being die set. From hand-painted watercolor backgrounds to gel press prints, see how one dramatic focal point transforms three completely different artistic styles.
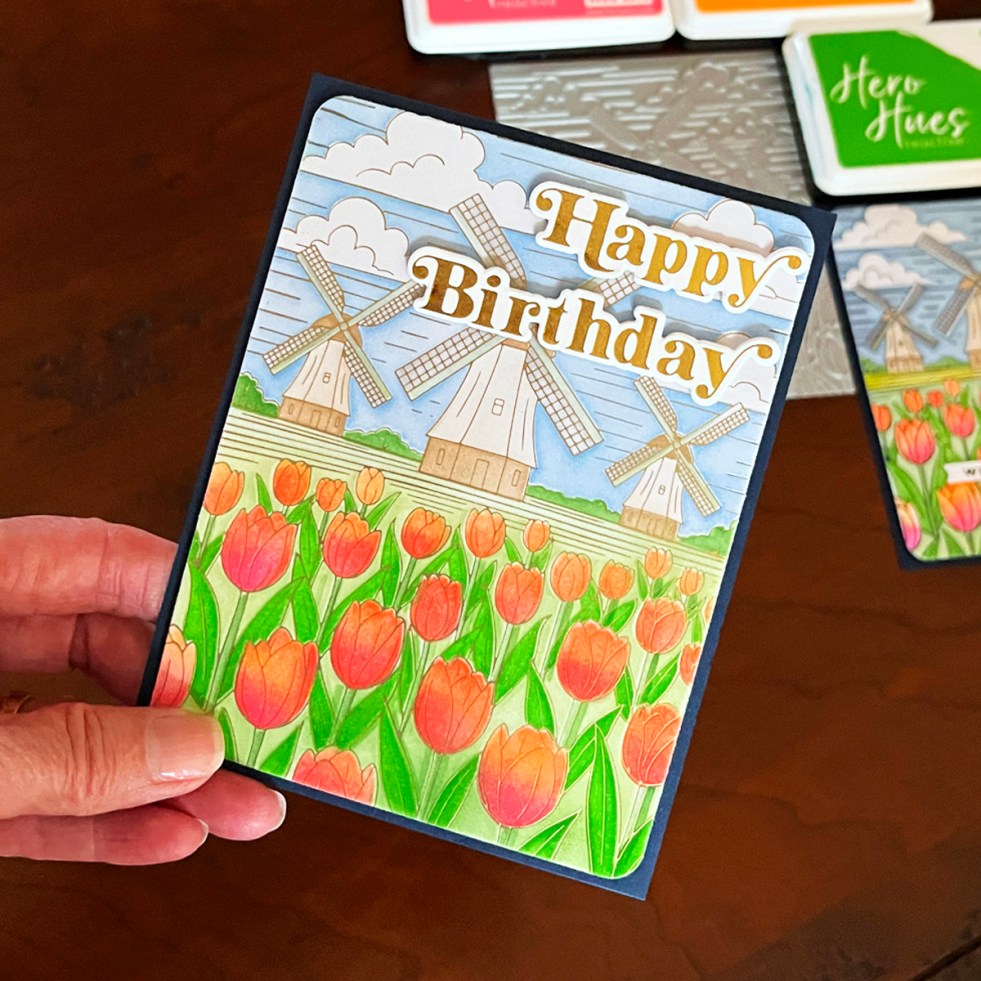
How to Create a Stunning Foiled Floral Card with Ink Blending (Frame-Worthy Results!)
Create a vibrant, eye-catching handmade card using hot foiling and stencil blending. This colorful windmill and tulips design is perfect for Mother’s Day, birthdays, or sympathy cards. See how black foil and satin gold foil create two completely different looks — plus tips for masking stencils, fixing crafting mishaps, and achieving beautiful foil results.
