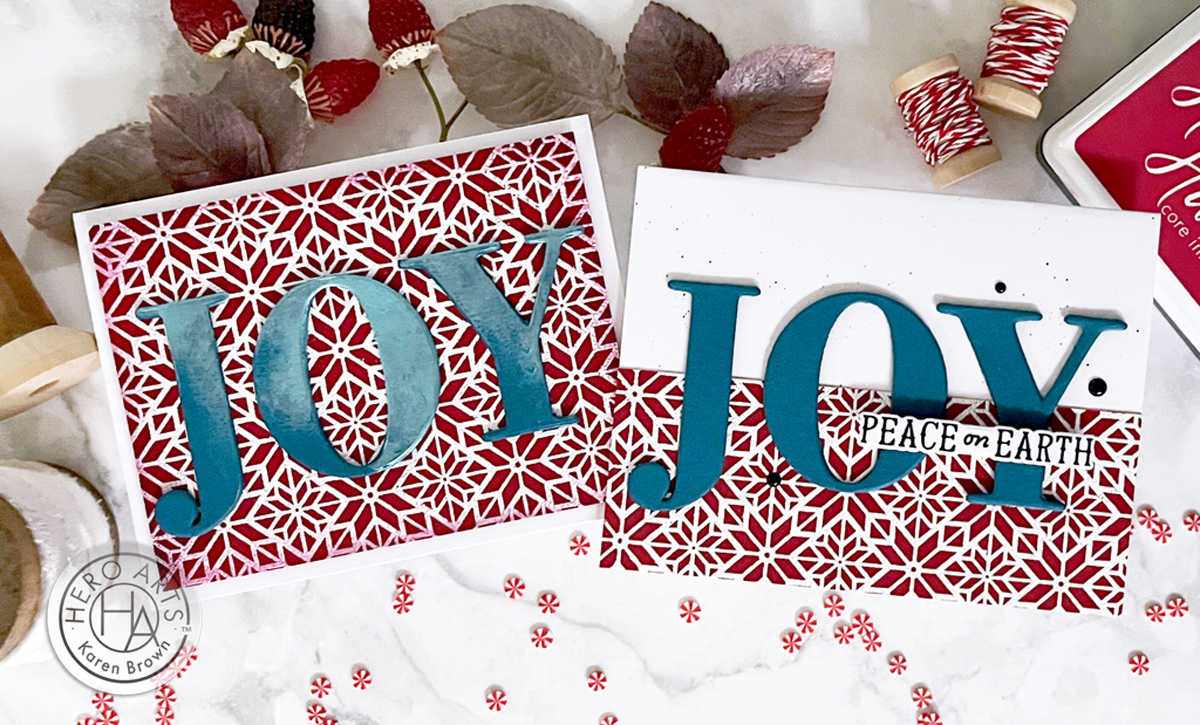
Hello, Karen Brown here from kennyscard.com and today I’ve got two projects with BOLD heat embossing that practically pops off the card! Heat embossing definitely adds that wow factor to your cards and it is always a fan favorite.
Today I am using the lovely new Abstract Poinsettia Pattern Cling stamp on both my cards. With a red rubber cling stamp and a bit of heat, you can create raised glossy designs that catch the light beautifully. Embossing give cards a tactile element that feels luxurious and makes your creations stand out.
Abstract Poinsettia Pattern 2 Ways
Let’s get started!
- For both cards, I started by creating my backgrounds. I applied my anti-static powder tool to a 6″ x 6″ panel of Cranberry cardstock. I always like to take a clean flat brush and move the powder around the cardstock before I start stamping.
- Using my StampWheel, I stamped the Abstract Poinsettia Pattern background stamp with Unicorn Pigment Ink and then heat set with White Embossing Powder. I use this double white combination when I want really bright white embossing. I let my heat tool warm up for 3 minutes so it was good and hot.
- I die cut my JOY sentiment three times from Adriatic Cardstock and then glued the stacks together for nice dimension.
- J, O and Y Letter Dies. J (letters F-N), O (letters O-R), Y (letters/symbols W-Z and ?)
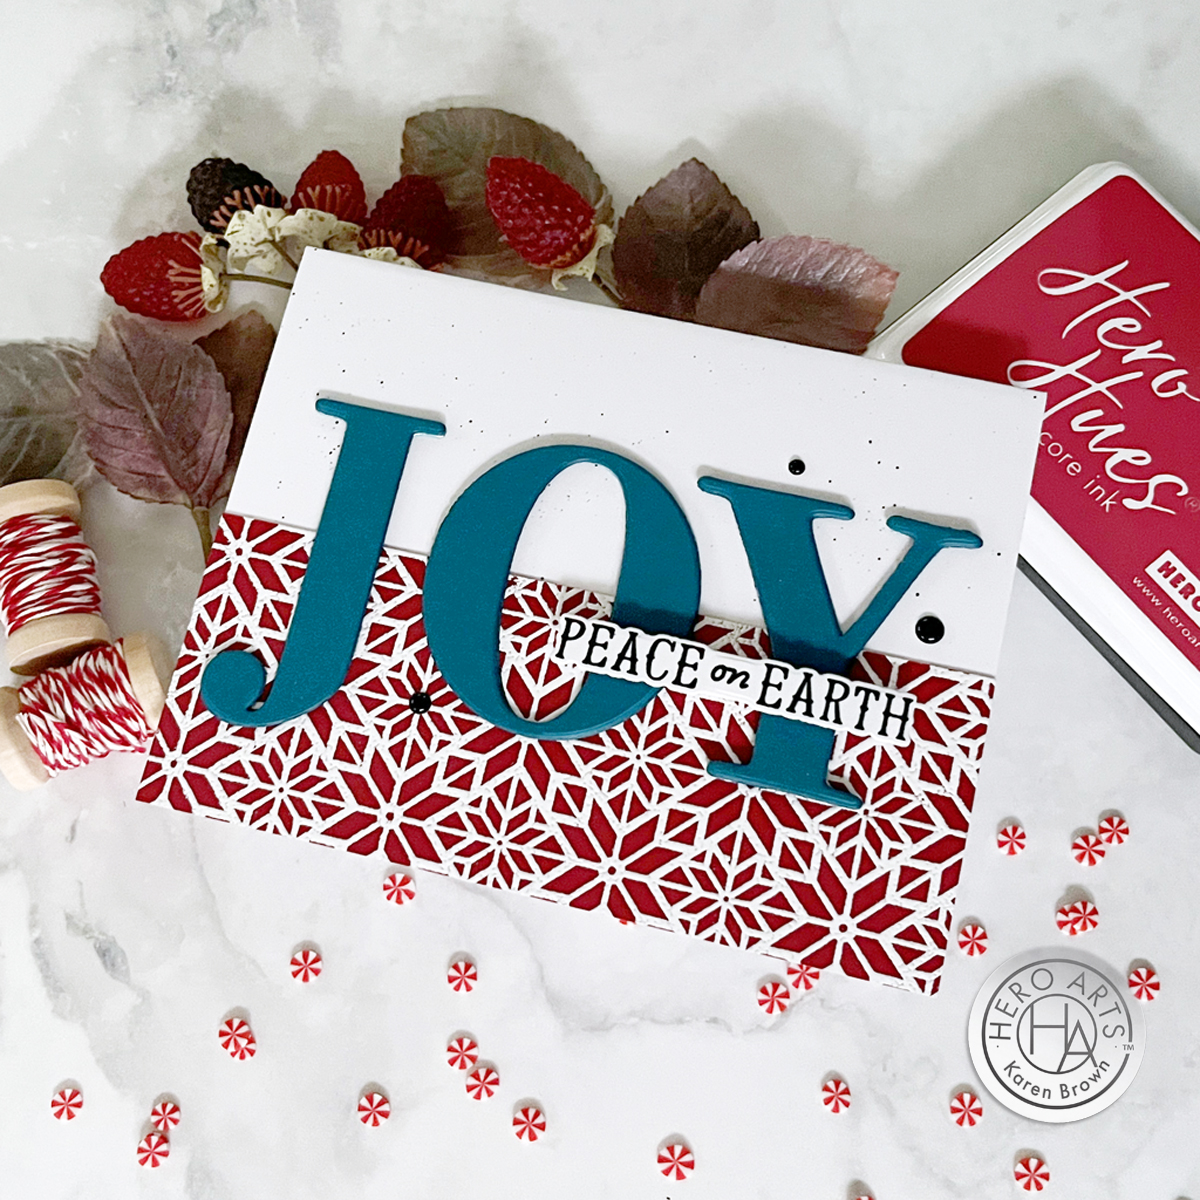
- I added some fine paint splatters to an A2 White Card Base using a fine brush and lightly diluted Black Licorice Ink. I like to put a dab of ink on an Acrylic Block, mist it and then flick it onto my project.
- I cut my background down to 2 1/8″ x 5 1/2″ and glued to the bottom of my card base.
- I centered and glued my sentiment, added a left over “Peace on Earth” from my October Card Kit and finished with 3 black Neutral Hues Enamel Dots.

I made a quick Instagram reel for Card 2 if you are interested in watching the process.
- I repeated steps 1-3 above.
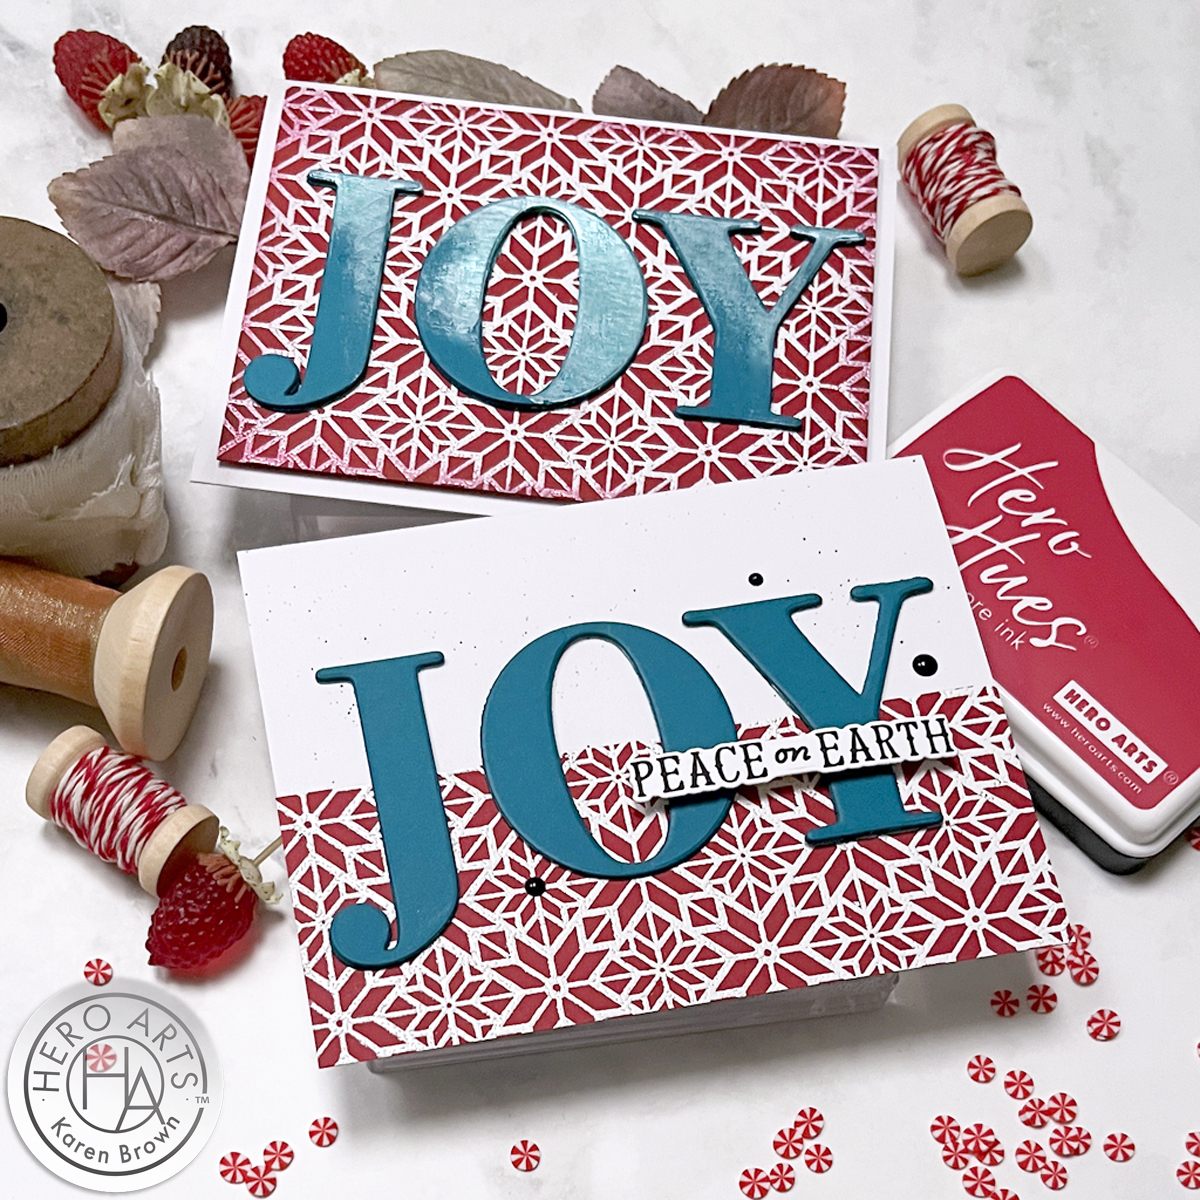
- I brushed some Icelandic Hero Wax onto my die-cuts for a shimmery glow that is even prettier in person. I applied the wax with a silicone shaper brush, but you could use your finger or a sponge dauber. This wax is an inexpensive way to spice up your projects. The key is to use just a little. And don’t worry, clean up is easy!
- I trimmed my background down and ink blended a little Crimson and Black Licorice around the edges to frame the sentiment, but you could easily skip this step.
- With a little craft foam, I glued my panel to an A2 card base.
- I centered and glued my sentiment.
Thanks for stopping by today. Happy embossing, and happy holidays!


love these! Also, great tip about using white pigment ink to beef up white embossing. Will save me a step as I sometimes emboss twice to get the same results!
LikeLiked by 1 person