Ready to take your mixed media to the next level? In this post, I build on my “Fab 4” layering techniques and introduce three additional layers that add texture, depth, and artistic detail—perfect for transitioning from beginner to more confident mixed media designs.
Tag: Heat Embossing
Hero Arts August 2025 | Light-Up Tags + Crystal Ball
This month’s Hero Arts August Kits are packed with creativity! I made a light-up Halloween tag with the new Press One Light (so fun!), and a magical crystal ball card using the You Are Magic Stamp & Cut. Halloween vibes, foil details, and mystical layers—these kits are inspiring for spooky season and beyond!
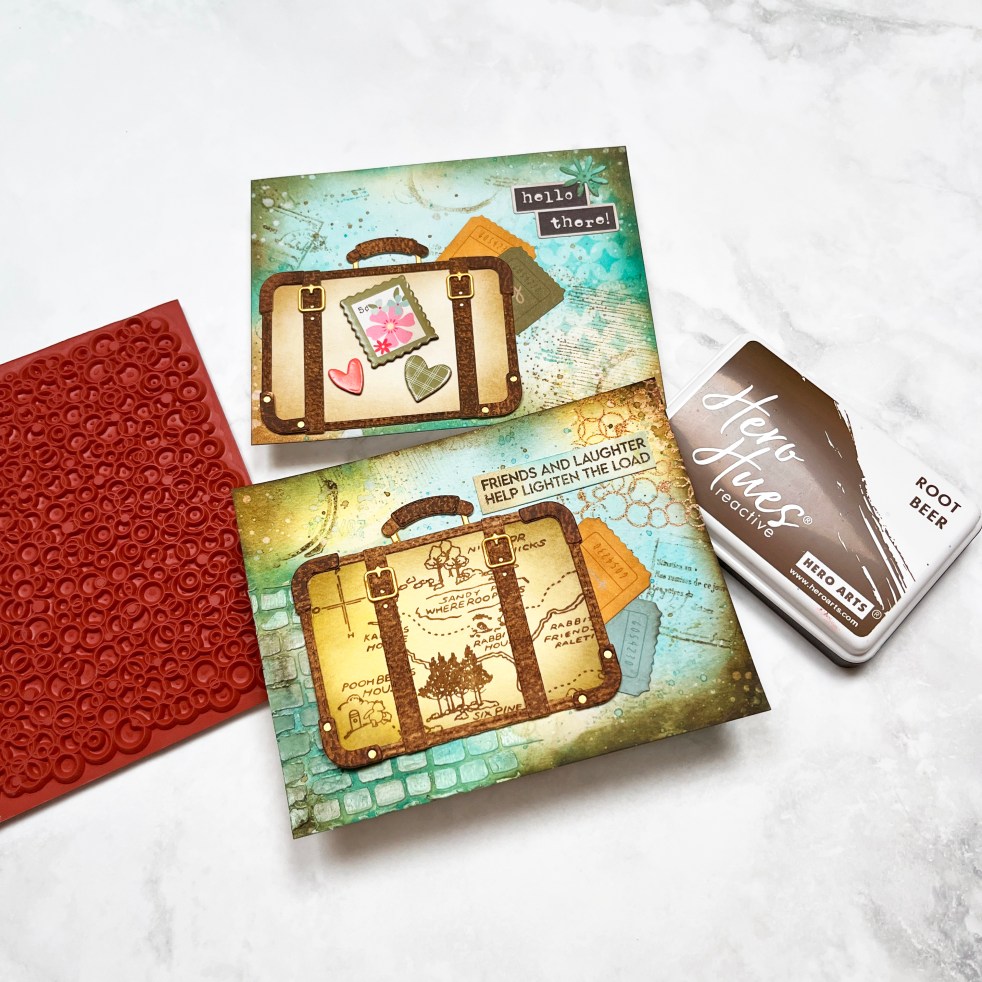
Hit the Road with Hero Arts! July 2025 Club Kits Blog Hop
Ready to hit the road—creatively? The Hero Arts July 2025 Club Kits are packed with scenic Heroscapes, playful retro dies, and dreamy backgrounds. I created four cards featuring desert drives, heart-filled backgrounds, and even a retro cassette tape. Stop by the blog for layered stamping, ink smooshing, and summer cardmaking inspiration!
Spring Whimsy with Hero Arts: Bold Colors, Butterflies & Birthday Cheer
Spring is in full bloom, and so is the Hero Arts Spring Whimsy Collection! In this post, I’m sharing four vibrant cards featuring hot foiling, ink blending, heat embossing, and die cutting. From shimmery butterflies to a charming 9-pane birthday window, these designs are packed with color and creativity. Come explore these bold and playful springtime cards with me!
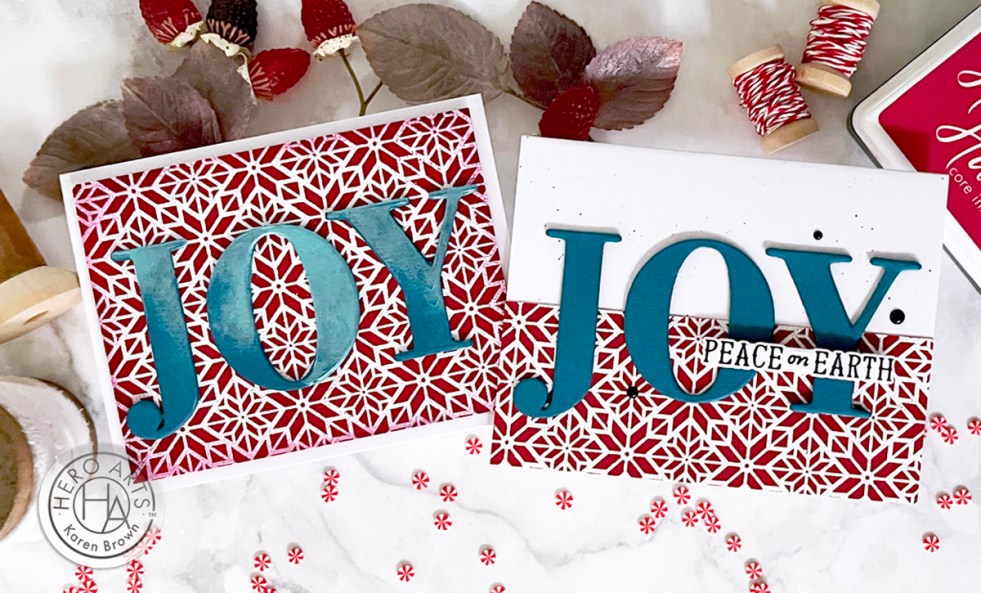
Best and Favorite Cards of 2024: The Year’s Most-Loved Designs
The Best and most popular Handmade Cards of 2024.
BOLD Heat Embossing | Hero Arts
How to get beautiful bold heat embossing results everytime. Hero Arts Abstract Poinsettia Pattern Cling Stamp - November 2024
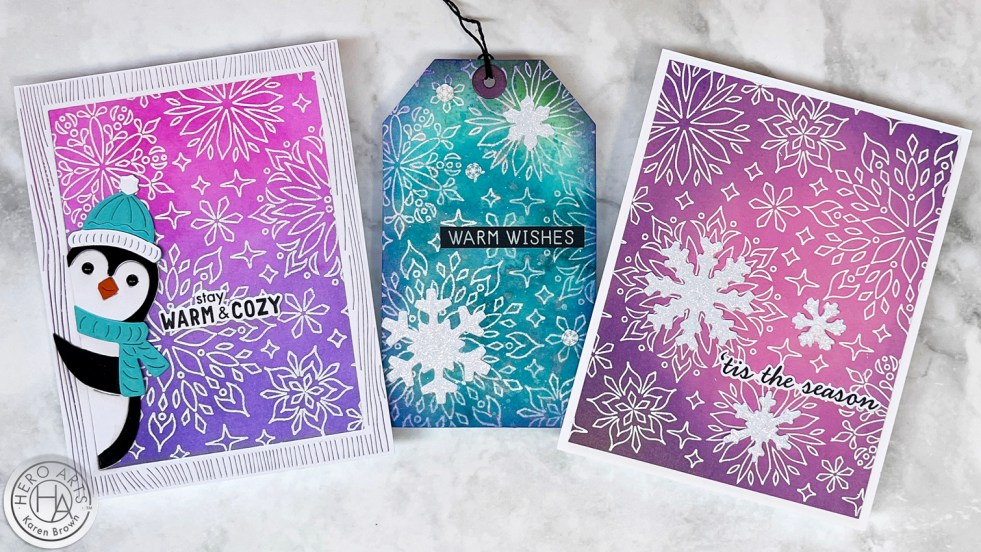
VIDEO: Shimmery Snowflake Backgrounds 3 Ways
Video tutorial showing how to create multiple Shimmery Christmas Cards with ink blending + heat embossed backgrounds. The cards also feature an adorable "peeking penguin" and die cut glittery snowflakes.
Hero Arts | Colorful Rainbow Mixed Media Card
Hello and welcome! Karen Brown here and I have a very fun project to share with you today featuring this delightful Vintage Birdcage die. I love color and texture and I used lots of both on this card. Here is my recipe: I started with my background. Using Embossing and Watermark Ink and Clear Embossing… Continue reading Hero Arts | Colorful Rainbow Mixed Media Card
Hero Arts | December 2023 My Monthly Hero Release Blog Hop
Hello My Monthly Hero lovers and welcome to the December 2023 Release Hop and Giveaway! I am excited about this month's kit....so much wonderfulness! December's theme is the Alphabet (Classic) and Numbers (Premium). Classic Kit Contents ($81 Value for $36.99) • XL Alphabet Clear Stamp Set, 8" x 10"• Alphabet Cover Plate Die• 10 Pack… Continue reading Hero Arts | December 2023 My Monthly Hero Release Blog Hop
Altenew July 2022 Summer Love Collection Release Blog Hop + Giveaway ($300 in Total Prizes!)
Cardmaking with Altenew's 3D Embossing Folders: Fantasy Emblem, Playful Circles and Flower Vines.
