
Making Your Own Backgrounds with Rainbow Strips of Cardstock
Big bold sentiments can really add a lot of impact to your cards, so I was so excited to see Spellbinders new Glimmer Cardfront Sentiment Collection. Today, I am sharing 6 different glimmer hot foil birthday cards featuring the Best Wishes on Your Birthday Foil Plate.
I love bright colored cards so I started with Rainbow Hot Foil and then created coordinating backgrounds made of colorful strips of cardstock. The sentiment panel was die cut using Stylish Oval Nesting Dies. For card #1, I used a paper trimmer to cut fifteen 1/4″ strips of cardstock. Next, I applied a tape runner over a cardstock panel and then adhered the cardstock strips in rainbow order. Surprisingly, this is actually fast and easy to do.
PRO TIP: To assemble my card, I used craft foam and liquid glue to add a layer of dimension under both the background and sentiment panel. On many projects I prefer craft foam to foam tape. With craft foam and glue, I can slide my element and make micro-adjustments for perfect placement.
Don’t you just love the shine and shimmer?

For card #2, I used my paper trimmer to cut six 1/2″ strips of colored cardstock and then I cut five 1/8″ strips of white cardstock. I think the white dividers really brighten up the look! I again used a tape runner to adhere the white and colored strips to the background. For the second card, I used gold foil and and then matted the sentiment with brushed gold cardstock.

Using Printed Designer Paper for Quick and Easy Cards
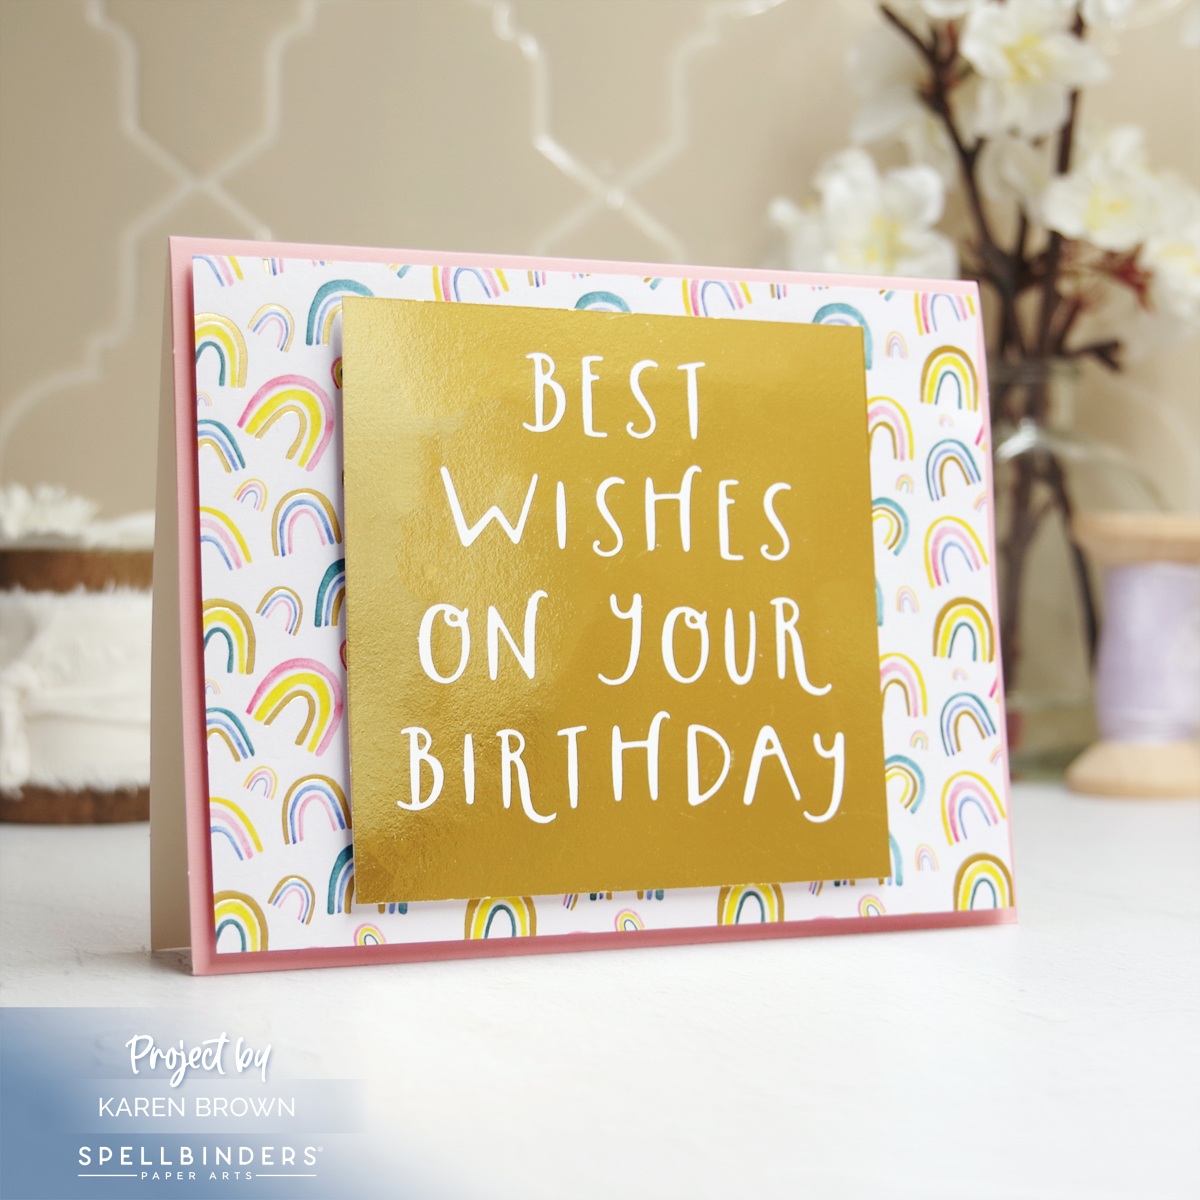
These fun foiled sentiments do all the heavy lifting so it is easy to quickly make cards using printed designer paper for the background. Spellbinders Cheerful Occasions pad (I think this pad sold out) has such fun designs and I used the papers on the backgrounds of cards #3, #5 and #6.

Reverse Foiling | Using the Glimmer Hot Foil Negative Space for 2 For 1 Cards
I hated to throw away the foil after I created the cards above, so I created 2nd bonus cards with the leftover foil. The result is so bright and eyecatching! Card #3 uses the negative from the Rainbow Foil.
I cranked up the heat and time and ran the “foil negative” through a second time using a solid foil plate. I used the highest heat setting for 1 minute and got a beautiful result.
PRO TIP: There is a thin protective layer on top of the foil that I peeled off after my card was finished. I kept the foil covered (with the clear protective layer) during assembly to prevent scratches on the foil.

Card #5 uses designer paper paired with the negative from the gold foil.
My final card pairs designer paper, black foil plus I added a second mat die cut from velum. The velum mat is subtle but very pretty.

Products Used:
- Spellbinders Glimmer Card Sentiment Collection
- Spellbinders Best Wishes on Your Birthday Glimmer Foil Plate (GLP-404)
- Spellbinders Stylish Ovals Nesting Dies – S5-562
- Spellbinders Solid Glimmer Hot Foil Plate – GLP-320
- Spellbinders Rainbow Foil – GLF-042
- Spellbinders Gold Foil – GLF-014
- Spellbinders Black Foil – GLF-010
- Spellbinders Cheerful Occasions Pad – SCS-191 (I believe this pad sold out)
- Bearly Glue
- A2 Card Base
- Spellbinders Brushed Gold Cardstock
- Tape Runner
- Craft Foam
- Colored Cardstock
- Vellum
Do you have a favorite? I’d love for you to tell me in the comments.
Karen
