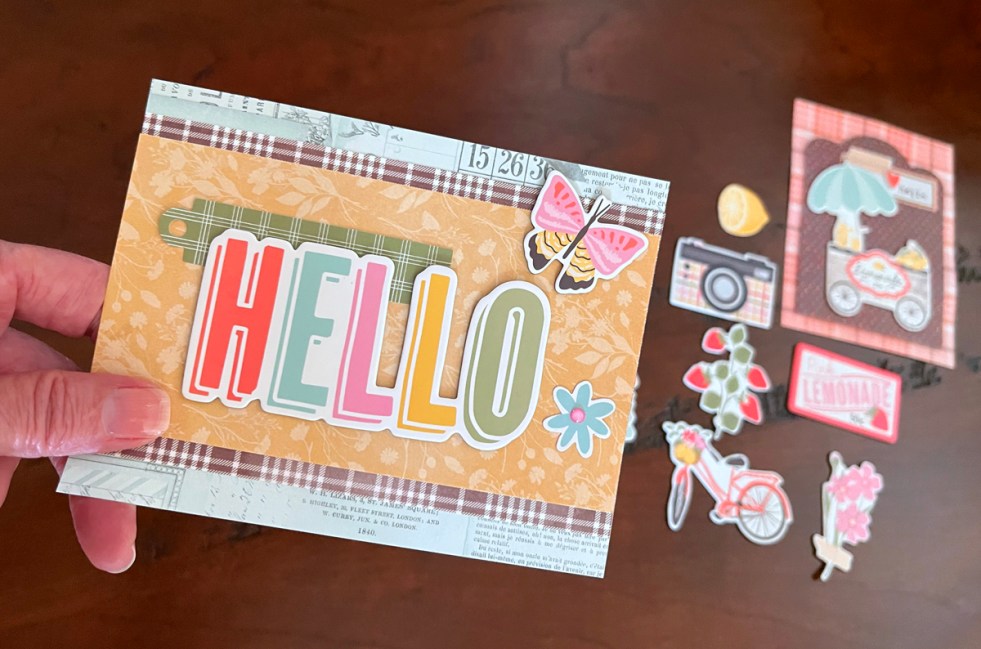
The first card was quick and easy but I love result. My background is made from 2 pages from the paper pad that I combined at the midpoint. Using craft foam for dimesion, I attached the background to an A2 card base. Then, I just popped on the Christmas Tree and sentiment with foam tape.
Cardmaking with Vintage Ephemera
My second card is a collage style pieced together with designer paper, printed die-cuts and stamps. I used 2 rectangles and two 1.25″ squares of paper cut from the Home for the Holidays paper pad for my background. I distressed my kraft card base, background panel and the die cuts with 3 different Distress Crayons (bronze, gathered twig and aged mohogany) and then added lots of ephemera from the Jingle Bells Miscellany die cut pack. I also used 2 stamps from Cathe Holden’s previously released stamp kit called Handle with Care and added a tiny little paper clip.
Hello! I am so excited to show you Spellbinders new product line from Cathe Holden called Flea Market Finds. Cathe is a well known fabric designer and collector of vintage miscellany and she just released a wonderful assortment of printed die-cuts, paper samplers, stamps and stencils in collaboration with Spellbinders. Cathe put so much thought into every product and they all work SO well together.
For the past week, I have been playing in my craft room and I’d like to show you what I created. Hold on, becuase I have seven cards to share with you today. The card above was so fun to make!
My Recipe For Card 1:
On this card, I used all the products “as is” with no distressing. I started with the background where I layered 2 different papers, one from the neutral palette and one from the Blue Green pack. Next, I started adding stickers and diecuts. The bird image is framed with a third paper from Cathe’s Neutral Sampler.
For my Shabby Chic card, I started by ink blending Tumbled Glass Distress Ink on my panel. I added Frayed Burlap Ink around the ages for a vintage feel. I let the panel dry and then added Grit Paste through stencil #1 of the Layered Vintage Floral Stencil. I really like how the background turned out. I wanted an even more vintage look so I ran my Tea Dye Distress Crayon around the edges of the background and die cut and then blended the pigment with my fingers. The card base was covered with paper from the Blue Green Paper Palette.
My third card is a collage style card pieced together with designer paper, printed die-cuts and stamps. I used 1.25″ squares of paper cut from the Neutrals and Blue Green Samplers for my background. I distressed my background panel and the die cuts with a Distress Crayon and then added lots of ephemera.
I started my grunged up card by making a background panel. I blended tumbled glass distress ink and then added a bit of frayed burlap. I then ink blended a second panel for my die cut circles. I used Antique Linen Distress Ink and then added a bit of frayed burlap. I let the panels dry and then added Distress Grit Paste through my bricked stencil. I wanted it to look rough and old so I didn’t cover the entire stencil. After the grit paste was dry, I rubbed a Distress Crayon around the edges and blended it out onto the panel with my finger. I also gently rubbed some on the top of the panel so you could really see the crackle finish. Next, I die cut my circles and rubbed distress crayon around the edges and then blended onto the top with my fingers. I added two stickers to two of the circles and then stamped over them. The middle circle is just the roughly stamped cute flower truck. The matting is from the blue green sampler.
This was the fastest and easiest card to make. I started with a page from the Neutral Sampler for my Background. I then layered on 3 Happy Thoughts and 2 Home Arts printed die cuts. I stamped a sentiment onto the flower basket and added a fun little paper clip from my stash.
Cathe Holden included a beautiful stencil in her collection and I used it for my background on this card. I added 2 stickers and 1 stamp to complete the card.
Happy 20th Birthday Spellbinders! I just love Spellbinders wonderful papercrafting products so I wanted to create a few projects using their new Birthday Collection to help them celebrate.
Spellbinders Stitched Fringe Cake
I started with the Stitched Fringe Cake die set, which I think makes such a festive confection! For both backgrounds, I used Spellbinders new 6×6″ paper pad (Cheerful Occcasions Paper Pad), which is full of beautiful designs! I added a bit of gold stitching to the cake to finish off the look.
Sugar Coated Sentiments (I think has been retired)
Spellbinders Balloon Party Animal
For my second card, I used light ink blending on my white die cuts to simulate the look of balloons. I think the balloon animal would also be adorable for a baby shower.
Hello and welcome! October has five Wednesdays and that means it is \”Anything Goes\” at the Watercooler Wednesday Challenge. We would love for you to submit your creation!
I came up with the idea for creating a fall birthday card with dark cardstock for a seasonal look. Prior to die cutting, I backed the patterned card stock with adhesive paper then I die cut the three blooms and sentiment which made constructing the layout very easy. I like the clean autumn look of this card.
Supplies Used: Simon Says Stamp Stitched Daisies dies Memory Box Perky Happy Birthday sentiment die Bohemia Barefoot Beautiful Card Stock #BH1062 Hershey Brown textured cardstock Sizzix adhesive sheets
The Card Concept: Bountiful Blessings Challenge I was inspired (by the beautiful brown door, fall flowers and autumnal color palette in the inspiration photo) to make a clean and layered card.
I needed an Easter card so I challenged myself to use patterned paper with limited stamping. I chose bright cheery Lawn Fawn \”Perfectly Plaid\”. I used one pattern to cover an A2 card and then selected a second pattern to die-cut SSS\’s Plush Carrot. The carrot top is die cut from green embossed paper for some added texture. I think this would make a darling stuffed ornament, but I needed a card. Next, I embossed Rubbernecker\’s Three Line Frame on sherbet colored card stock. I assembled the card using craft foam and Gina K connect glue and then added Lily of the Valley Jewels from Little Things from Lucy.