
One of my favorite things about cardmaking is building little worlds with die cuts. The Spellbinders October 2025 Club Kits are perfect for creating playful, outdoor winter scenes full of joy, color, and personality. Today I’m sharing two companion cards I made using the Die of the Month Kit and the Large Die of the Month Kit—both with matching colors and snowy backdrops.
At the bottom, I’ll also walk you through a few of my favorite tips for planning and arranging die cut scenes.
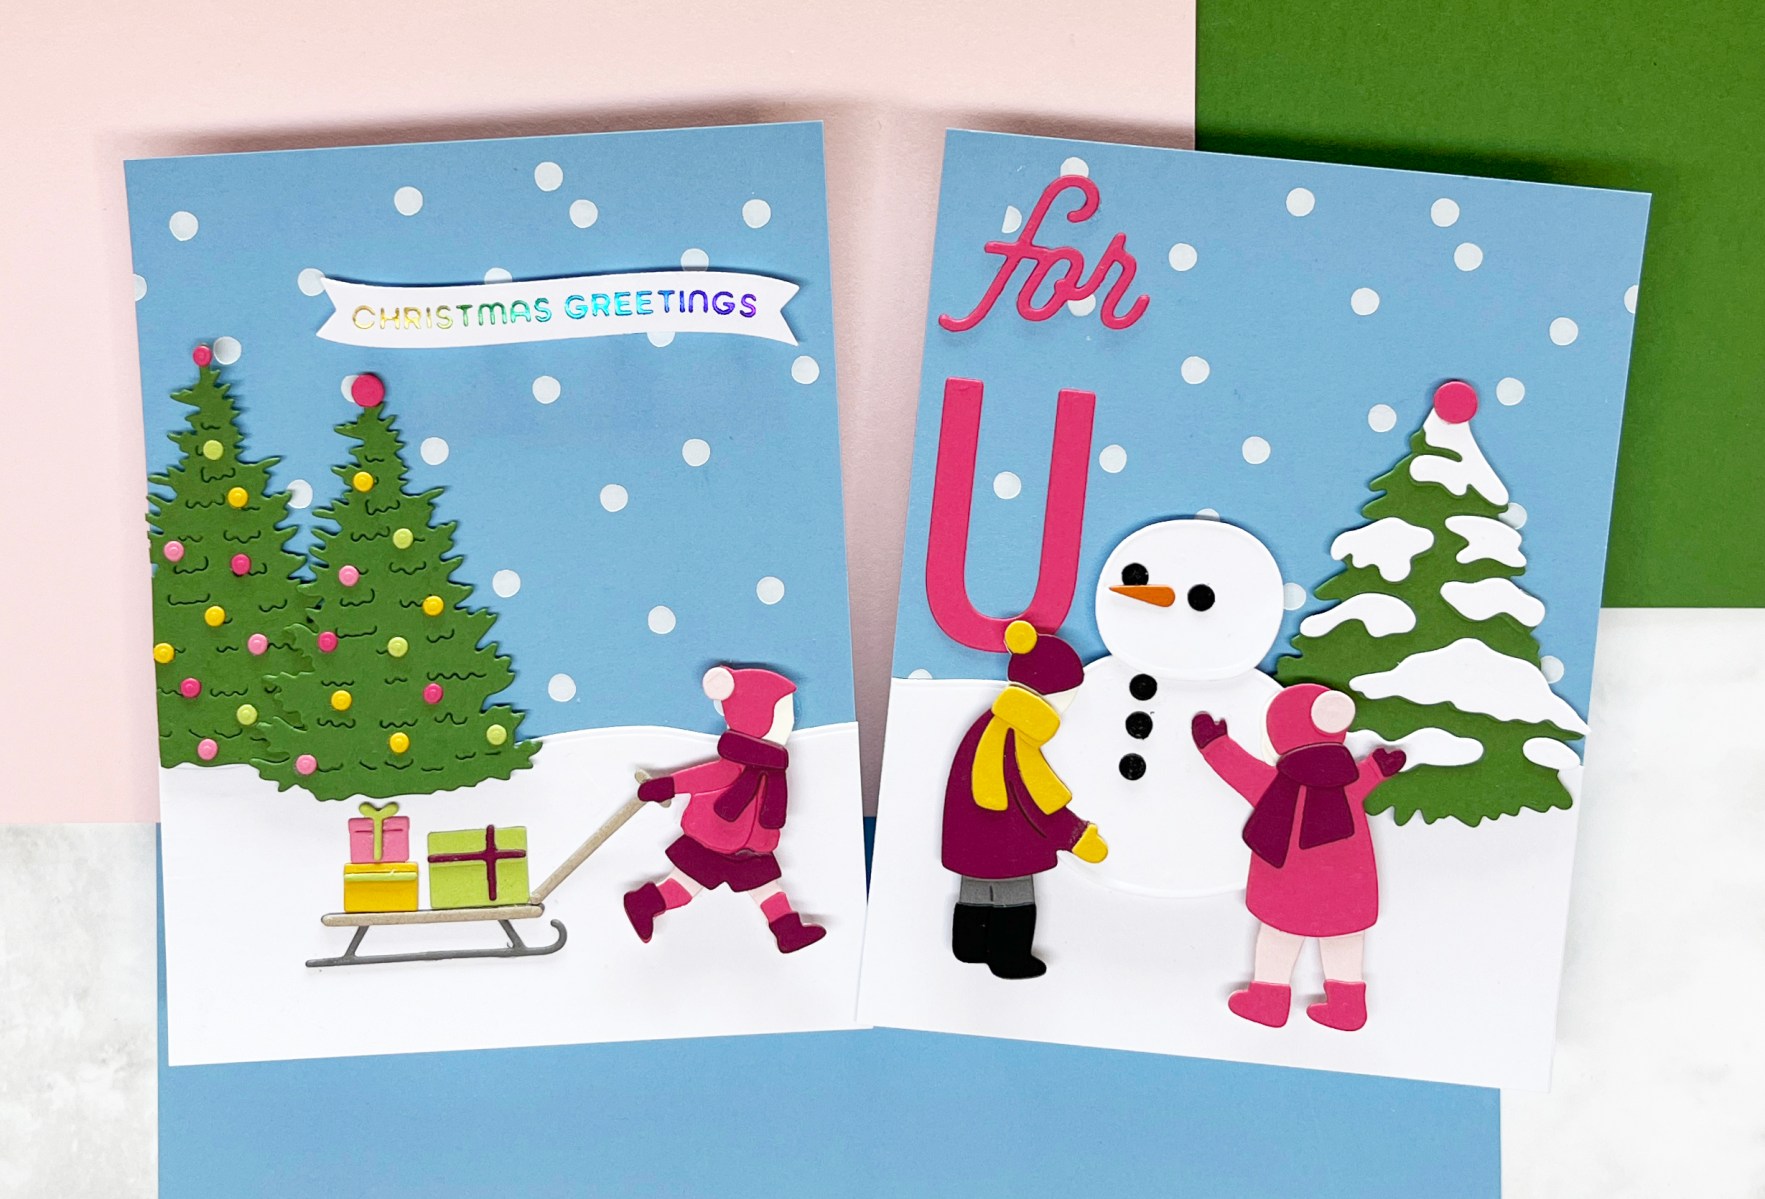
Sled of Gifts (Large Die of the Month)

I started with the Large Die of the Month Kit, creating a cheerful winter scene of a little girl, pulling a sled piled high with gifts. To set the stage, I added two decorated Christmas trees with colorful ornaments.
The background is periwinkle blue-gray cardstock, foiled in white using the Hero Arts Celebration LetterPress Plate with the Spellbinders Glimmer system. The falling dots create a snowy sky, while snow on the ground grounds the scene.
For the sentiment, I used a ribbon hot foil design from the Merry & Bright Press Plate set, foiled in rainbow foil for a festive and eye-catching finish.
This card feels full of movement and energy—perfect for capturing the joy of the season.
Building a Snowman (Die of the Month)
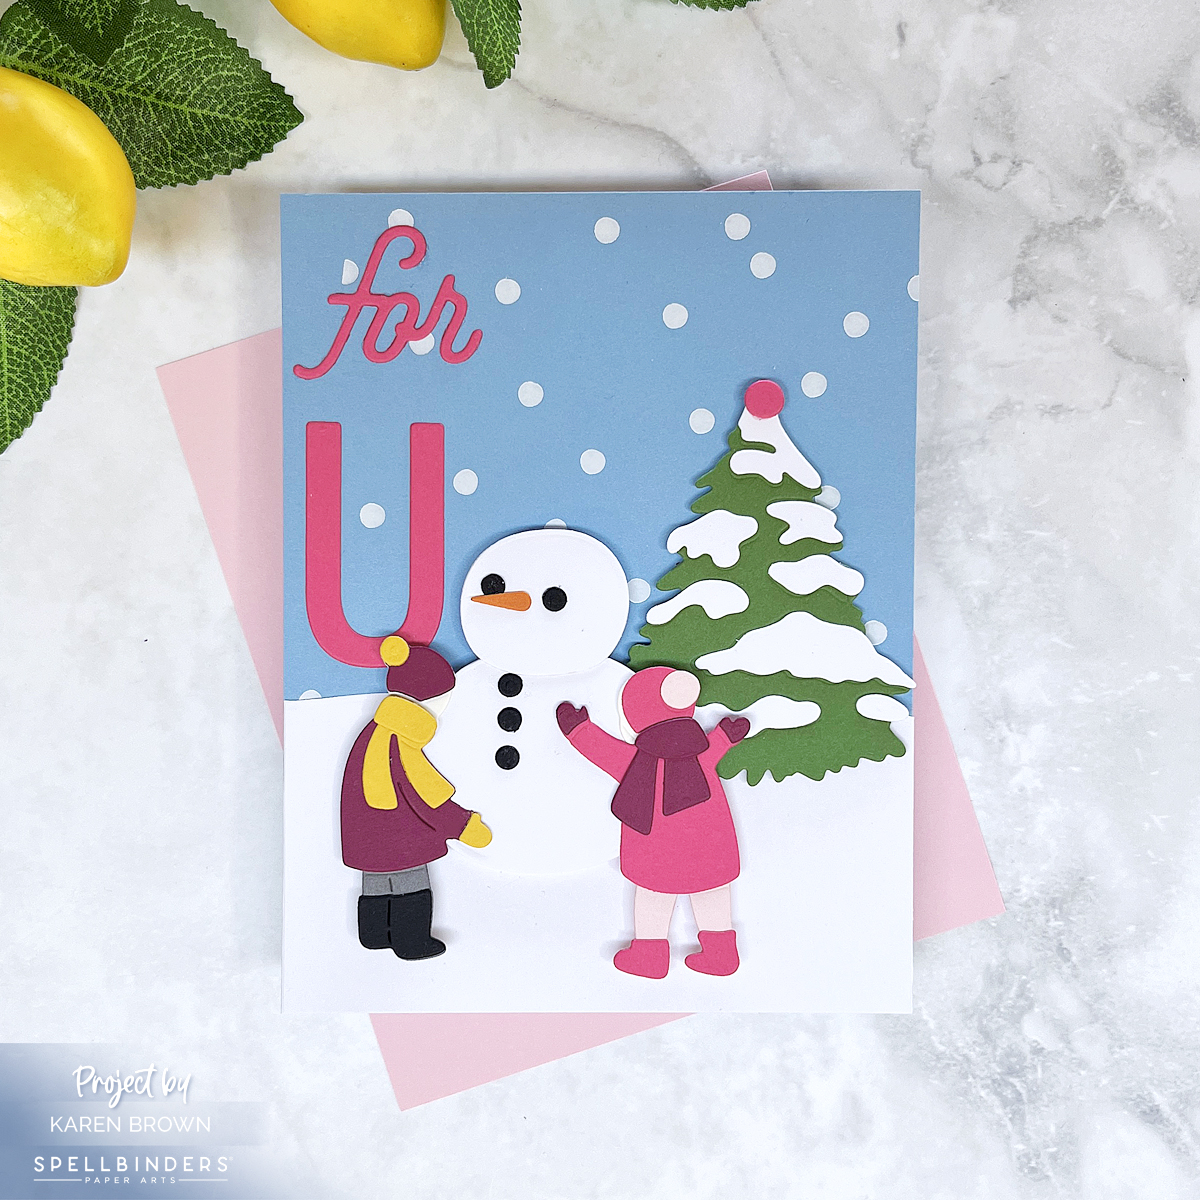
Since I loved the colors in my first card, I made a companion card using the Die of the Month Kit.
This time, the scene features two children building a snowman.
The background is the same as my first card—periwinkle sky with white foiled falling snow and a snowy ground. Hero Arts Celebration LetterPress Plate + white foil
For the sentiment, I combined a scripty “for” with a giant U (both from the October Caboodle Bonus Gift), both die cut in hot pink. Together, they form a bold, playful greeting.
This card has a storybook charm and pairs perfectly with the sled design.

📝 Tips for Arranging Die Cut Scenes
Here are five simple steps I use whenever I build a die cut scene:
- Plan Colors First: Choose your key colors. For these cards, I used blue gray, hot pink, and fern green as my anchors. White cardstock provided snowy contrast.
- Die Cut All Elements: Having all the pieces ready makes it easier to plan your layout.
- Assemble Each Element: I use Bearly Art glue and a Crystal Katana jewel picker to precisely assemble my elements. Once they are fully assembled, it is much easier to determine exactly where I want to place each component.
- Mock Up Layouts: I arrange several versions, take quick photos, and then choose the most balanced design.
- Construct Your Scene: I like to use glue, foam squares and craft foam to complete my card.
These tricks make arranging die cut winter wonderlands more fun and less stressful.
Helpful Links:
- Spellbinders Small Die of the Month Kit – $30 value for just $17.50!
- Spellbinders Large Die of the Month Kit – $40 value for just $27.50!
- Spellbinders Stitching Die of the Month – $35 value for just $25!
- Spellbinders Deluxe Caboodle Kit – Get All 10 Kits, $315 value for just $130!
- Spellbinders Monthly Club Kits
- Platinum 6 Die-Cutting System
- ColorWheel Cardstock Sampler
- Spellbinders Cardstock
- Stitching Accessories
- Bearly Glue, Foam Squares and Craft Foam
- Crystal Katana pick up tool
- Club Overview and Club Options
- Past Club Kits
- Spellbinders Shop
- Sarah Renae Clark’s Color Cubes


One thought on “Tips for Arranging Die Cut Scenes | Spellbinders October 2025 Club Kits”