Discover the best die-cutting ideas and card designs. Learn about the best tools, die-cutting tips and techniques that will elevate your cardmaking.
Tag: Sympathy card
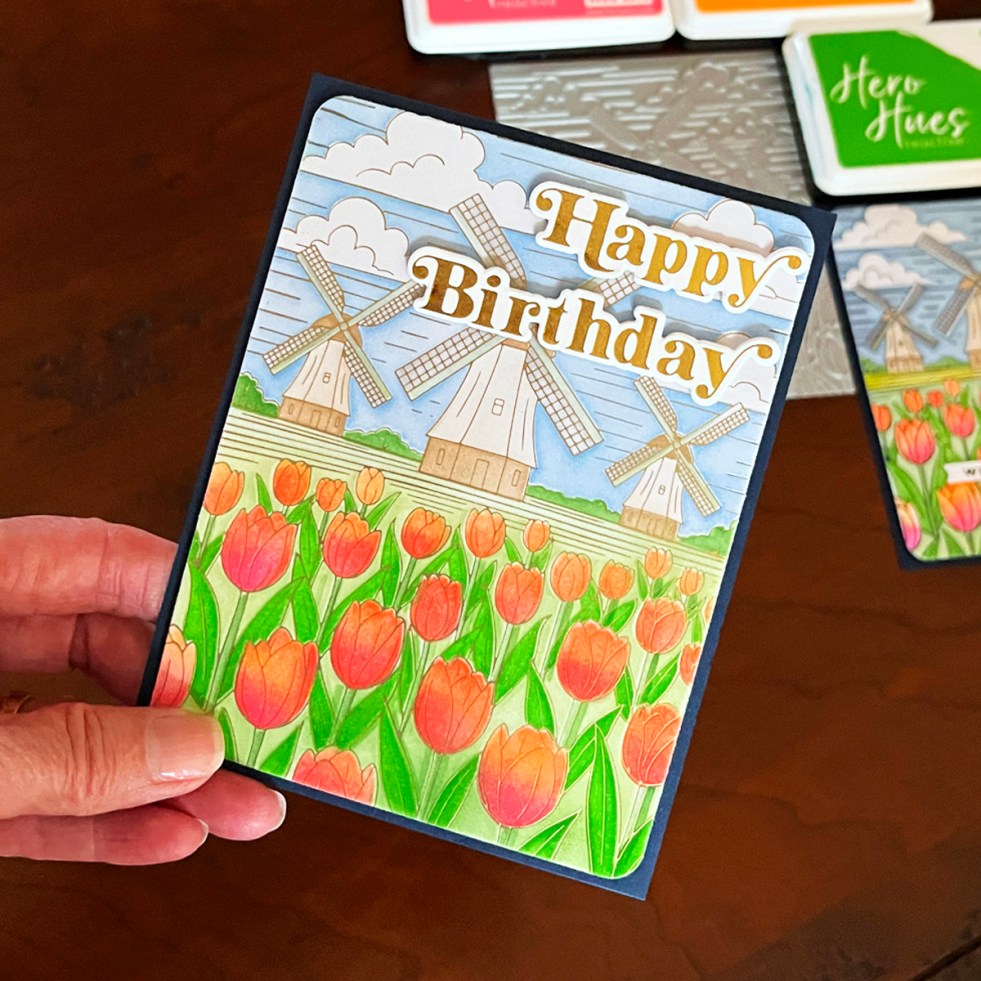
How to Create a Stunning Foiled Floral Card with Ink Blending (Frame-Worthy Results!)
Create a vibrant, eye-catching handmade card using hot foiling and stencil blending. This colorful windmill and tulips design is perfect for Mother’s Day, birthdays, or sympathy cards. See how black foil and satin gold foil create two completely different looks — plus tips for masking stencils, fixing crafting mishaps, and achieving beautiful foil results.
The One Cardmaking Step That Saves Me the Most Time
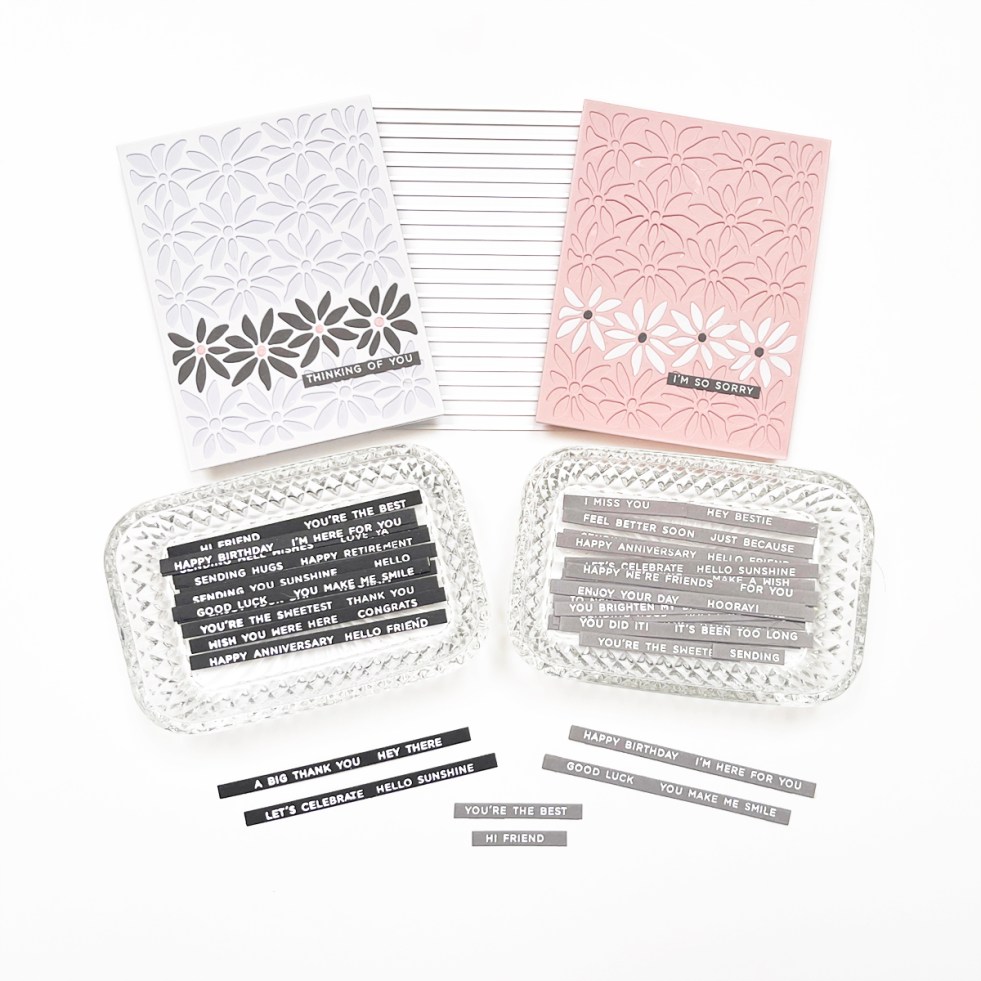
Batch-making sentiment strips is one of the easiest ways to save time and elevate your cardmaking. In this post, I share my favorite Hero Arts sentiment stamps, tips for crisp heat embossing, and how I used premade sentiments on clean and modern sympathy cards featuring a partial inlay die-cutting technique.
VIDEO: 3 Creative Ways to Stencil Butterfly Cards
Video tutorial showing three creative ways to use your layering stencils to create beautiful handmade cards.
It’s a Jungle! | August 2024 Hero Studio Release
3 colorful handmade jungle theme cards created with Hero Arts August 2024 release.
Fast, Easy and Elegant Embossed Sympathy Card | Spellbinders
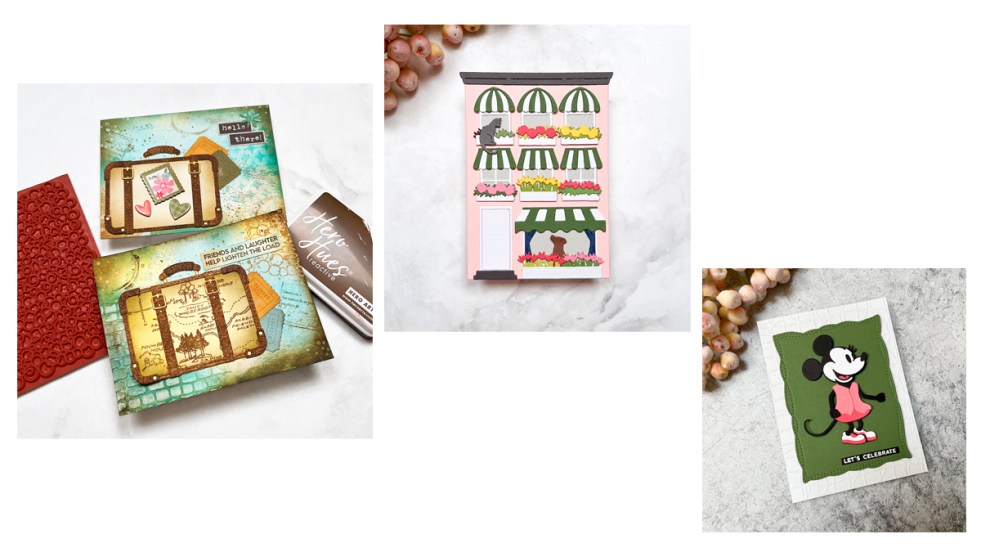
Tips for creating a fast, easy elegant sympathy card with 3D Emboss and Cut folders and premade Chipboard Stickers. Spellbinders Mushrooms From Me to You 3D Emboss and Cut folder.
Hero Arts | Antique Bee Letter Press Card Trio
3 BetterPress letter press Sympathy cards using Hero Arts Antique Bee and Wreath press plates.
Spellbinders | Every Occasion Floral Alphabet | BetterPress Letter Press Cards
Making Monogram BetterPress letterpress handmade cards using Spellbinders Every Occasion Floral Alphabet.
Hero Arts | Spring Catalog Collection Release + Blog Hop
4 cards from Hero Arts Spring 2024 Catalog Collection.
Spellbinders Cards | Be Bold Blooms Floral Die Kit 3 Ways
Spellbinders Be Bold Blooms Dies (S5-502) handmade cards using inspiration from Sarah Renae Clark's Color Catalogue and Color Cubes.
