Hello! I am so excited to share the final project for my Level 3 Altenew Academy Educator Certification Program. At left I am talking about my samples for the ink-blending card we created.
This has been such a fun journey for me! I started the certification program in May and since then I have taken 25 classes, written 25 blog posts about what I learned and completed a final project for Level 1 and Level 2. The class instructors taught me new techniques and improved the skills I had. I\’ve worked hard, learned a lot and enjoyed every moment!
I invited four good friends over for a morning of card making and it became an \”international event\” with the on-line attendance of Virginia Lu of Canada and Erum Tasneem of Pakistan. They have been so encouraging and were with me every step of the way.
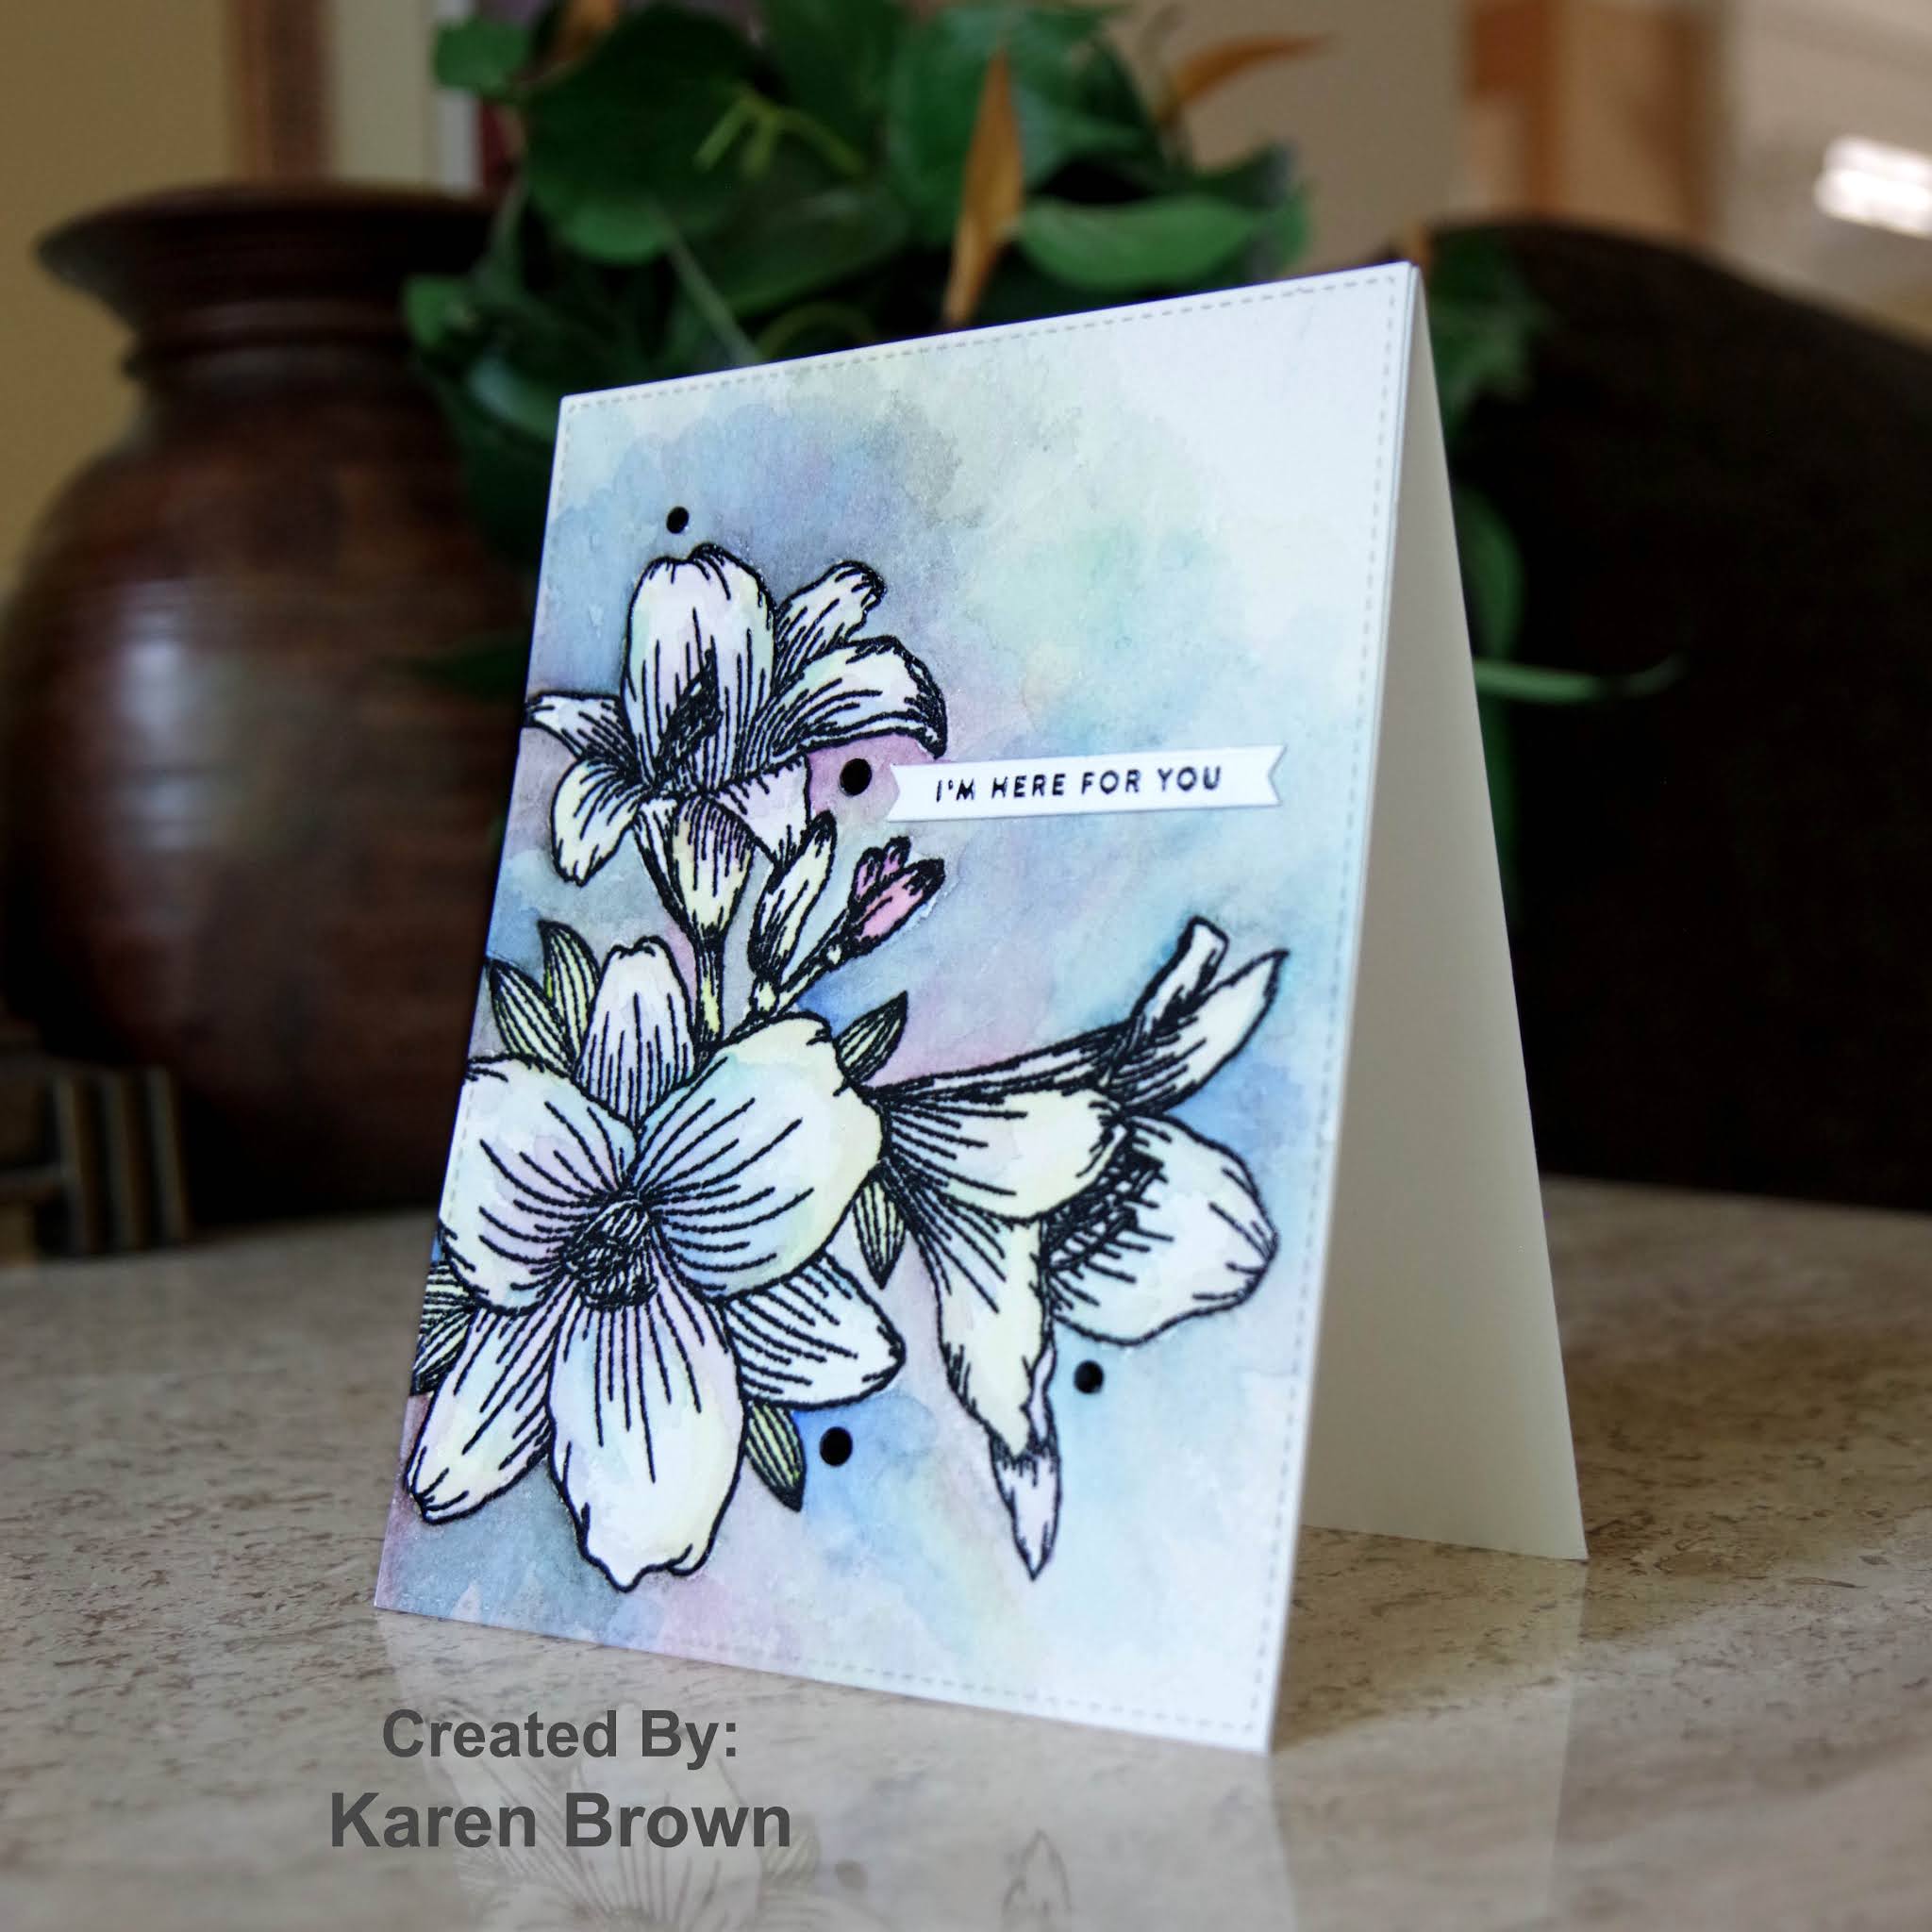
I started by creating two beginner level card projects to teach to my participants: faux watercolor stamping and ink blending with stencils. I worked on my lesson plan, came up with a timeline and created sample cards which I submitted to Virginia in advance. The day before, I set up the workspace for my class.
Each work station had a silicone mat, microfiber cloth, blending brush, stamps, stencils, washi tape, A2 card panels, two die cut sentiments, acrylic blocks, ink, liquid glue, A2 card bases, colored envelops, tags and ribbon.
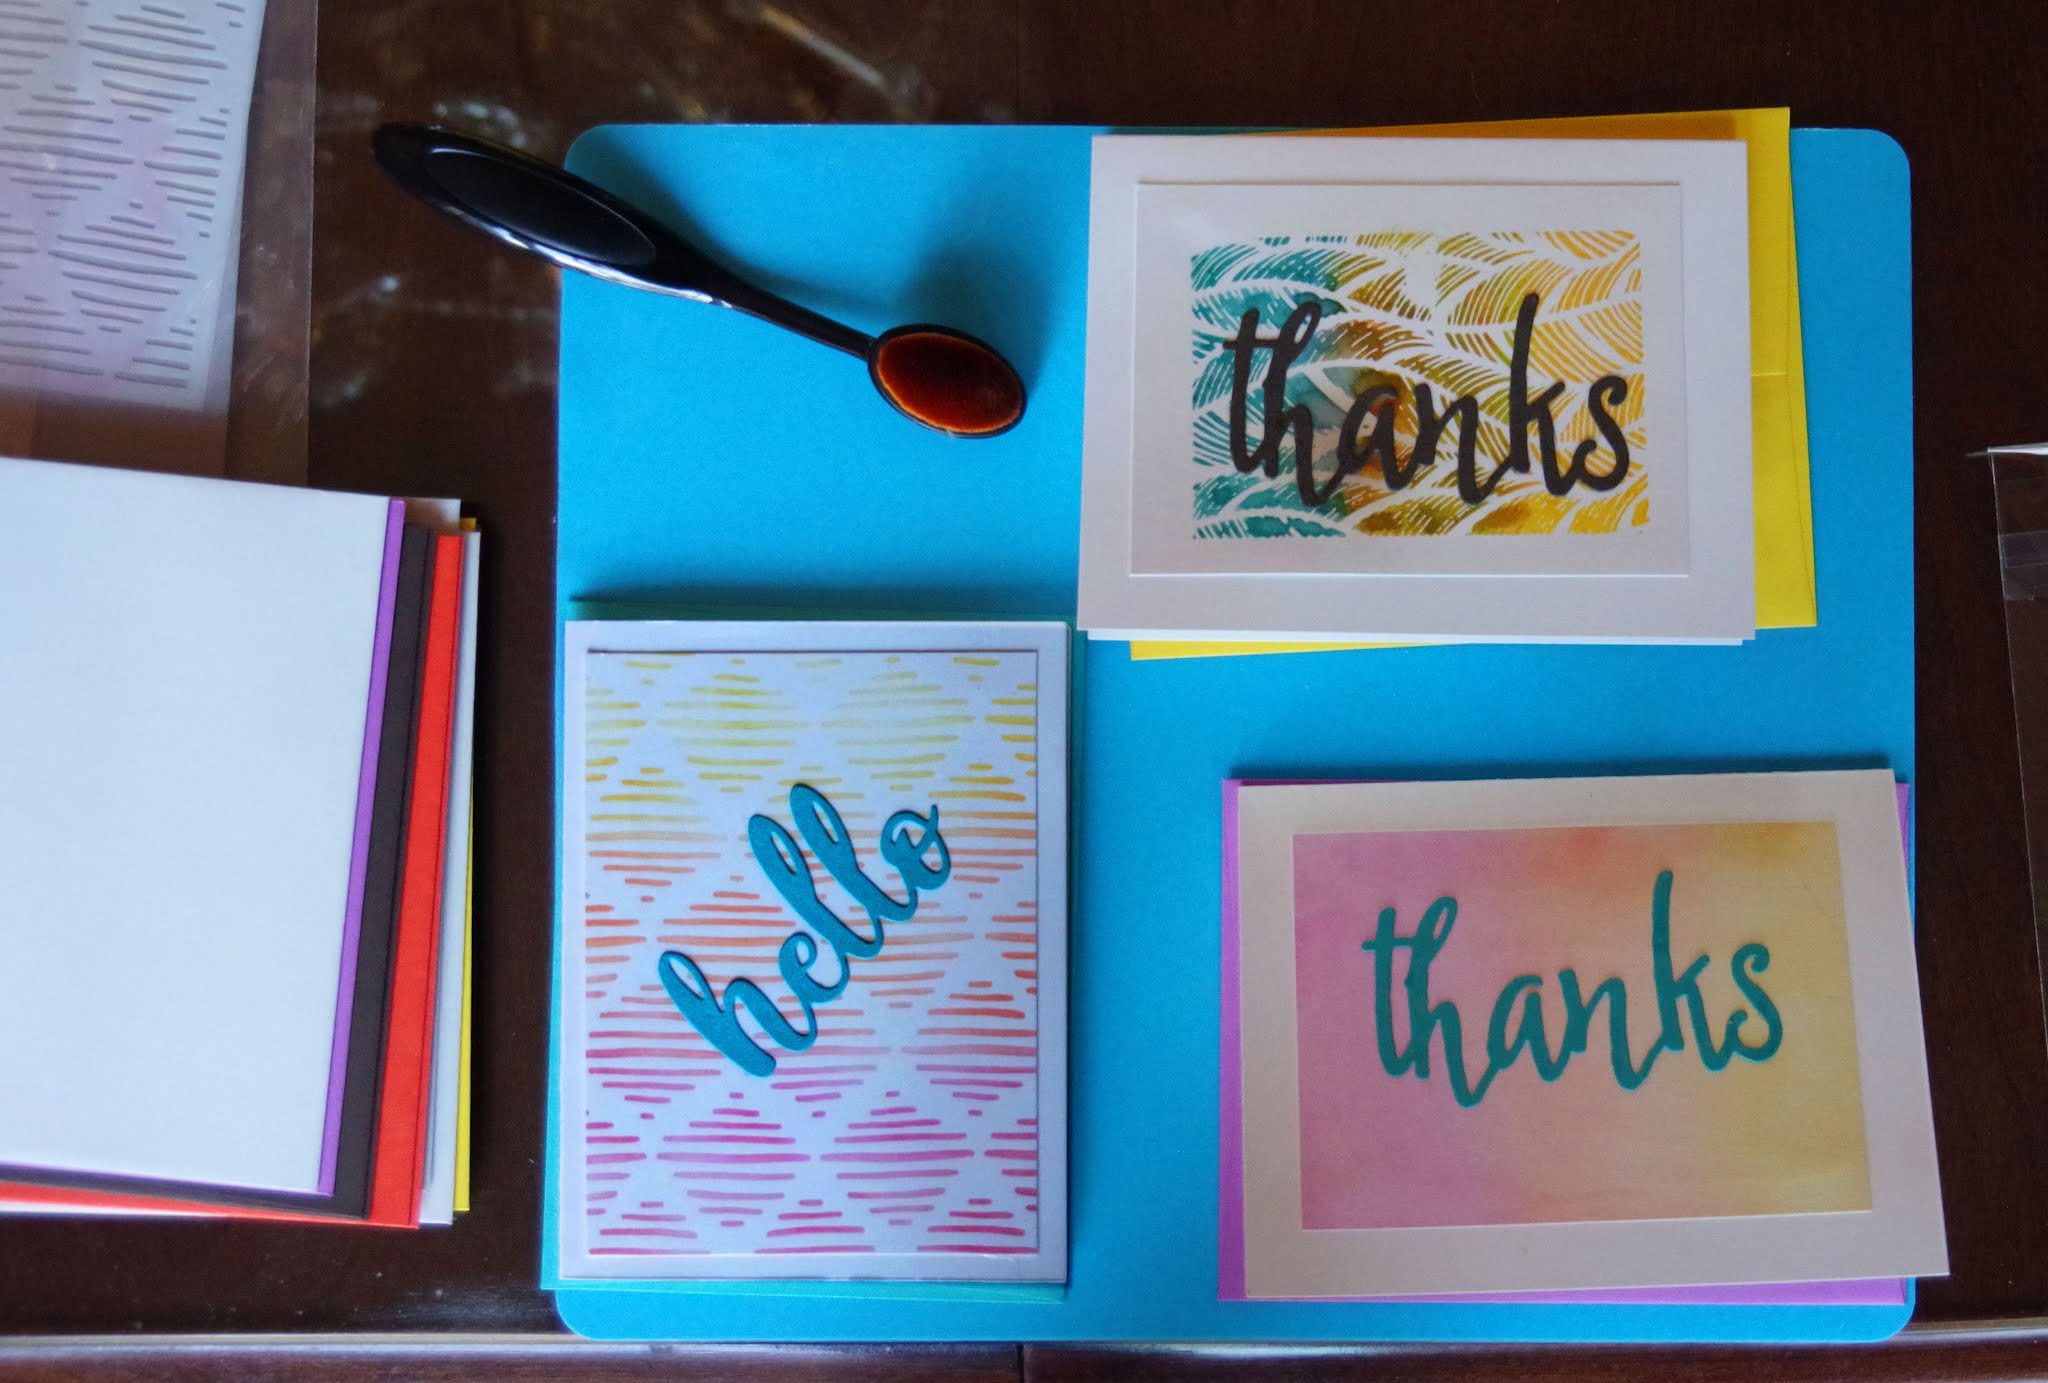
We talked about analogous, monochromatic and neutral colors and demonstrated how to use the color wheel. Next we selected our ink colors, inked our stamps and then spritzed with water for a faux watercolor look. We set our faux watercolors aside to dry and practiced ink blending on a panel. Several of my friends liked their practice panel so much that they made a third card even though the class plan was for two. I had plenty of extra card bases and sentiments so our impromptu cards came together just fine. For our planned second card we did ink blending over a stencil. We then trimmed and assembled our cards and we made such a happy mess!
This is what the table looked like when we were done. Liz created the three cards above. The one on the right is faux watercolor, the middle is the practice ink blending panel and the left was the planned ink-blending over a stencil card. Below is Liz with her three cards.
Nancy and her cards are below. Nancy created a bonus card also.

Rhonda created three cards as well.

Kathy\’s cards turned out great too!
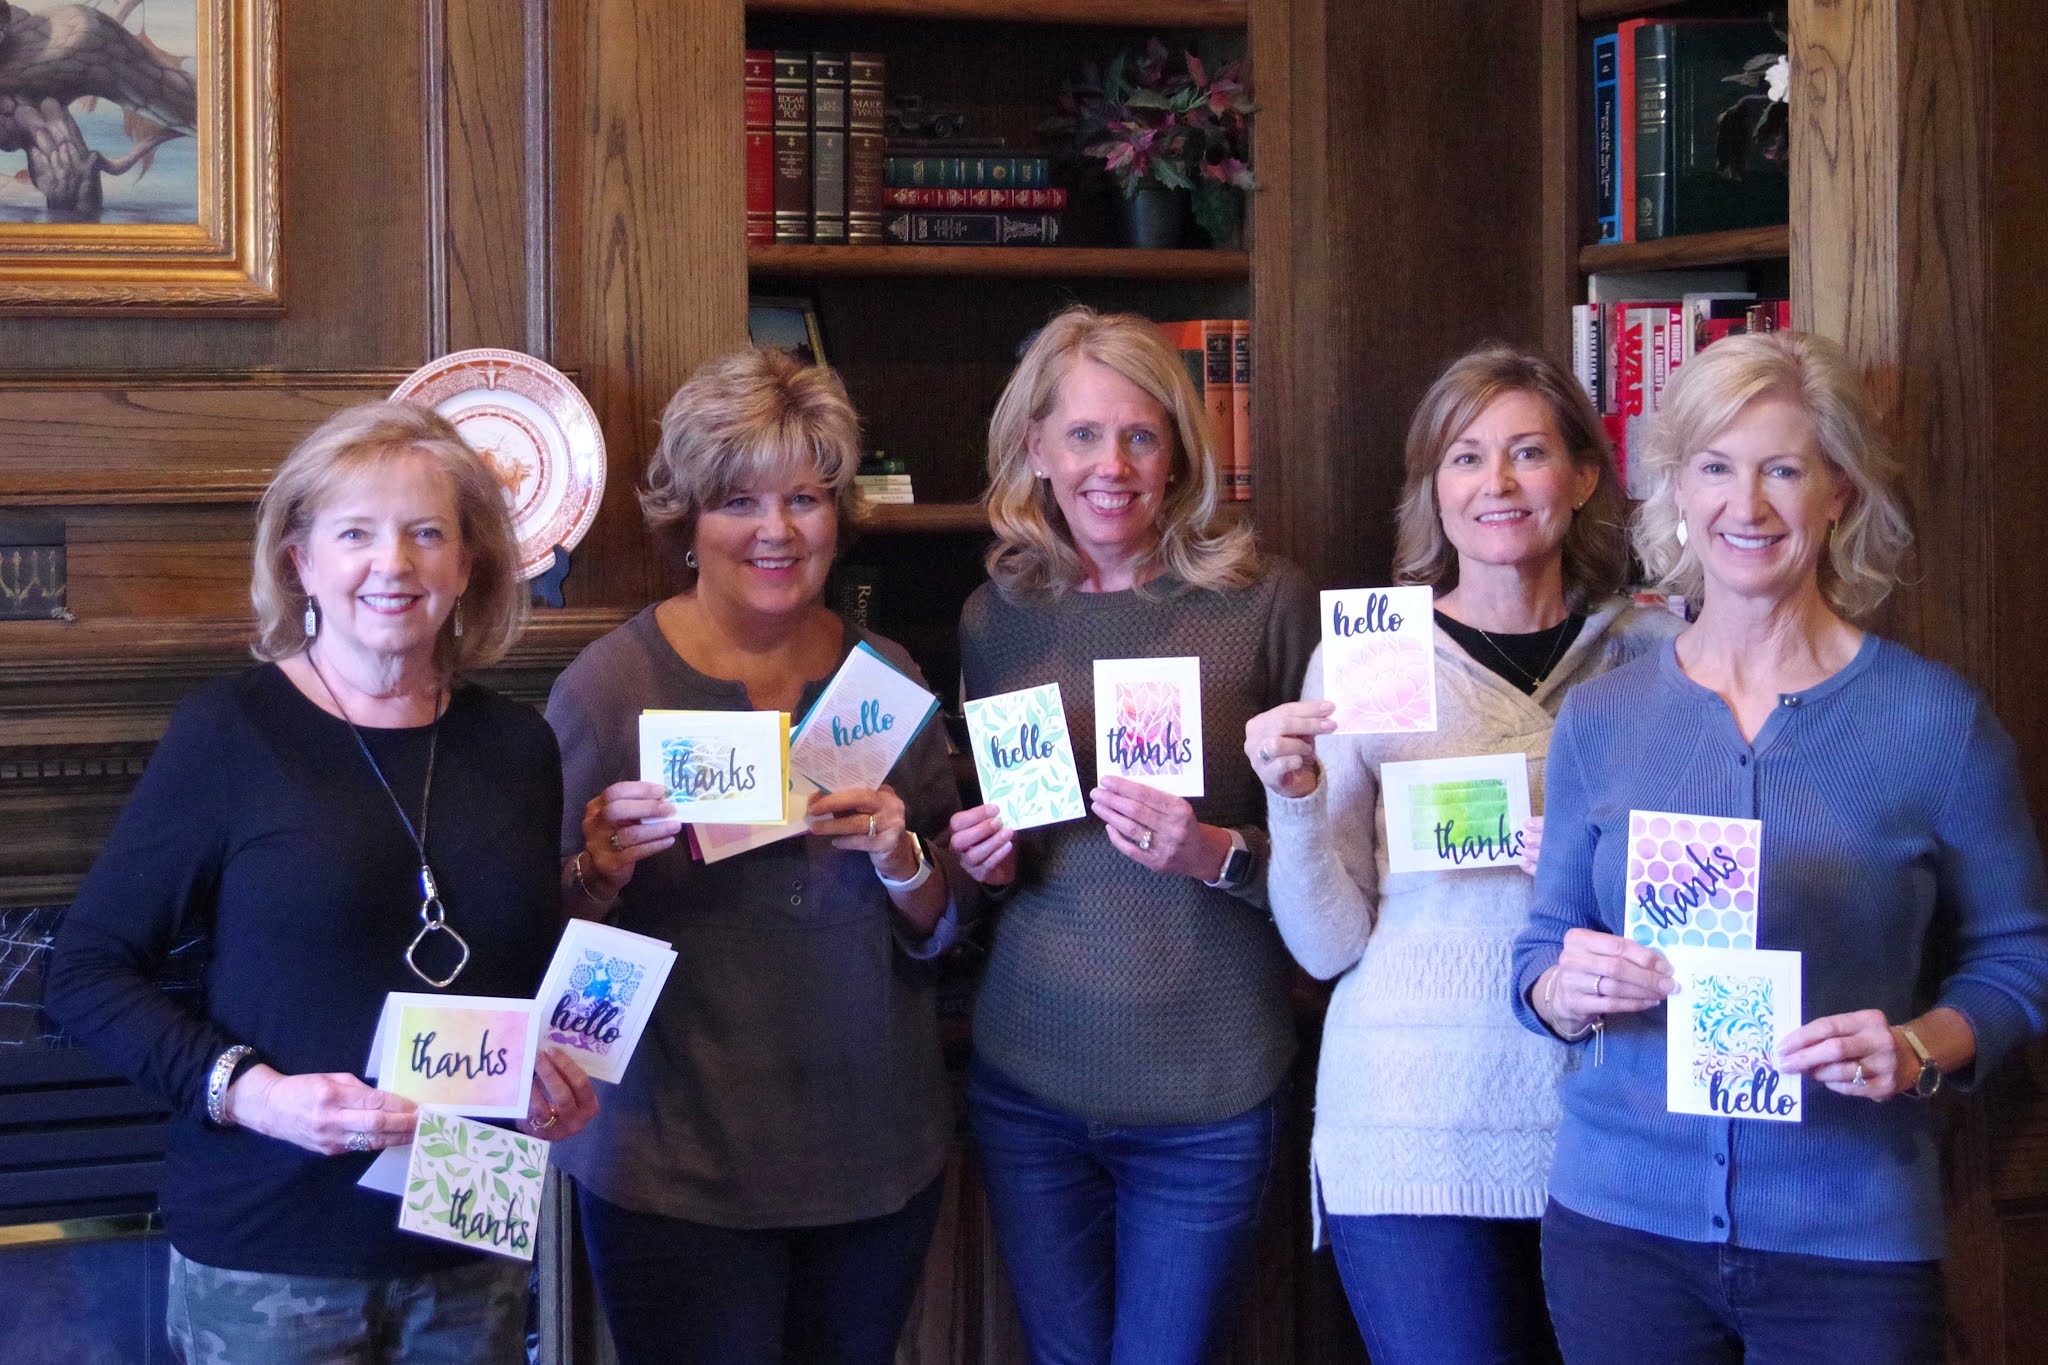
Of course we needed a group photo as well.
I think my friends had a great time….as Nancy said \”Making cards is relaxing, fun and therapeutic\”. Exactly!
A big thank you to Virginia, Erum, Kathy, Rhonda, Nancy and Liz. What a fun day!
Essential Altenew Supplies:
Flowing Drops Stencil
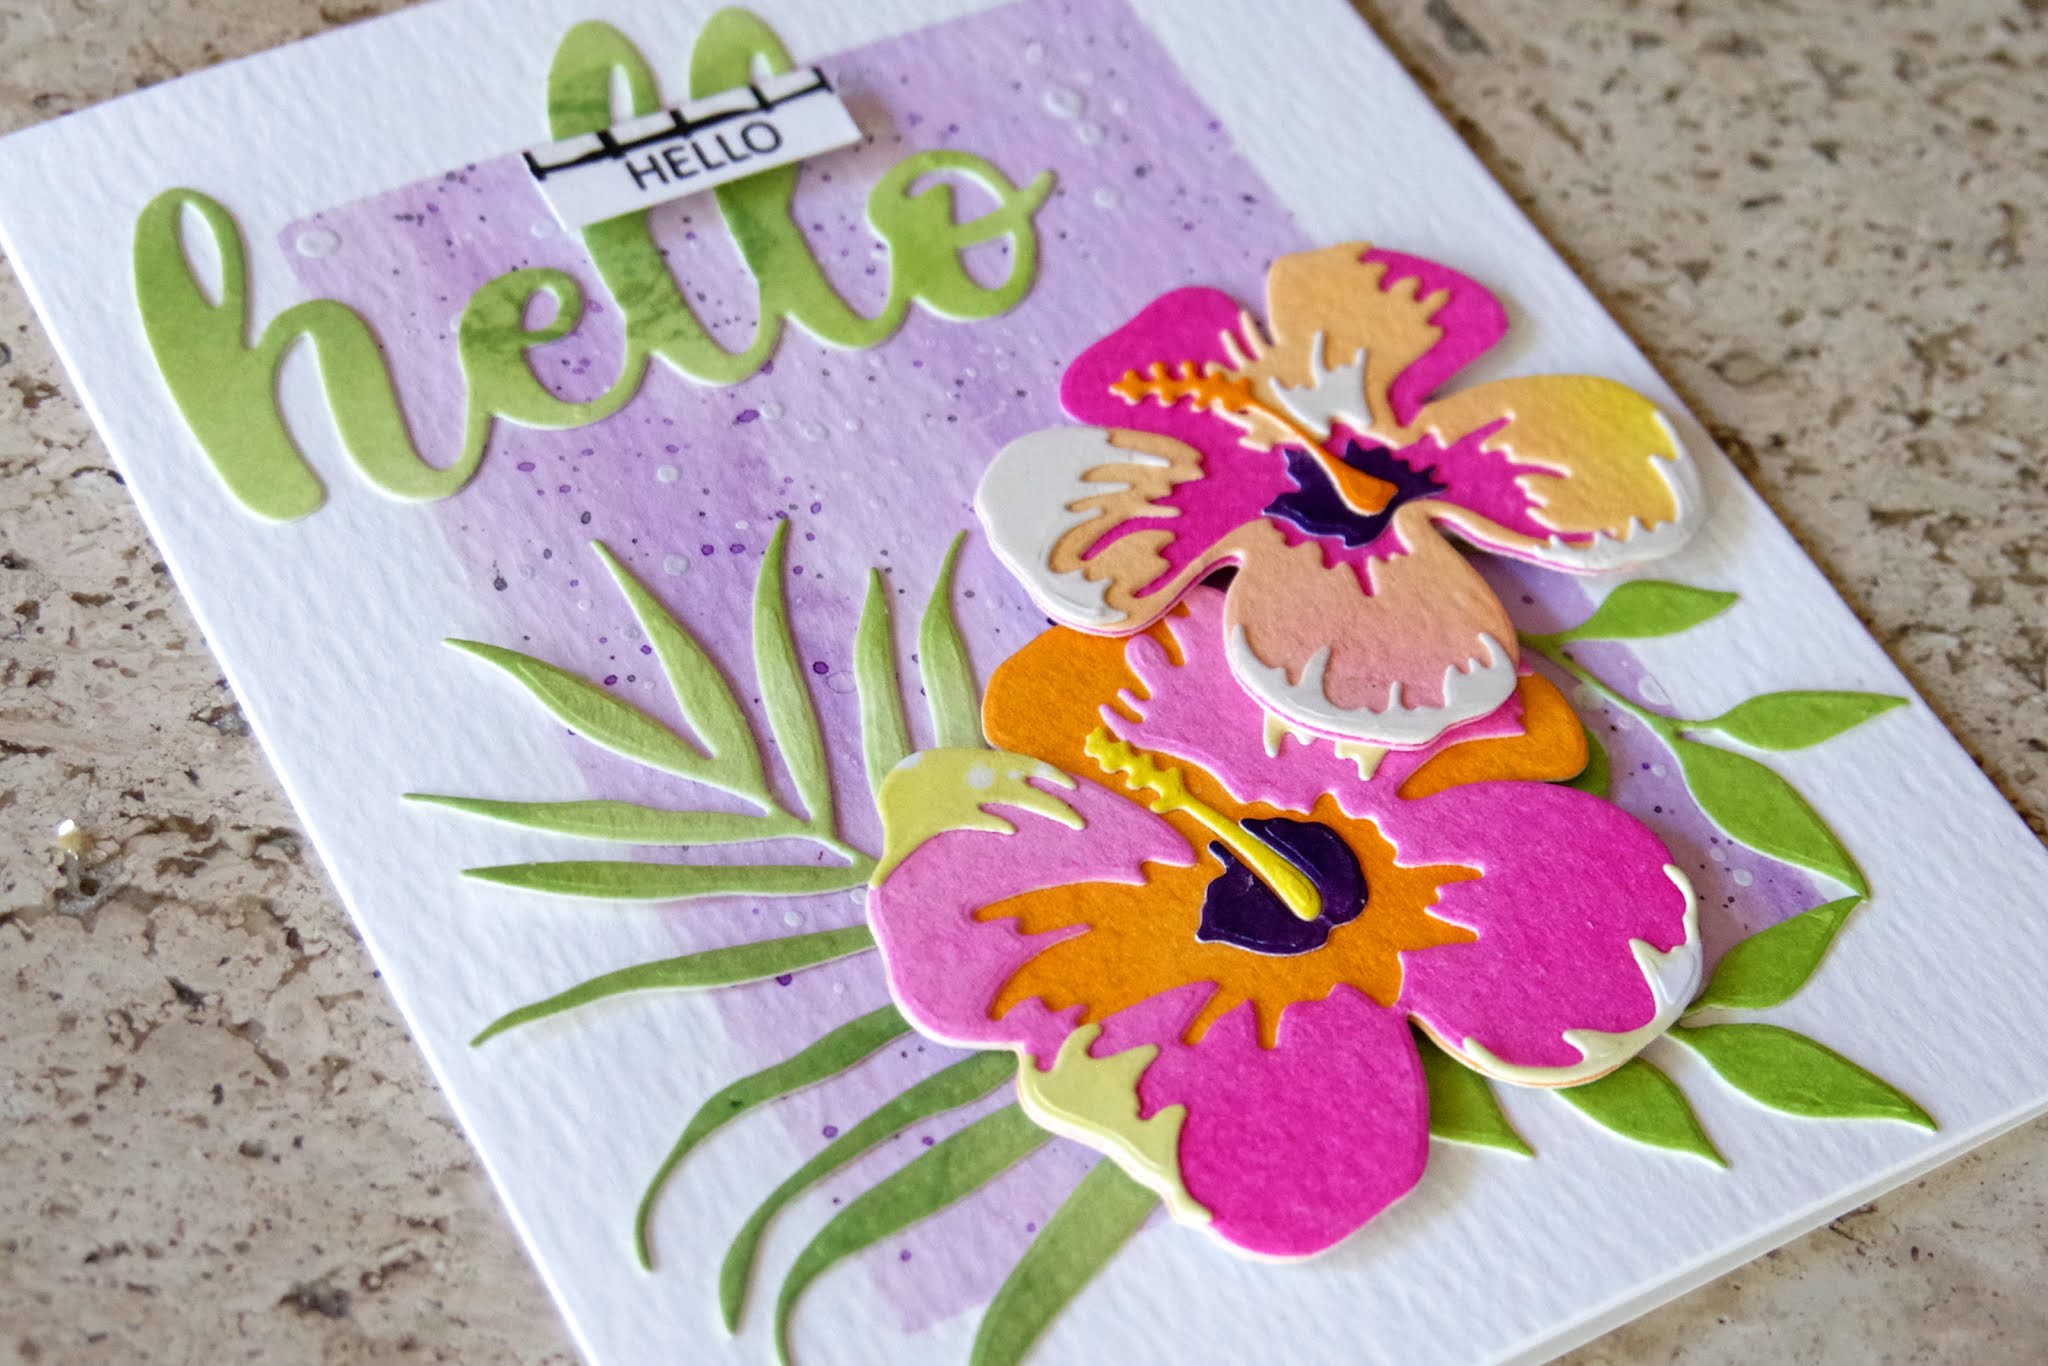
Hello Die
Thanks for stopping by! It was most enjoyable and I am happy to share the experience with you.
Karen