The Best and most popular Handmade Cards of 2024.
Category: cardmaking
VIDEO: 3 Creative Ways to Stencil Butterfly Cards
Video tutorial showing three creative ways to use your layering stencils to create beautiful handmade cards.
Help Me Craft an Amazing 2025—Your Ideas Wanted!
Call to subscribers asking what papercrafting content they would like to see in 2025.
Quick and Easy BetterPress Notecards | Spellbinders
BetterPress Tutorial detailing how to create easy and elegant letterpress floral notecards.
Opening My Crafty Advent Calendar | Week 1 | Spellbinders
Opening Week 1 and creating with Spellbinders Paper Arts 2024 Crafty Advent Calendar.
Handstitched Love | Spellbinders December 2024 Stitching Club of the Month
Handstitched Valentine "Love You" card in lovely pinks and gold created with Spellbinders December 2024 Stitching Die of the Month kit.
Let’s Decorate the Tree! Hand Crafted Stitched Felt Ornaments
Creating felt handstitched Christmas Tree ornaments for your tree or to give as gifts to friends and family with Spellbinders and Nichold Spohr's Felt Stitch and Create Ornament Kits.
Opening Day 1 of the Crafty Advent Calendar | Spellbinders
Spellbinders Paper Arts Crafty Advent Calendar Day 1 Reveal complete with a handmade card with 3 hot air balloons floating in the clouds.
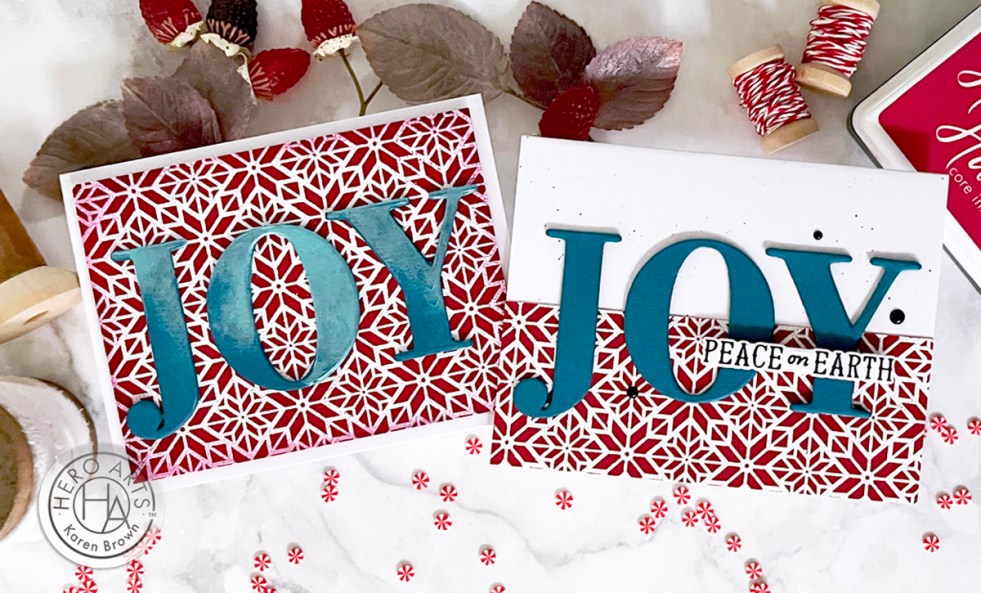
BOLD Heat Embossing | Hero Arts
How to get beautiful bold heat embossing results everytime. Hero Arts Abstract Poinsettia Pattern Cling Stamp - November 2024
Spellbinders | Rocky the Dancin’ Yeti | Monster Friends Collection
Adorable Die Cut Monster handmade card with Rocky and Roxy the Dancin' Yeti from Spellbinders Paper Arts
