Die cut scene cards are one of the most eye-catching styles in cardmaking, and with a few simple design principles, they’re surprisingly easy to create. Today I’m sharing tips for building a cohesive, masculine die cut scene card using the Spellbinders March 2026 Large Die of the Month: Classic Kicks.
This is part of my ongoing series where I test and create with monthly cardmaking kits.
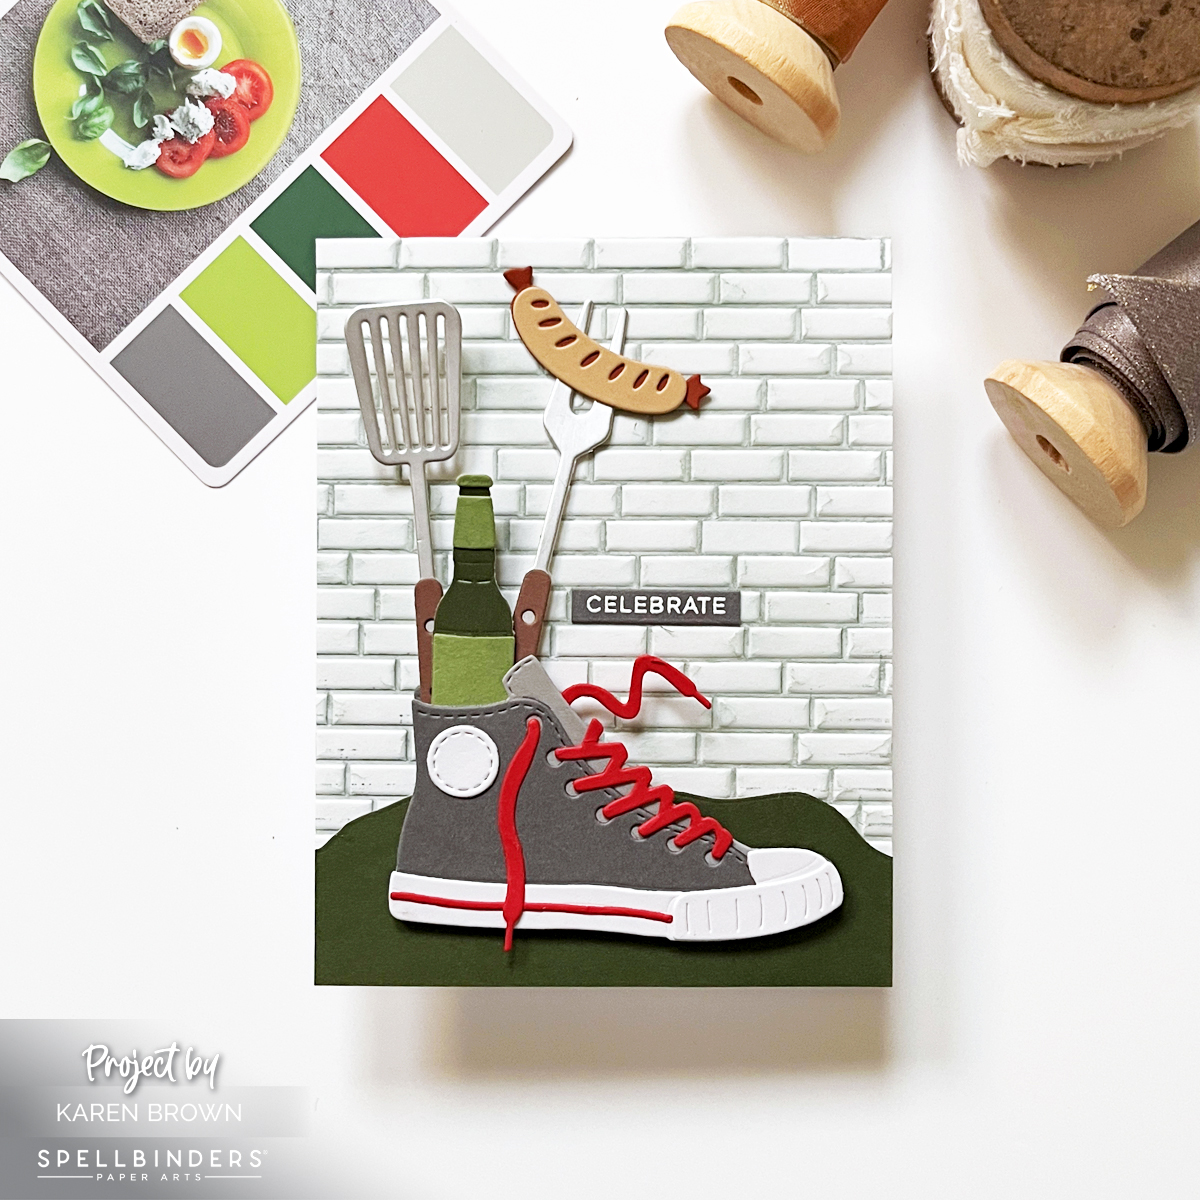
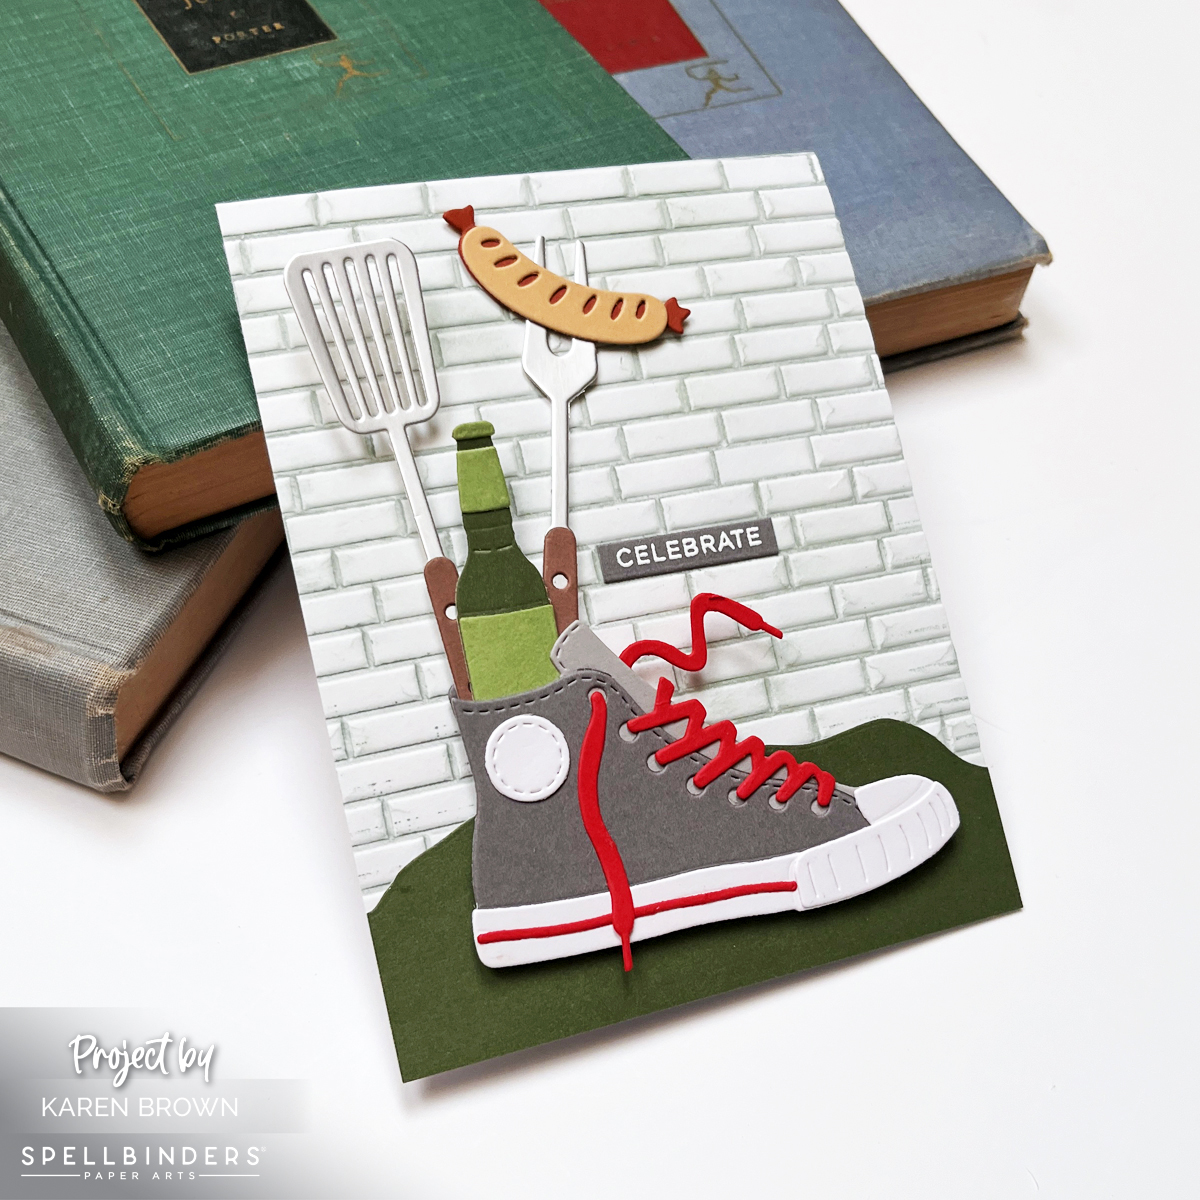
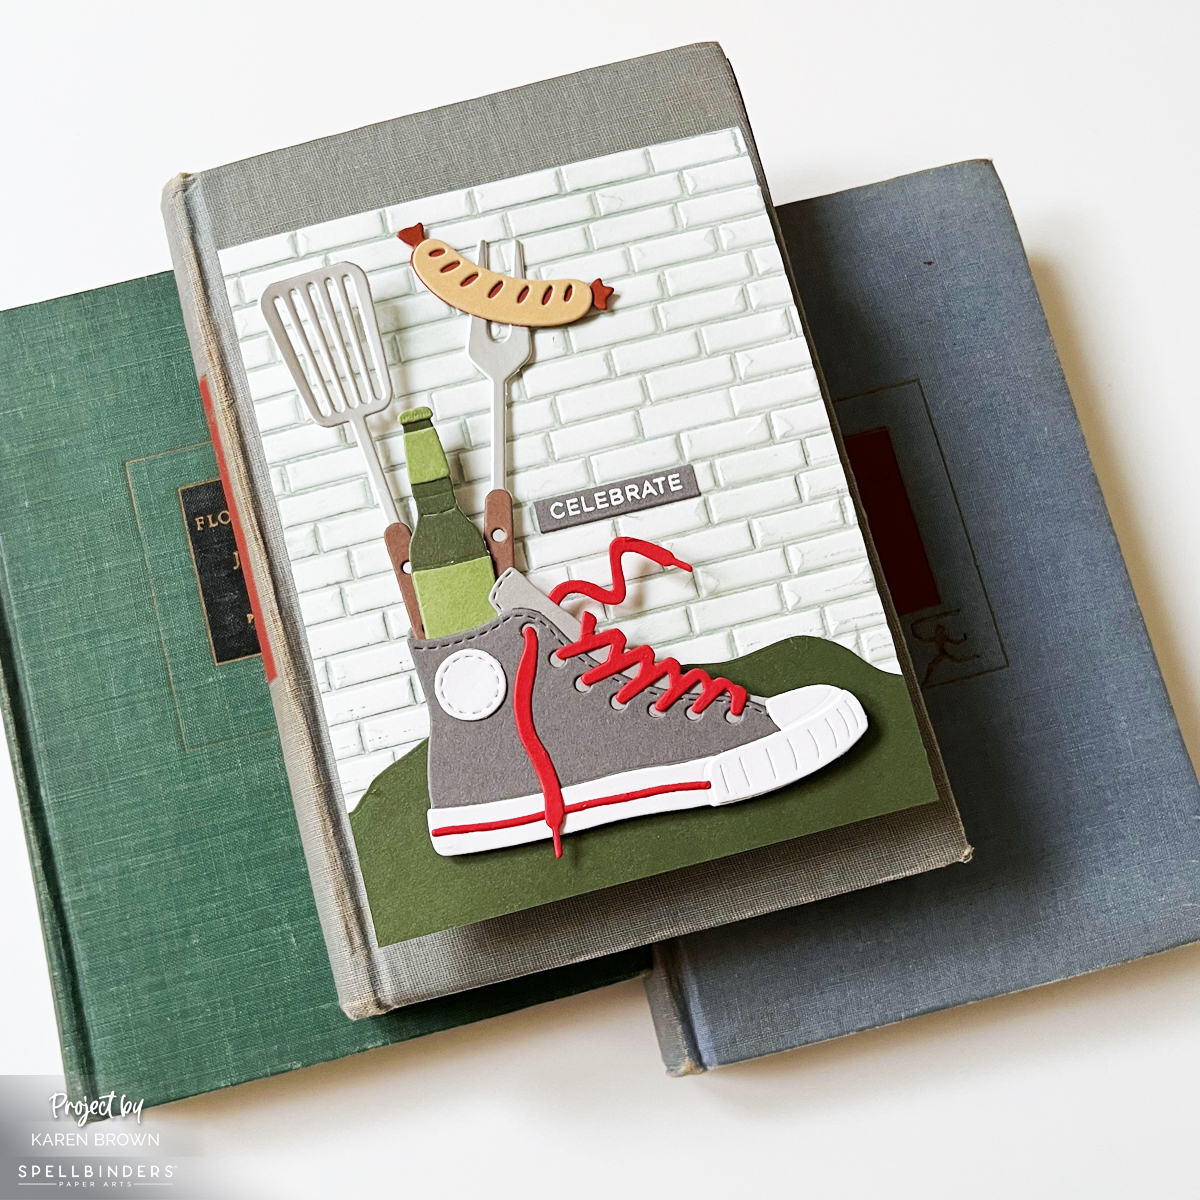
This kit made me smile instantly—a gray high-top sneaker stuffed with backyard cookout favorites like a spatula, grilling fork, hot dog, and bottled drink. It feels nostalgic, playful, and perfect for celebrating the men in our lives.
If you are building your craft stash, you can browse all my go-to tools on My Favorite Cardmaking Supplies Page.
Why Scene Cards Are Always a Hit
Scene cards are:
- Recipient favorites
- Great for storytelling
- Ideal for birthdays, celebrations, and “just because”
This particular scene instantly evokes backyard cookouts, summer evenings, and casual gatherings—paper crafting at its best.
Die cutting is especially great for other masculine designs, like this Speedometer card I shared.
Choosing a Limited Color Palette
Because this kit has a bold, graphic style, I kept my color palette intentionally tight:
- Gray
- Green
- A pop of bright red
I was inspired by Color Cubes Palette #23, and as a general rule, I try to stick to 2–5 colors per card. This keeps the design cohesive and prevents a busy look—especially important for scene cards with lots of elements.
I talk more about using color in my video and blog post about stenciling and color theory.
The Key Parts of a Die Cut Scene Card
1. Background: Setting the Scene
The background sets the mood. You can use:
- Stenciling
- Stamping
- Embossing
- Die cutting
- Texture paste
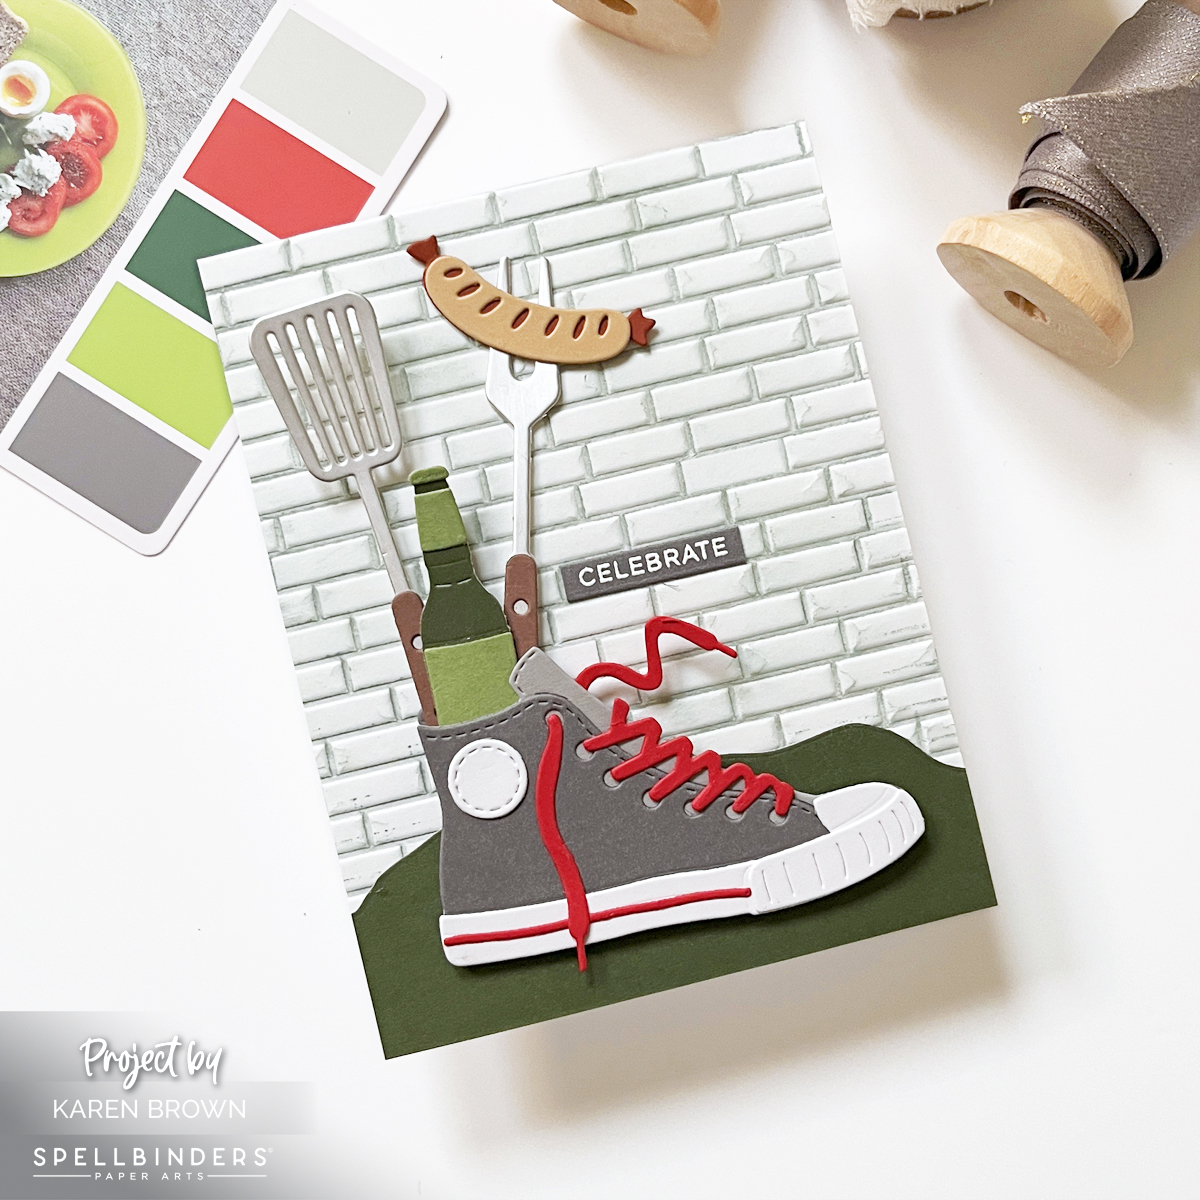
For this card, I used a 3D brick embossing folder, pressing Fog Ink directly onto the folder before running it through my Platinum 6. After embossing, I lightly ink blended more Fog ink over the panel to add subtle distressing and depth.
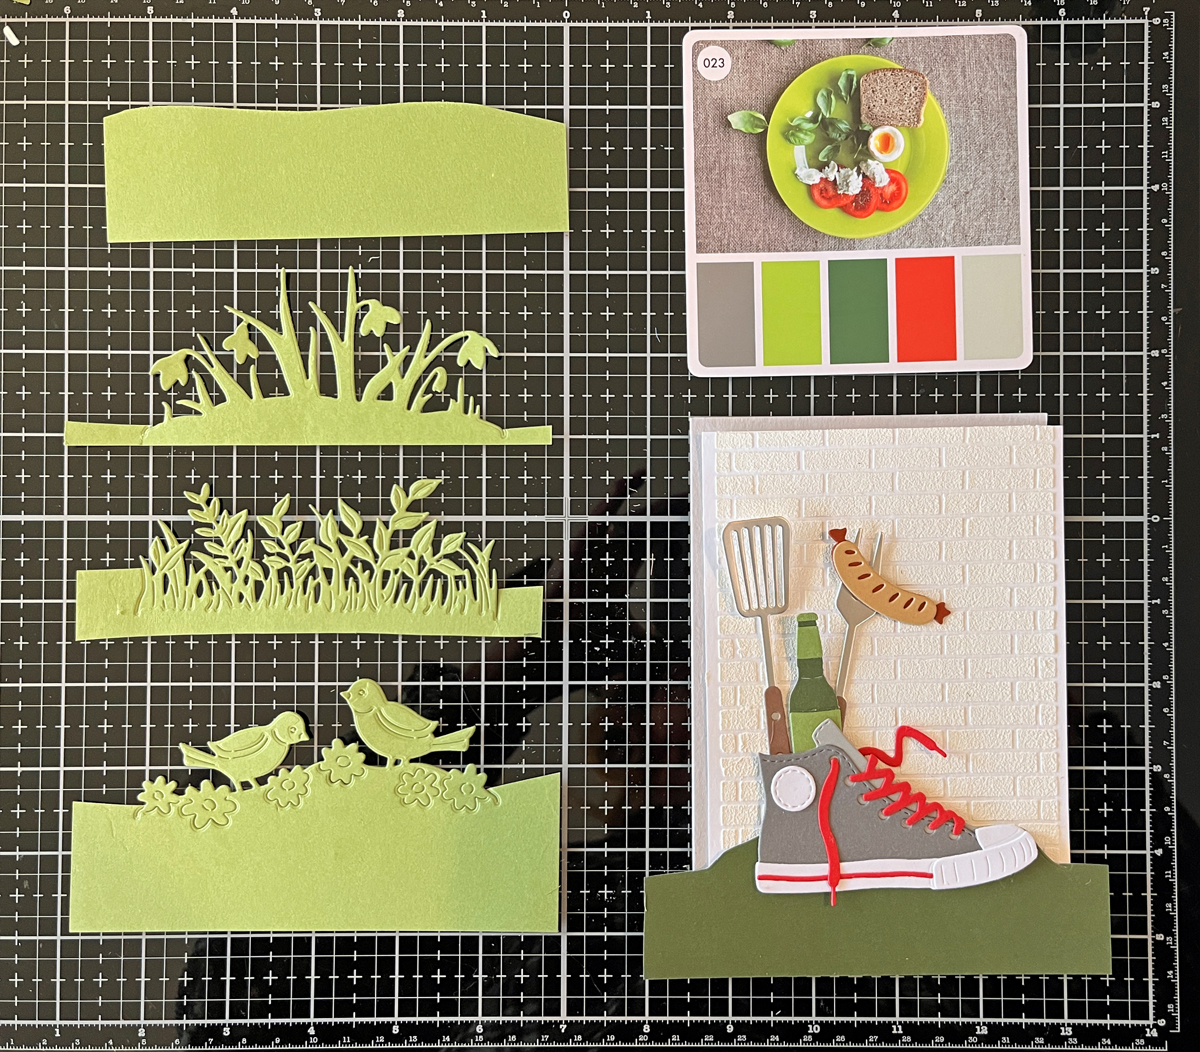
Before committing, I auditioned several premade backgrounds from my stash (you can see this in a process photo below). I love making two backgrounds at once—one for the project and one for later.

If you’d like an idea for an additional background to add to your stash, this video demonstrates a versatile but easy glimmer hot foil background. I store my extra background panels in rainbow order, which saves so much time and makes design decisions easier.
2. Foreground: Grounding the Scene
Foreground elements help anchor your focal point so it doesn’t feel like it’s floating.
I tested several green die-cut options and ultimately chose a simple grassy horizon cut from dark green cardstock. This small step made a huge difference visually. You could easily cut a foreground freehand if you don’t have a die.
I adhered the foreground directly to the embossed background.
3. Focal Point: The Star of the Card
The die-cut sneaker bouquet is the star here. I even used silver cardstock for the grilling utensils, which adds a realistic metallic look.
I attached the sneaker with foam squares to give it dimension and help it stand out from the scene.
My Platinum 6 Die Cutting Machine is one of the tools I rely on regularly and is included in my list of the best cardmaking supplies for 2026.
4. Charming Details: Where the Fun Happens
This kit includes:
- Flowers
- Backyard cookout elements
These little details are my favorite part of scene card building. I always arrange everything loosely before gluing—it’s like solving a fun paper puzzle.
5. Sentiment: Keep It Simple
I finished the card with a small white heat-embossed “celebrate” sentiment on gray cardstock, using Everyday Sentiment Strips 2 and the coordinating die.
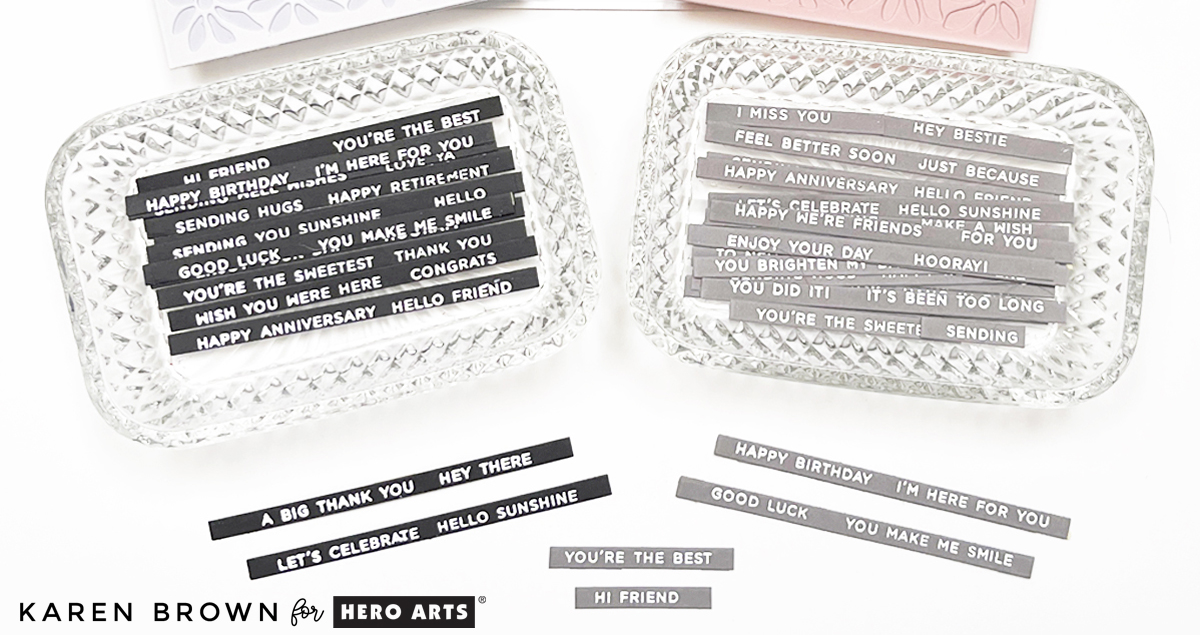
These sentiment strips are a huge time saver, which I demonstrate in this recent post.
Design Tip: Use the Rule of Thirds
To guide placement, I followed the rule of thirds, positioning the taller elements (spatula, fork, bottle) along the left vertical third of the card—about 1 1/3” from the edge of an A2 card. This adds balance and visual interest without overthinking the layout.
Part of My Kit Subscription Series
I love testing and creating with monthly cardmaking kits. You can explore more here:
Check out my 14 Best Supplies for Cardmakers (2026 Edition) if you are interested in adding to your toolbox.
Final Thoughts
Scene cards may look complex, but when you break them into backgrounds, foregrounds, focal points, and details, they become incredibly approachable—and so fun to create.
If you enjoyed this, you might be interested in this popular Winnie the Pooh post.


OMG! How have I missed your blog up until now? Not only is your card ABSOLUTELY AWESOME, your explanations along the way are SO VERY HELPFUL!! I truly appreciate the inspiration and clear instructions!! I immediately subscribed to your blog, and I can’t wait to explore past projects. THANK YOU! Please know that you are VERY APPRECIATED by your newest fan!!
Judy Rowland
lifesabeach32940@cfl.rr.com
LikeLike
Judy, thank you so much for your kind comments! I look forward to seeing you in the future too. 🙂
LikeLike