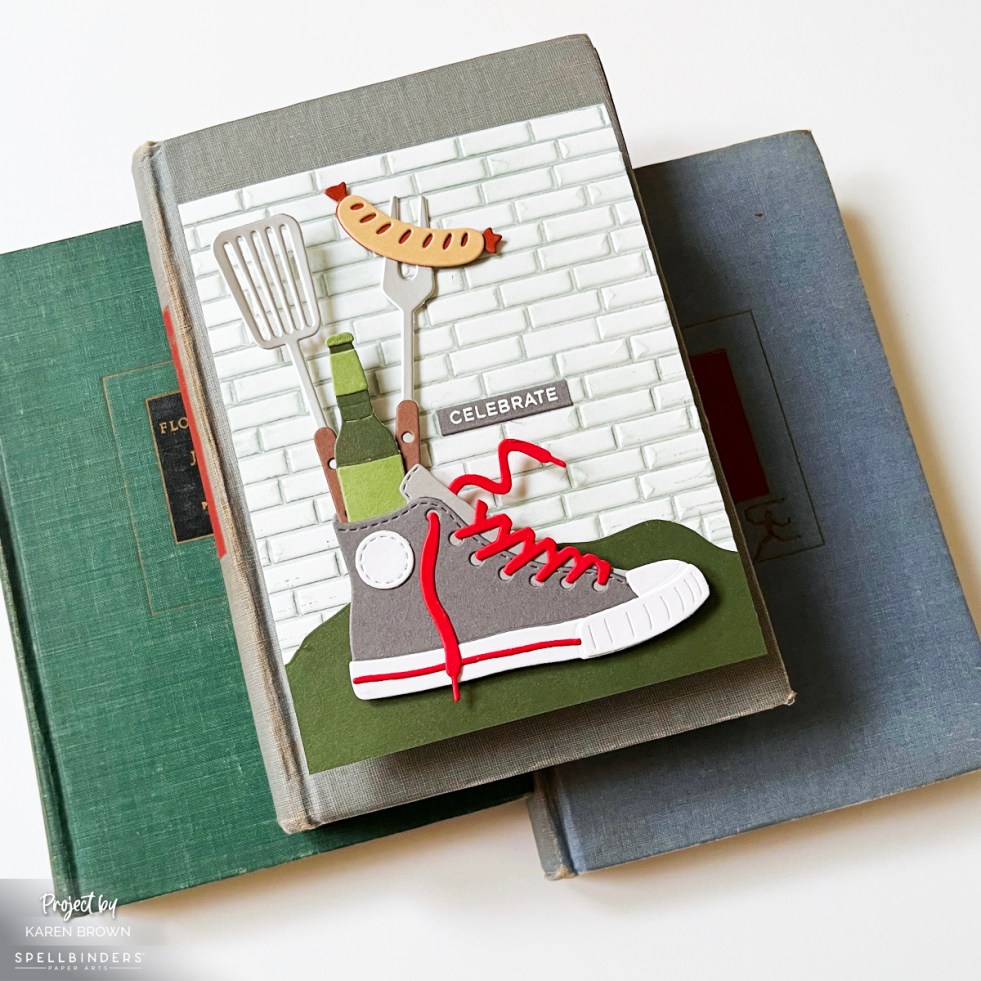
Learn how to create die cut scene cards using simple design principles that work every time. This masculine Spellbinders card features layered backgrounds, grounding foregrounds, and a playful focal point inspired by backyard cookouts. I used the Spellbinders March 2026 Large Die of the Month Club Kit called Classic Kicks.
Tag: Sarah Renae Clark Color Cubes
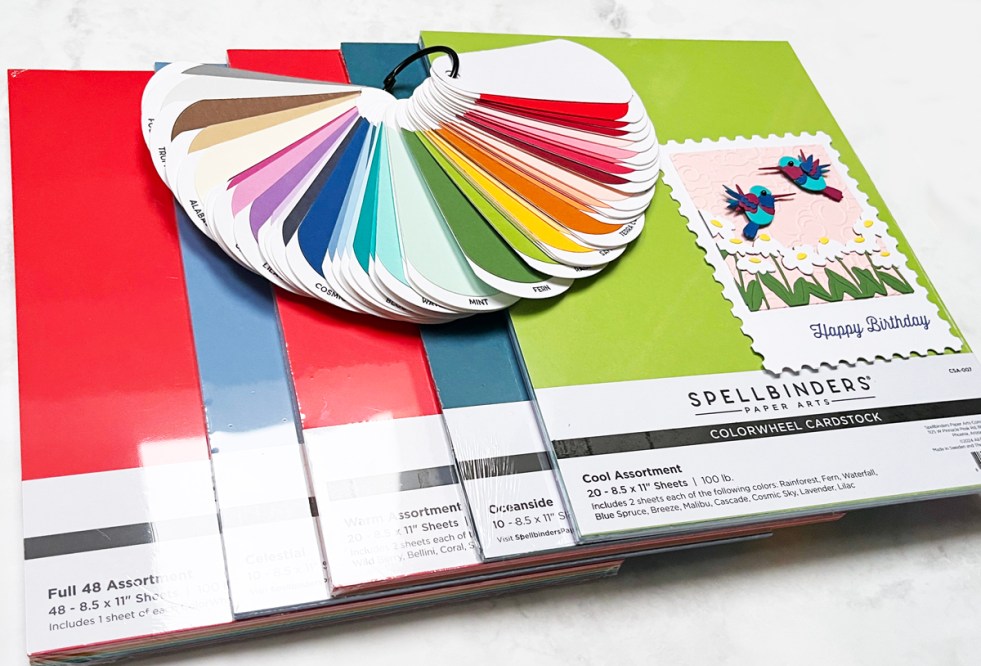
14 Best Cardmaking Products & Supplies for 2026 (Must-Have Craft Room Staples)
Looking ahead to a creative 2026, I’m sharing the 14 cardmaking tools and supplies I use most — from favorite subscription kits and die-cutting machines to cardstock, inks, organization tools, and texture essentials. These are tried-and-true favorites that truly earn their place in my craft room and are perfect for cardmakers looking to stock up wisely this year.

Spellbinders Stitching Die of the Month – Beautiful Blooming Florals
The Spellbinders September 2025 Stitching Die of the Month is in full bloom! I created layered stitched flowers in coral, pink, and yellow with sparkling gem centers, a stitched Waterfall background, and swapped in Citrus Spritz leaves for extra flair. Come see my stitching recipe and tips!

4 Tips for Christmas Cardmaking
In this post, I share 4 practical tips for holiday cardmaking while featuring Spellbinders’ new Christmas Cracker Die Set and Dimpled 3D Embossing Folder. Tips include using quality cardstock, swatching colors, drawing from color inspiration systems, and adding texture/dimension. With bold non-traditional colors inspired by Color Cubes #252, this festive card shows how simple choices can transform your designs.
Spellbinders | More Fresh Picked Collection
Lovely feminine birthday card created with Spellbinders Fresh Picked Vase Bouquet from the More Fresh Picked Collection.
18 Tips and Tricks for Making Wax Seals | Spellbinders
Tips, Tricks and Tutorial on how to make wax seals with Spellbinders Wax Seal Kit.
Spellbinders Cards | Be Bold Blooms Floral Die Kit 3 Ways
Spellbinders Be Bold Blooms Dies (S5-502) handmade cards using inspiration from Sarah Renae Clark's Color Catalogue and Color Cubes.
Altenew Celebrating Parents Card Drive 2023 Blog Hop + Giveaway ($200 in Total Prizes!)
Mother's Day Cards created with Altenew's Stunning Sakura stamp, die and coloring stencils.
