Creating stunning, multi-layered mixed media tags is easier than you think—here is an easy to follow 9-step tutorial.
When creating mixed media projects, I use my 3-Step Recipe.
The techniques I’m sharing today can be used with almost any stamp set or focal elements you already have.
If mixed media feels a little intimidating—don’t worry. This project is about building layers slowly, having fun with color, and letting the process guide you. Let’s walk through it step by step!
👉 I’ll link to the exact supplies at the bottom of this post.
Step 1: Create a Watercolor Gradient Background
When I saw the Hero Arts Partners in Brine Stamp Set, I immediately pictured a colorful, summery mixed media background filled with texture, stamping, and playful details.
I began by taping a 6″ x 6″ panel of watercolor paper to a hardboard using washi tape. On my craft mat, I dabbed Hero Arts Reactive Ink, spritzed it with water, and used a brush to watercolor a smooth gradient.
- Bottom: Splash (blue)
- Middle: Lemon Drop (yellow)
- Top: Taffy (pink)
I blended the colors so they flowed from blue into green, yellow, orange, and finally pink. Since this stamp set has an aquatic theme (which always feels like summer to me), I wanted bright, happy, sun-washed color.
Dry your panel naturally or speed things up with a heat gun. If your paper warps, simply flatten it later with a book.
Step 2: Stamp in Coordinating Colors
Once dry, I stamped images from the CM834 Partners in Brine stamp set using the same inks:
- Splash on blue areas
- Lemon Drop on yellow areas
- Taffy on pink areas
I especially loved the Packed with Love, waves, anchor, fish, and “packed in brine” images. Stamping in matching colors keeps the look layered but cohesive.
Step 3: Add Second-Generation Stamping
To deepen the texture, I used Black and Root Beer Reactive Ink and stamped a few images using second-generation stamping (inking the stamp, stamping once on scrap paper, then stamping again on the background).
Second Generation Stamping adds subtle depth without overpowering the colors.
Step 4: Add Ink Splatters
Next came one of my favorite steps—ink splatters! Using a fan brush, I flicked Splash, Lemon Drop, and Taffy onto the panel.
Ink Splatters add movement, texture, and that perfectly imperfect mixed media charm.
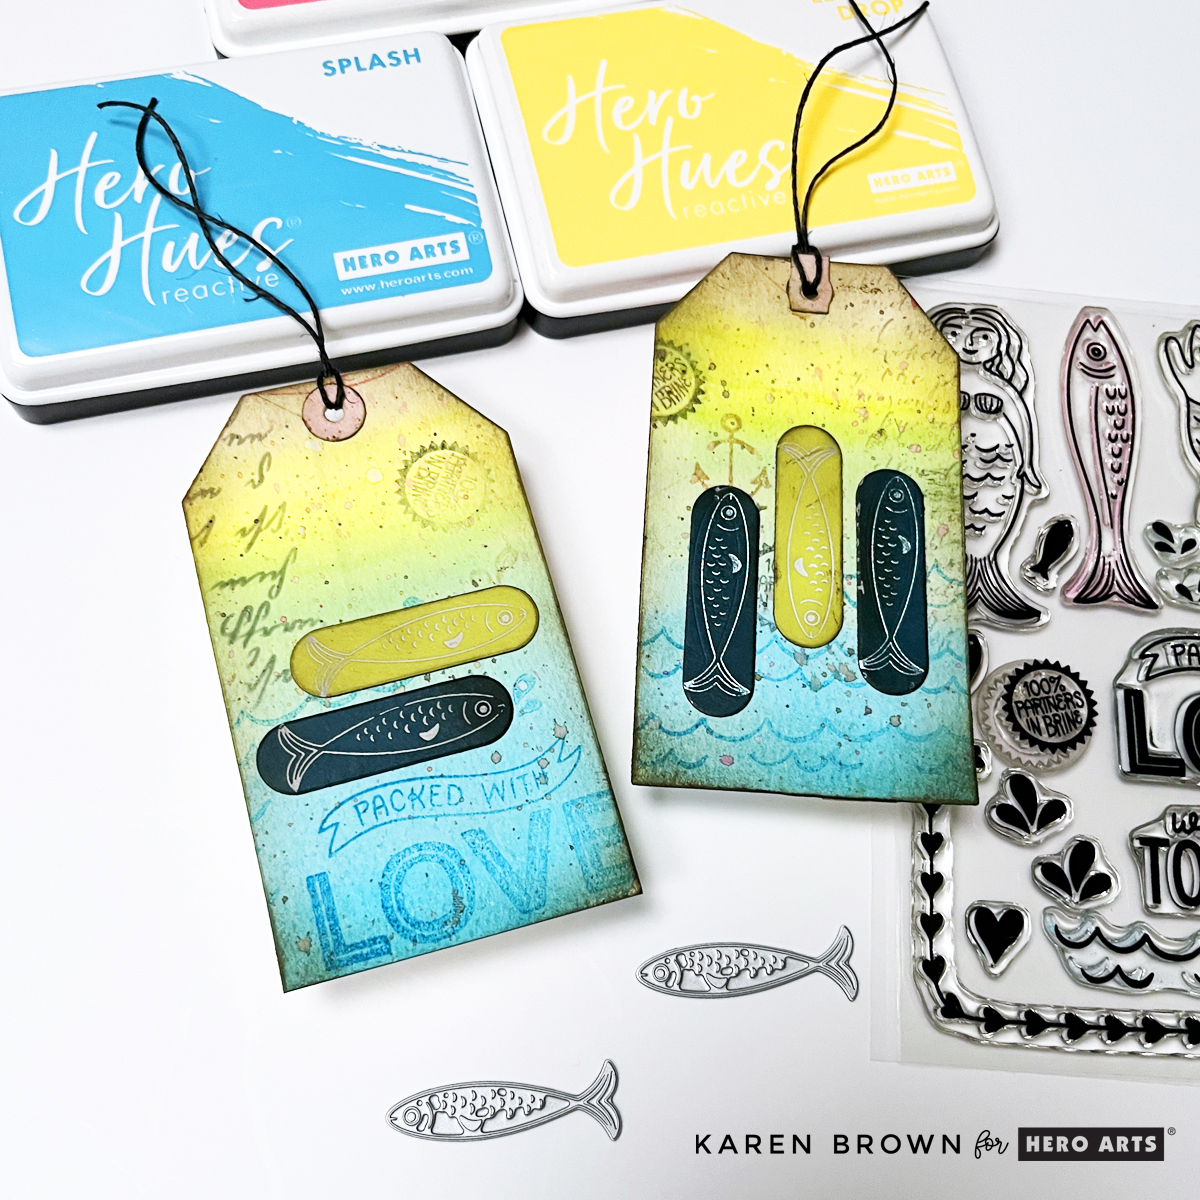
Step 5: Die Cut the Tags
Before cutting, I used my Hero Arts Tag Infinity Die as a viewfinder to decide which parts of the background I wanted to showcase. Once I had the section I wanted to use, I taped my tag die to the watercolor panel and ran it through my Platinum 6 die cutting matchine.
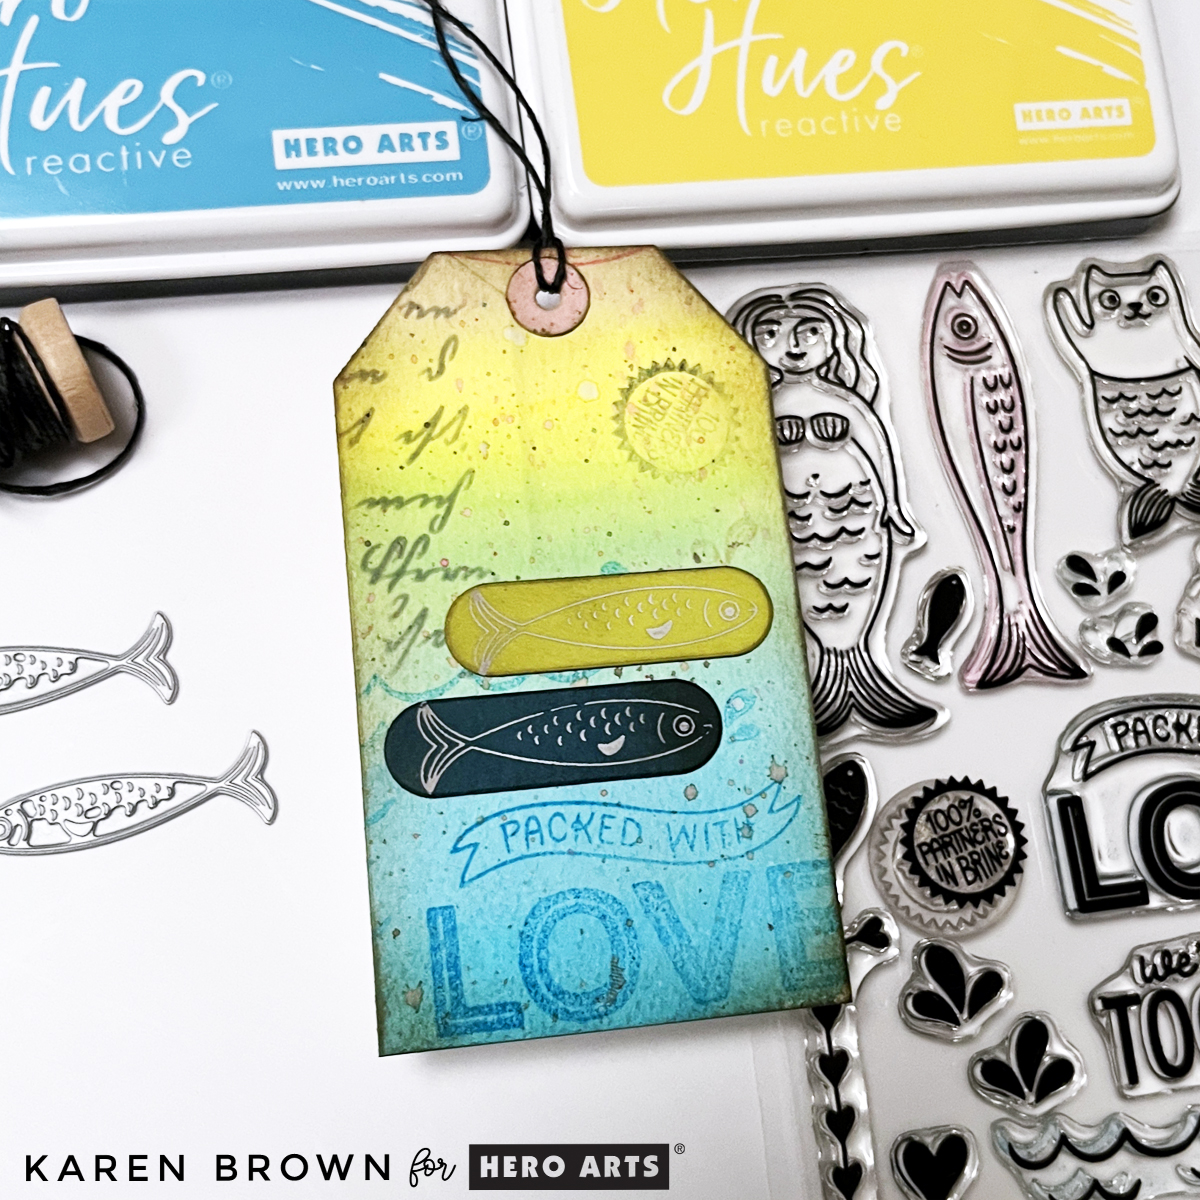
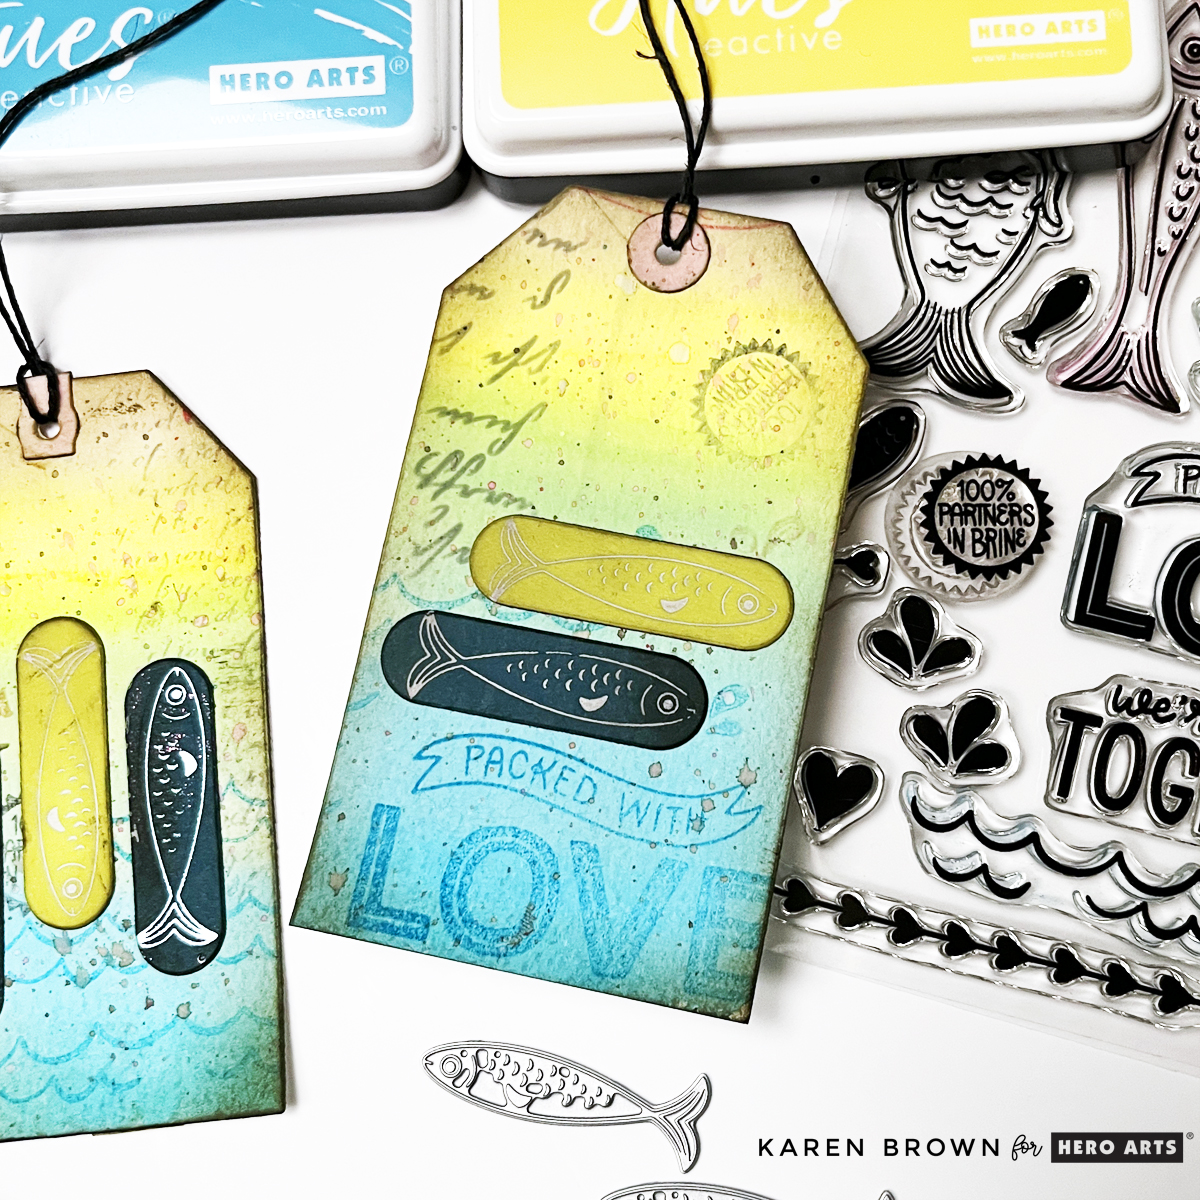
I die cut two tags (4½” x 2⅜”), making sure one included the “Packed with Love” area as a focal point.
Step 6: Ink the Edges
To give the tags a vintage, worn look, I ink blended Root Beer Reactive Ink around all the edges. This step instantly adds depth and contrast,
👉 Root Beer Reactive Ink is my go-to shade for “grunging up” a project.
My preference is to use color-coded blending brushes for ink blending. I find my brushes last longer since I only use one ink colorfamily on each brush.
Step 7: Add Script for Extra Texture
After studying my tags, I felt they needed a bit of visual “writing,” so I added:
- CG830 Script Bold Print stamped in Granite Ink on the top right of one tag
- SA225 Script Stencil (sadly sold out) stenciled in Granite on the top left of the Packed with Love tag
- But, you can use any stamp or stencil with words that you have. Look through your supplies and see what calls to you.
Subtle script details enhance the mixed media feel without distracting from the main design.
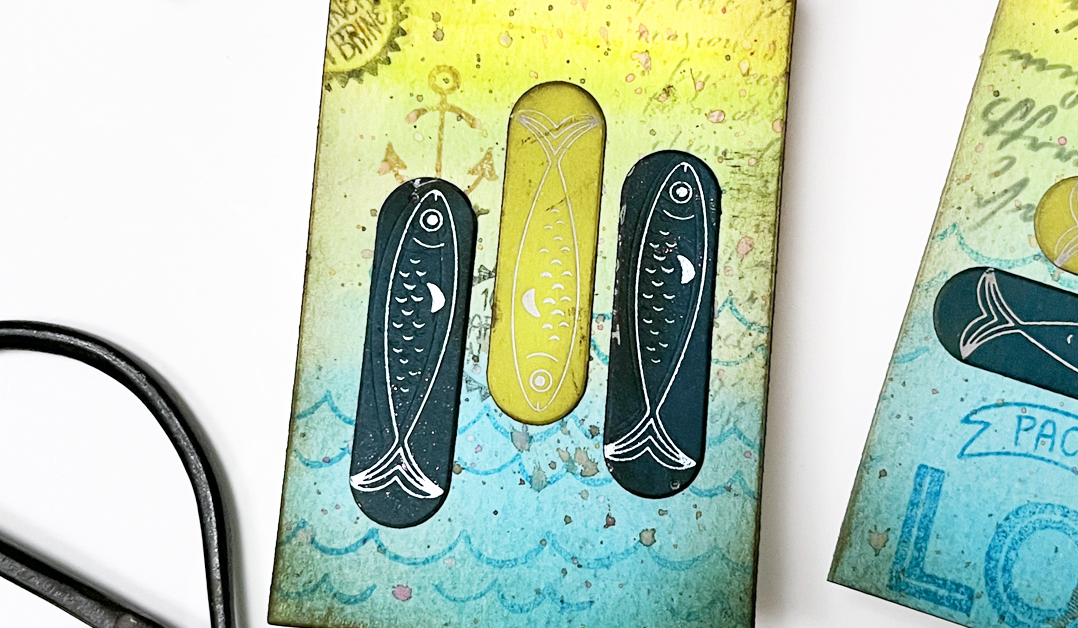
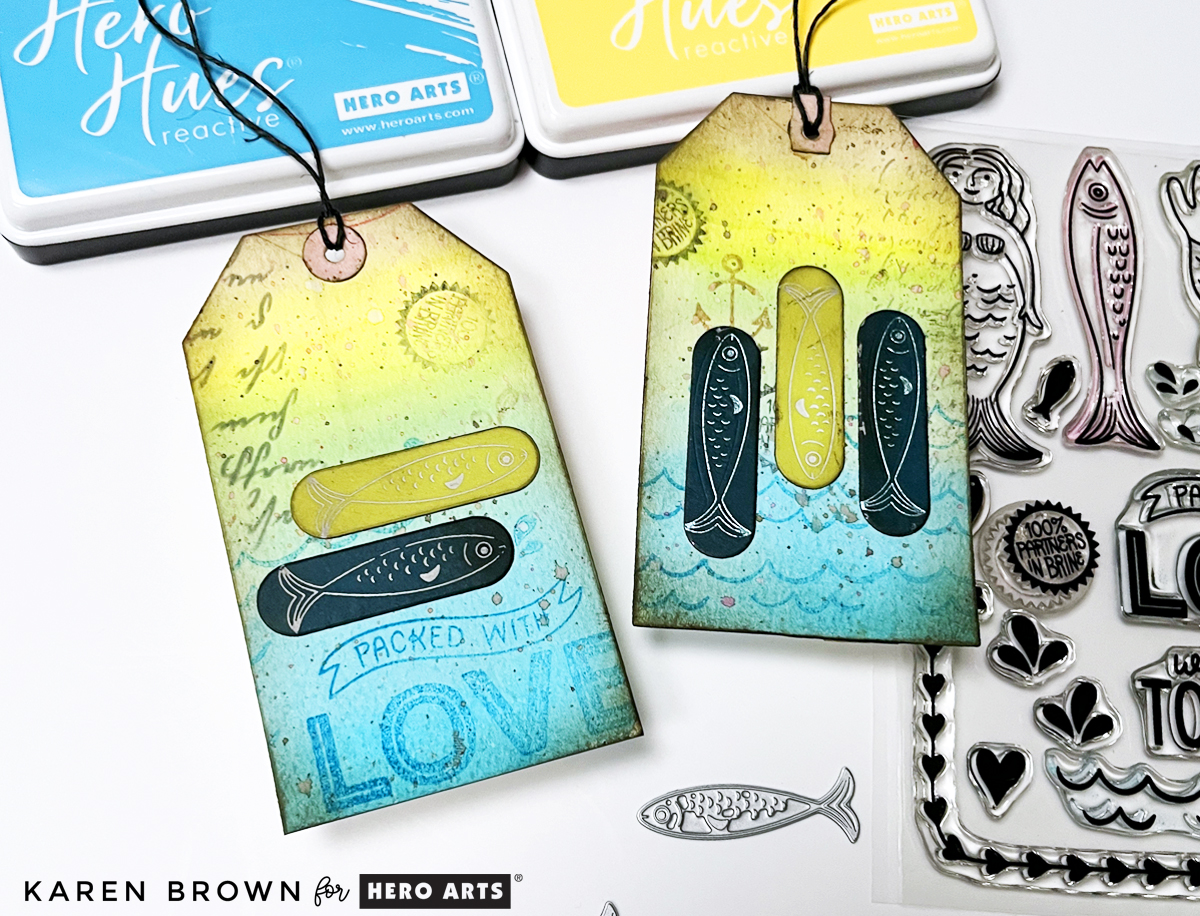
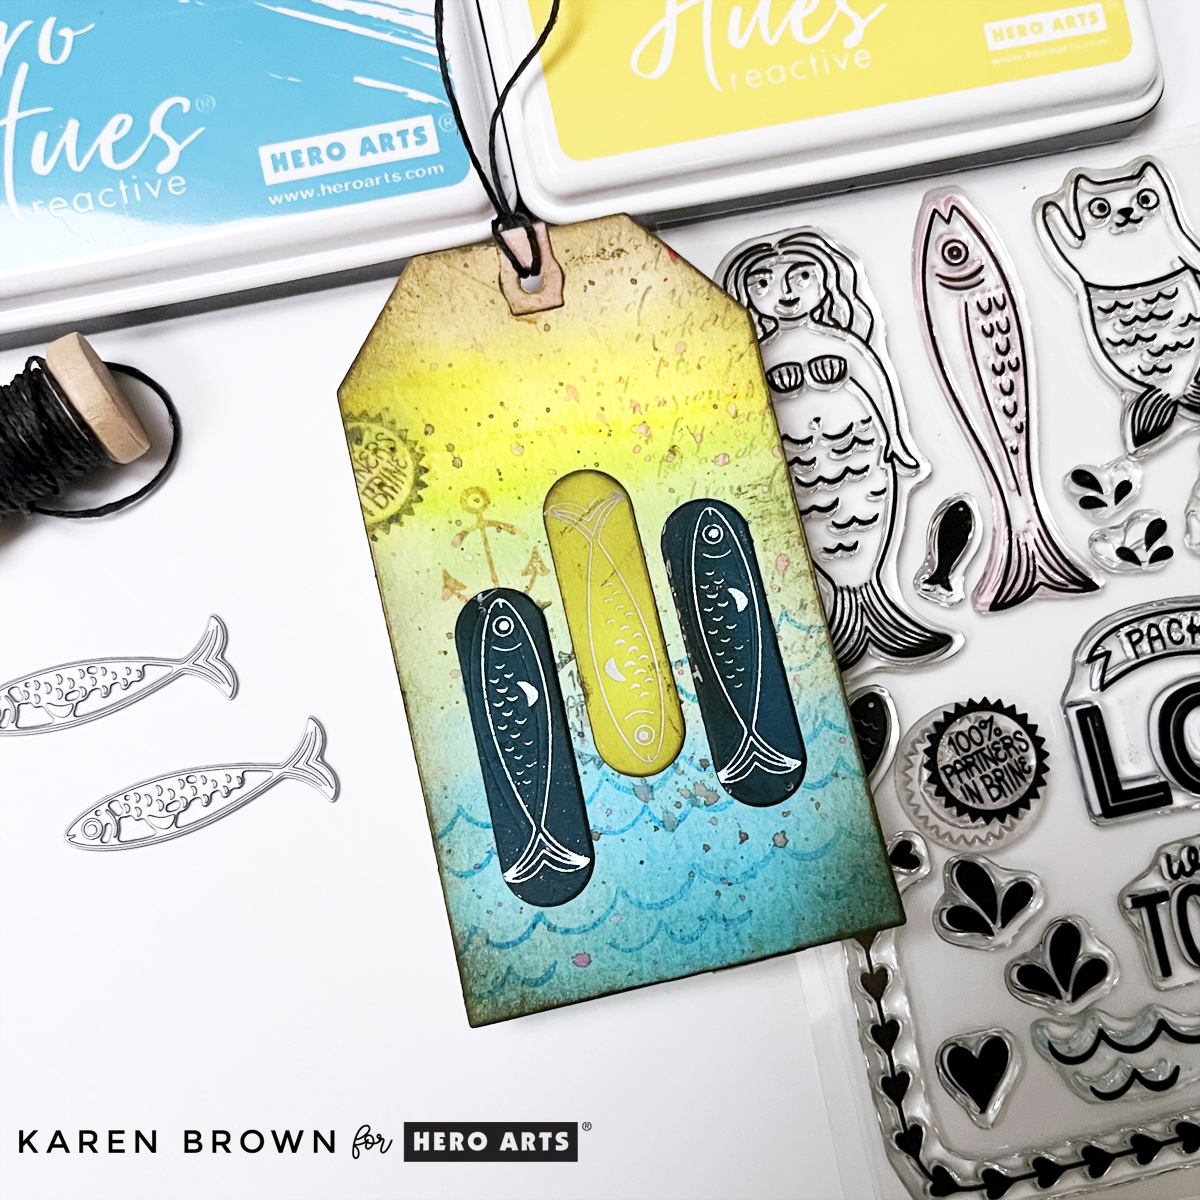
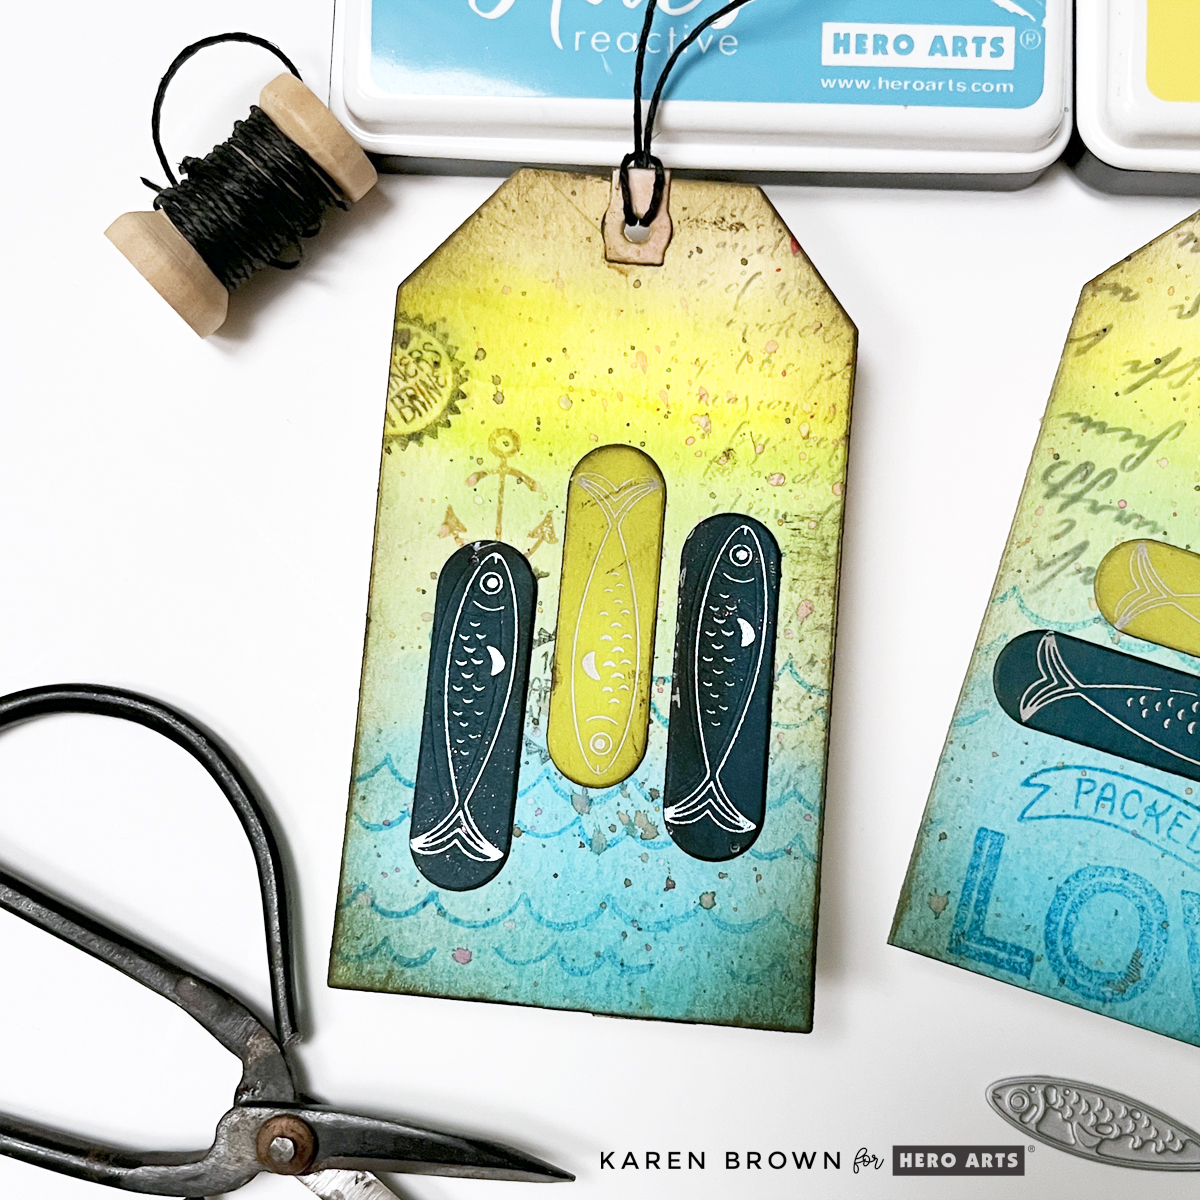
Step 8: Add Foiled Die Cut Focal Points
For something completely new (and honestly, adorable), I added Glimmer hot foiled accents—something I’d never tried on a mixed media project before!
I foiled the two sweet fish from HP131 Glad We Are Tight using white and metallic blue foil with my Spellbinders Glimmer System. I then:
- Die cut them using the smallest Rounded Rectangle Infinity Die
- Lightly distressed the edges with Root Beer ink
- Glued them directly onto the tags
The mix of soft watercolor, stamping, and shiny foil adds beautiful contrast.
Step 9: Finish with Twine or Ribbon
To complete the tags, I simply added twine through the top. This final touch makes them perfect for gift wrapping, journaling, mini albums—or even framing as tiny art pieces.
You might also be interested in my other blog post where I create with the Packed With Love Collection: Tips and Tricks for Making Two Playful Die Cut Card Designs.
Products Used:
- CM834 Partners in Brine Stamp Set
- Partners in Brine Stamp and Die Bundle
- HP131 Glad We’re Tight BetterPress Plates
- Packed with Love Collection
- Tag Infinity Dies
- Reactive Inks
- Root Beer Reactive Ink (best for distressing)
- Script Bold Print Background Stamp
- Glimmer Foil System
Final Thoughts
Mixed media doesn’t have to be complicated. By working in layers, repeating colors, and letting each step build naturally, you can create beautiful, dimensional projects that feel artistic without being overwhelming.
If you enjoyed this tutorial, I’ll link a couple of my other mixed media posts below for more inspiration. And remember—these techniques work with any stamps, any colors, and any theme. The process is what makes it magic.
- VIDEO: Mixed Media Tags for Absolute Beginners | 11 Easy Steps
- Easy and Addictive Mixed Media Tags
- Mixed Media Card Tutorial | A Step-By-Step Guide
Happy crafting!


3 thoughts on “How to Make Mixed Media Tags in 9 Easy Steps | Tutorial”