Today I’m sharing a playful Christmas elf card that combines bold colors, a cheeky sentiment, and a versatile foiled background. Even better—I filmed the entire process so you can craft along step by step.
I have a list of key supplies used below the video.
👉 Or Watch the full video tutorial here!
Interesed in more of my videos? Click HERE to go to my YouTube Channel.
Key Products Used:
- Celebration LetterPress + Foil Plates
- Sassy Elf Costume Fancy Dies
- White Foil
- Glimmer Hot Foil System
- Platinum 6 Machine
- Scout Diecutting Machine
- ColorWheel Cardstock
- Rounded Rectangle Infinity Dies
- Nesting Rectangle Infinity Dies
- Crystal Katana pick up tool
- A2 Top Fold Card Bases
- Magnetic Storage Pockets
The Background – Snow or Confetti, You Choose!
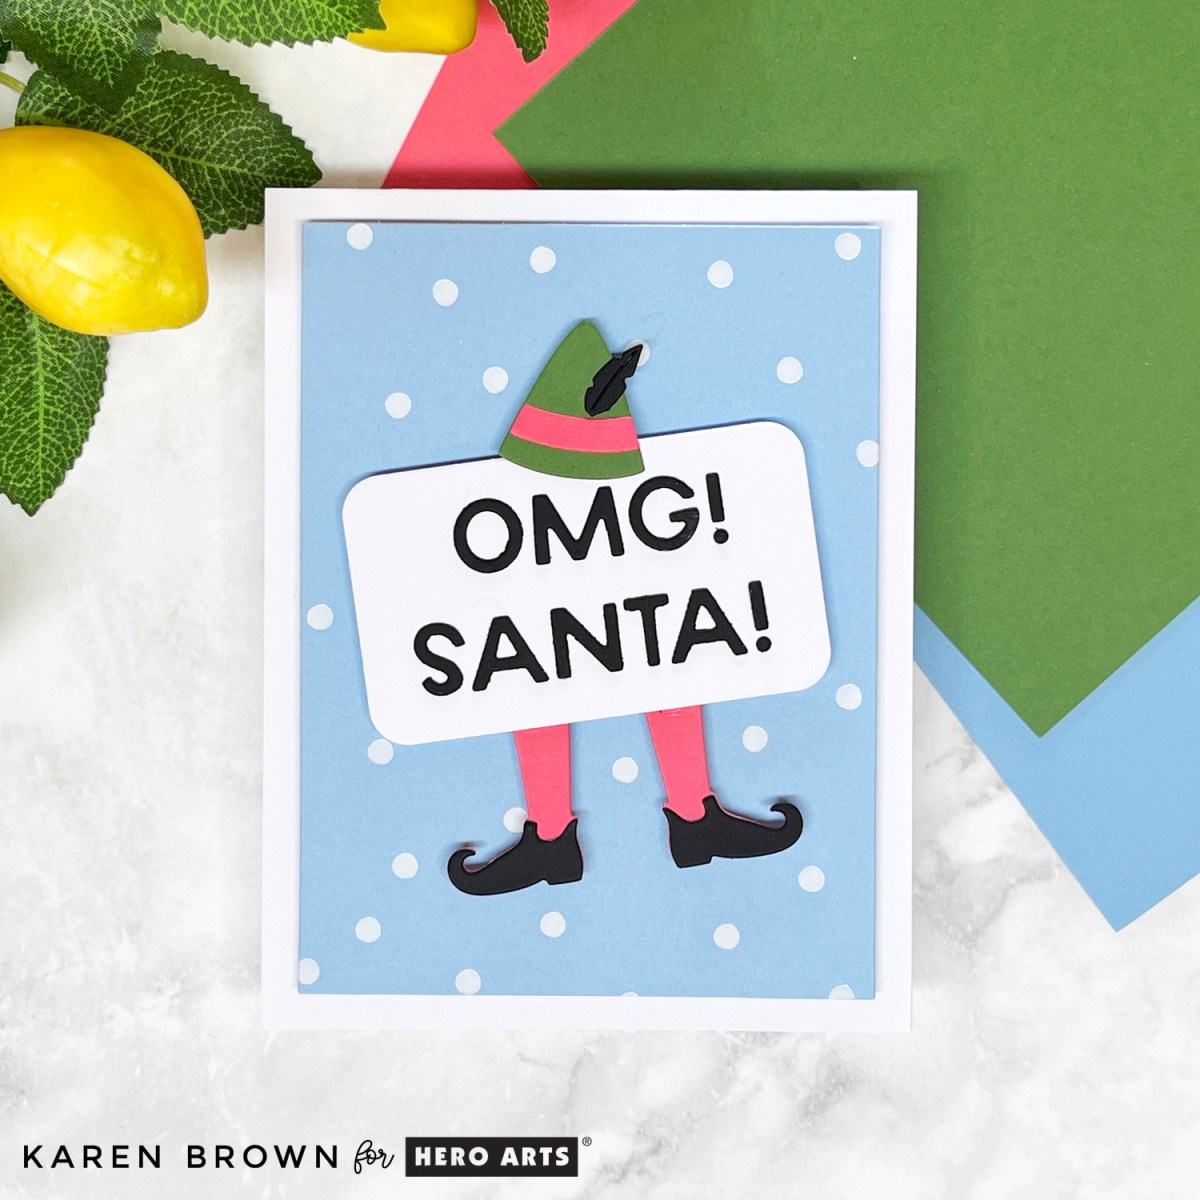
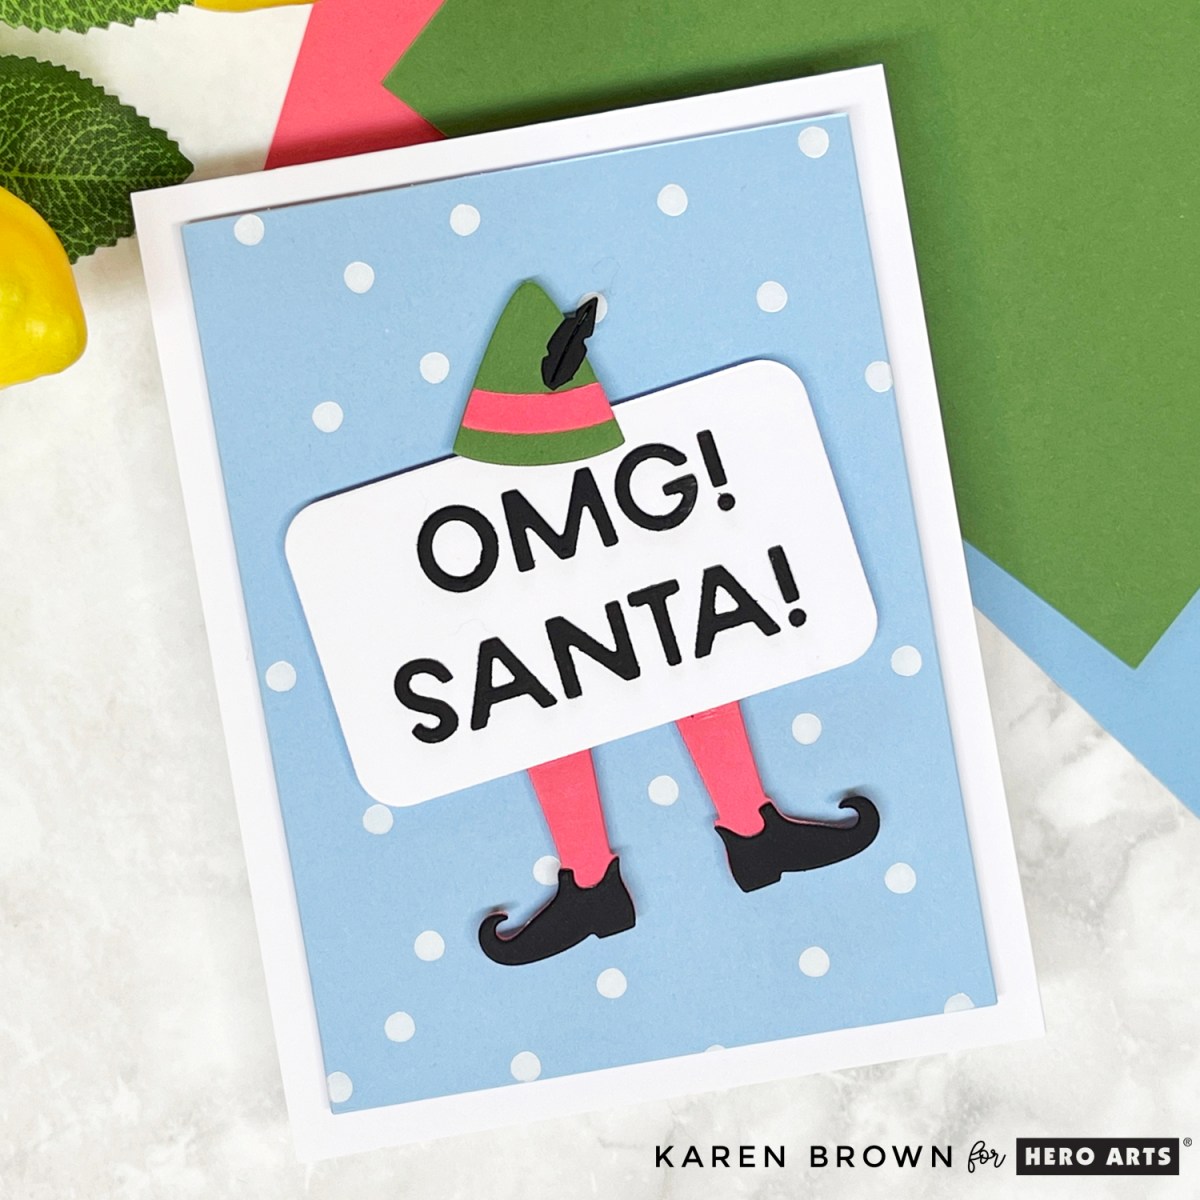
I started with the Hero Arts Celebration Press Plate (part of the Yule Fuel Collection). I love how versatile this plate is—it looks like snowflakes when foiled in white but could also become a confetti background in bright colors. For this project, I went snowy, since my elf needed a winter wonderland to stand in.

The Sassy Elf
Next came my focal point: a die cut elf from the Yule Fuel Collection. He’s cheeky, a little silly, and absolutely festive. To give him personality, I used ColorWheel Cardstock in:
- Cascade (blue)
- Dahlia (pink)
- Fern (green)
The mix of colors makes him bold and fun—perfect for standing out against the snowy background.
The Cheeky Sentiment
Every good elf needs a punchline, and this one couldn’t be better:
“OMG! Santa!”
The die cut letters are crisp, bright, and perfectly straight across the card front (in the video, I share my favorite tip for gluing letters evenly every time).
Watch the Video Tutorial
And in my video, I show you:
- Exactly how I foiled the Celebration Press Plate
- How to glue tricky die cut letters so they’re straight and evenly spaced
- My step-by-step process for putting the whole card together
Or Watch the full video tutorial here!

Trust me—you’ll be smiling the whole time you make this card.


4 thoughts on “Video: Make This Playful Elf Christmas Card”