
Altenew Fantasy Emblem 3D Embossing Folder
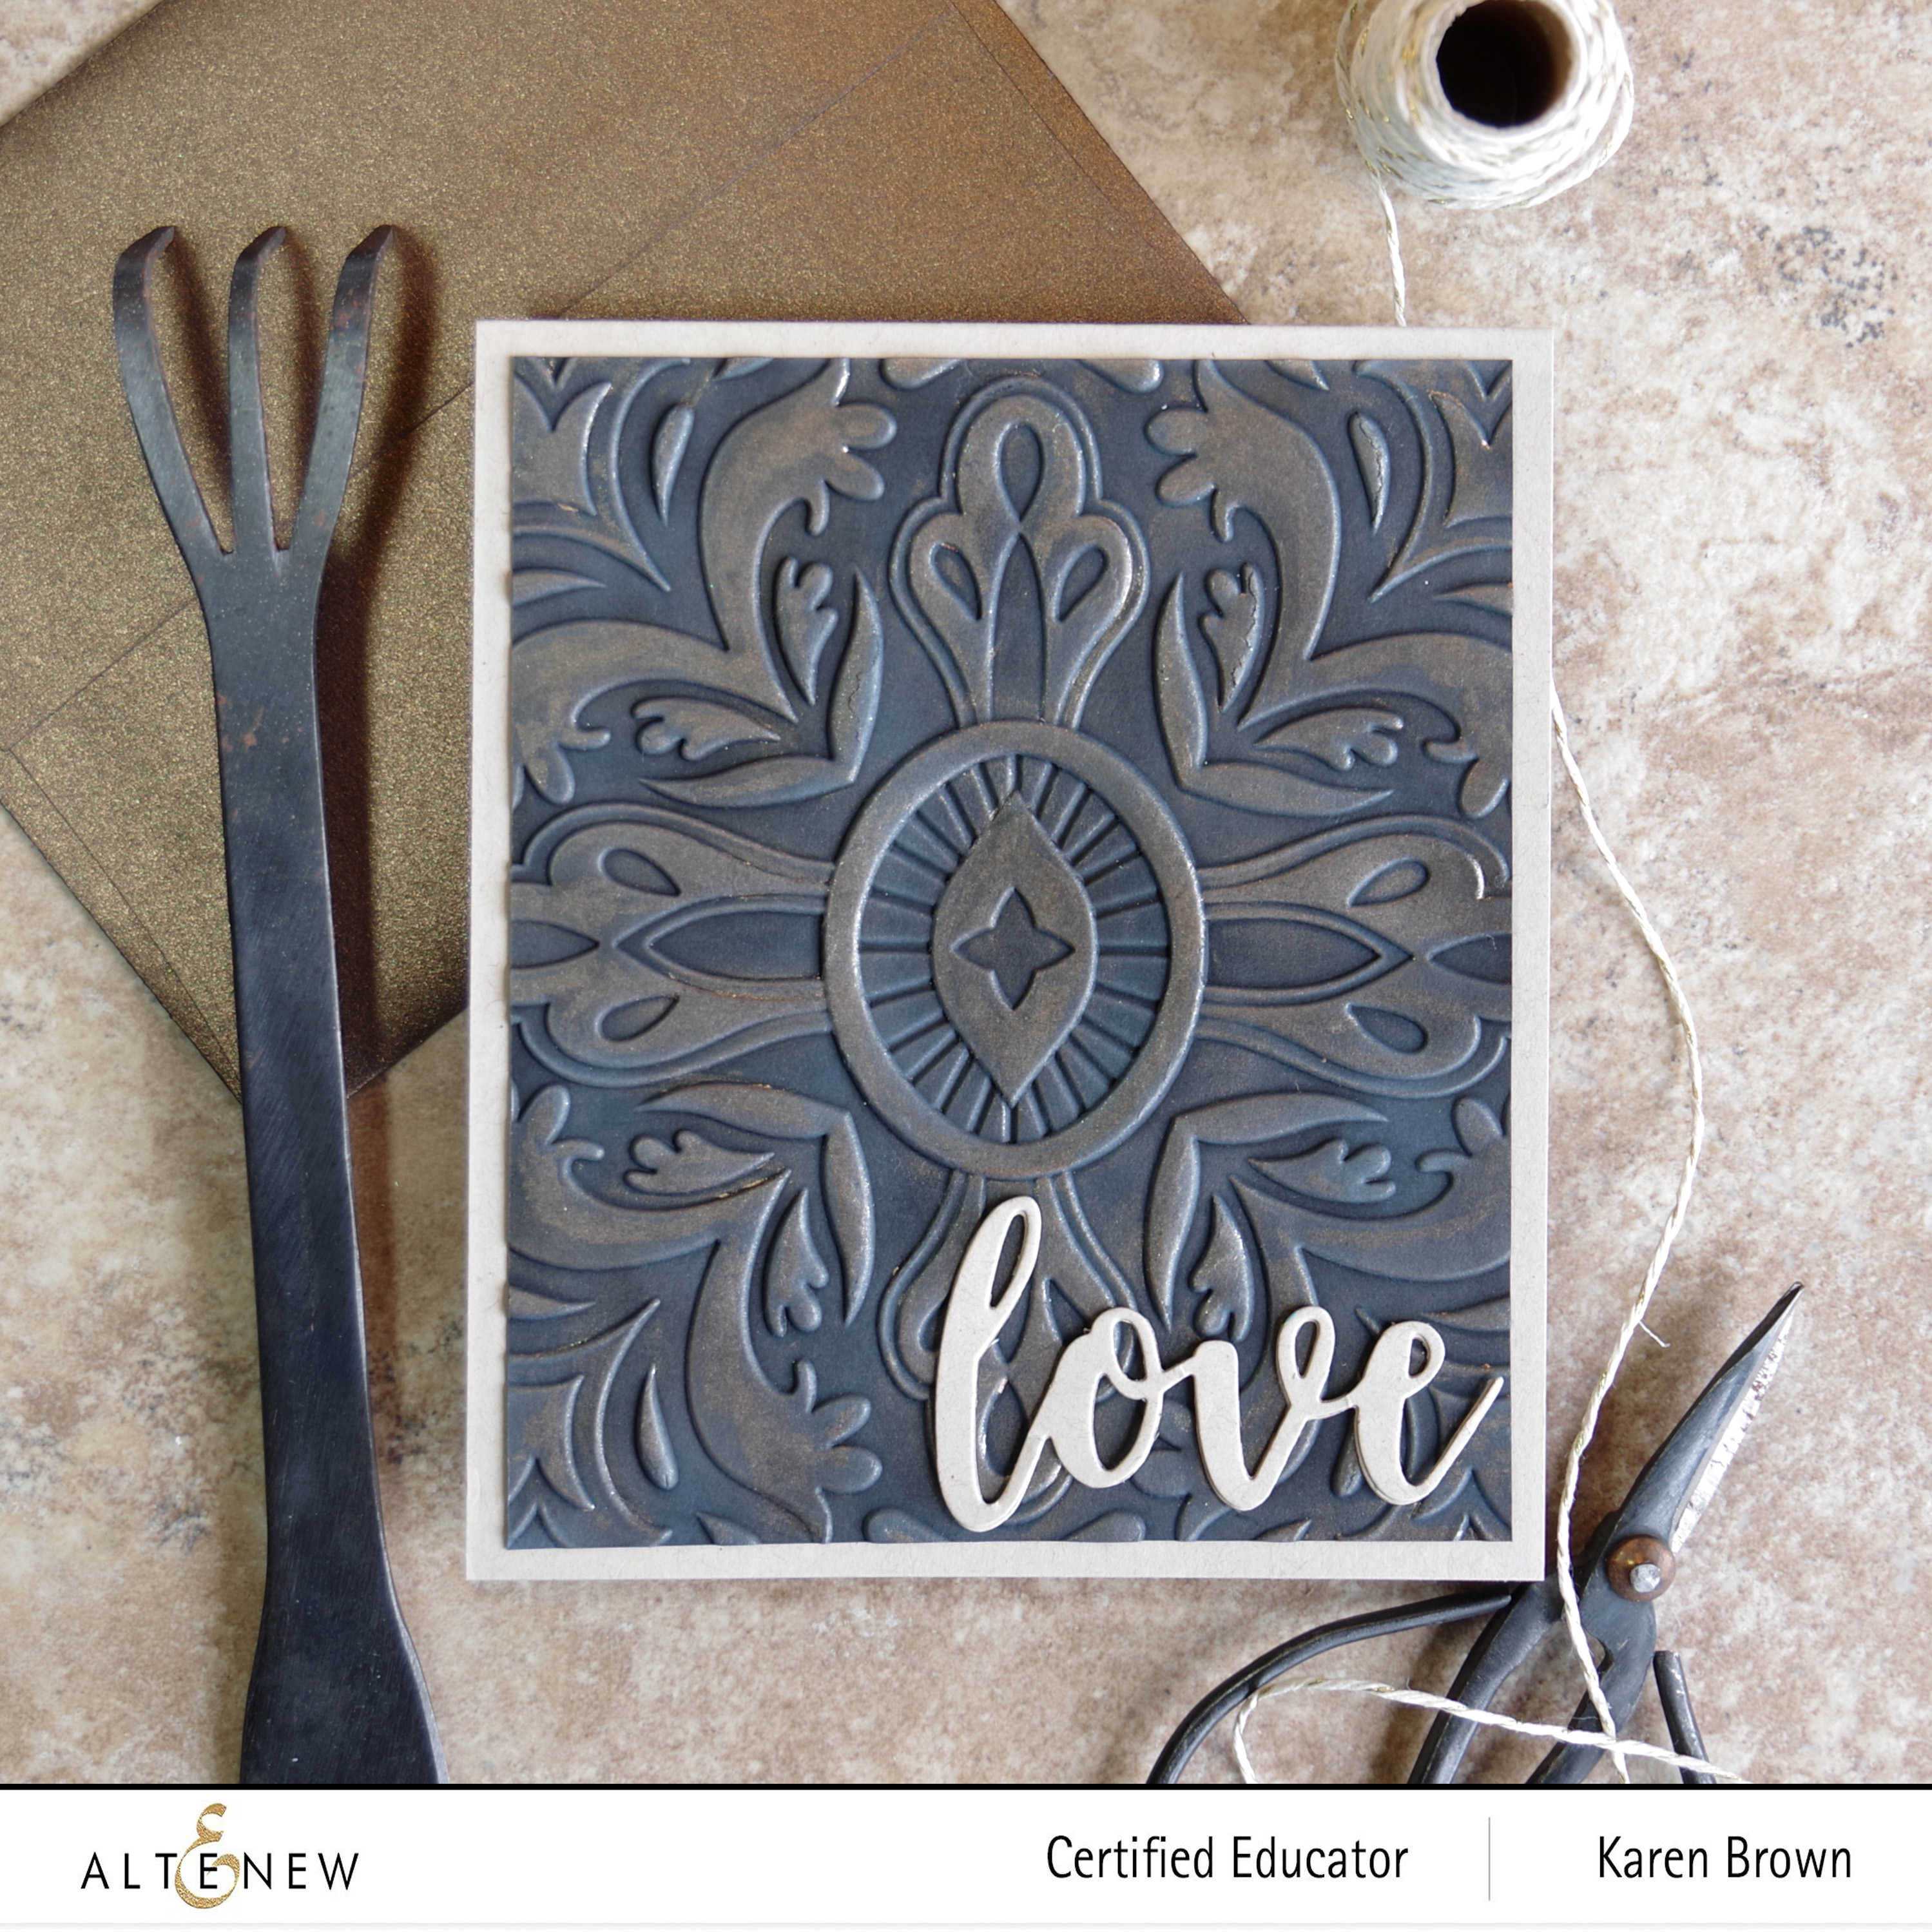
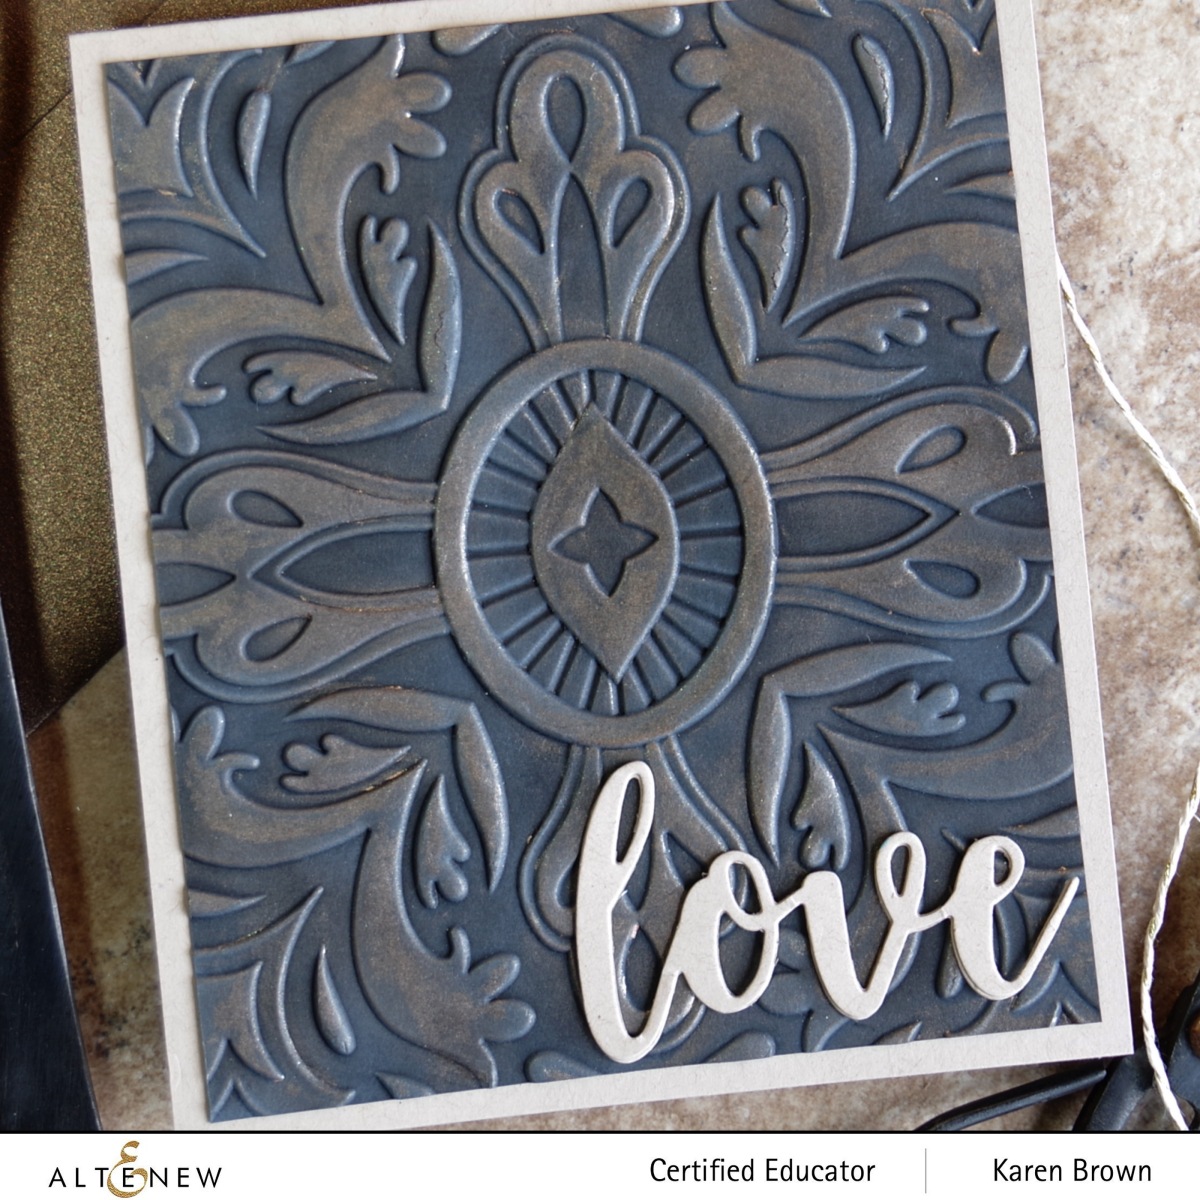
Hello and thanks for stopping by! Altenew just released a lovely collection of 3D Embossing Folders as part of their Summer Love Collection, and I made 3 very different projects. I started by making a very masculine card using the Fantasy Emblem 3D Embossing Folder. My inspiration was an antique metal medallion.
My Process:
- I started by embossing a piece of black cardstock with the Fantasy Emblem 3D Embossing Folder.
- Next I tinted white pigment ink with Ocean Waves Crisp Dye Ink. On my craft mat, I dabbed the pigment ink and then Ocean Waves Crisp Dye Ink next to the white and then I mixed the two together. I blended this all over the embossed panel to “age” the cardstock.
- I colored Antique Bronze Distress Crayon on the raised areas and then blended with my finger.
- I die cut my sentiment (Script Words Die) from kraft card stock and then attached my panel to a kraft base.
This card was quick and easy to make but looks so rich in person.
Altenew Playful Circles 3D Embossing Folder
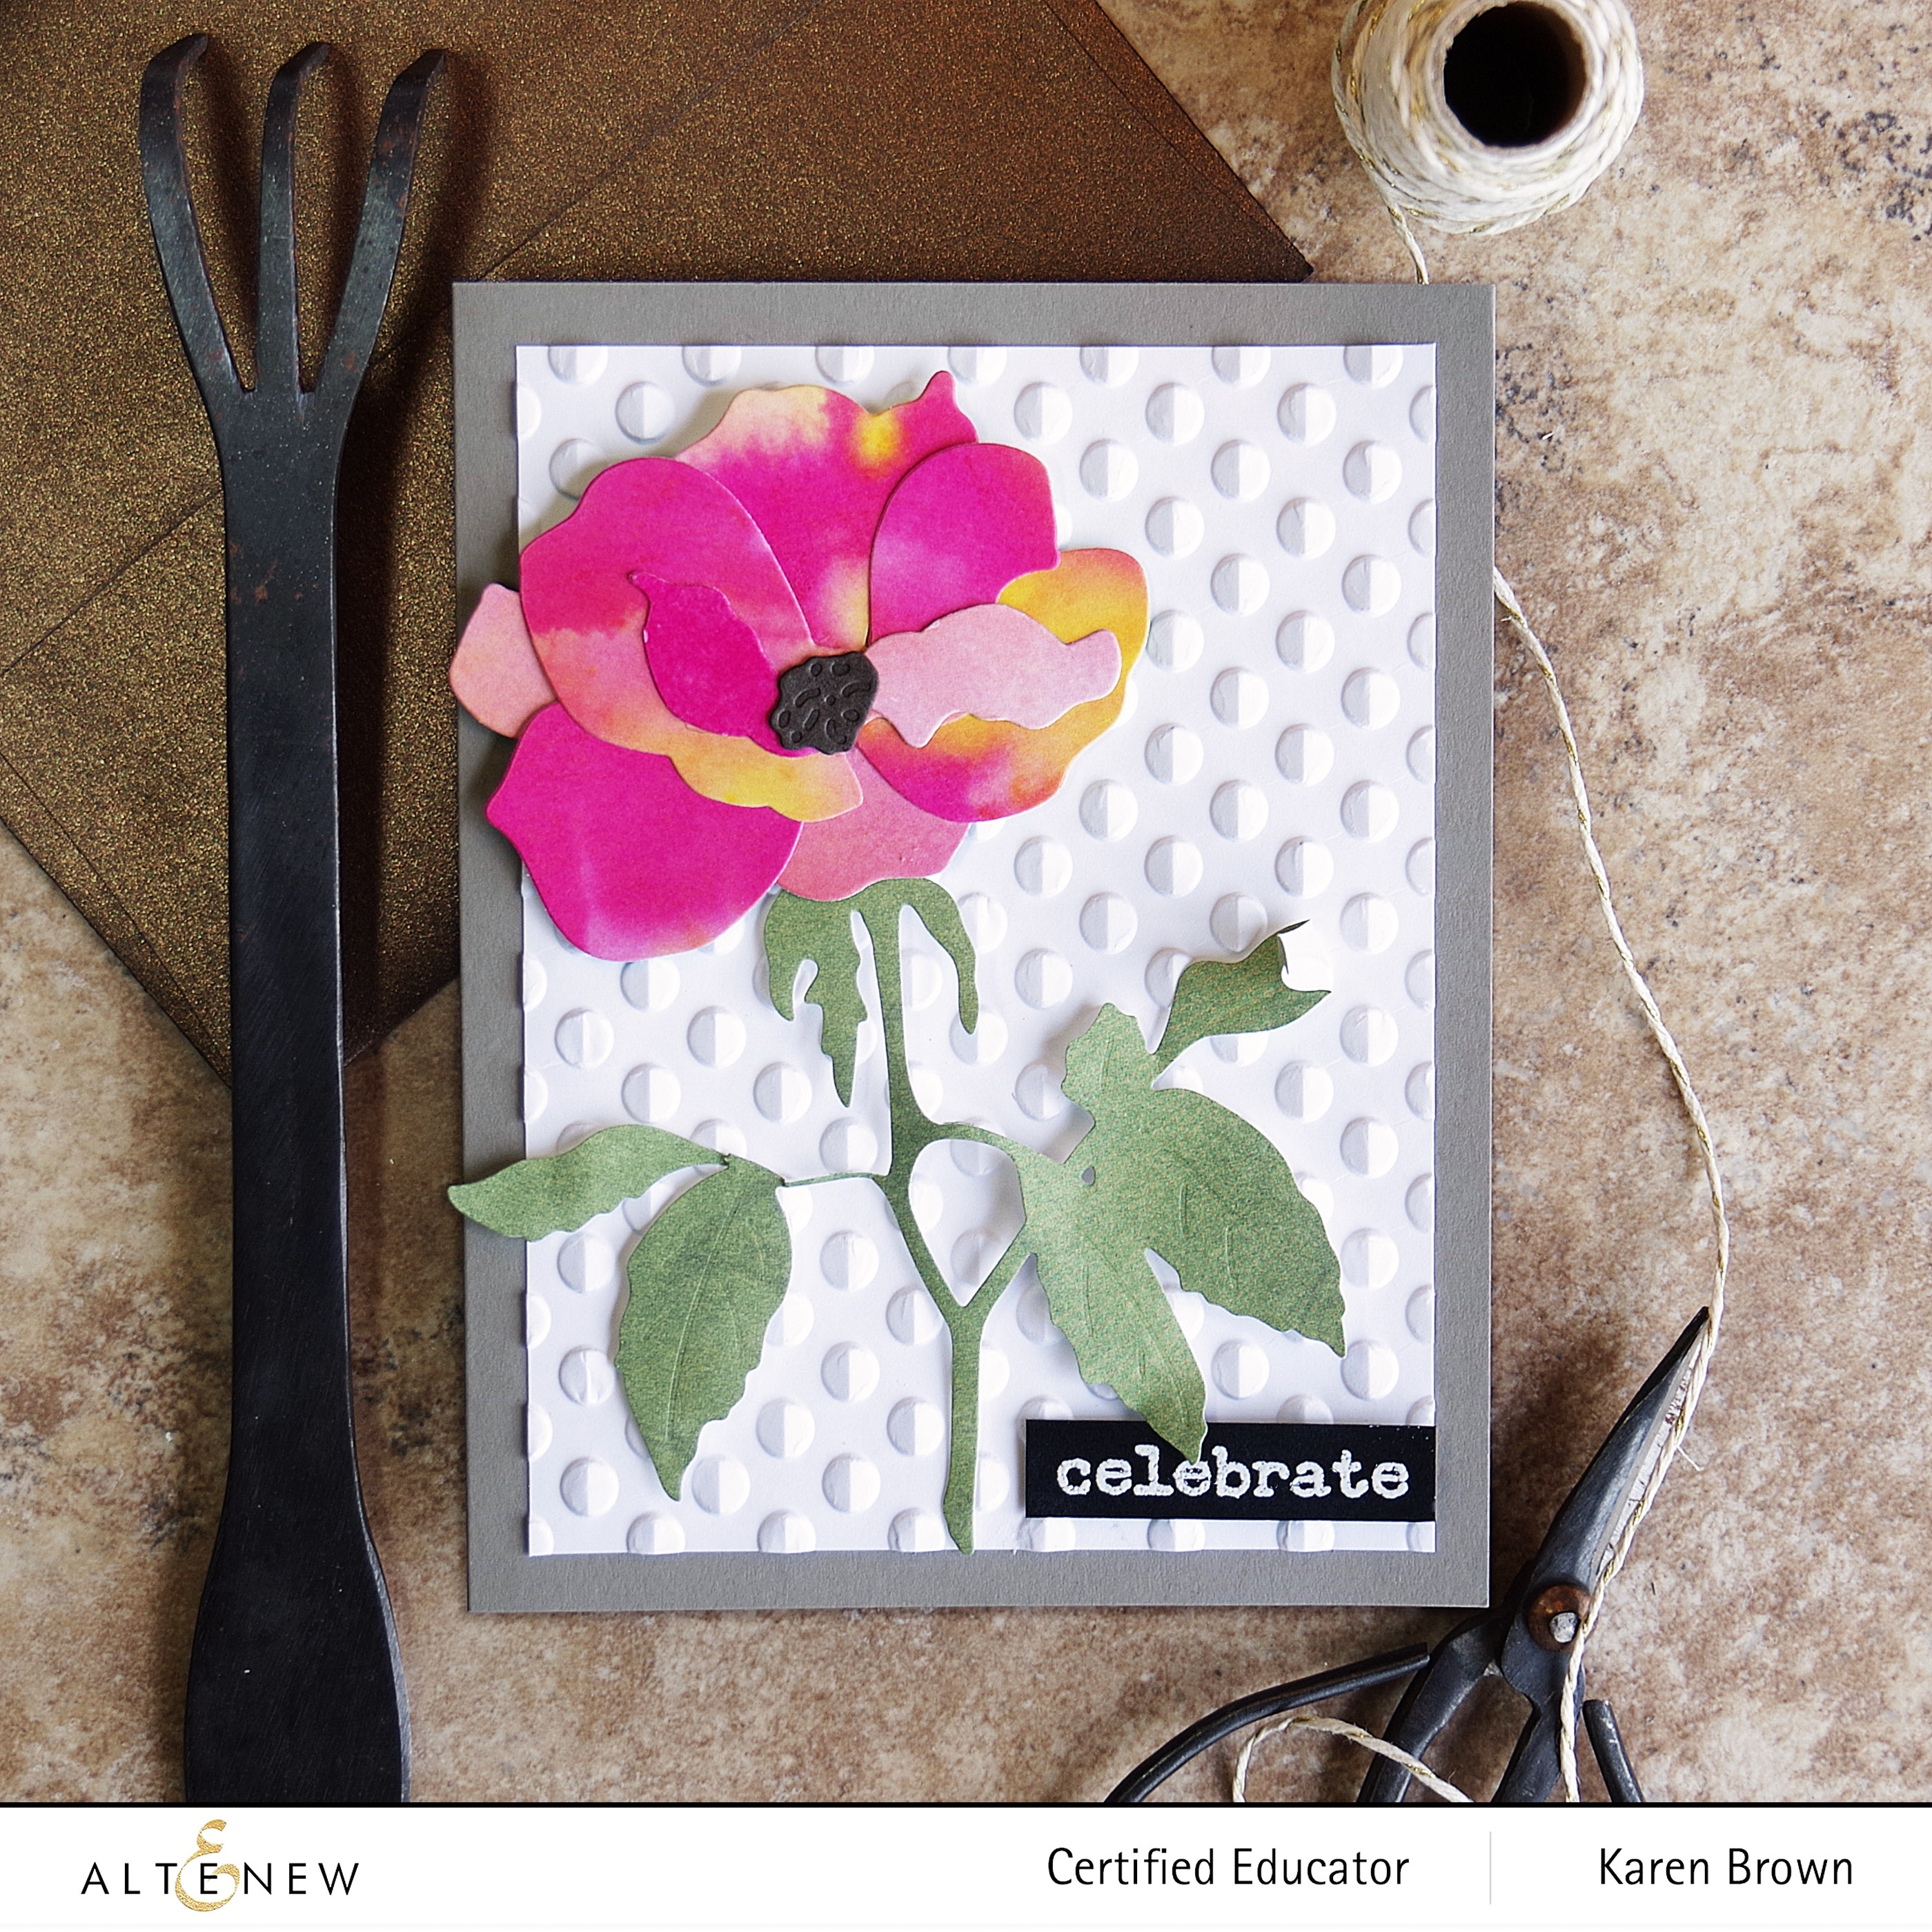
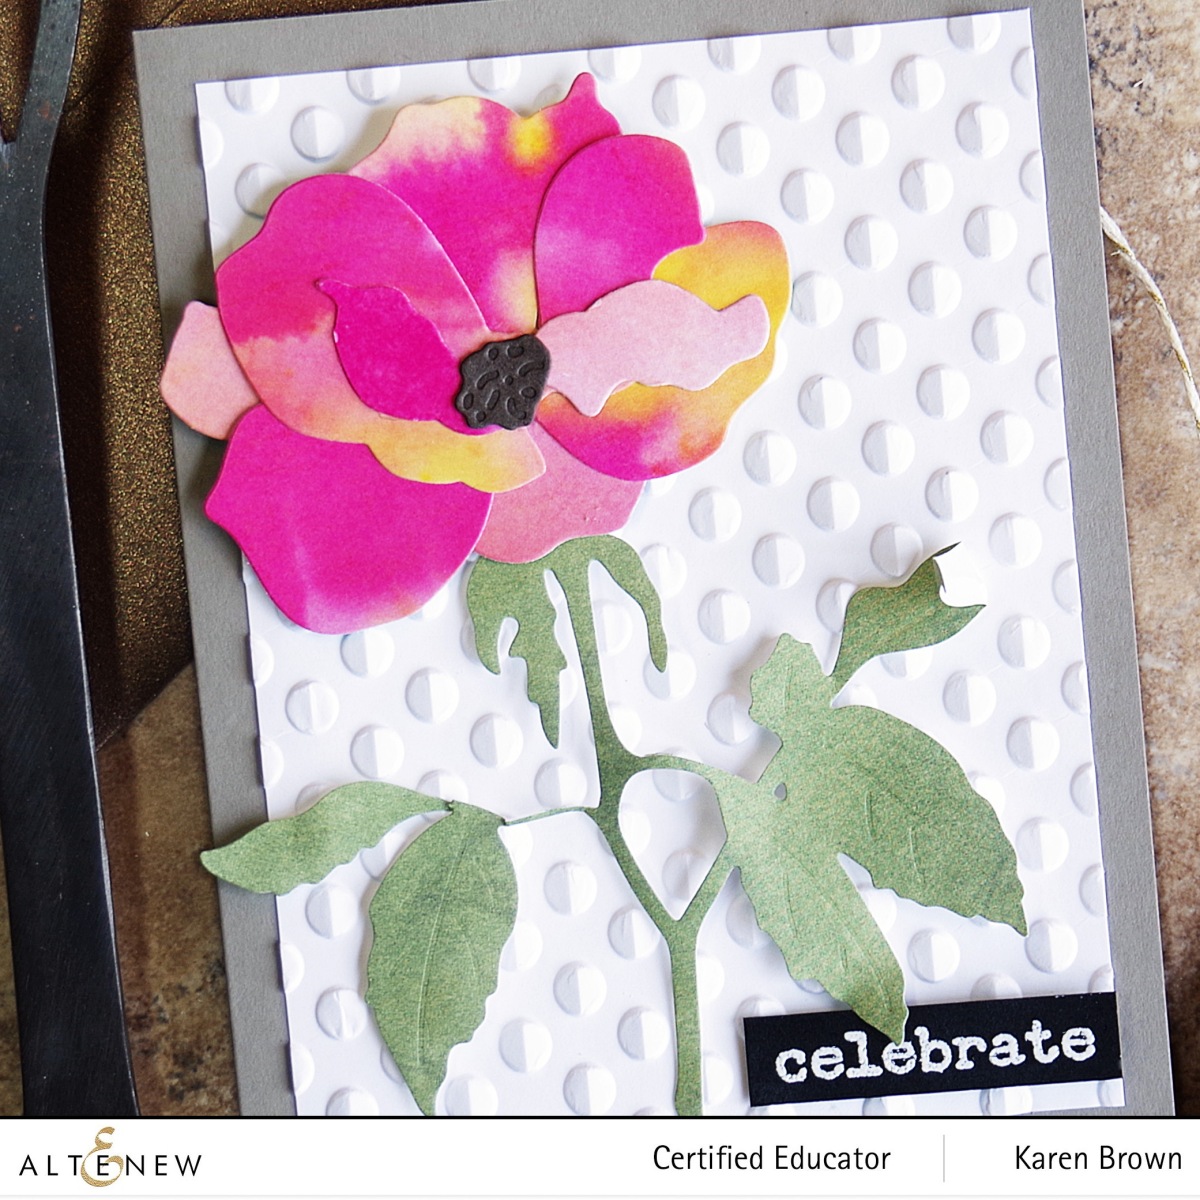
This embossing folder is definitely a new favorite that will work with so many papercrafting projects! Today, I combined Altenew’s Craft-A-Flower: Garden Rose with the very versatile Playful Circles 3D Embossing Folder. The embossing folder adds loads of texture and interest to the card. The embossed panel is very pretty on both sides….depressed and impressed.
Products Used:
- Altenew Playful Circles 3D Embossing Folder
- Altenew July 2022 Craft-A-Flower Garden Rose Kit
- Altenew Enchanting Washes Cardstock Paper Pack
- Altenew Birthday Greetings Sentiment
Altenew Flower Vines 3D Embossing Folder

For my last card I went for a whimsical Shabby Chic look.
- I started by ink blending my panel with Altenew’s Ocean Waves Crisp Dye Ink.
- After the ink dried, I embossed the panel with the Flower Vines 3D Embossing Folder.
- Using a Mini Ink Blending Brush, I very lightly inked the raised floral elements with Dusk Dye Ink.
- I gently applied clear pigment ink to portions of the panel and then sprinkled on Golden Peach Embossing Powder. I brushed most of the embossing powder off but left the powder in and around the embossed crevices. I heat set the powder.
- I inked the sides of the panel with clear pigment ink, applied Golden Peach Embossing Powder and then heat set.
- I die cut my sentiment, Altenew’s Thanks Die, and gently inked the die cut with Ocean Waves Crisp Dye Ink to “age” it a bit so it wasn’t so white. I popped it on a card base and was done.

Special Offer!
- Receive a FREE Ultra Sticky Double Sided Tape ($11.99 value) on orders over $79 from 07/22/2022 at 12:01 am EDT until 07/24/2022 at 11:59 pm EDT. The free gift will be added to cart automatically. Find more details on the Promotions page.
Giveaway Prizes
$300 in total prizes! To celebrate this release, Altenew is giving away a $50 gift certificate to 2 lucky winners and a $25 gift certificate to 8 winners! Please leave a comment on the Altenew Card Blog and/or each designer’s blog post on the blog hop list below by 07/28/2022 for a chance to win.
Altenew will draw 10 winners randomly from the comments left on each stop of this blog hop and announce the winners on the Altenew Winners Page on 07/29/2022.
Blog Hop Order
Reiko Tsuchida ***Note: Due to strict regulations in Japan, you might not be able to leave a comment on her blog post.
Karen Brown You made it to the end!
I love all three projects! Thanks for stopping by!
Karen

Wow! Thanks for sharing such wonderful cards!
LikeLiked by 1 person
Thank you!
LikeLike
Beautiful cards Karen! Love the Fantasy Emblem 3DEF! Thanks for the inspiration!
LikeLiked by 1 person
Thanks Liz!
LikeLike
Thank you for sharing such a unique way of using embossing powder.
LikeLiked by 1 person
Thanks Bobbie!
LikeLike
I absolutely love your cards. Thank you for sharing.
LikeLiked by 1 person
Thanks Brandi!
LikeLike
I’m in love with your Flower Vines card. Gorgeous!
LikeLiked by 1 person
Thanks Jeanne!
LikeLike
Lovely cards!
LikeLiked by 1 person
Thanks Sherri!
LikeLike
AMAZING job with the embossing folders! I LOVE your designs and colors!
LikeLiked by 1 person
Thank you Meghan! You are always so kind with your comments!
LikeLike
Holy smokes! These are fabulous, Karen. Stunning!
LikeLiked by 1 person
Thanks Mari!
LikeLike
the soft blue with the flex of gold – divine
LikeLiked by 1 person
Thanks Gail!
LikeLike
These new cards are all gorgeous! Lovely work!!
LikeLiked by 1 person
Thank you Amy!
LikeLike
Love your Playful Circles card.
LikeLiked by 1 person
Thank you Maggie!
LikeLike
Gorgeous cards! Thanks for featuring the Fantasy Emblem, I was waiting to see that one in use.
LikeLiked by 1 person
Thanks Donna!
LikeLike
The first one is incredible. It reminds me of metal with a great patina. Really pretty look…
LikeLiked by 1 person
Thank you Sharon!
LikeLike
Wow, I love all three cards! The first is so cool!
LikeLiked by 1 person
Thank you!!!
LikeLike
I love all of your cards! The light blue one is so pretty!
LikeLiked by 1 person
Thank you Lauryne!
LikeLike
Stunning. Well worth all that dry time. So ethereal looking.
LikeLiked by 1 person
Thank you Tammy!
LikeLike
All your cards are lovely. The last one is my favorite….love the color!
LikeLike
I like these cards, and appreciate the info on how you created them. Not sure I would be able to replicate the medaillion look or the shabby chic, but your cards certainly came out lovely.
LikeLiked by 1 person
Thanks Linda! The cards are forgiving and easier than you think.
LikeLike
The first card looks metal like, very nice! All are beautiful! Thanks for sharing.
LikeLiked by 1 person
Thanks Kathy!
LikeLike
Wow! Love all the cards. The vintage look on 1 and 3 are just amazing. Thanks for the inspiration.
LikeLiked by 1 person
Thanks Lissette!
LikeLike
Your fantasy emblem came out amazing.
LikeLiked by 1 person
Thanks Roxanne! I was really pleased with the way that card turned out.
LikeLike