As the year comes to a close, I’m taking a moment to reflect on all the creative projects I’ve shared across my Blog, YouTube channel, and Instagram. The journey has been filled with color, craftiness, and, most importantly, connecting with all of you!
Many of these items featured on my “Fan Favorites” list are currently on sale too!
- Find Hero Arts New Year’s Eve sale items HERE
- Hero Arts Final Sale items can be found HERE.
- Shop Hero Arts HERE
- Shop Spellbinders New Year’s Eve Sale HERE
- Find Spellbinders Clearance Sale HERE
- Shop Spellbinders newer collections HERE.
YouTube’s Card Tutorial: Most Watched Video

On YouTube, it was all about bringing techniques to life. Here is the tutorial that flew the highest:
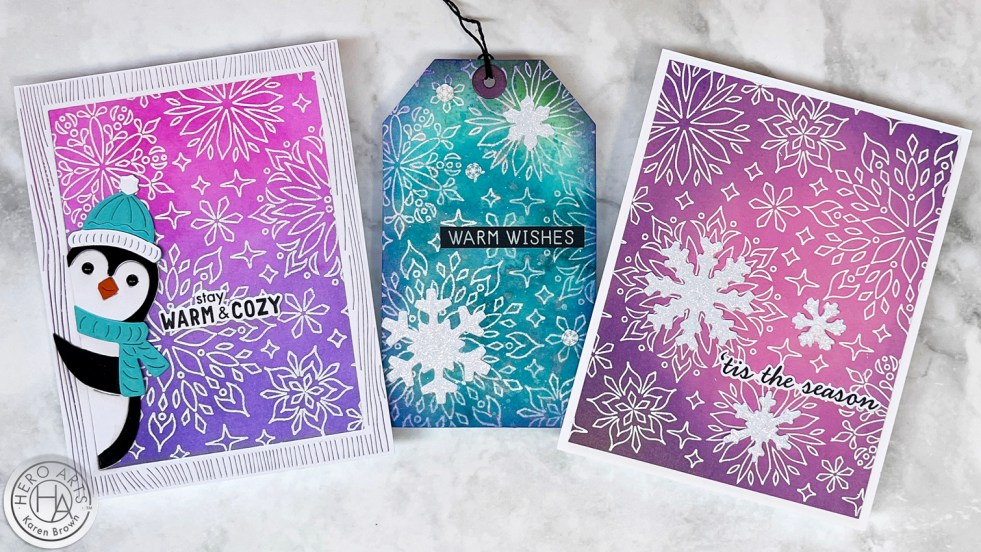
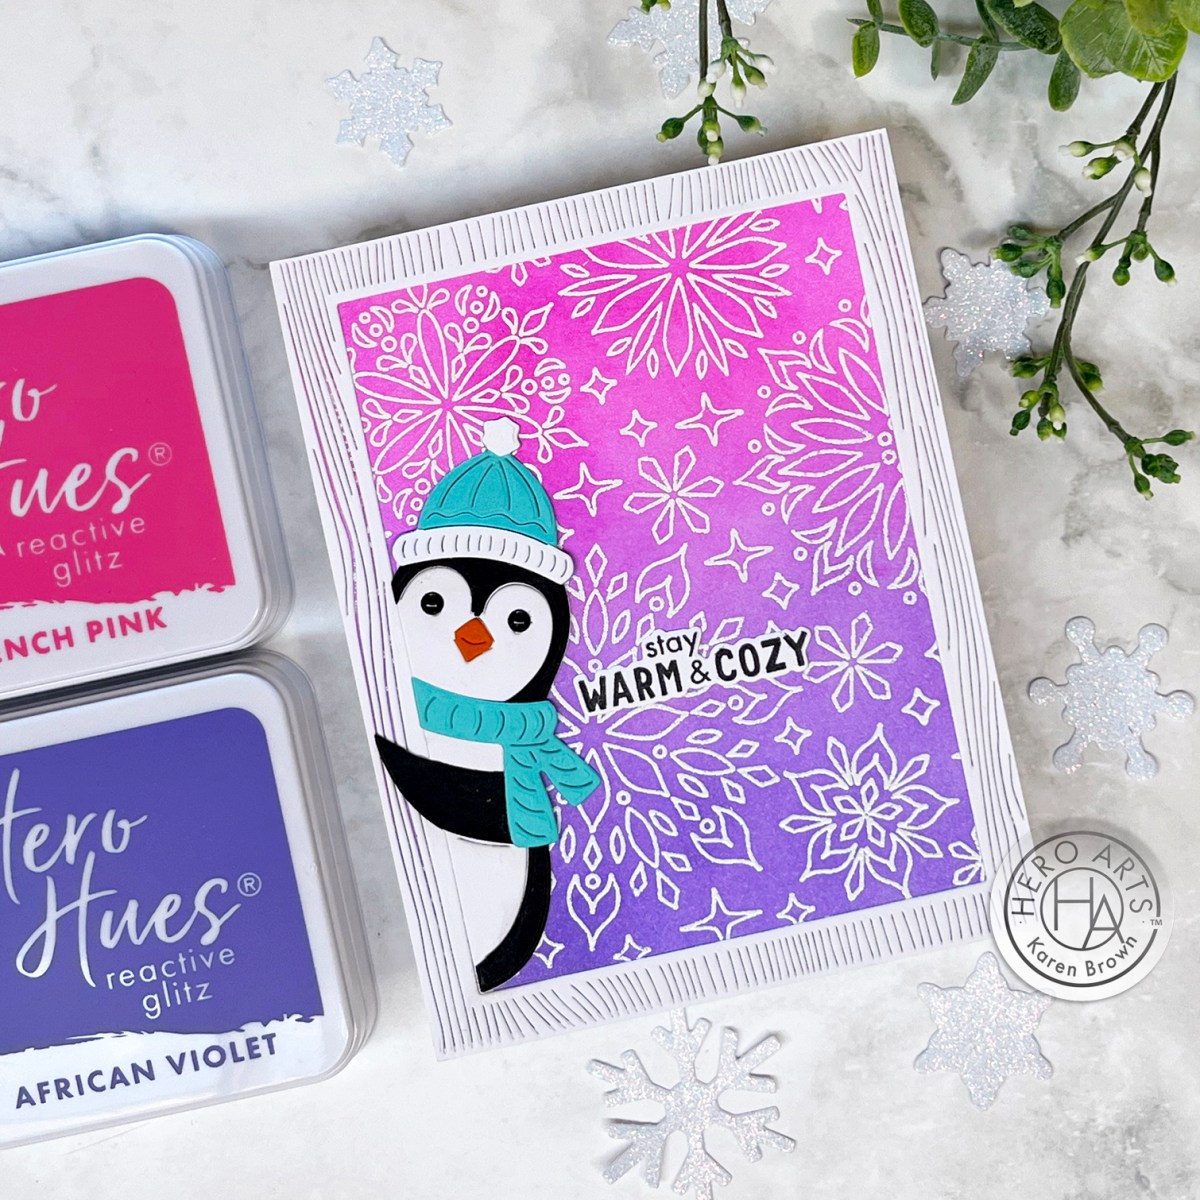
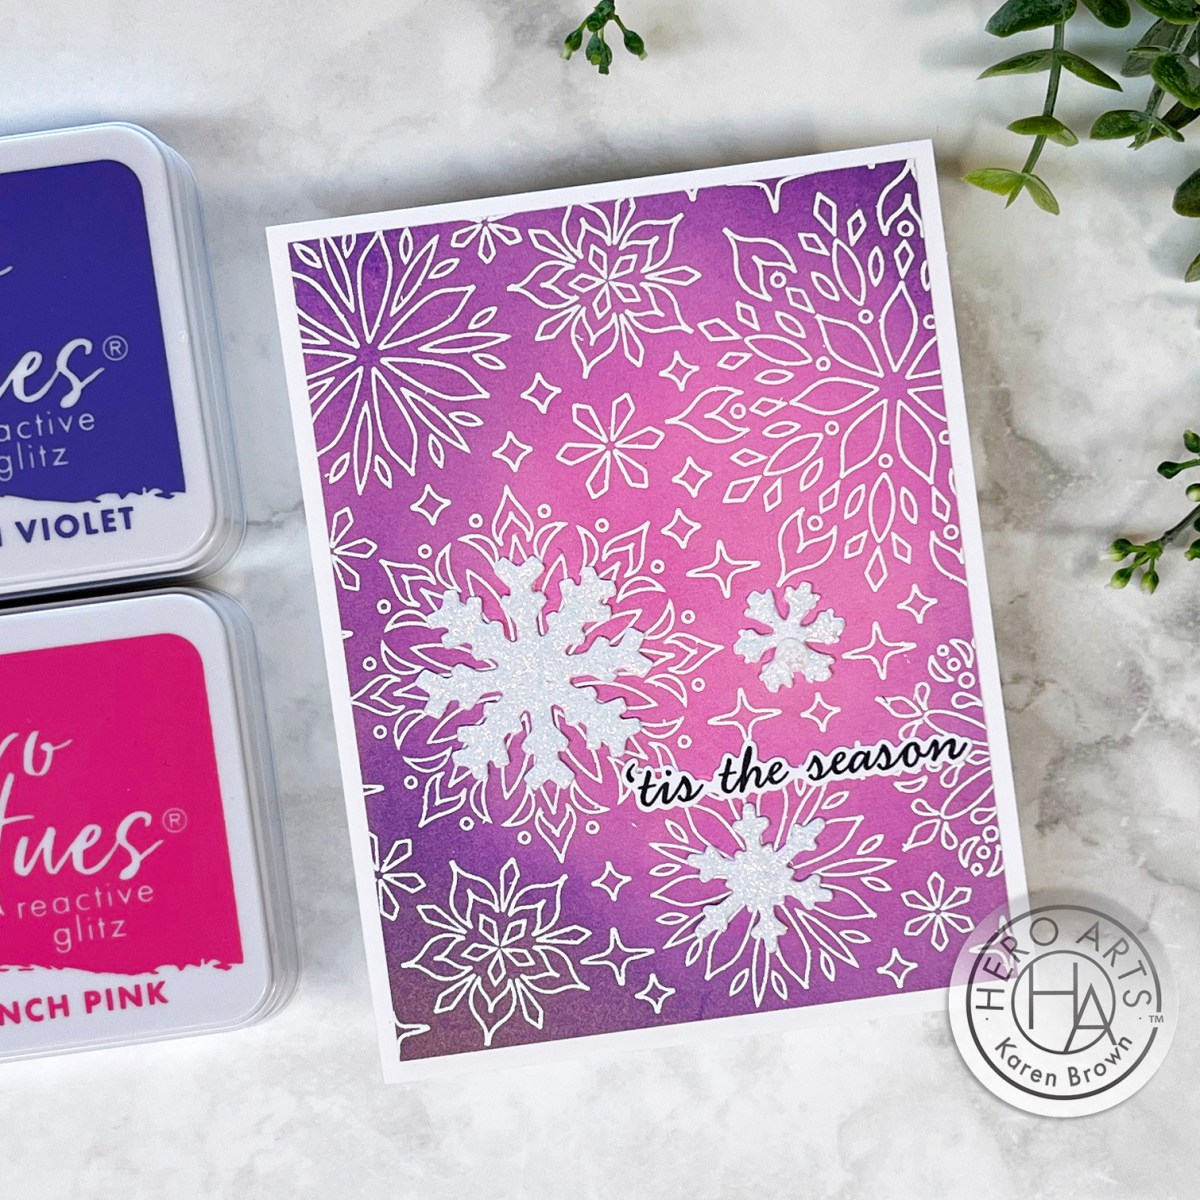
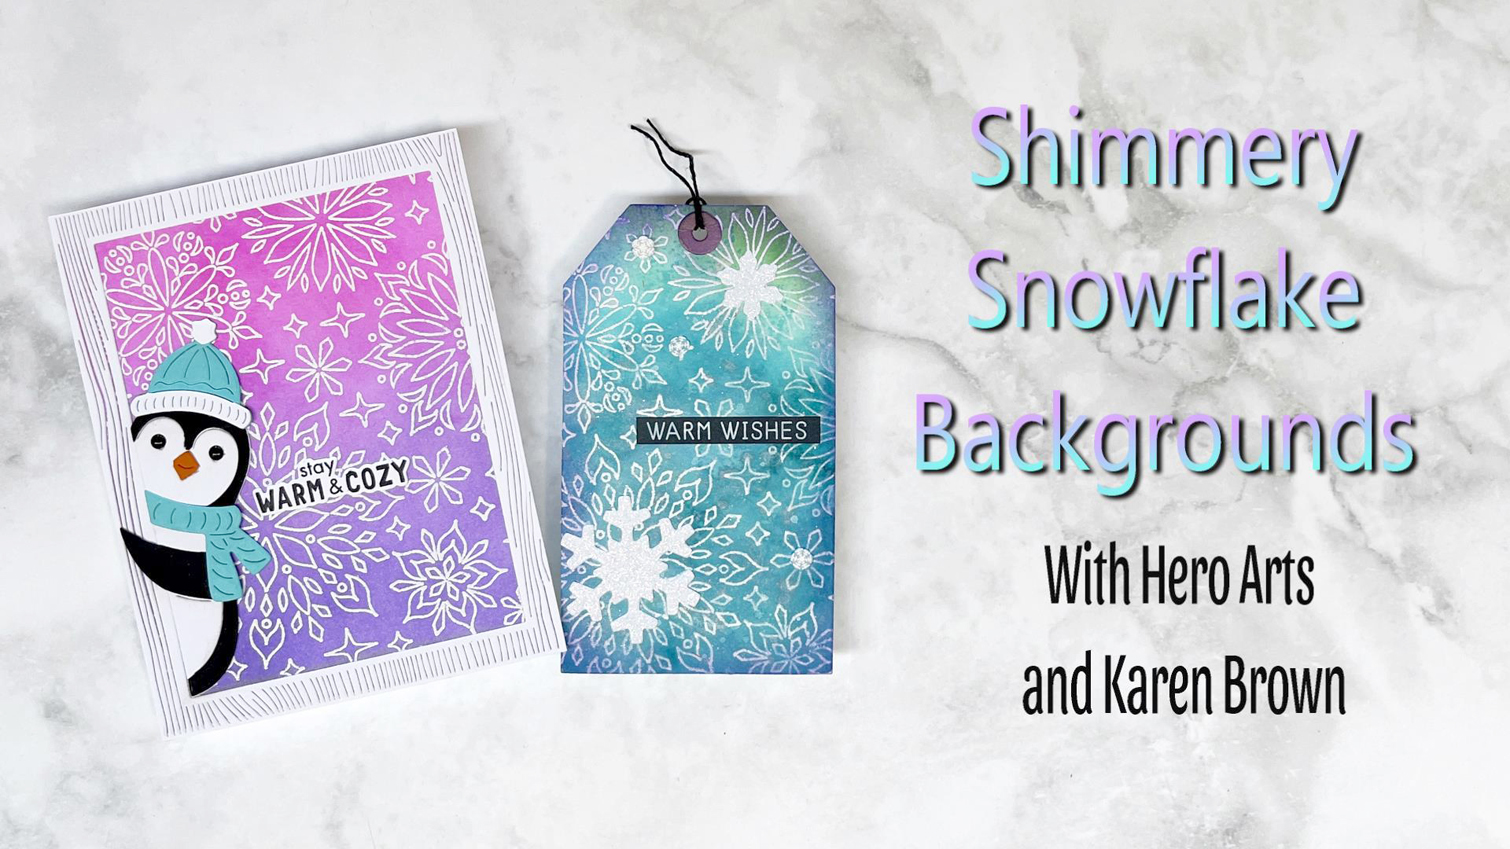
Blog Post Link: Shimmery Snowflake Backgrounds 3 Ways
YouTube Link: Shimmery Snowflake Backgrounds
I created this video for HeroArts Blog and YouTube channel but I also posted on my YouTube Channel for my followers as well.
Top Blog Post in 2024
This year on my blog, I focused on techniques that ranged from beginner-friendly to advanced, and your feedback has been the cherry on top! My most read blog post this year was:
9 Tips, Tricks and Insights for Spellbinders BetterPress Machine
I received a BetterPress LetterPress system for Christmas in 2023, and I had lots of fun learning and experimenting with my new crafty toy. You can read my original blog post by clicking on the link above.

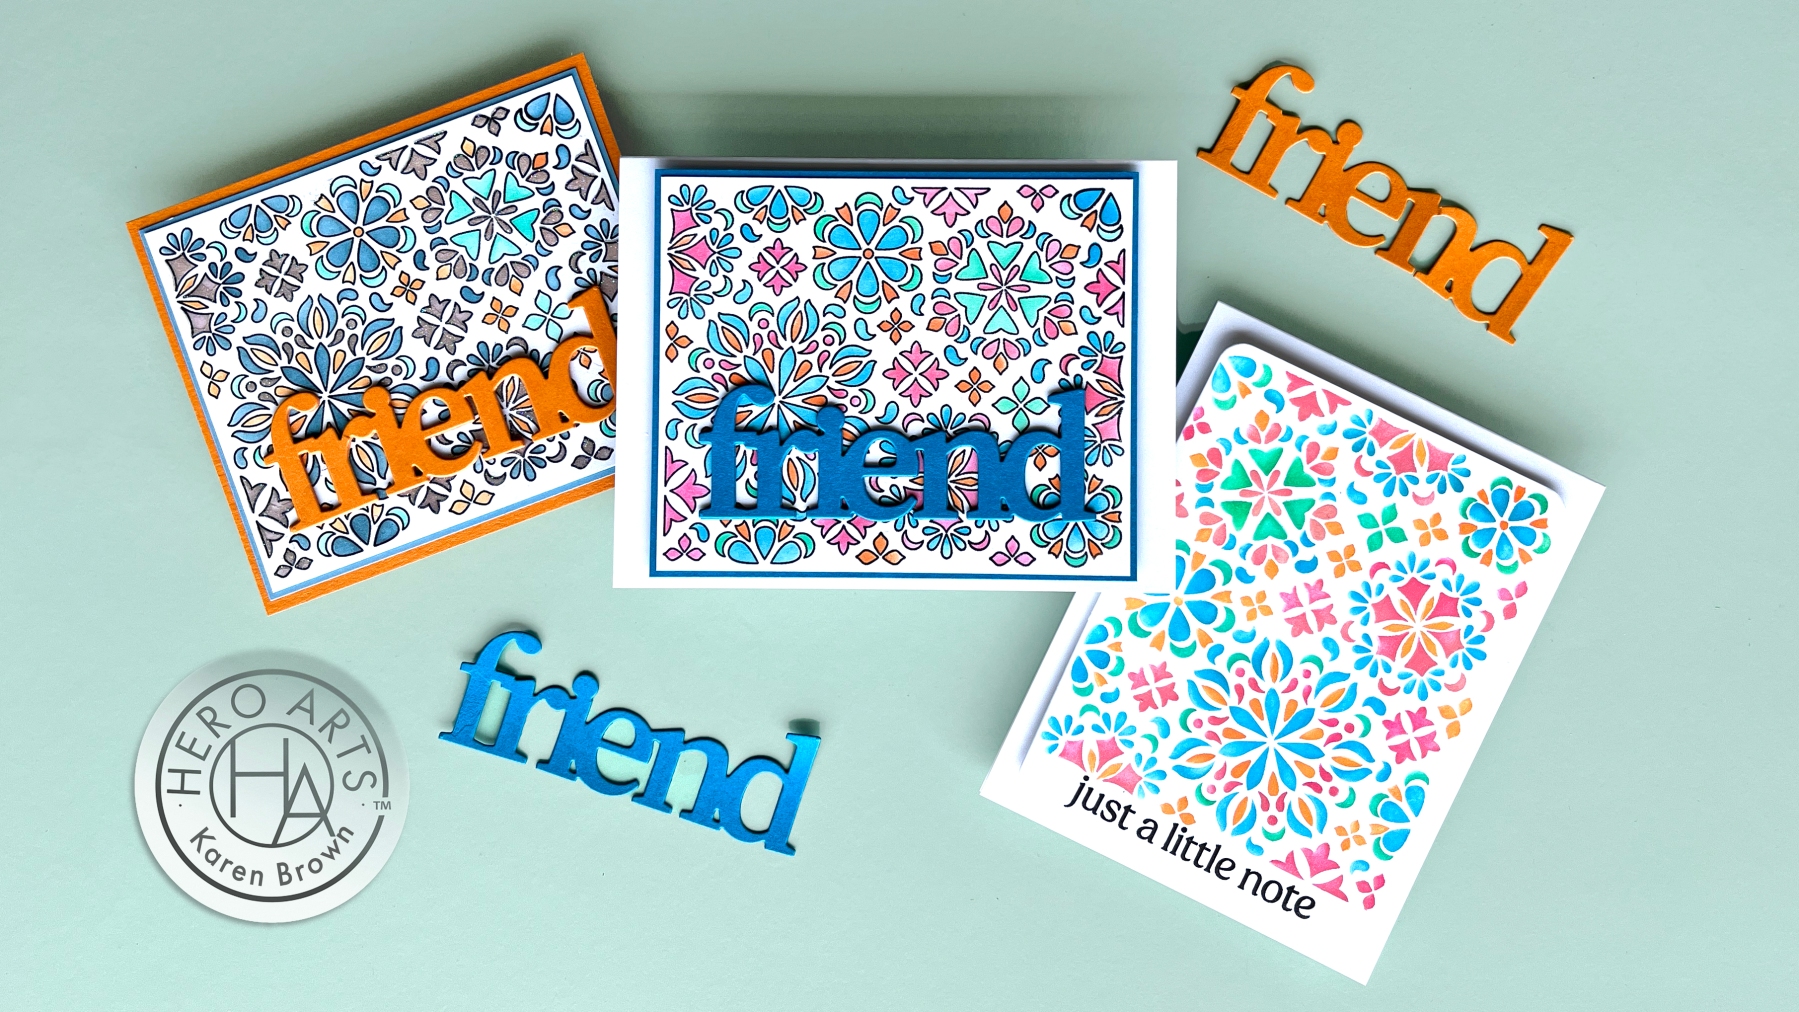
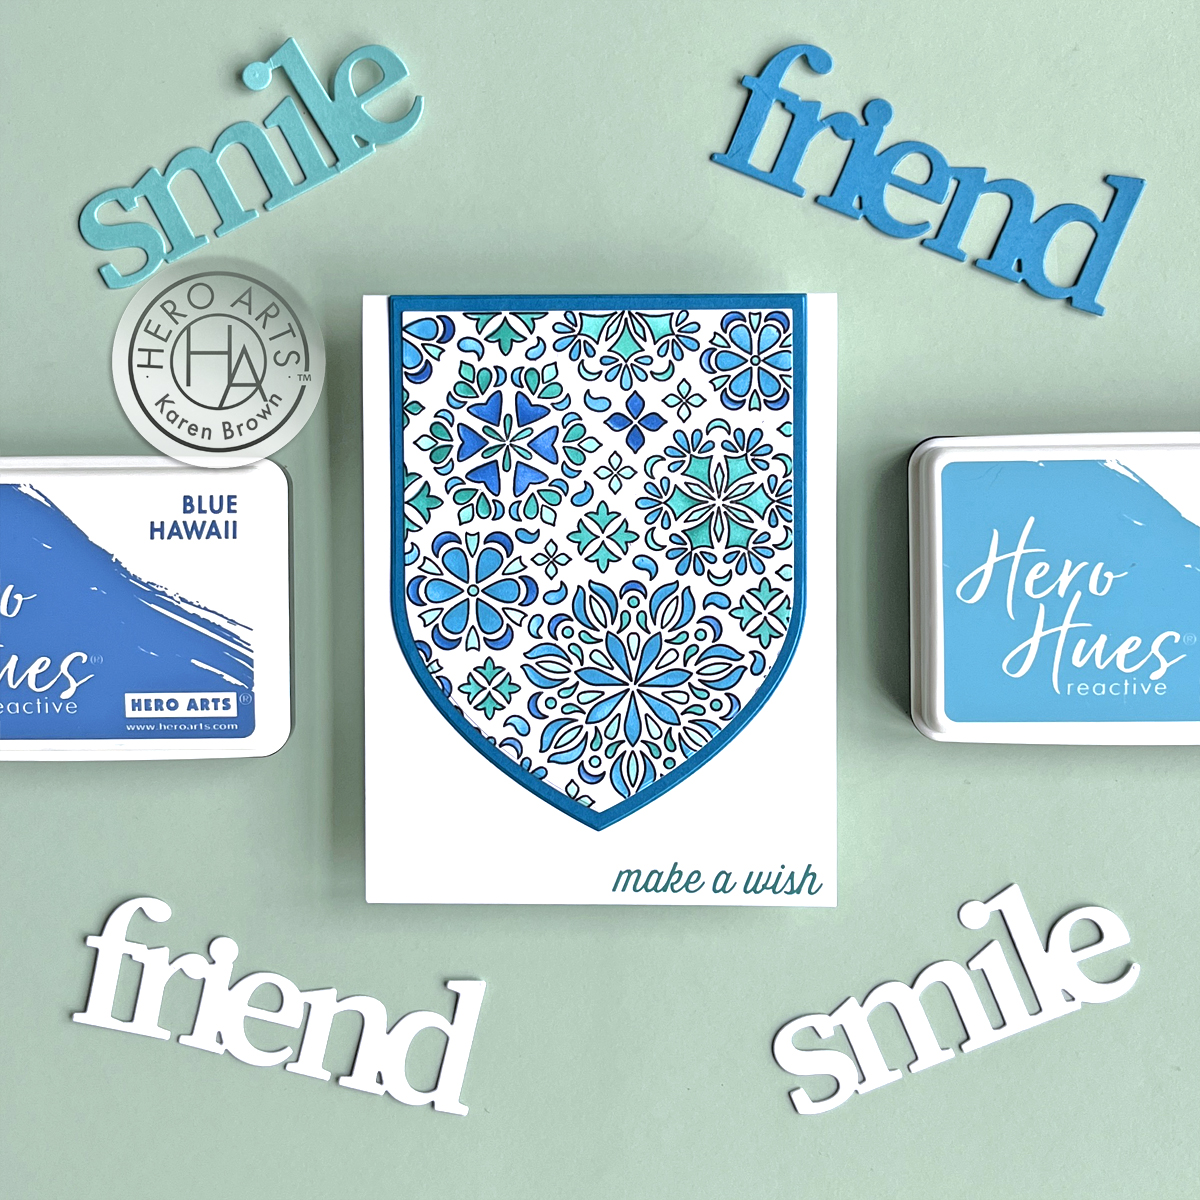
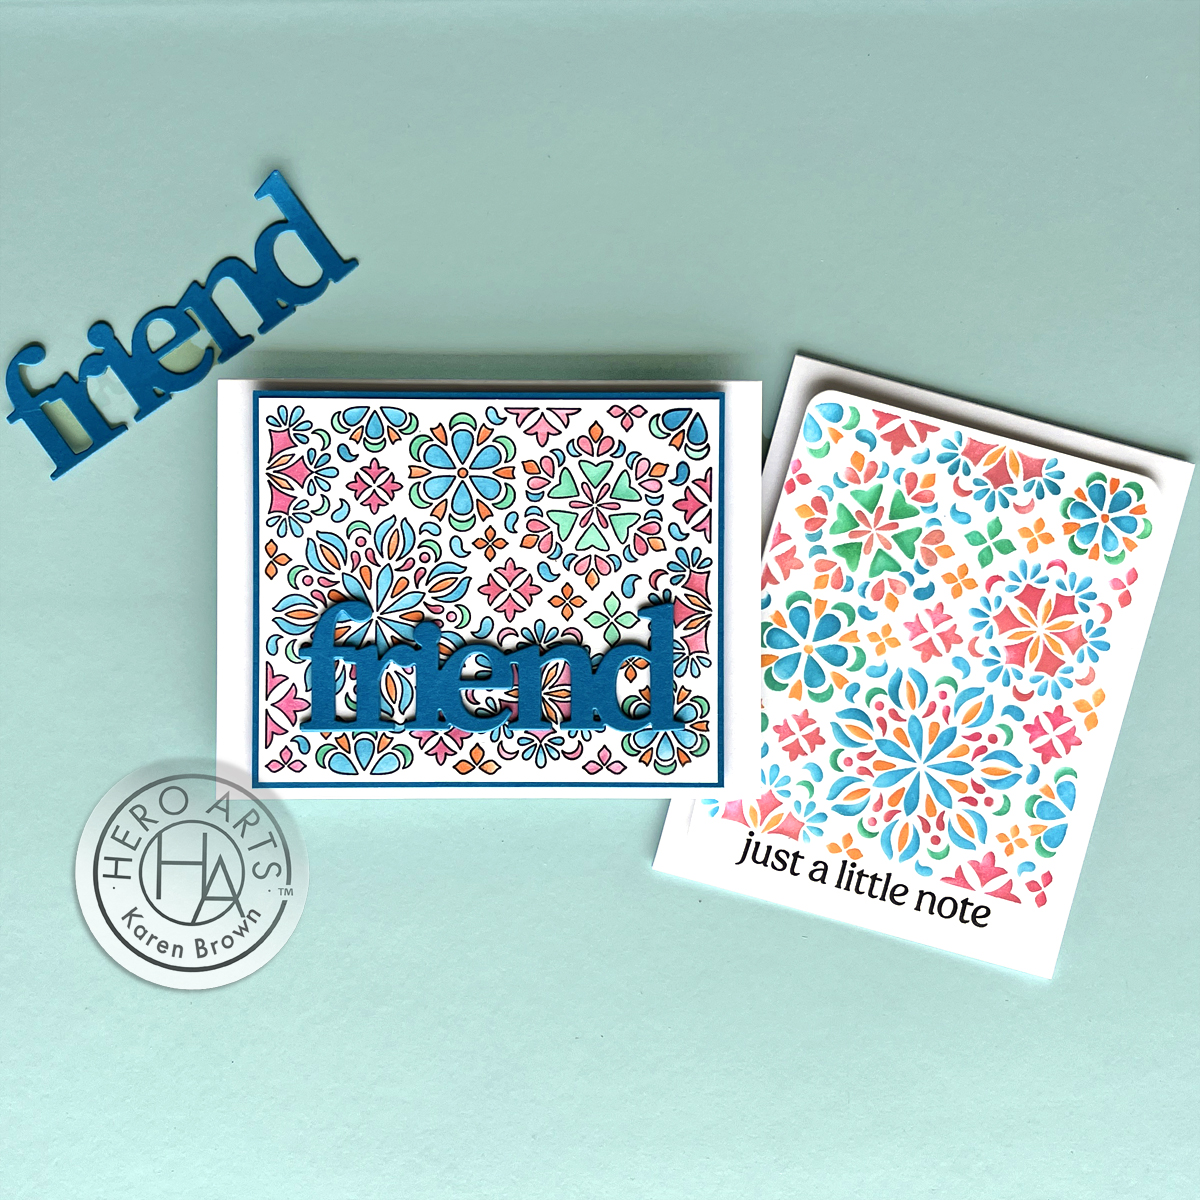
Instagram Reels: Quick Crafting, Big Inspiration

This year, Instagram Reels became a go-to for sharing bite-sized creativity. These short videos were packed with techniques, tips, and a splash of fun. Here is my most popular 2024 Reel.
Instagram Reel Link: Floral Trove Stenciled Friend Card
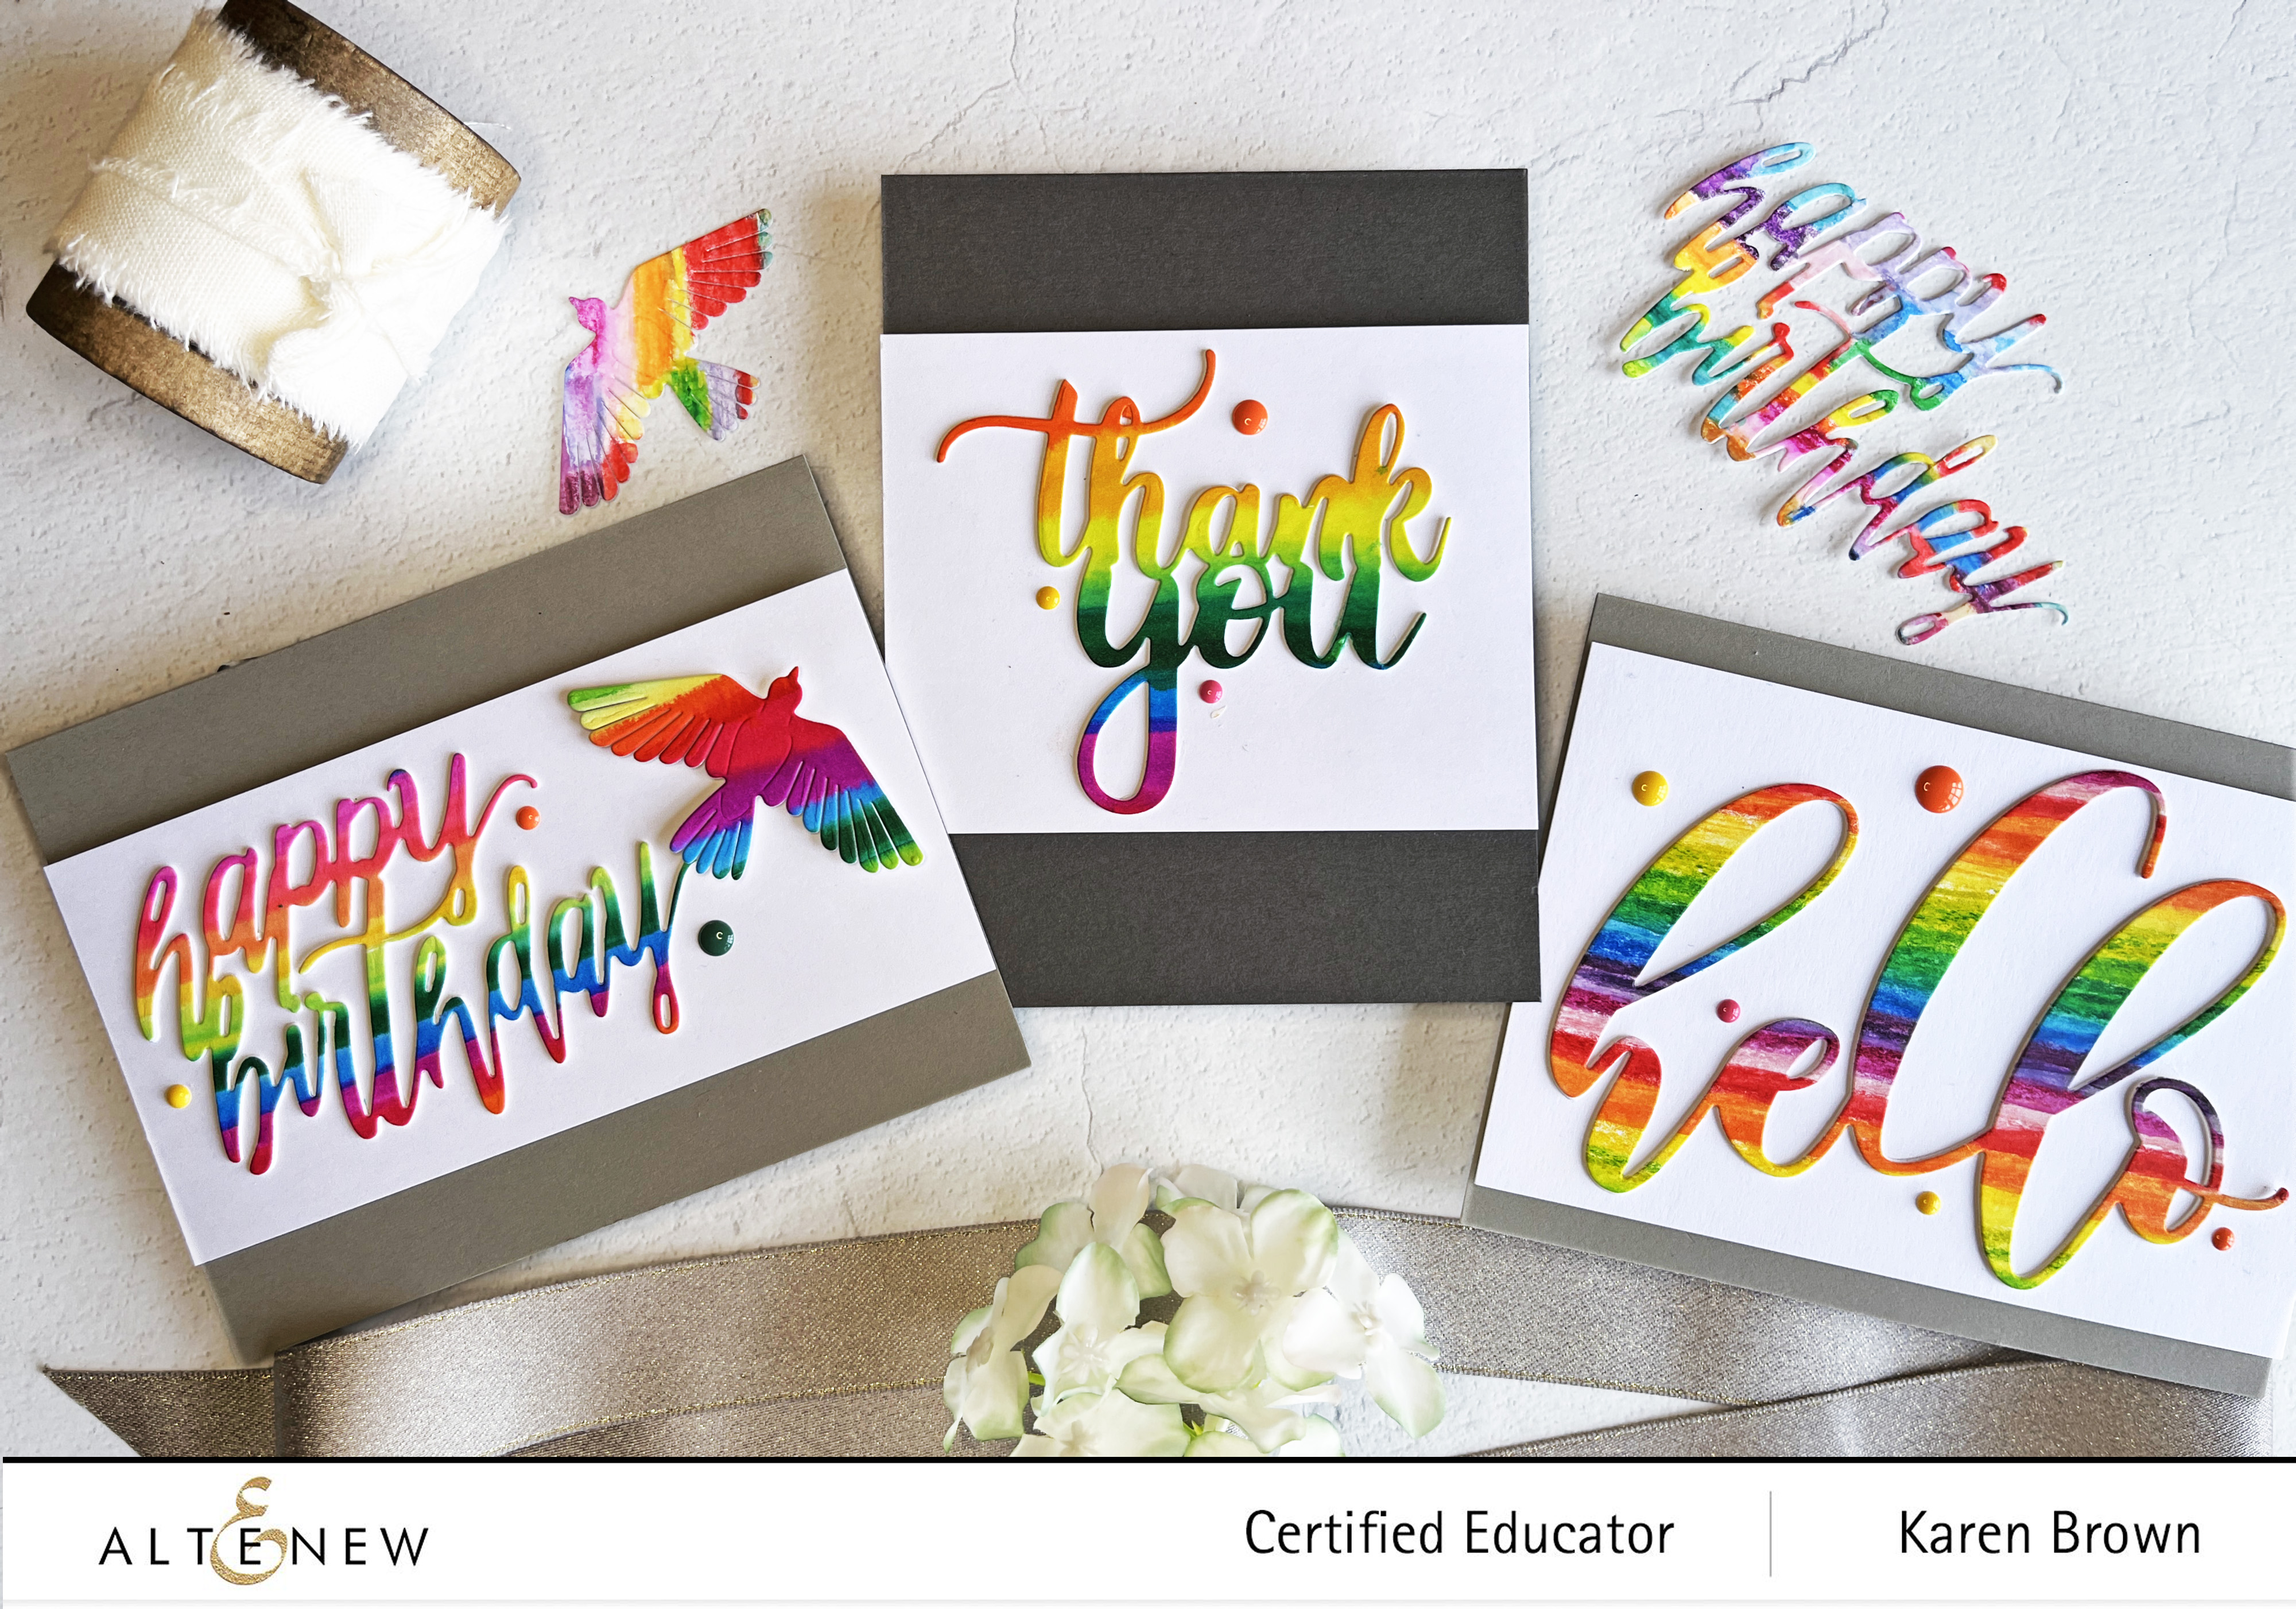
Corresponding Blog Post Link: Stunning Stenciling Magic with Rainbow Colors
Instagram Highlights: Most-Liked and Commented on Creations
Instagram brought quick inspiration and behind-the-scenes sneak peeks to your feeds. Here are the top posts.
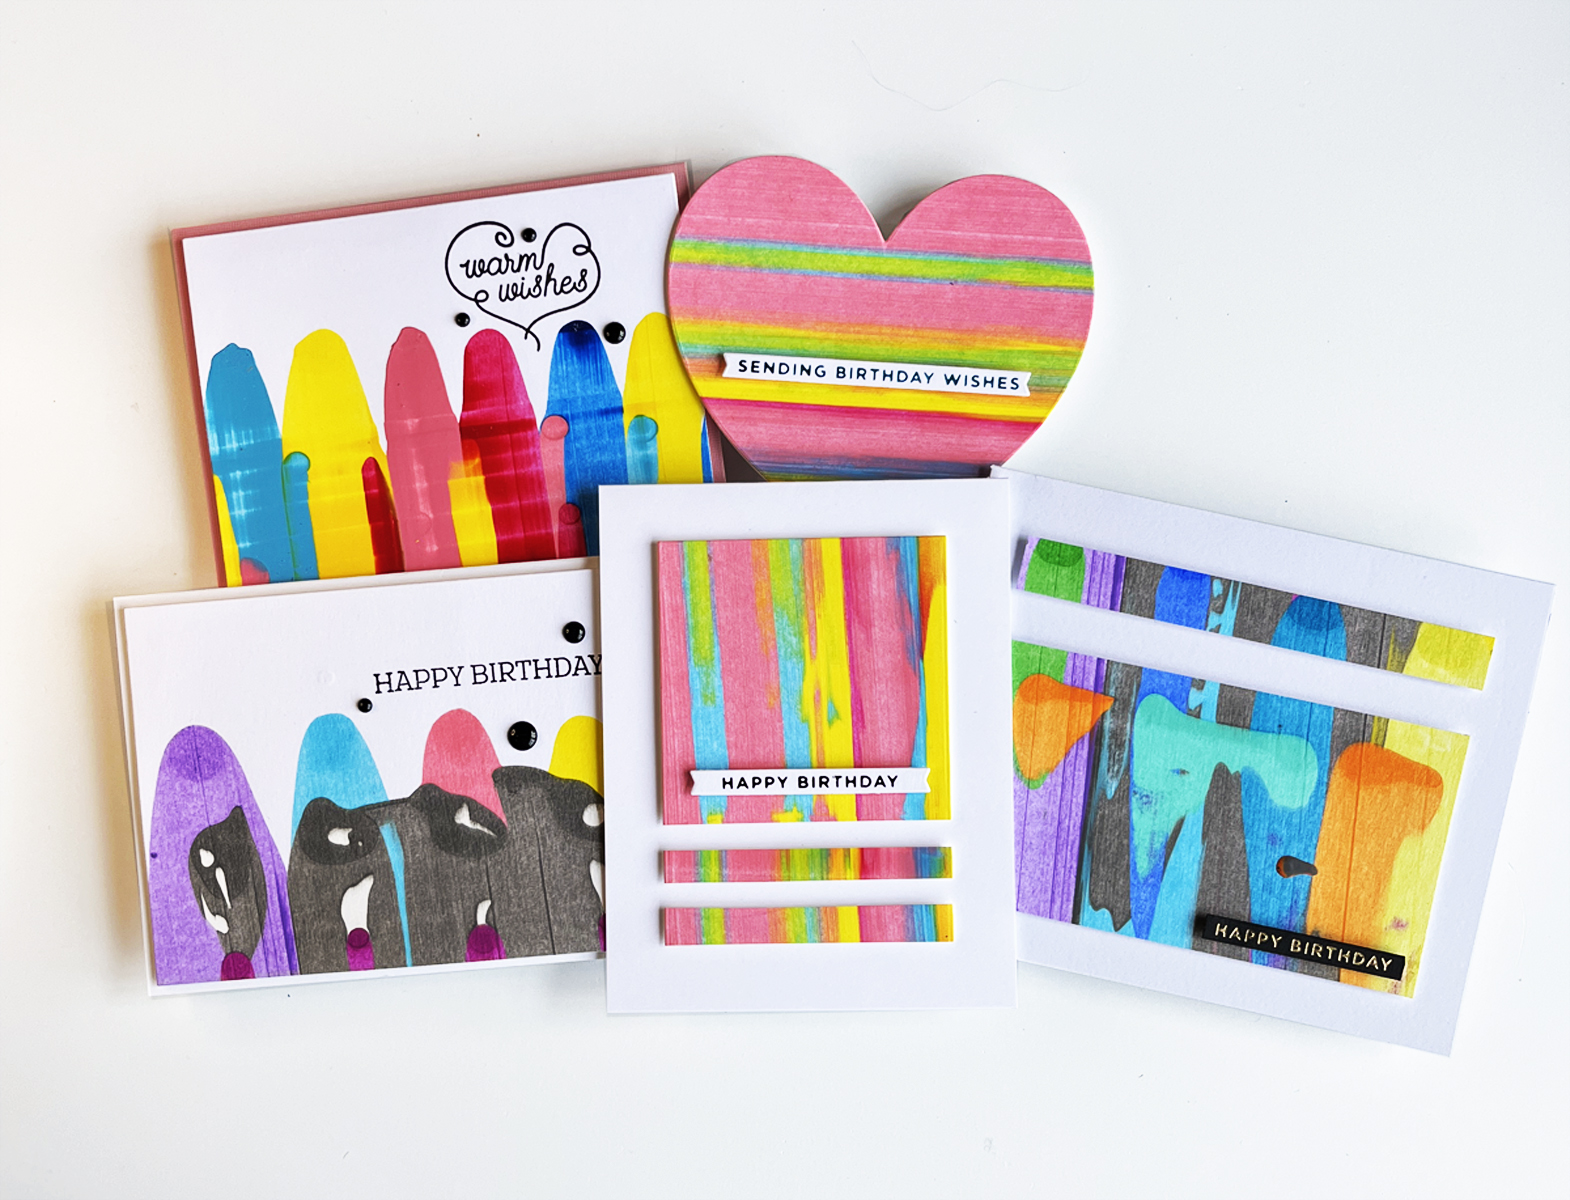
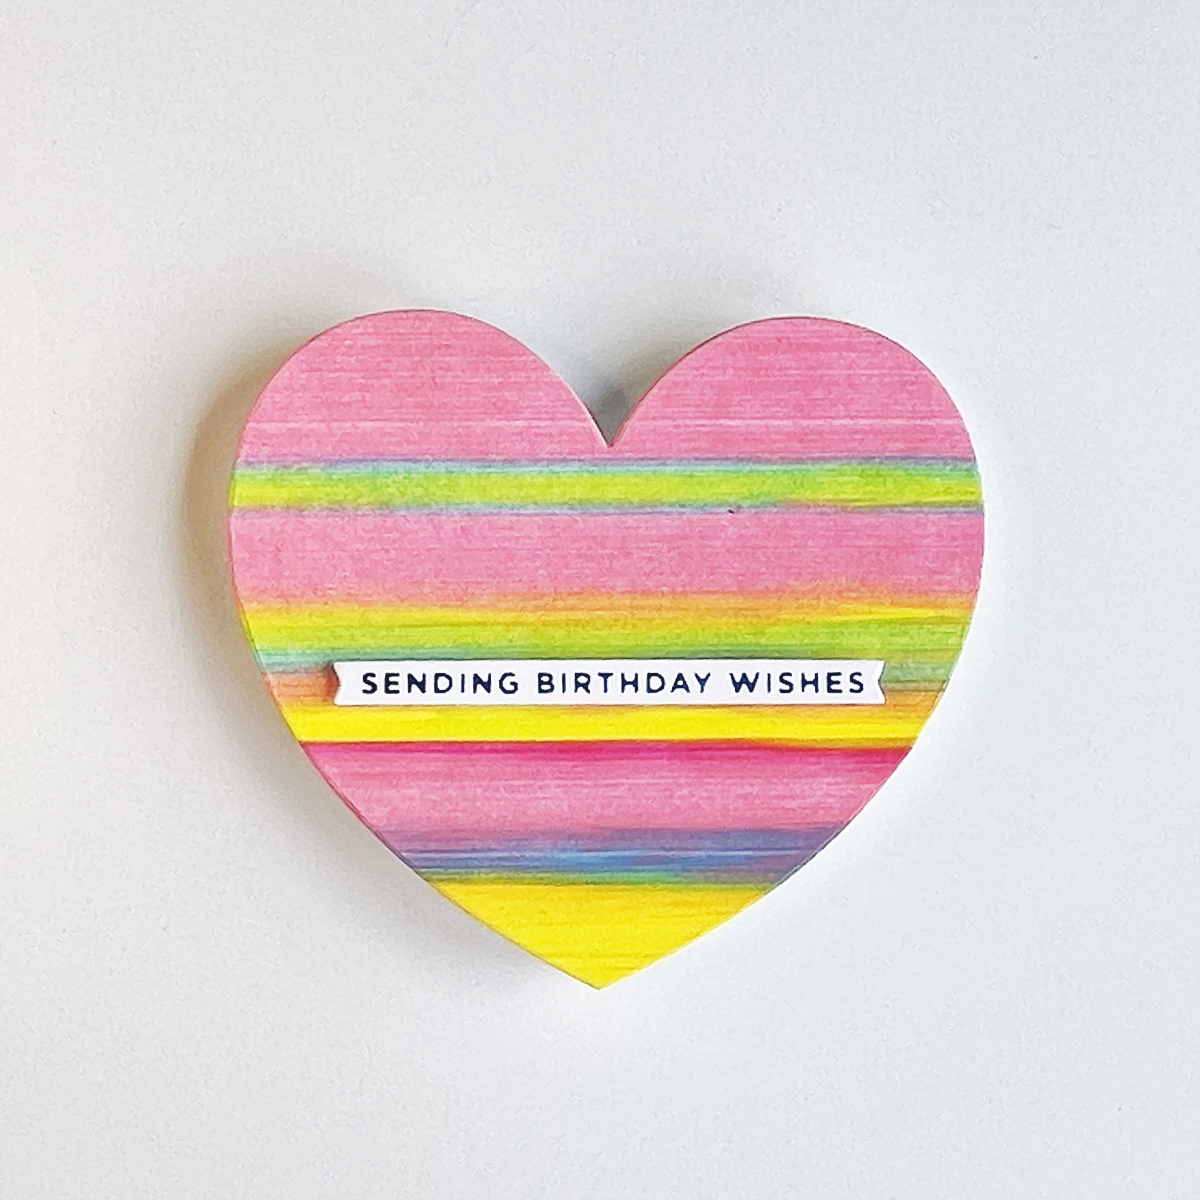
For Spellbinders, these were the fan favorites. You can find links to the corresponding blog posts below:
- TunnelScapes Collection
- 18 Tips and Trick for Making Wax Seals
- Using Printed Paper in Cardmaking
- February 2024 Stitching Die of the Month

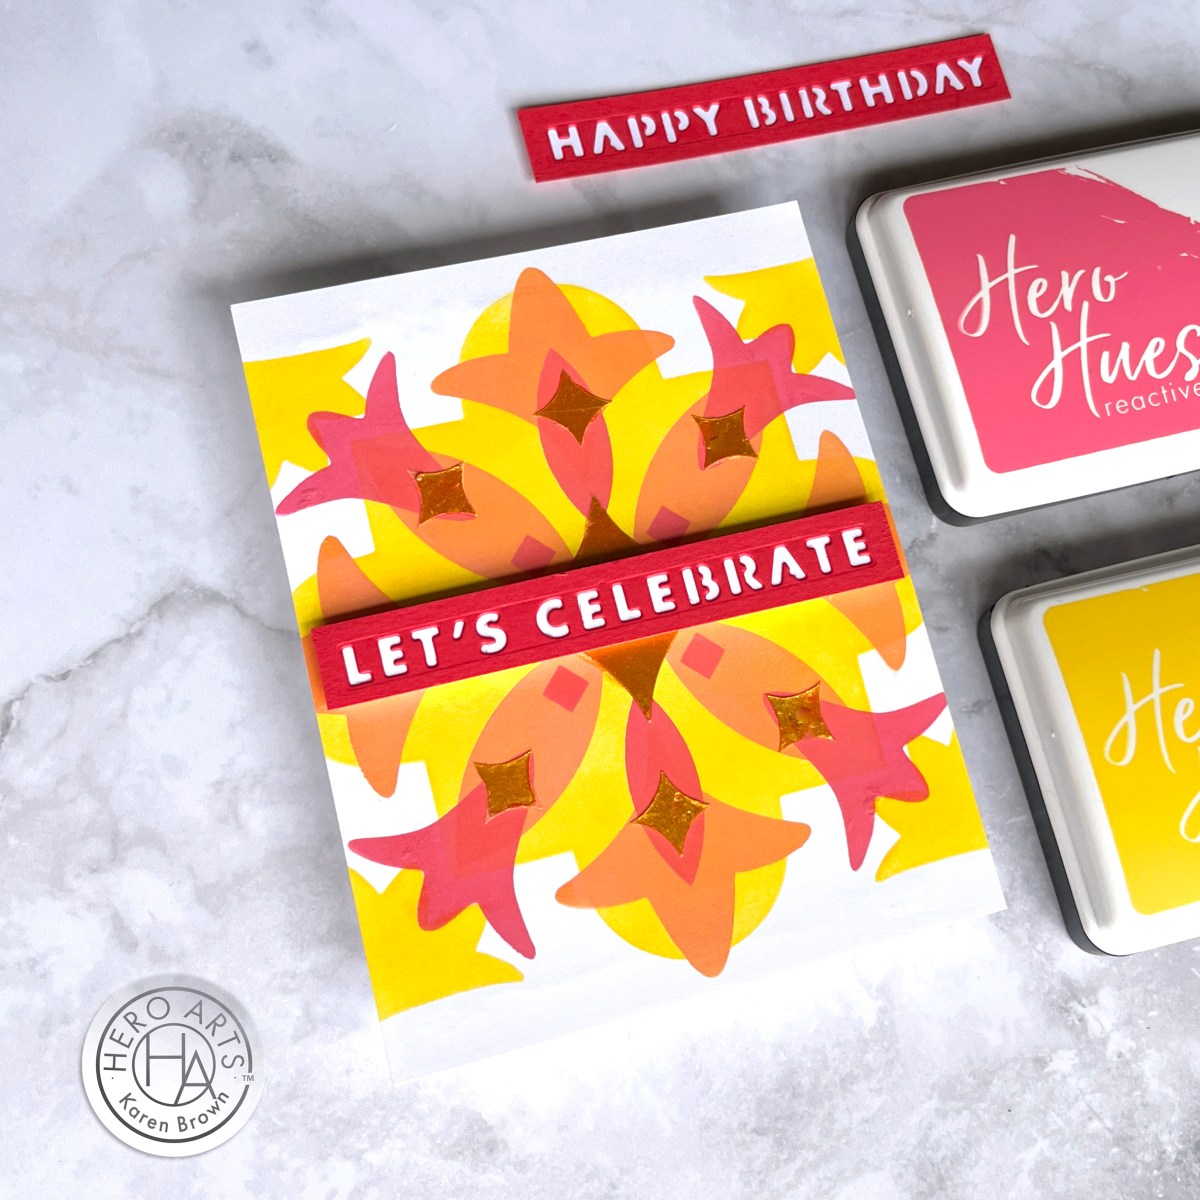
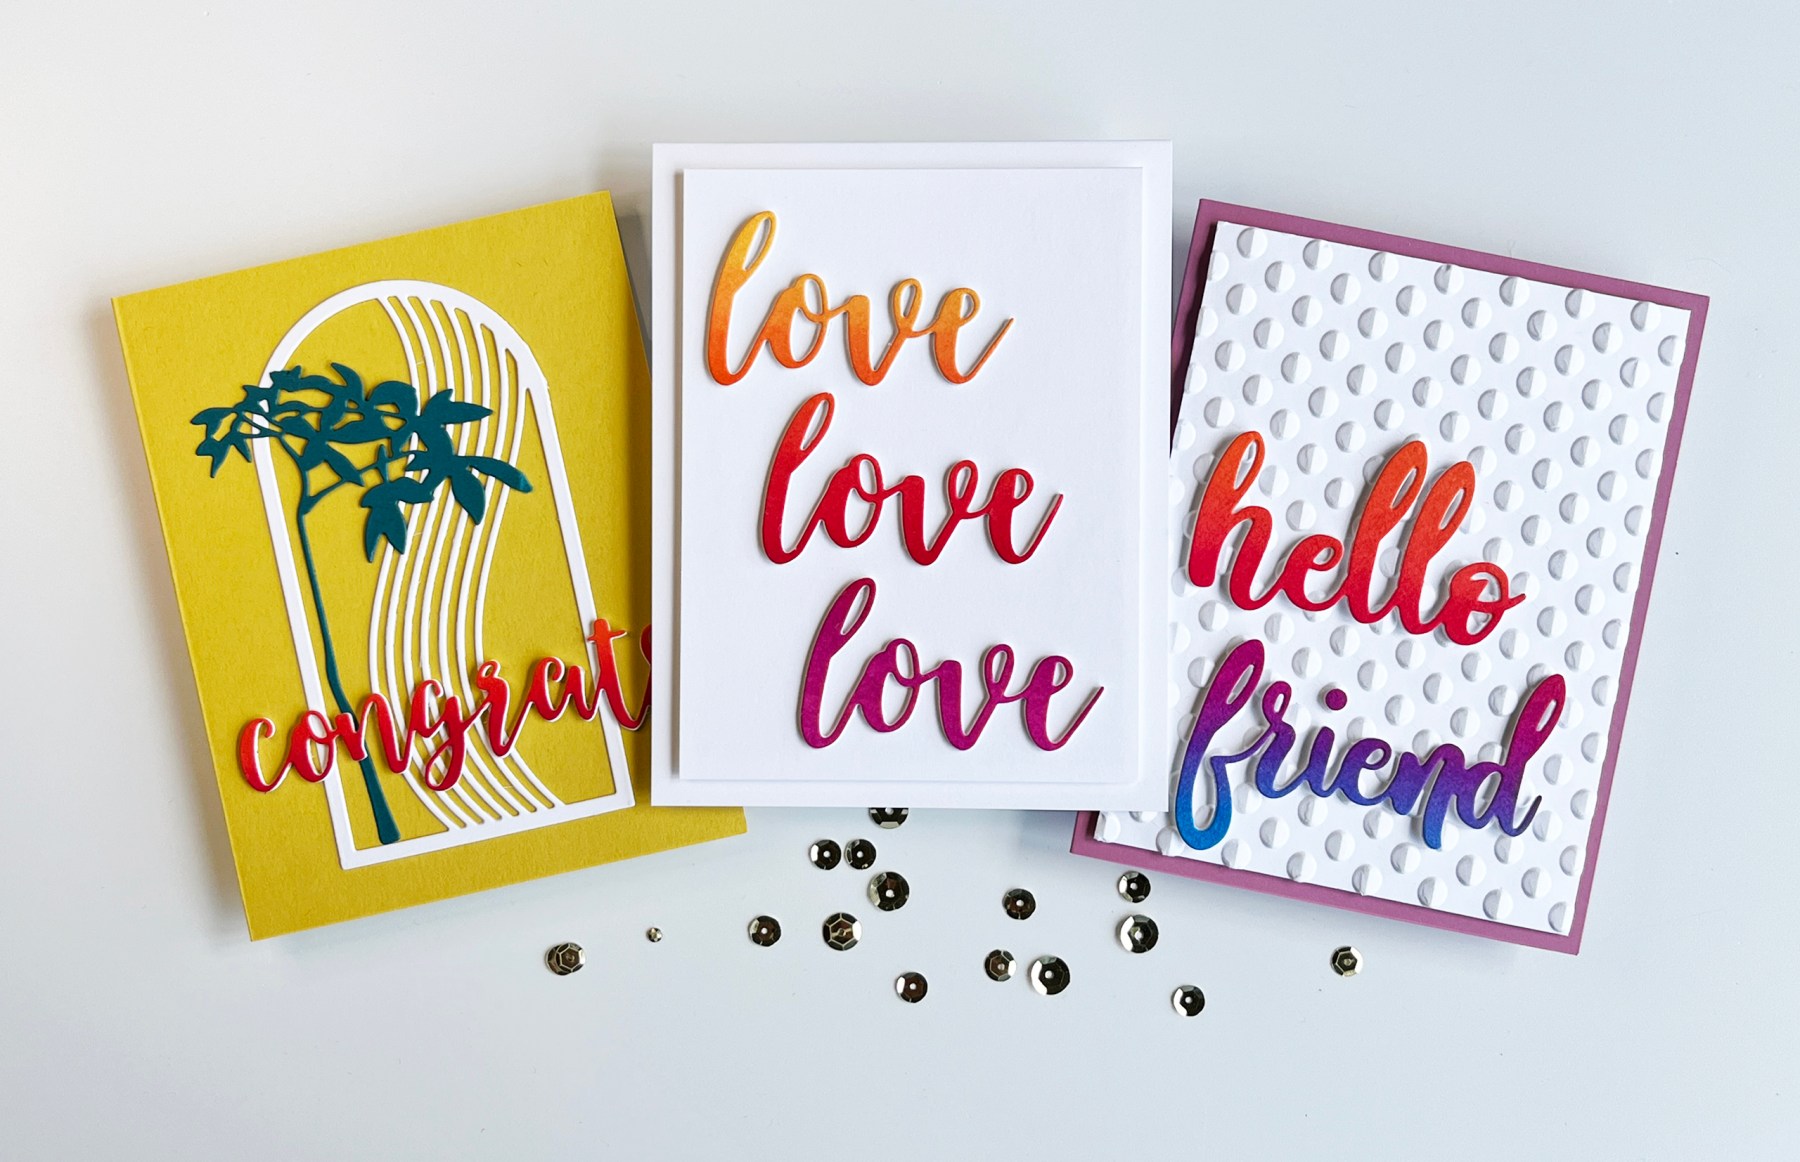
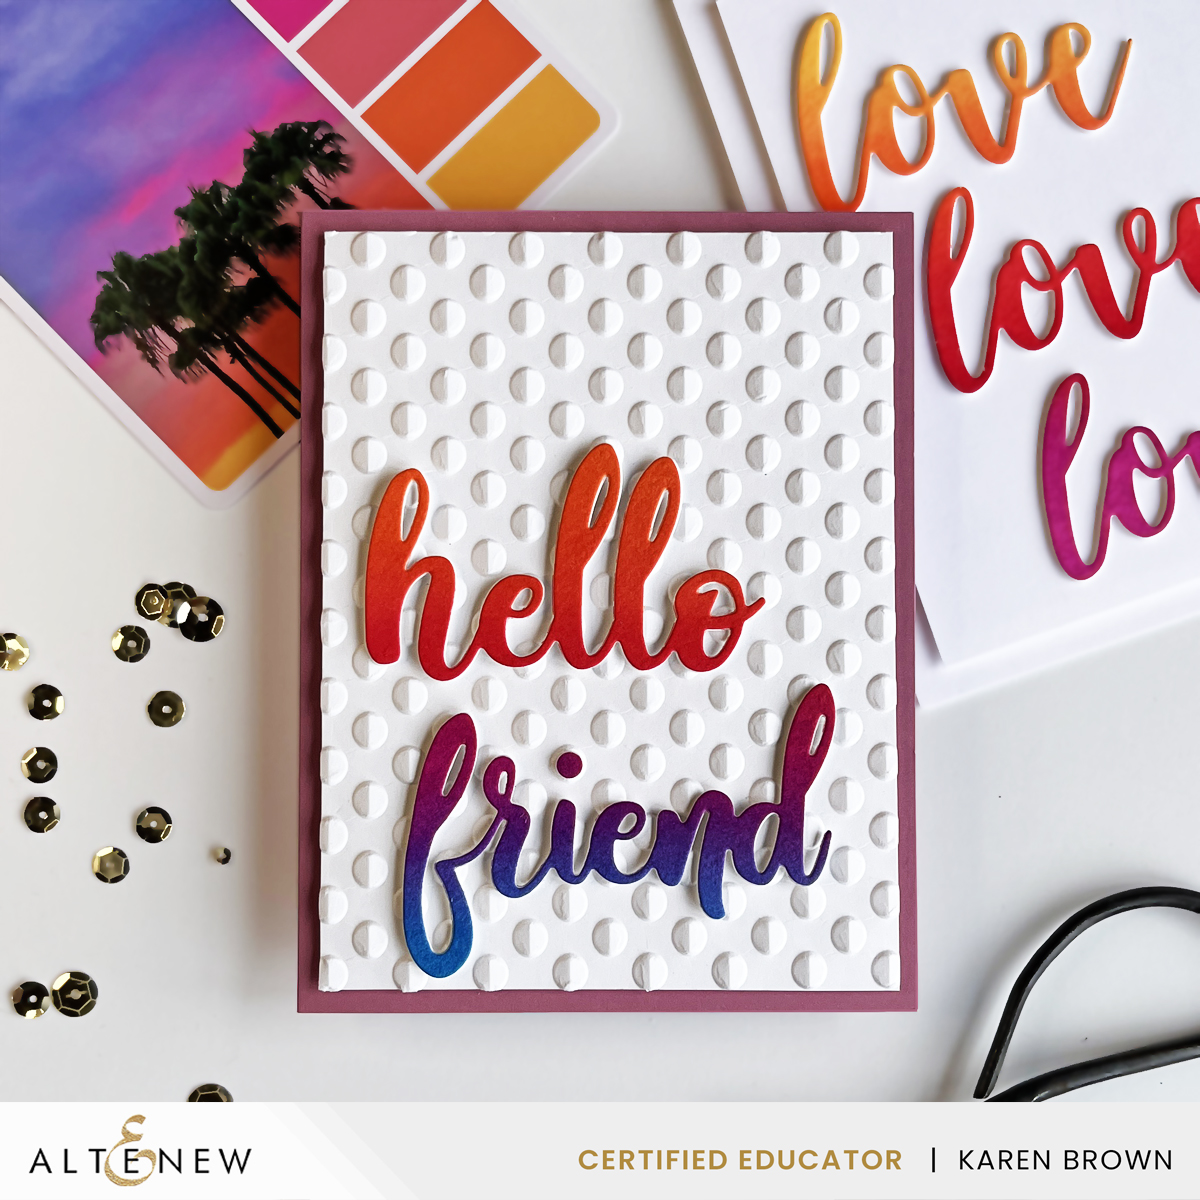
And here are my most popular Hero Arts Instagram posts along with links to the correstponding Blog Posts:
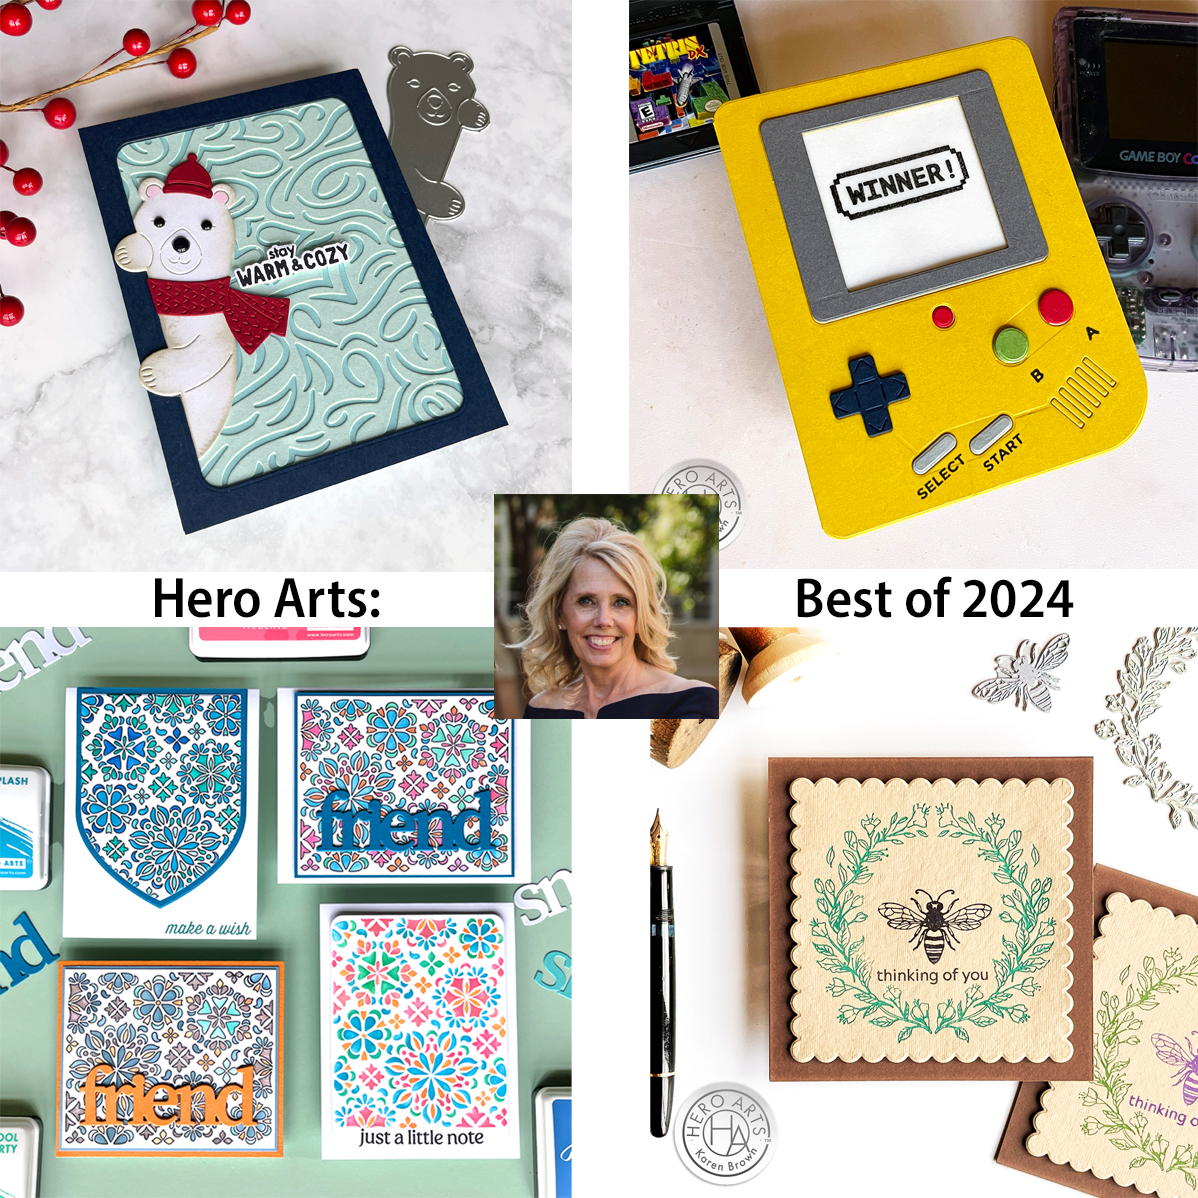
- Adding A Personal Touch to Your Holiday Greetings
- Unique Cards Inspired by Retro and Urban Vibes – Ralph Tyndall Collection
- Hero Arts Video: Coloring with Stencils 4 Ways
- Antique Bee LetterPress Card Trio
I’m so grateful to share this journey with all of you. Your comments, likes, and creations inspire me every day. Here’s to an even brighter, more colorful 2025 filled with new techniques, bold designs, and, of course, plenty of fun! Let me know in the comments—what were your favorite projects this year? I’d love to hear your thoughts!
Happy crafting, and see you in the new year! ✨☕
Karen