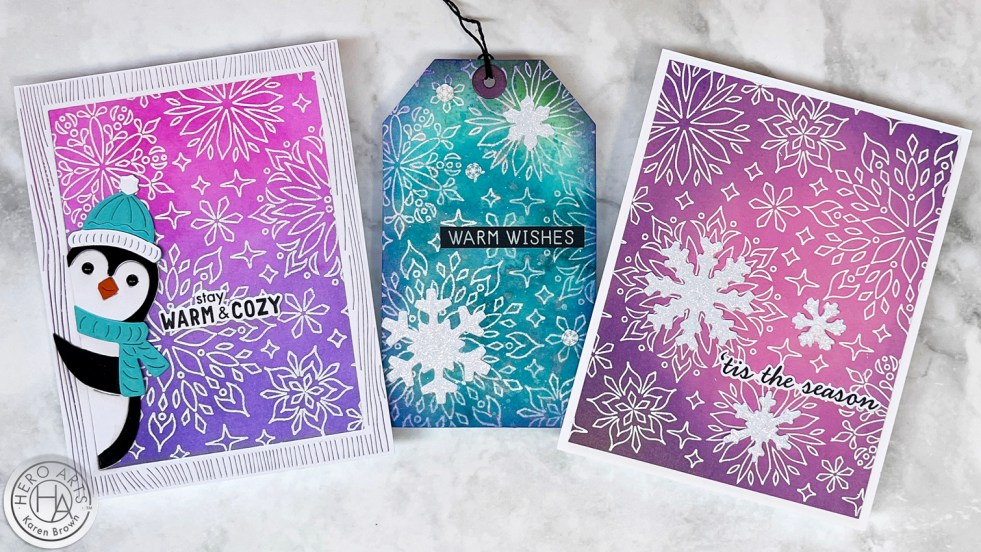
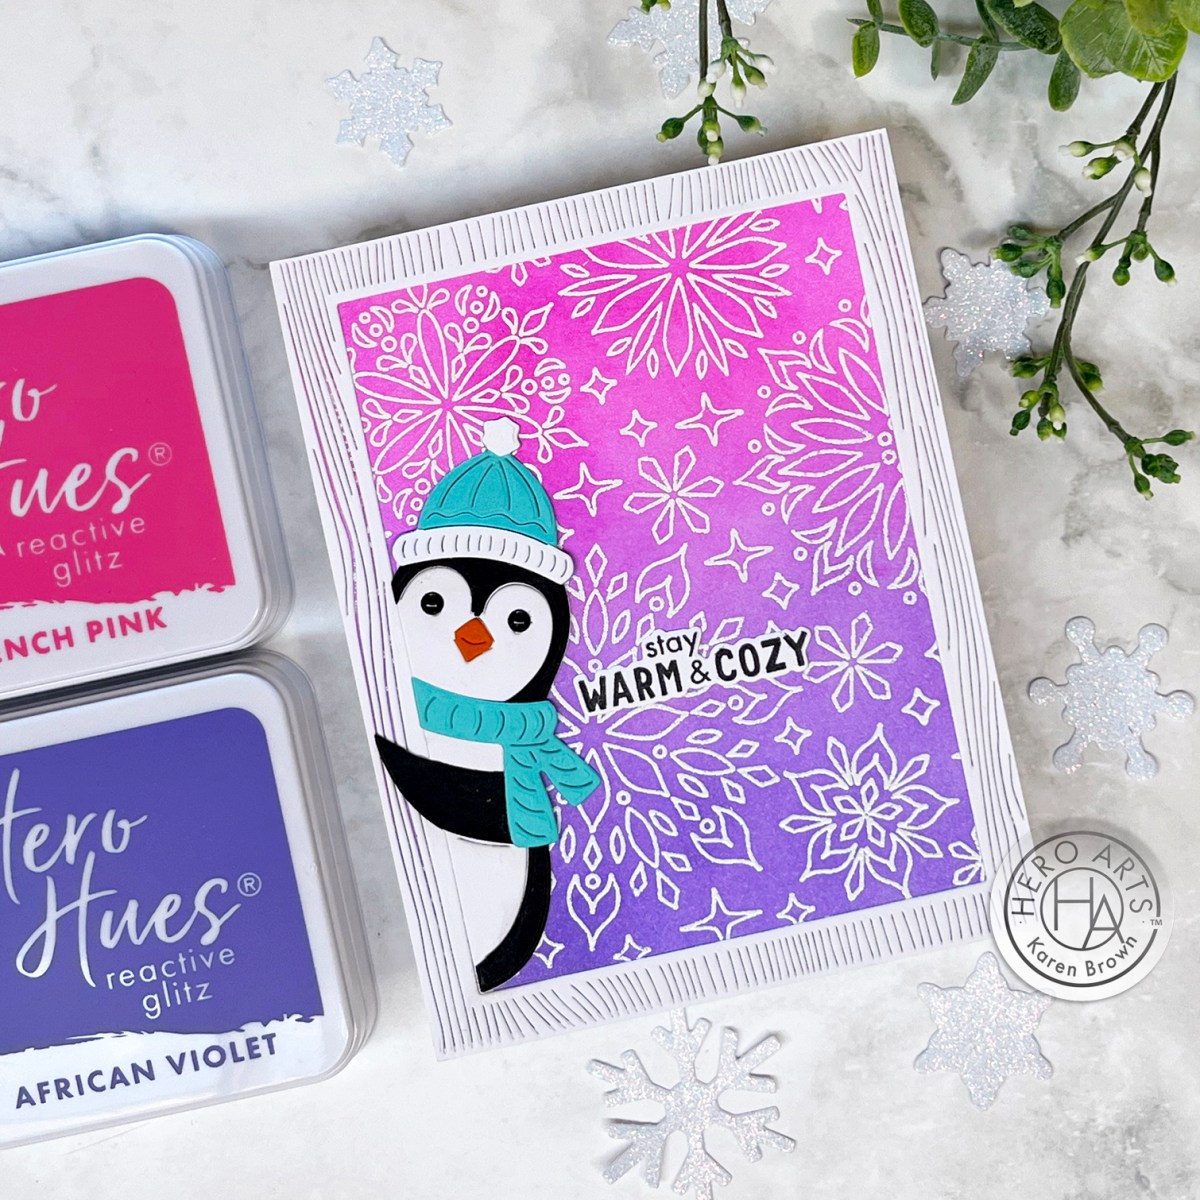
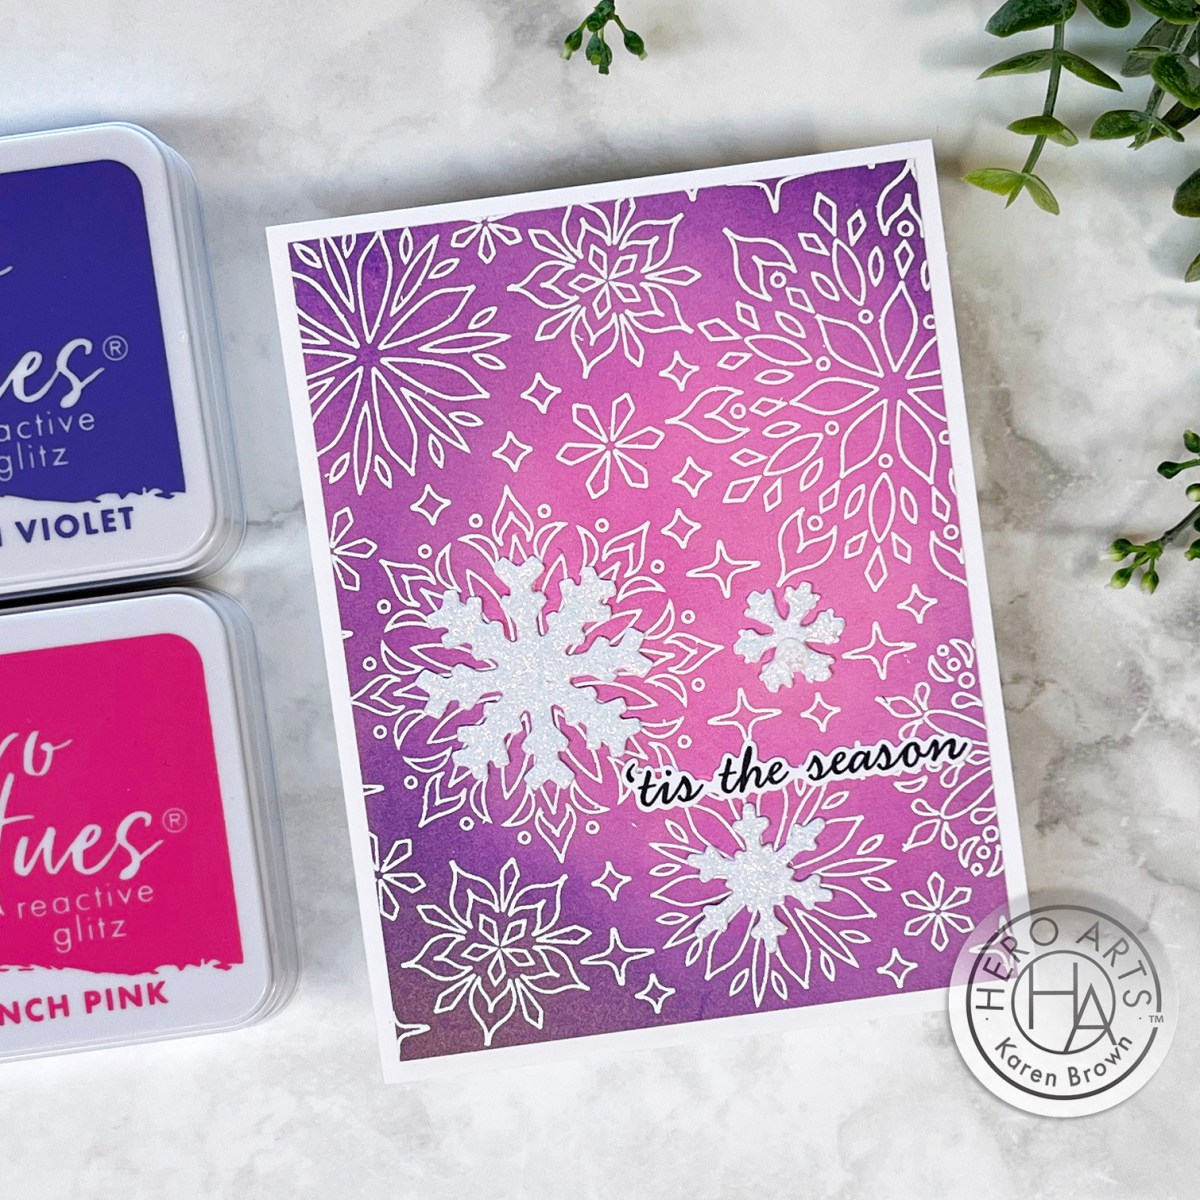
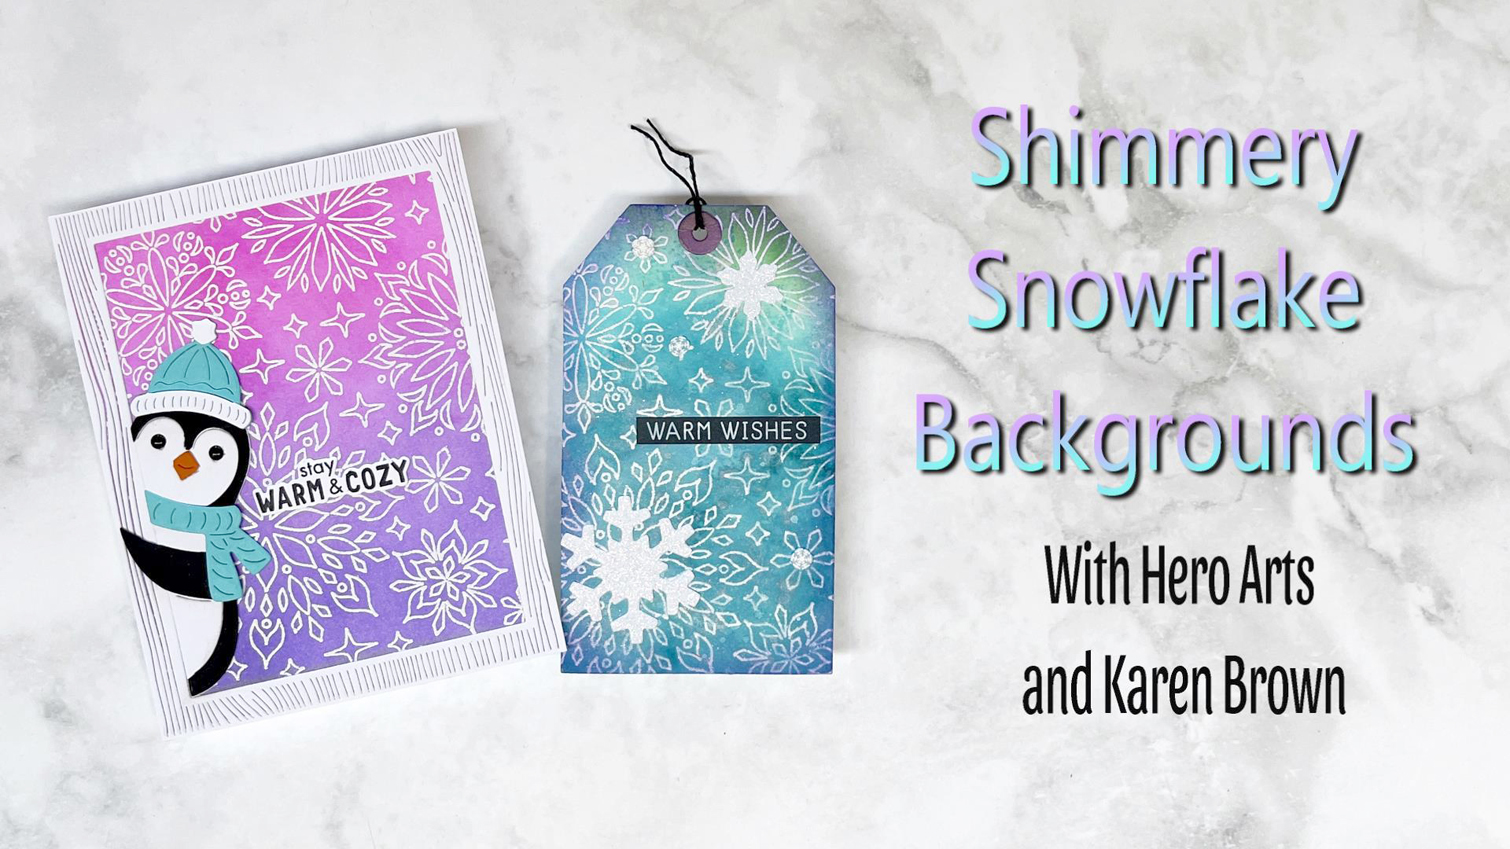
Are you ready to add a touch of winter magic to your card-making? In today’s video, I will guide you step-by-step through the enchanting process of creating shimmery snowflake backgrounds that will leave everyone in awe!
If you are having trouble viewing the video, click HERE to watch on YouTube.
Halloween is creeping around the corner, and it’s the perfect time to brew up some crafty magic with die-cut Halloween scene cards! The September Hero Studio Release is bursting with fun new products + an exciting Blog Hop, so hop along and gather tons of inspiration from some incredibly talented crafters. Let’s dive into the cauldron of creativity and get started!
Witch’s Kitchen | Monthly Mini Clear Stamp and Die Set
Next, I stamped all the stamp elements, colored with alcohol markers and then die cut. Then, I played around with layouts until I liked my spooky little scene. A little magic potion anyone???
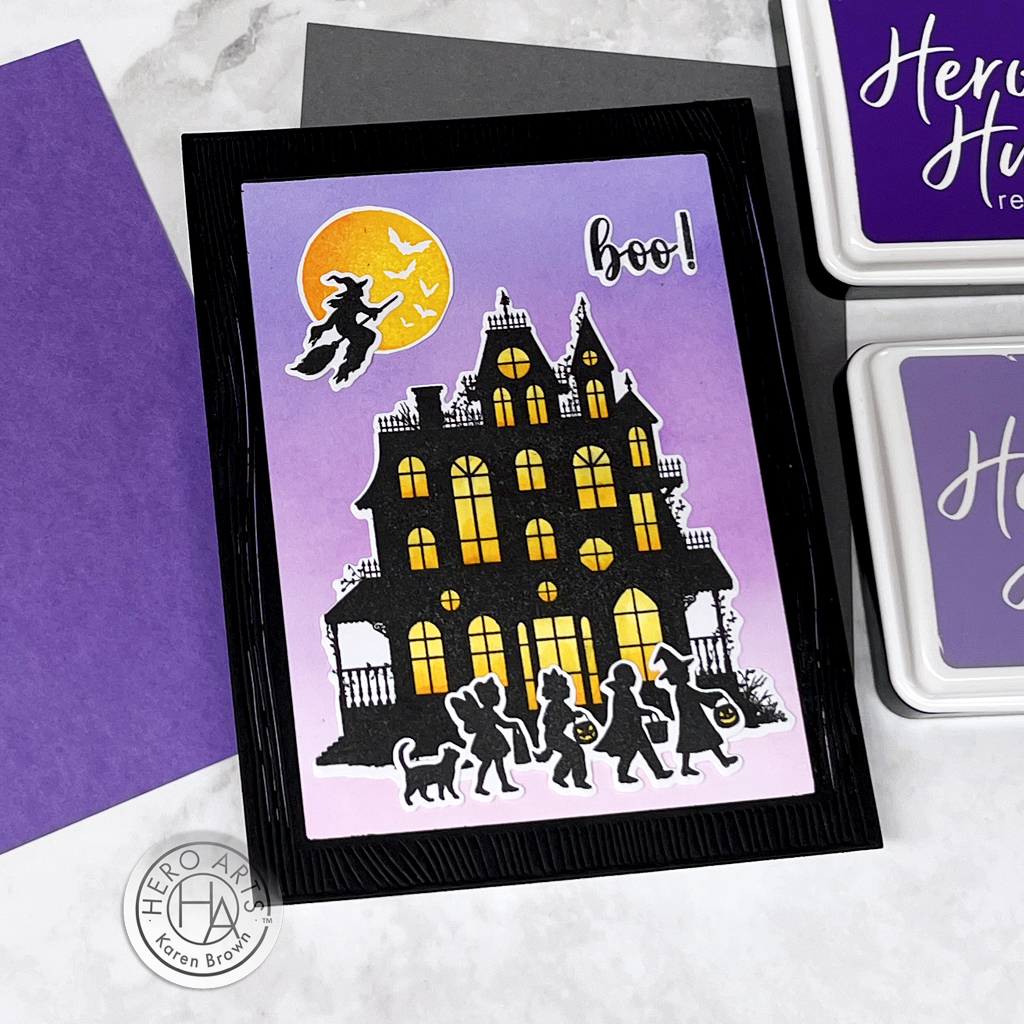
I started by ink blending my background with Taffy, Thistle and Purple Galaxy inks. On a different white card panel I stamped my elements using Intense Black ink. I stamped the black several times for a dark silhouette. I stamped the moon with Lemon Drop and Creamsicle, blending a bit on the stamp before stamping. To “light” my windows, I used a yellow and pale orange alcohol marker. After I completed my little scene, I decided my card needed a frame, so I die cut one from Pitch Black cardstock using my Wood Frame Infinity Dies.
$46 with Subscription + FREE SHIPPING $49.99 One-Time Purchase While Supplies Last
5 Wonderful Kit Options:
For this blog post, I created with two kits and two Extraordinary Extras, but there there are 5 kits plus 5 Extras available. You can also buy the Whole Studio, which includes all 5 kits at a wonderful savings.
The Whole Studio ($120 with subscription or $138.95 one-time purchase price)
Now it’s time for the Blog Hop! What’s a Blog Hop, you ask? It’s a fun, crafty event where you can hop from one blog to another, gathering inspiration, tips, and tricks from different crafters. Each blog in the hop will feature a Halloween project (or two or three!), so you’re sure to leave with your cauldron overflowing with ideas!
Hero Arts will give away a $50 gift card, drawn from the comments left across the hop. Enter by Sunday, September 8th at 11:59pm Pacific, and the winner will be announced on the Hero Arts blog the following week.
Here’s how to join:
Visit the Next Blog in the Hop: Check out the list of participating blogs (links below), and hop to the next one – Lydia Fiedler – to see what spooky creation she has brewed up!
Leave a Comment: Show some love to your fellow crafters by leaving a comment on their posts. It’s a great way to connect and share the Halloween spirit!
Creating die-cut Halloween scene cards is a fang-tastic way to get into the spooky spirit and share some handmade love with friends and family. Plus, participating in a Blog Hop is the perfect way to find inspiration and connect with the crafting community. So, grab your dies, fire up your die-cutting machine, and let’s make this Halloween a crafty one to remember!
Happy crafting, and don’t forget to join the Blog Hop! 🎃👻
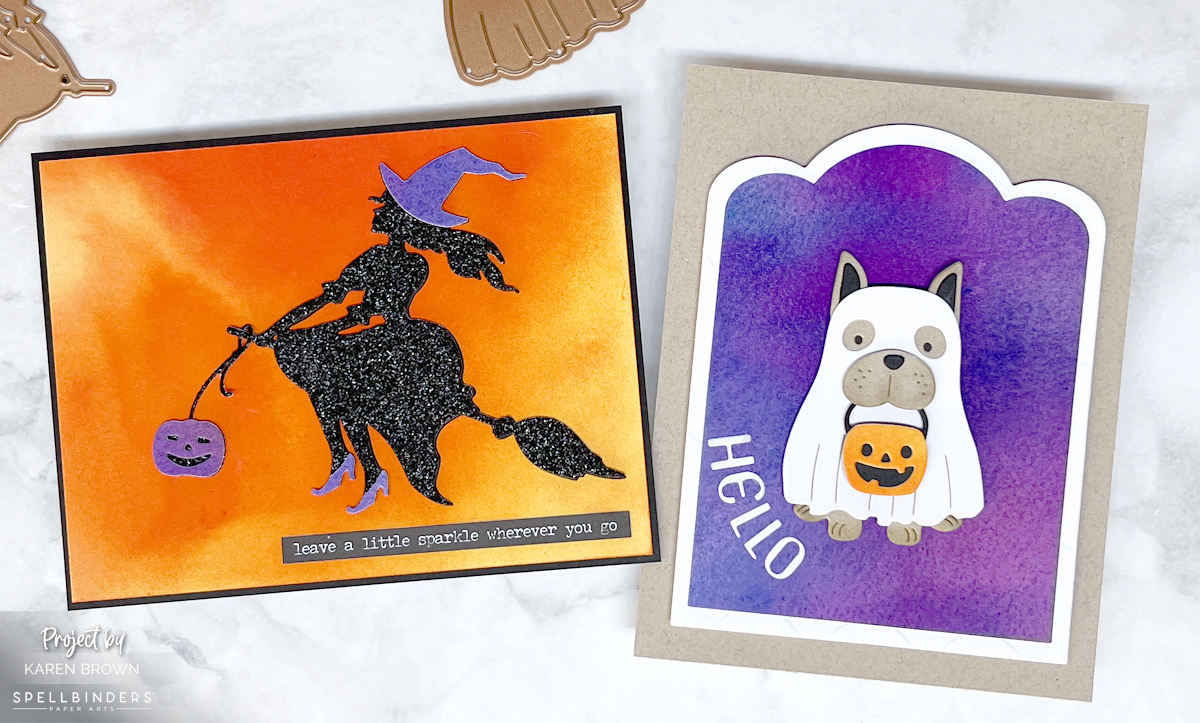
Halloween is just around the corner, and what better way to get into the spirit than by creating some spooky yet charming Halloween cards? Spellbinders has just released an adorable collection called Happy Haunting that is SO fun! I created two cards today that I am going to send to my daughters. I used Witchin” Heels (S3-525) and Woof or Treat (S3-521).
Spooky (and Cute!) Card Designs
For a simple yet delightful card, I created a dramatic sunset background to contrast with my sparkly witchy silhouette. I love using Liquid Watercolors because they are so vivid.
My Design Process:
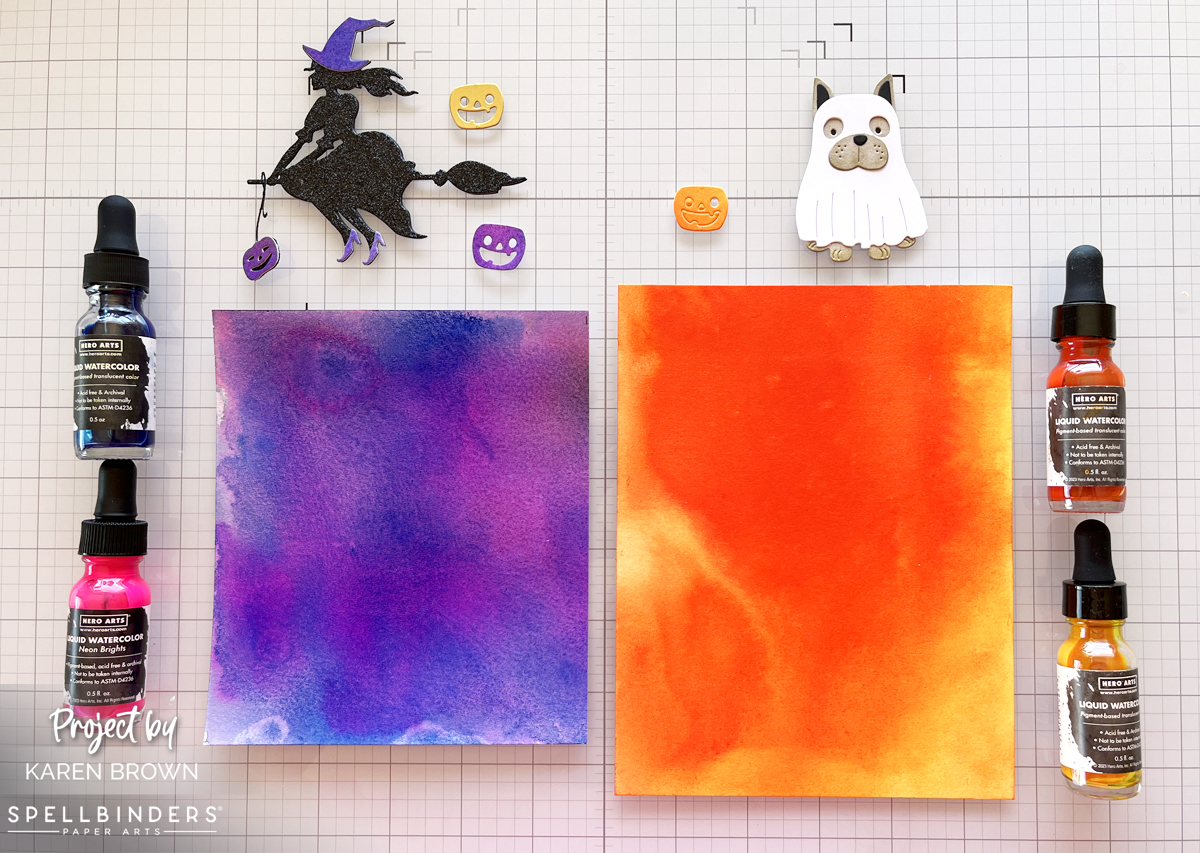
I started my design process by creating two bold backgrounds using liquid watercolors.
Witchin’ Heels background: I brushed water onto a watercolor paper panel and then used the Dandelion Yellow Liquid Watercolor eye-dropper to drop color onto the paper. I added yellow at the top and bottom of the panel and dropped Orange in the middle. I then used my mini-mister sprayer to add water to the colors, tilting different directions so that the colors blended and flowed. I repeated this process a couple of times.
Woof or Treat backgound: I repeated the process for my purple panel using Indigo and Neon Brights Pink Liquid Watercolors. Since I didn’t have purple watercolor I created my own by dropping a big blob of Indigo ink and then putting a smaller drop of pink in the center. I spitzed with water and then tilted to move the ink. I added several layers for an intense color.
I used my heat tool to speed up the drying process.
Below, you can see a photo of my completed backgrounds.
Die cutting was next. I used Black Glitter Paper for the Witch and added purple accents die cut from my purple watercolor panel. For my ghostly pup, I used khaki and added a hint of shading with a blending brush.
To frame my little trick-or-treater, I used my Scallop Label Infinity Dies. I also added a little dimension with foam squares and craft foam.
I feel like each of these cards has a little bit of seasonal magic combined with crafty love. I adore the bold colors acheived with liquid watercolors.
I hope you found some inspiration today. Thanks for stopping by!
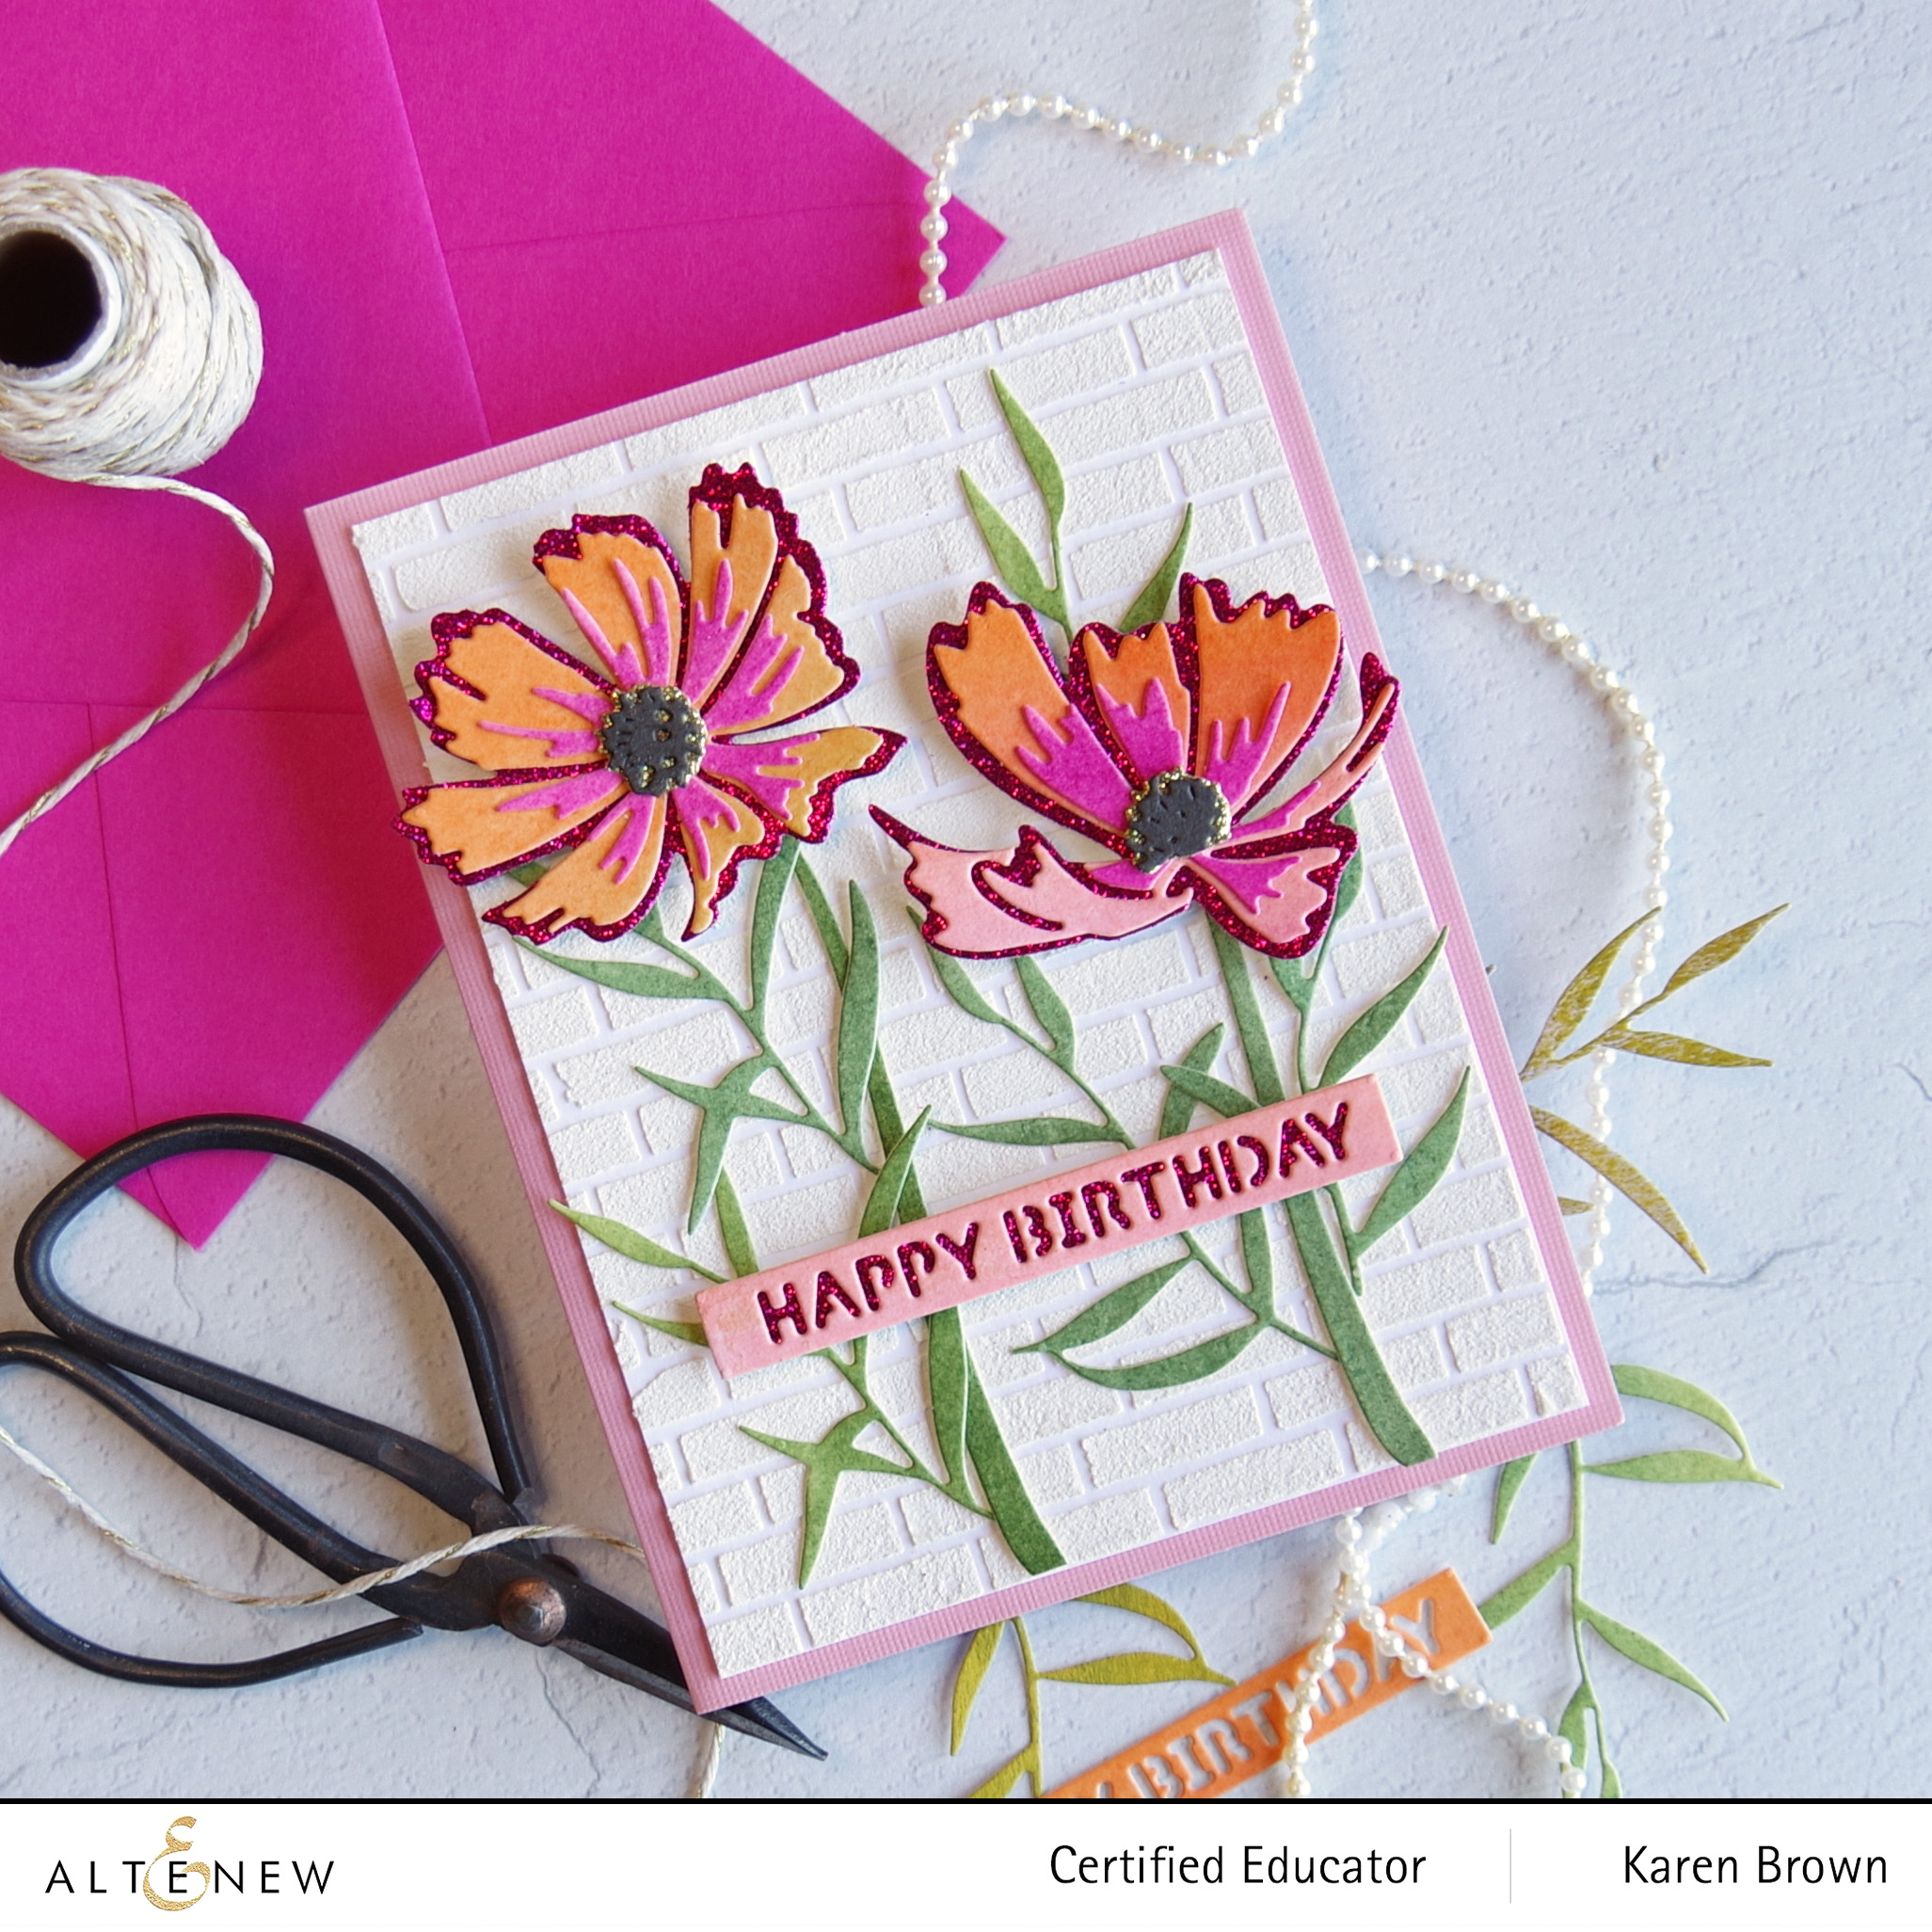
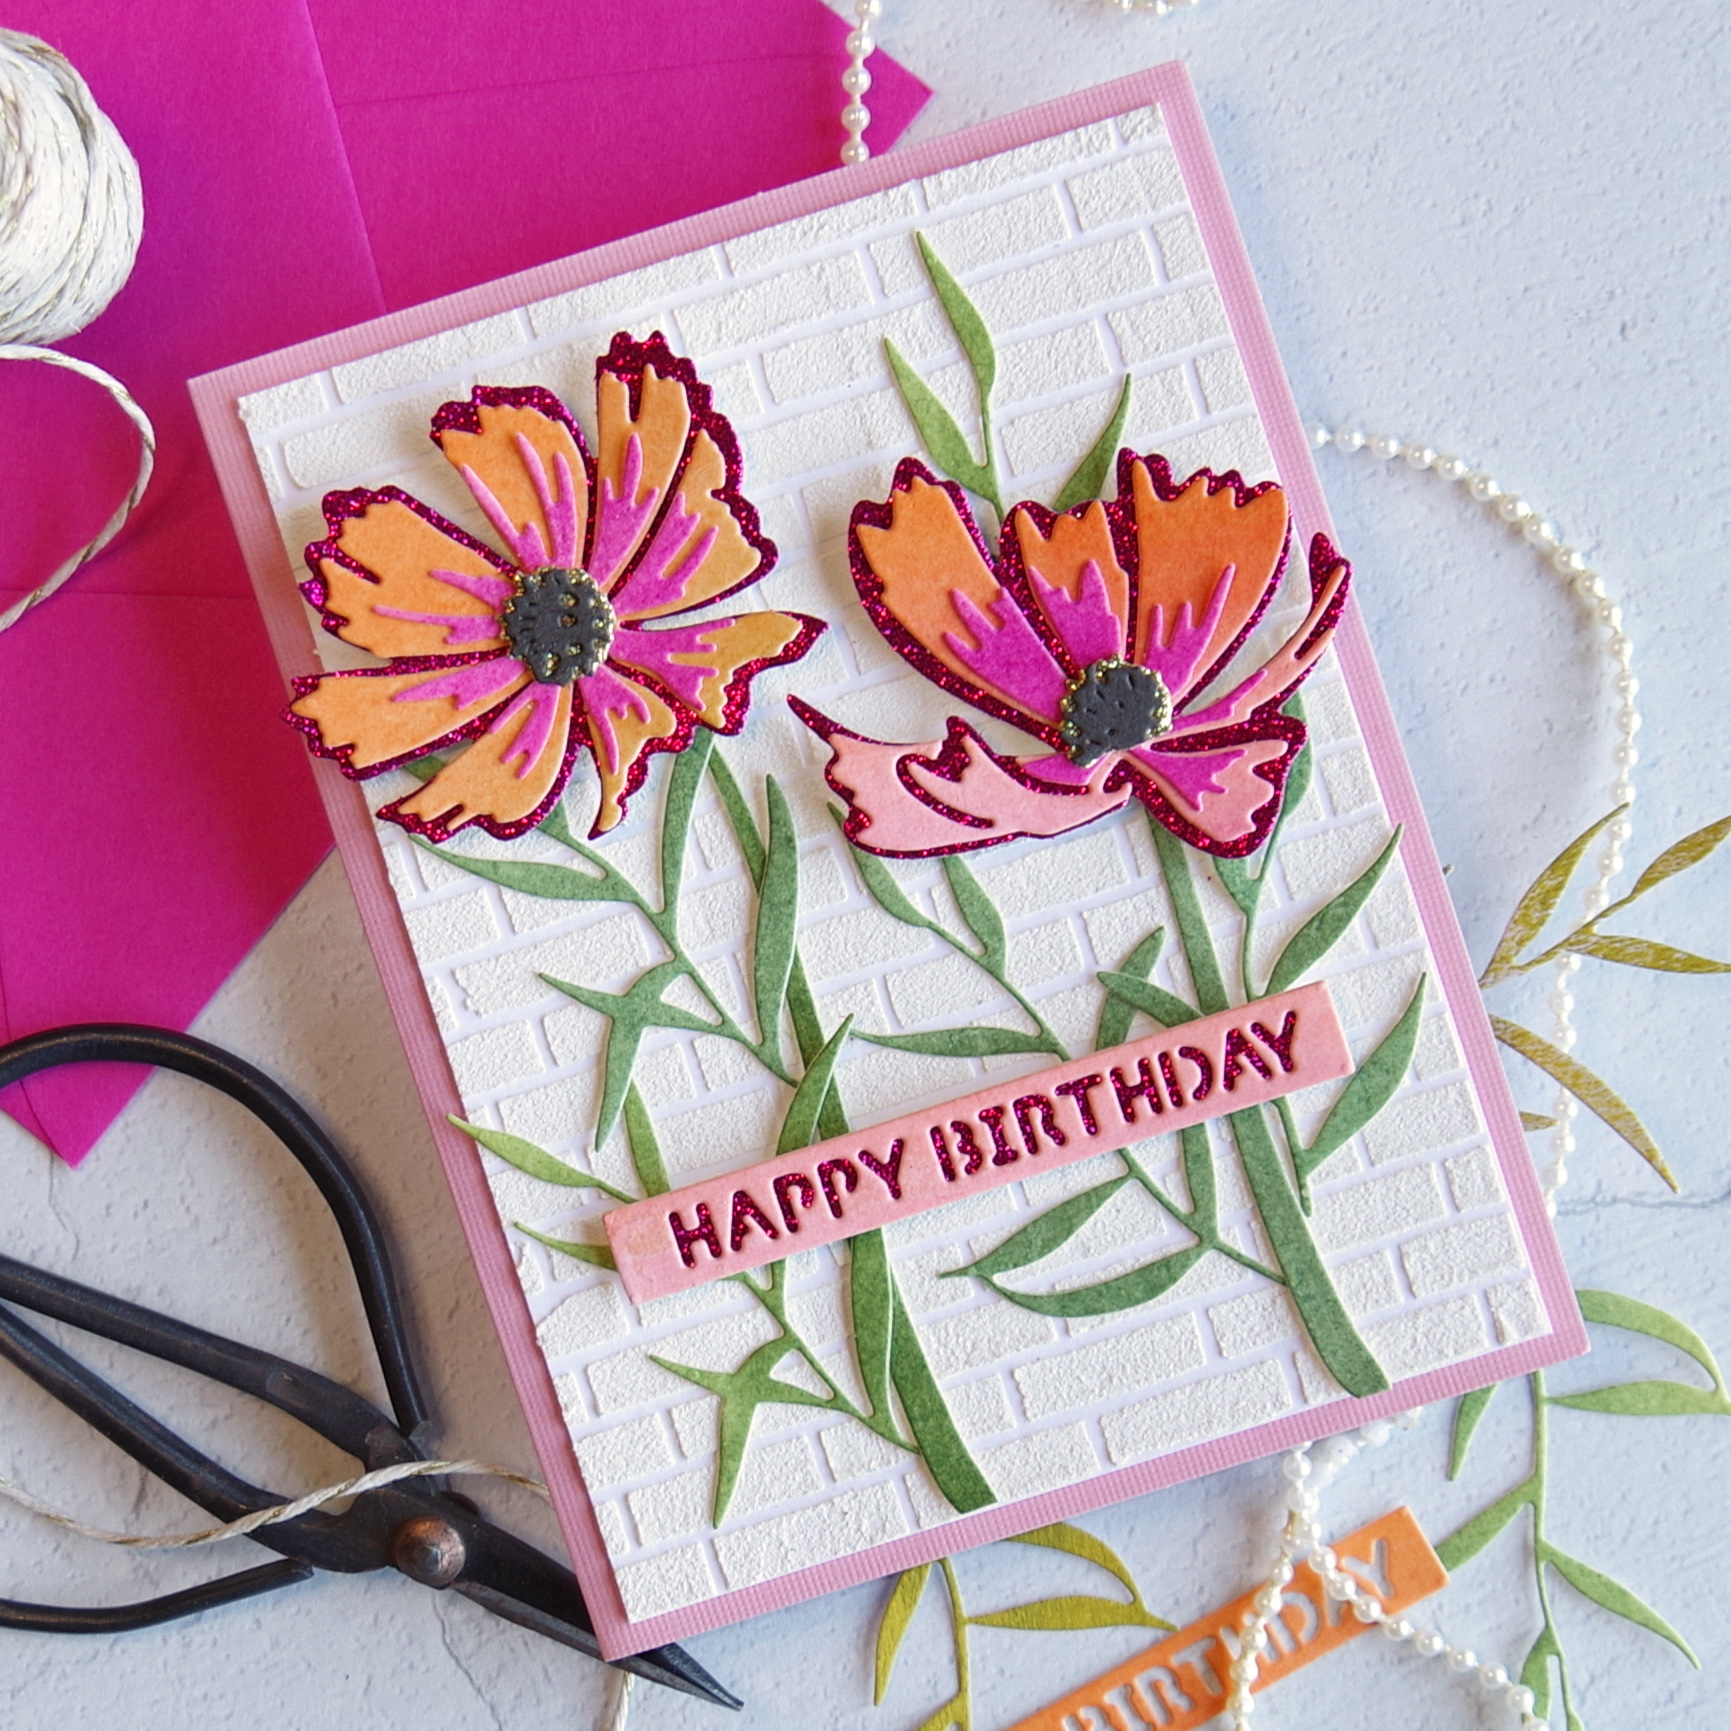
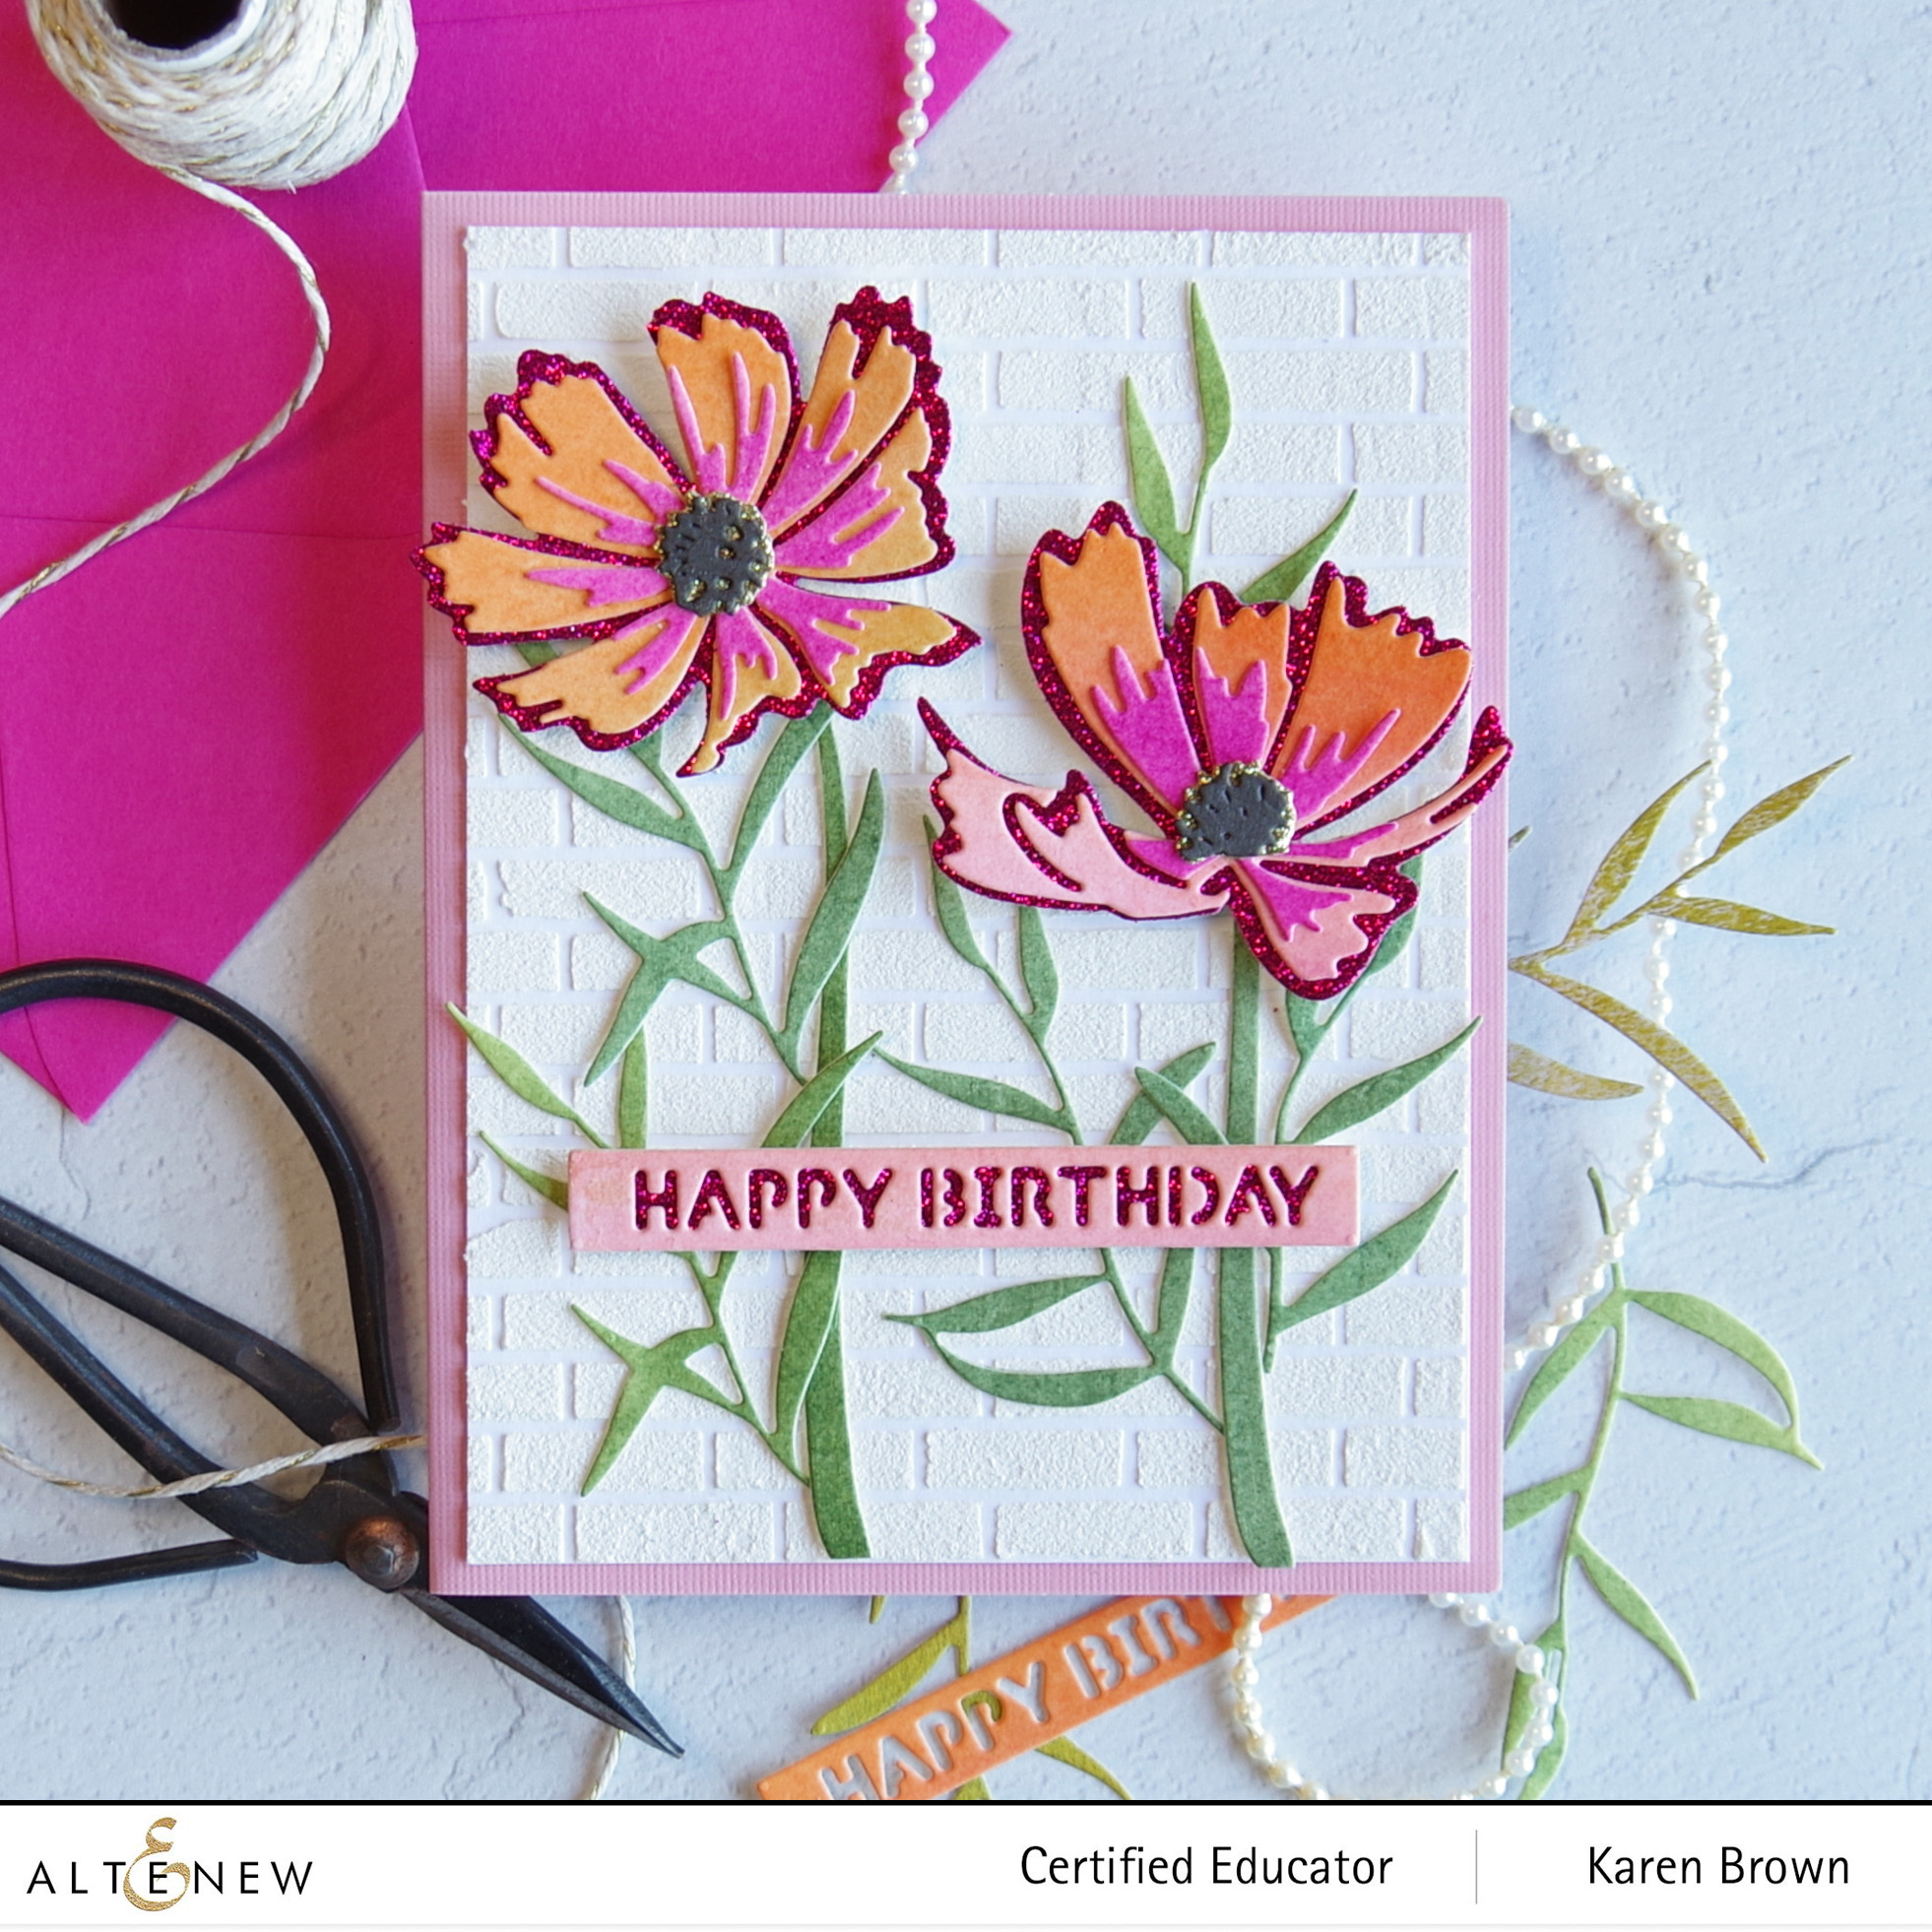
Glitter and shine….sometimes it is fun to add a little sparkle to a card! Today I used some Glitter Cardstock to make an ultra girly card. I used glitter cardstock as the bottom layer on my blooms, flower centers and sentiment. I created this card to be part of Altenew’s Educator Instagram Hop and we’d love for you to “hop” along with us. You can start at @altenewllc and my IG hande is: karens_mini. Hope to see you!
My Process:
I started by creating my own color palette with watercolors. I took two full sheets of 9 x 12″ watercolor paper, taped them to hardboard panels and then applied watercolors (3 pinks, 2 yellows, 2 oranges and 4 greens) with Altenew’s 36 Pan Watercolor Set and an 18 Brush. I let the watercolor dry and then added a second layer for vibrant color. I let the panels dry overnight so they would die cut well.
The next morning I die cut the bottom floral layers from Altenew’s Pink Brilliance Glitter Cardstock. The bottom layer from the flower center was cut from Gilded Glitter Cardstock. The top two floral layers and greenery were die cut from the watercolor panels that dried overnight. I assembled the blooms with liquid glue.
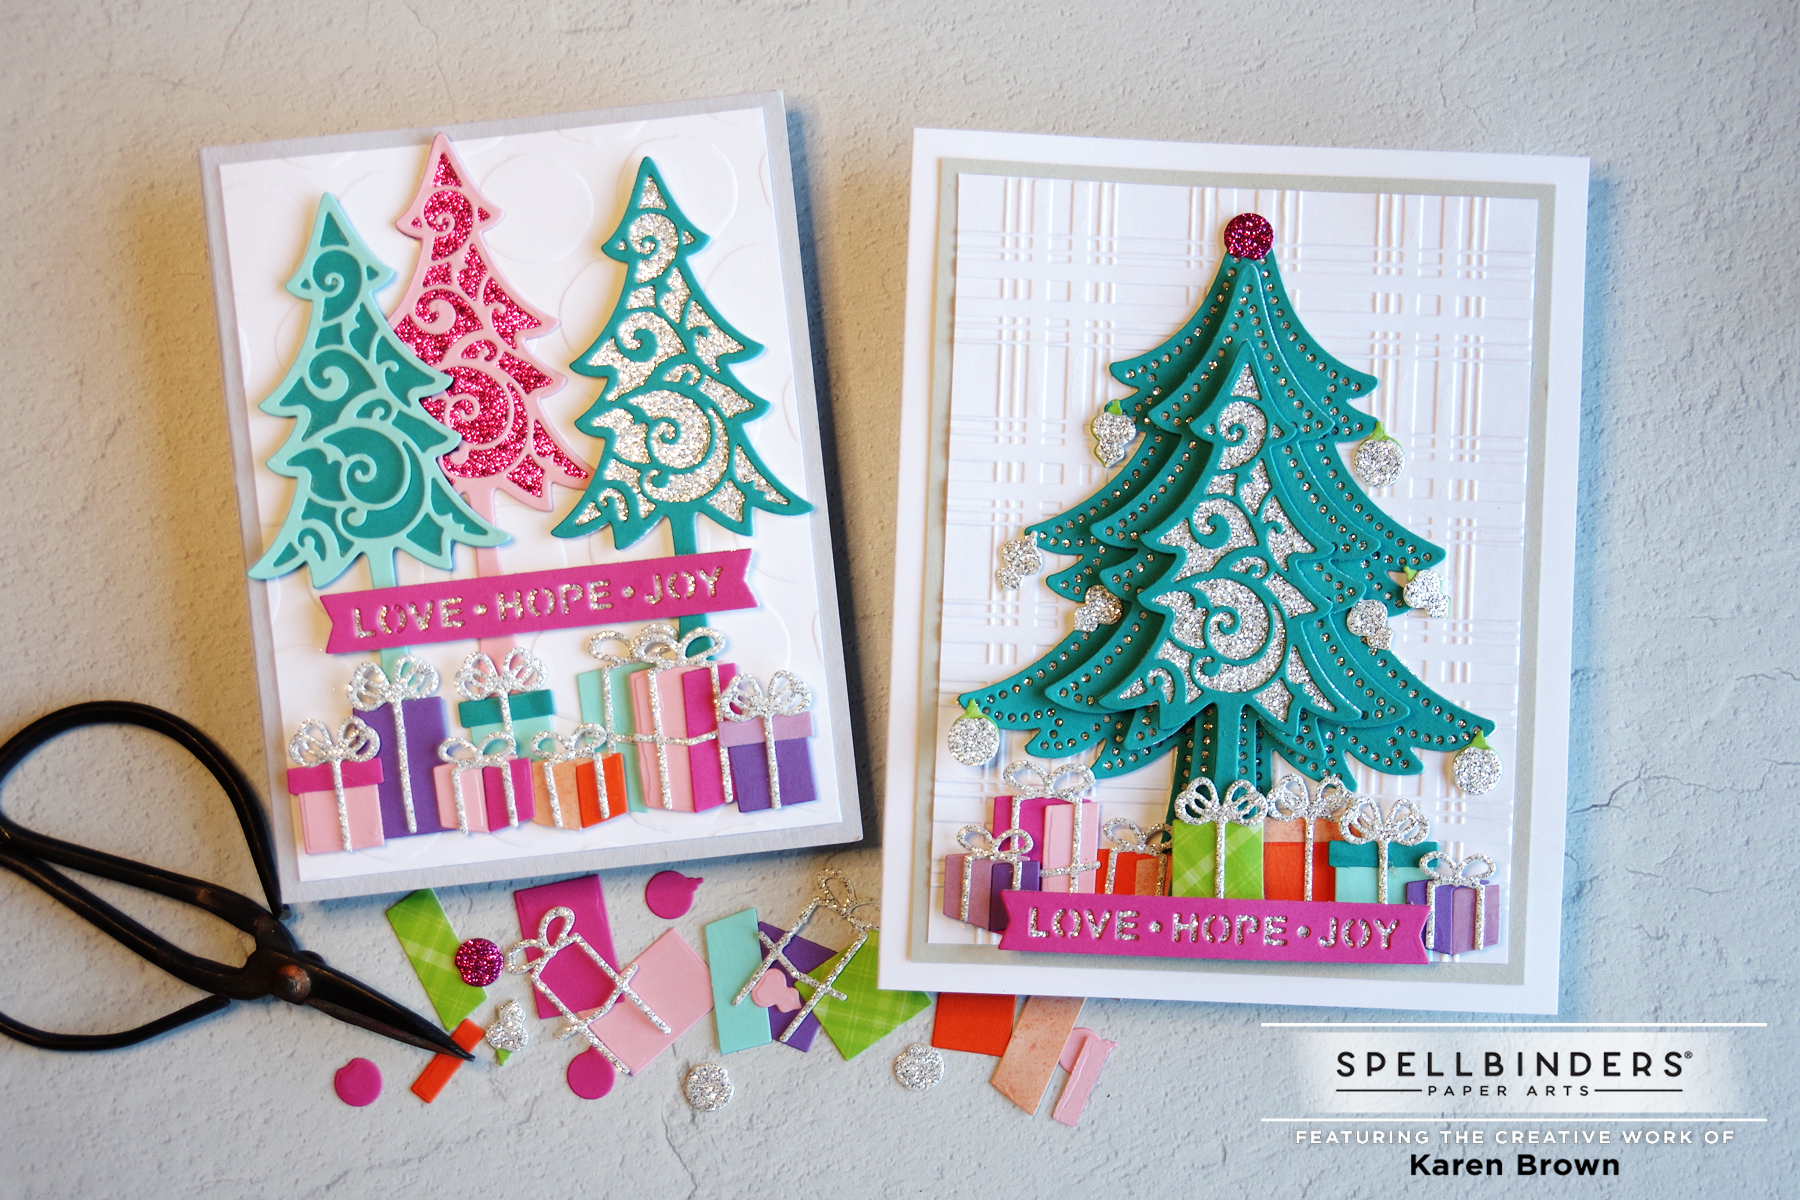
I was SO excited when I opened The November 2021 Amazing Paper Grace Kit! When I saw those lovely Christmas Tree dies and the assortment of gift boxes I knew the projects would be just stunning and I couldn’t wait to get started. One of the first things I do when planning a card is to think about the colors I want to use. Traditional green and red would be so beautiful but I decided to go with teal and pink. Since it is Christmas, I also wanted to add some sparkle so I used some festive glitter cardstock as accents. In person, the glitter cardstock just shimmers and shines.
I have been looking for a good glue for small die-cuts and I just purchased some Bearly Glue and it is a game-changer! The nozzle offers precise application and doesn’t seem to clog like other applicators I’ve tried. I used Bearly Glue for the first time on this post.
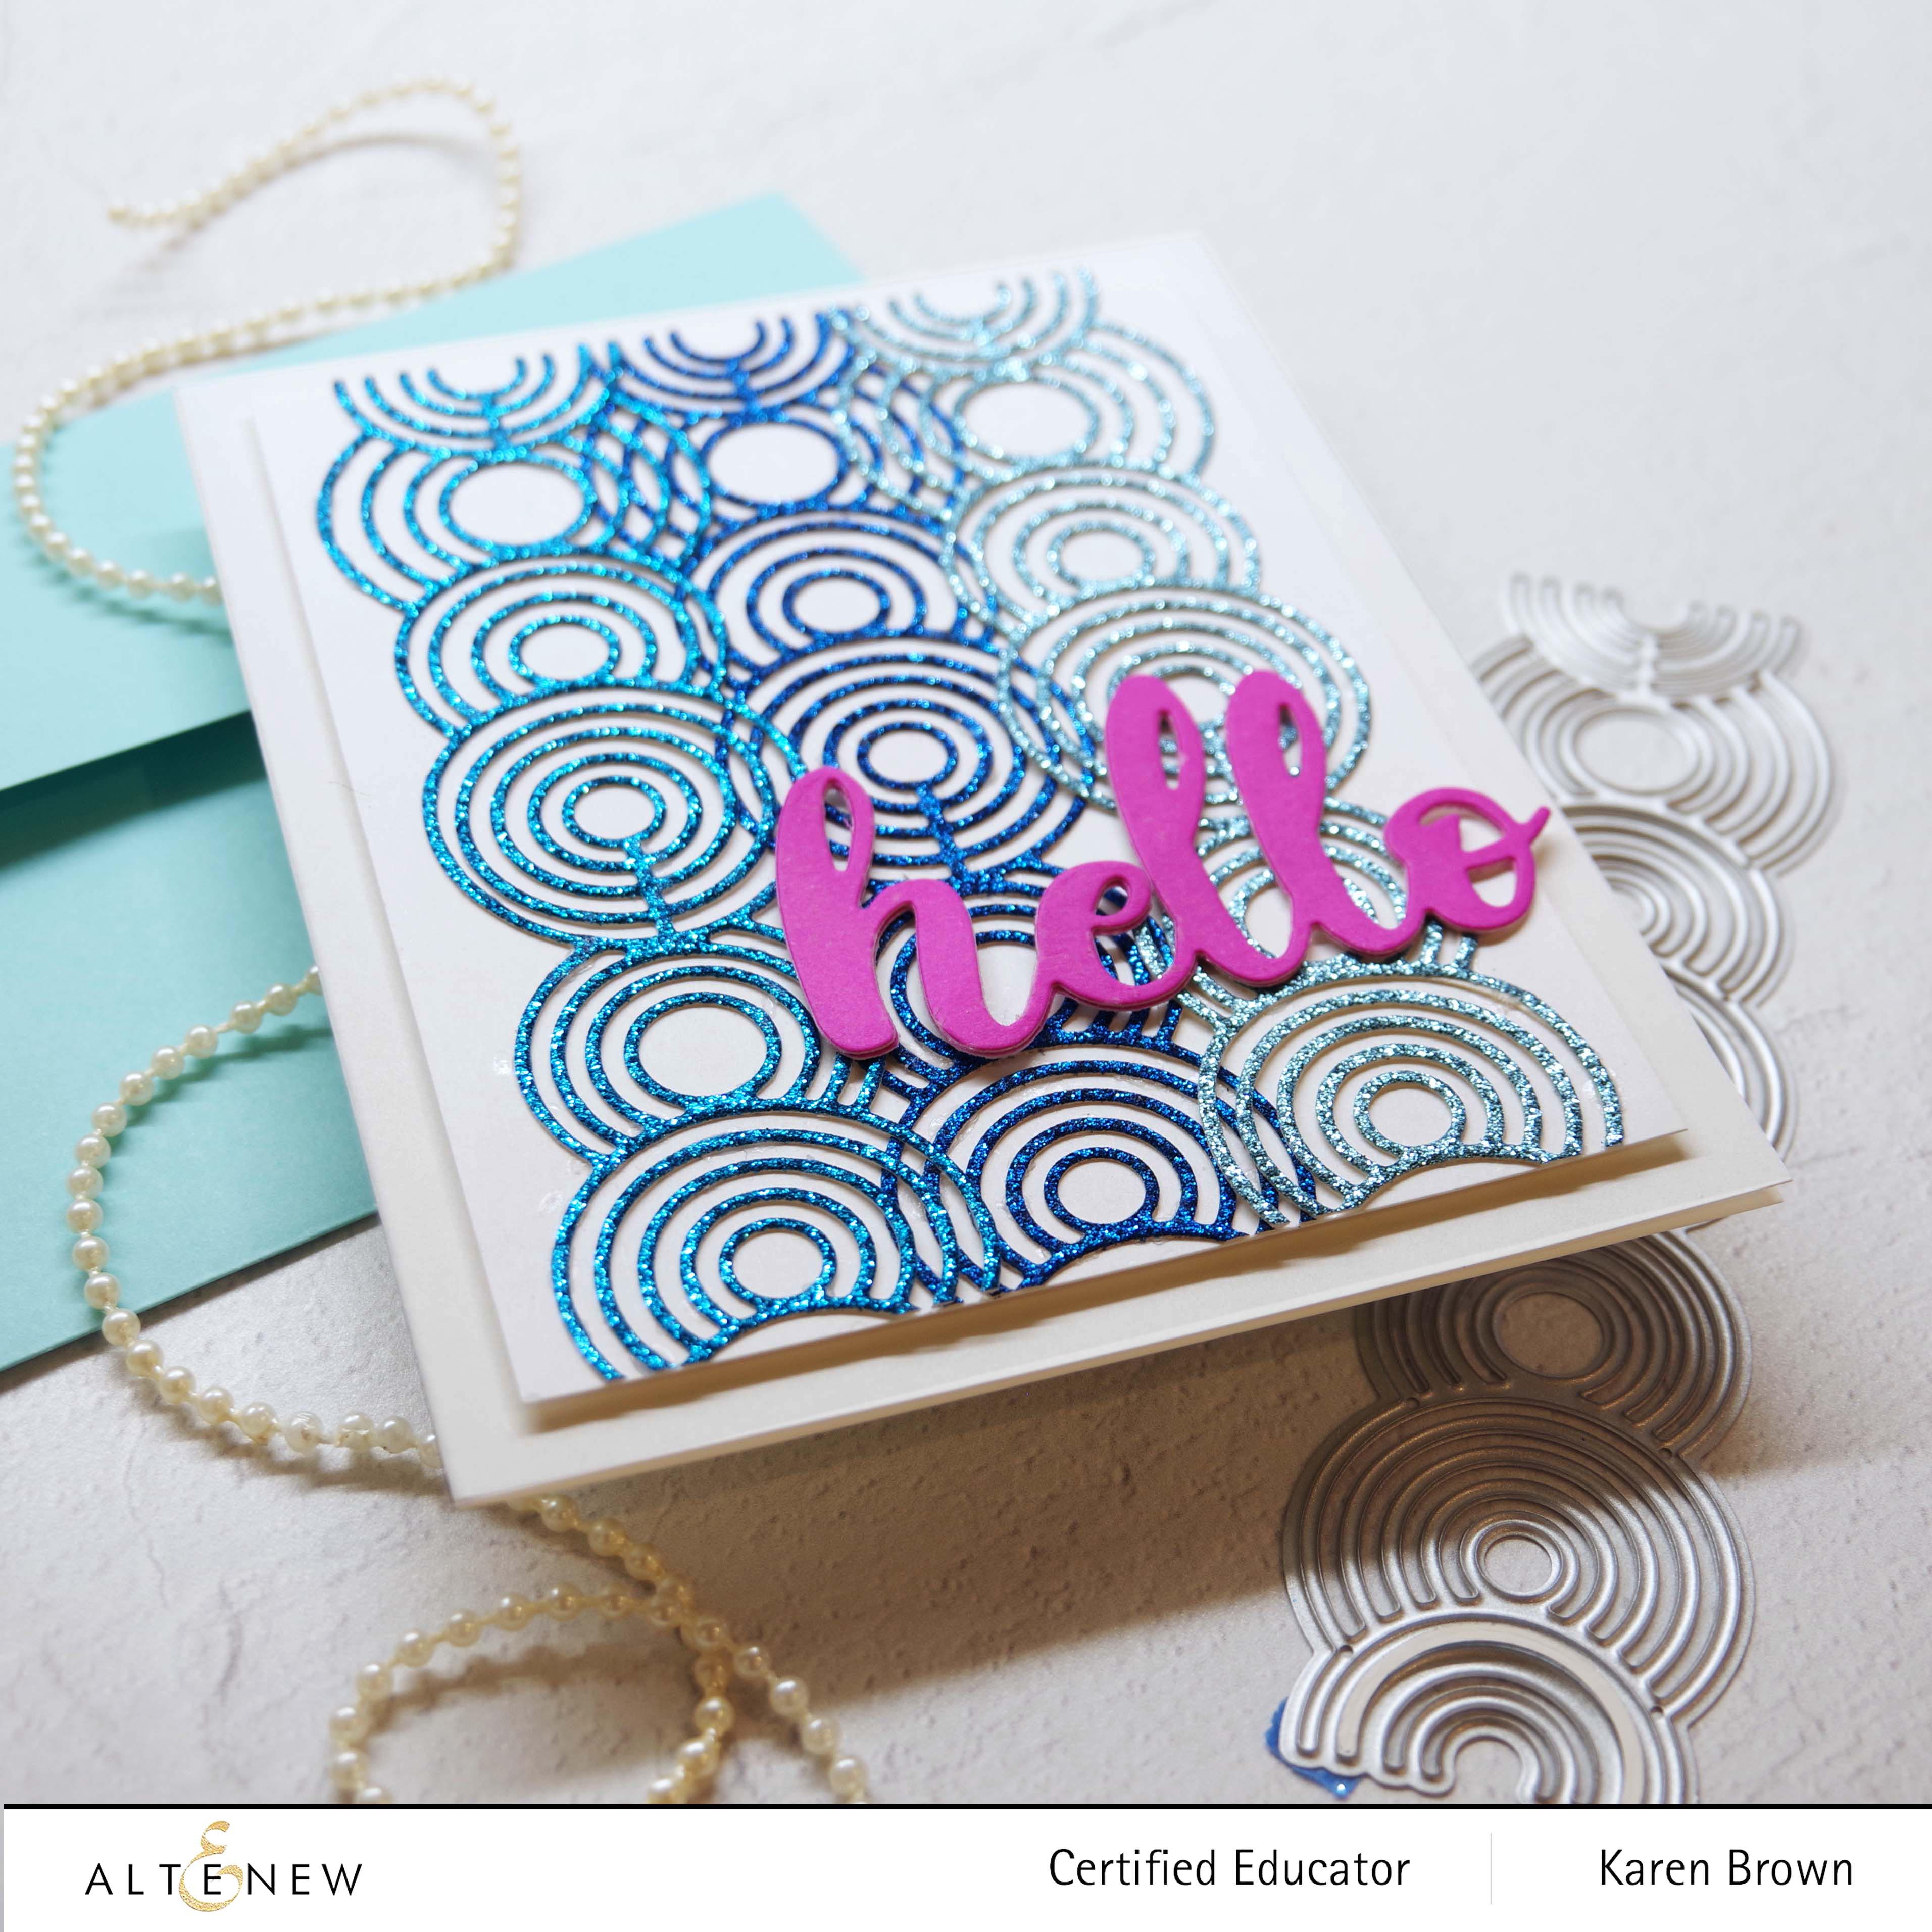
Hello paper crafters! Altenew just released some GORGEOUS glitter cardstock and it is just wonderful for cardmaking. I love the sparkle that it adds!
For my first card I used three colors of blue glitter cardstock (Moonlight, Blue Apatite and Starlight) from the Ocean Reflection combo pack. I used Altenew’s Rippling Rings Border Die to die-cut three strands of circles and then glued them to a white panel. I wanted a bold high-contrast sentiment so I inked a scrap of cardstock with Purple Wine Ink from The Rose Petal Mini Cube Set and then die cut my Simply Hello Sentiment. This card came together very quickly but is just lovely!
You can see the shimmer a bit better in this second photo.
Last month I made a rainbow Gum Drop card that I just loved so I thought I would do a sparkly variation using glitter cardstock. The “gum drop” is from Altenew’s Color Band Die Set.
$200 in total prizes! To celebrate this release, Altenew is giving away a $50 gift certificate to 2 lucky winners and a $20 gift certificate to 5 winners! Please leave a comment on the Altenew Card Blog and/or each designer’s blog post on the blog hop list below by 07/13/2021 for a chance to win. Altenew will draw 7 random winners from the comments left on each stop of this blog hop and announce the winners on the Altenew Winners Page on 07/15/2021.
Ready to shop? Check out Altenew’s New Collections Here. The Glitter Cardstock is selling very quickly so if it sells out by the time you order remember to sign up for the back-in-stock option so you will be notified by email when it arrives.
I am so very happy that you stopped by! I love reading your comments so if you have another moment, let me know what think about my post.