Hello and welcome to Altenew’s August Blog Hop! I am so excited about the beautiful and fresh products that Altenew is releasing this month.
Altenew Precious Doodles Stamp and Die Bundle
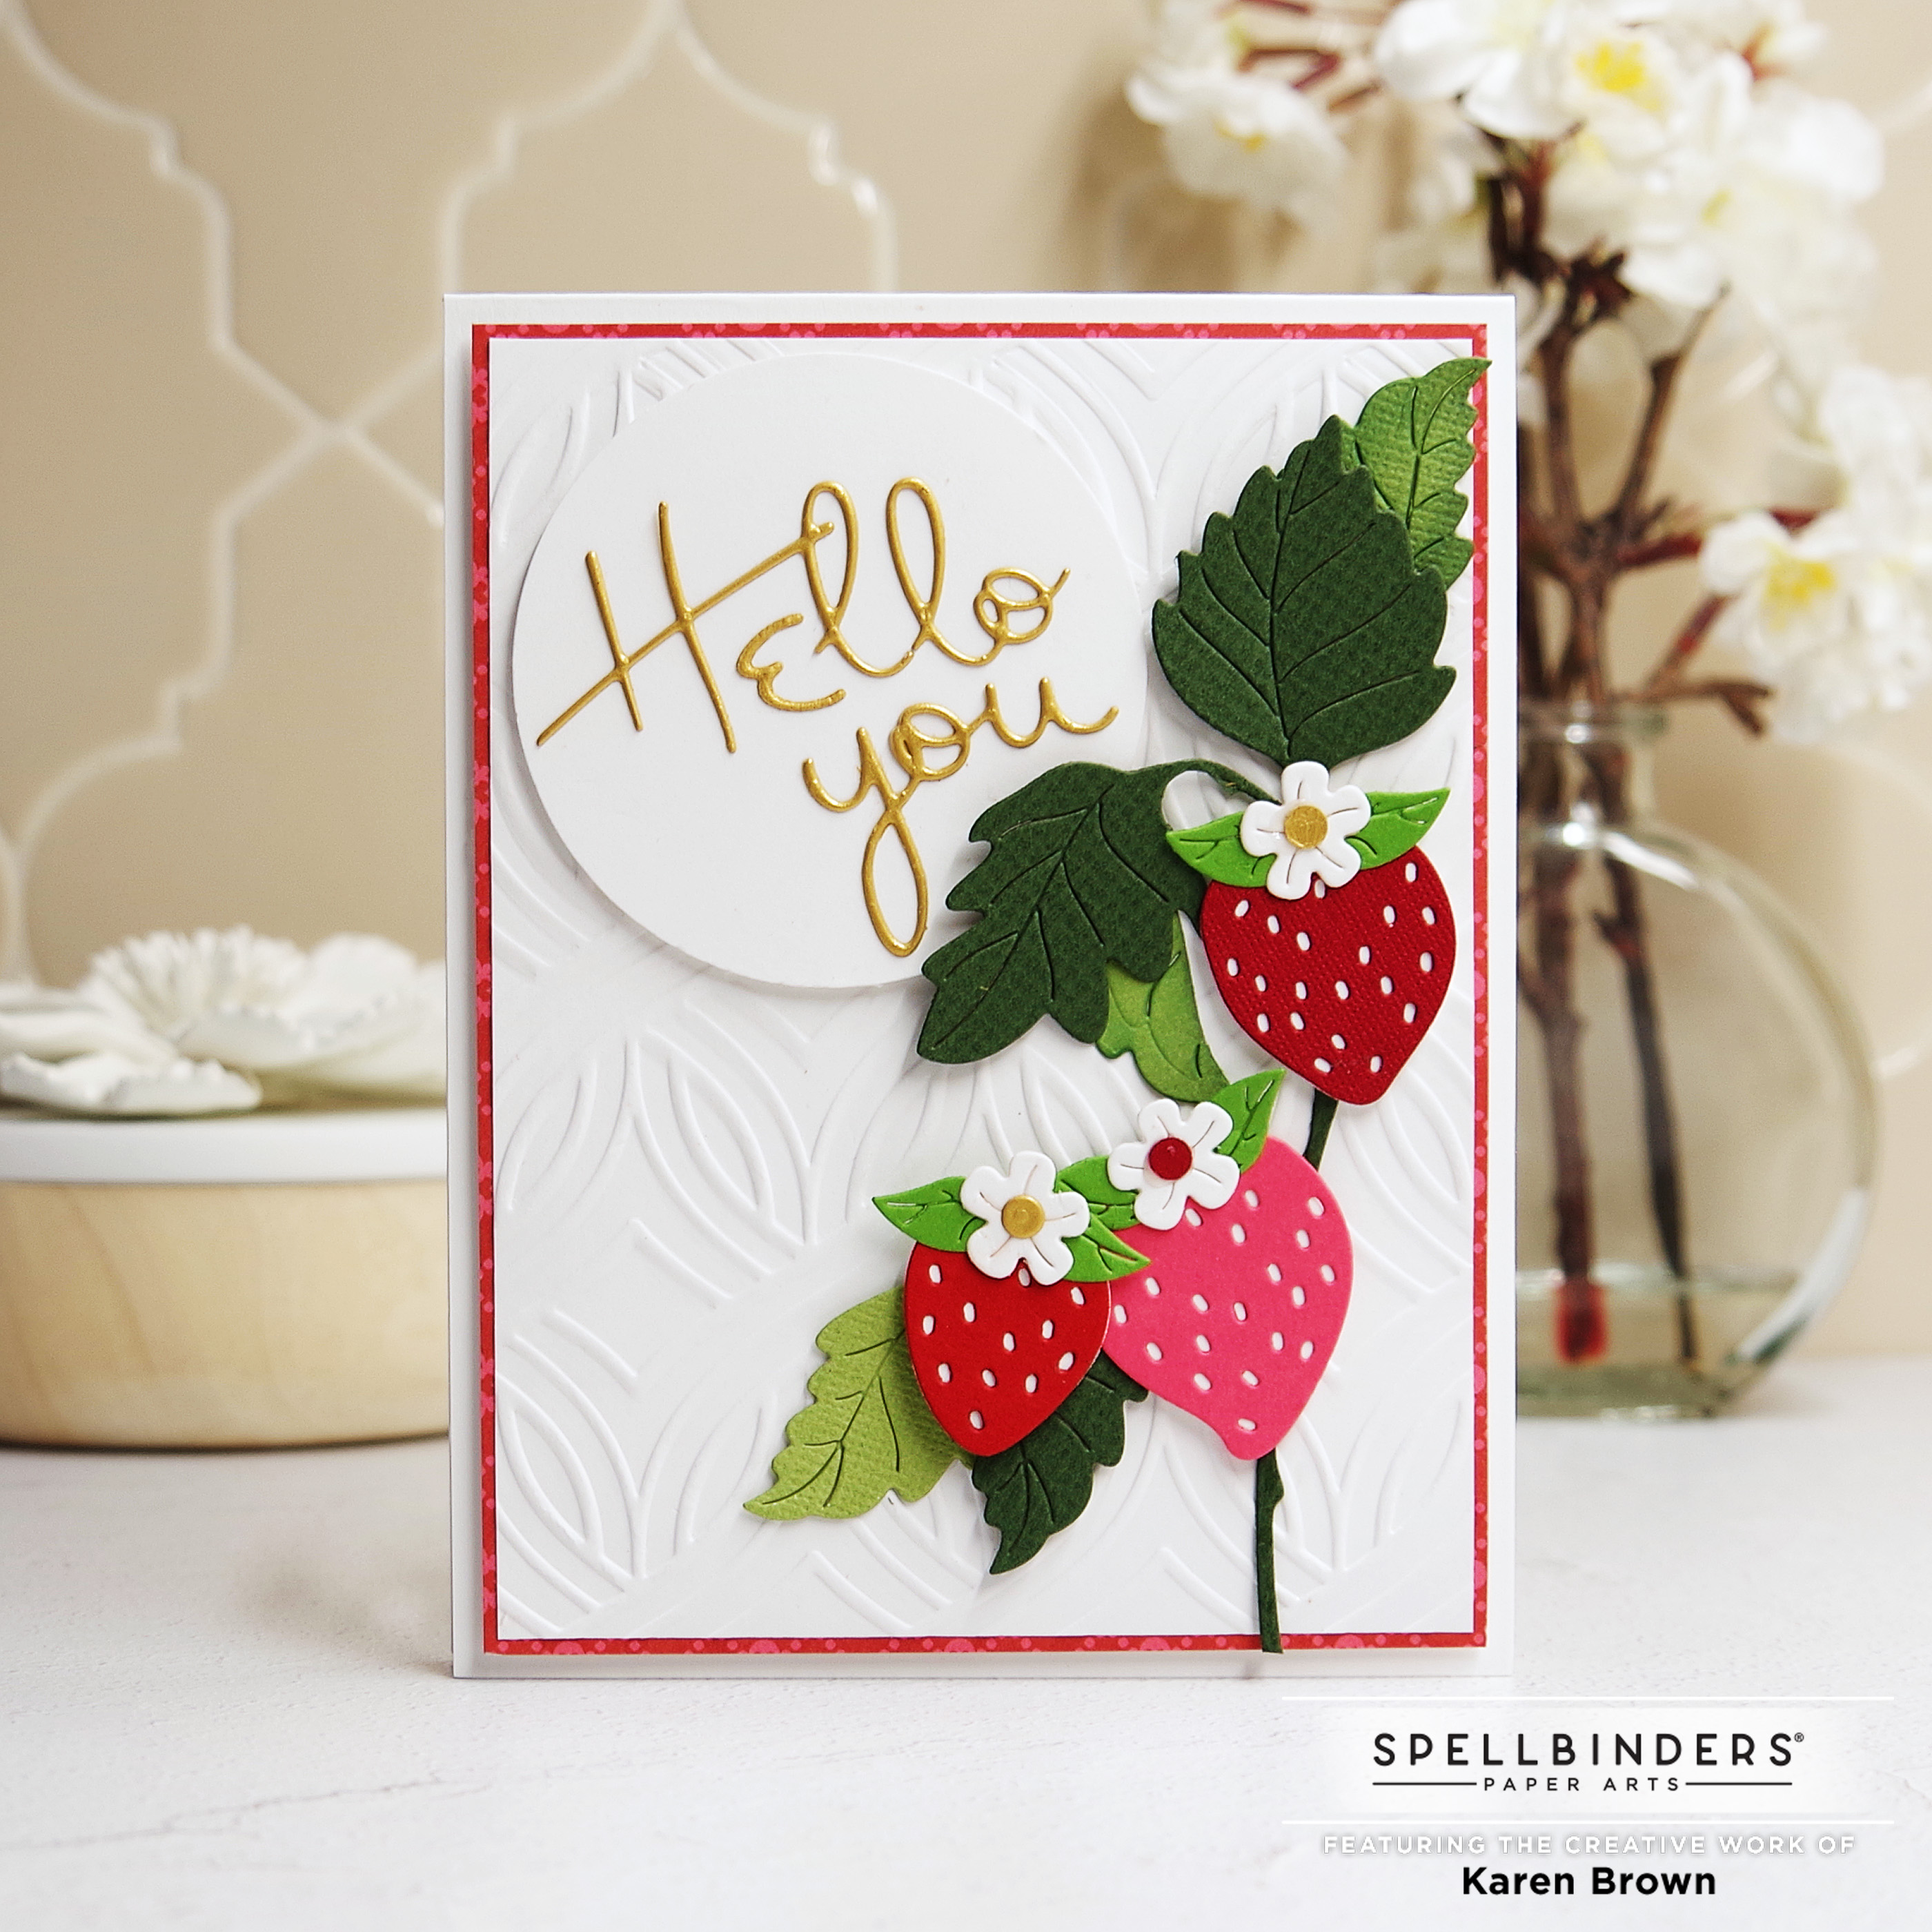
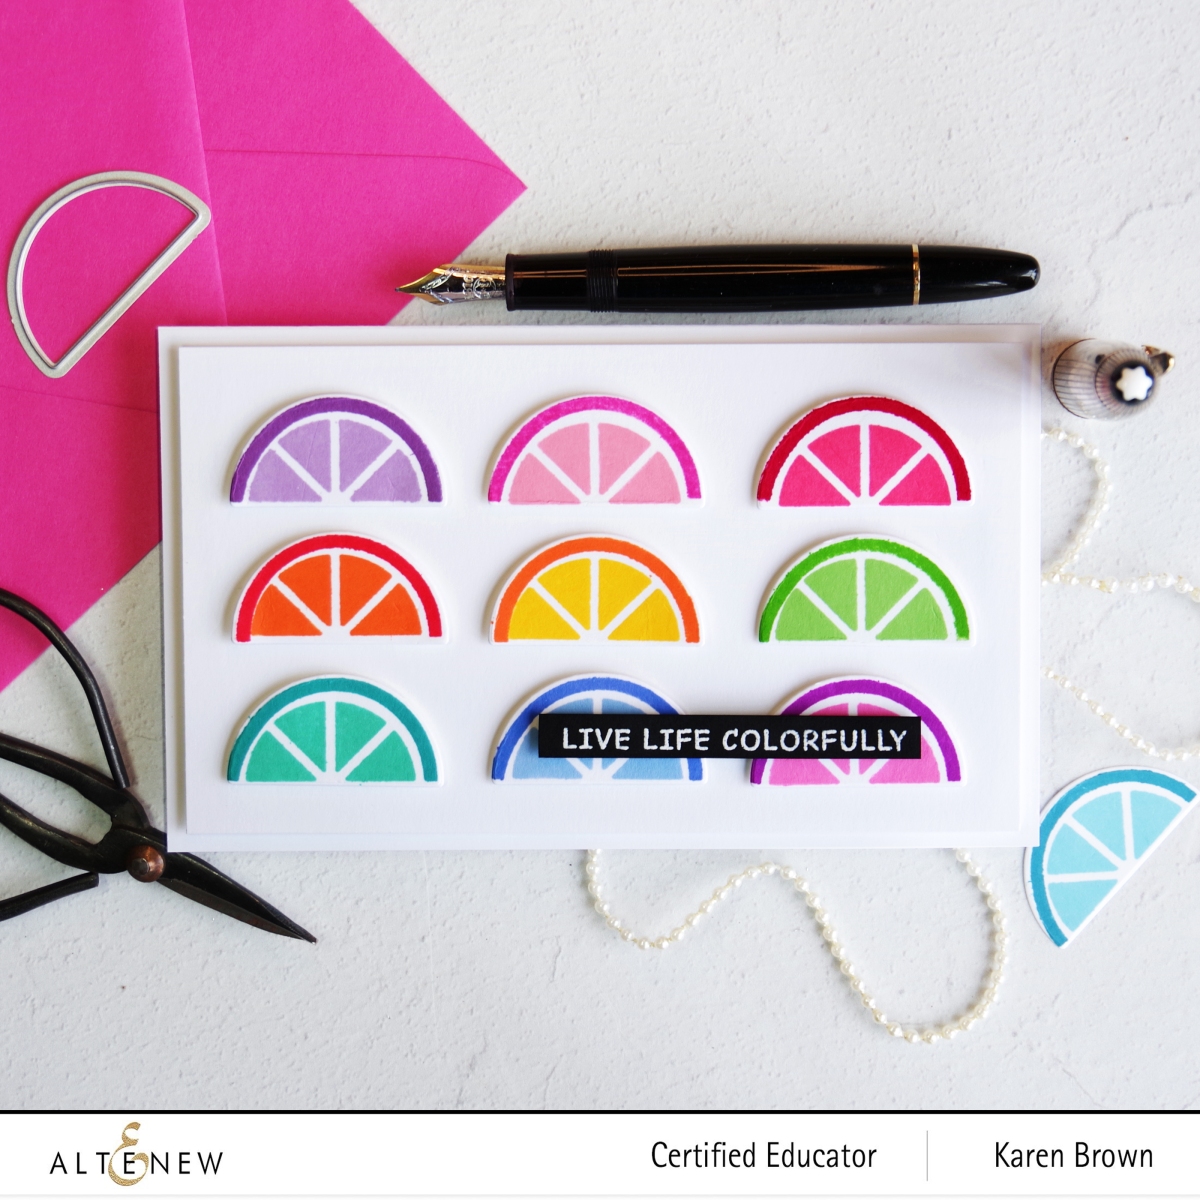
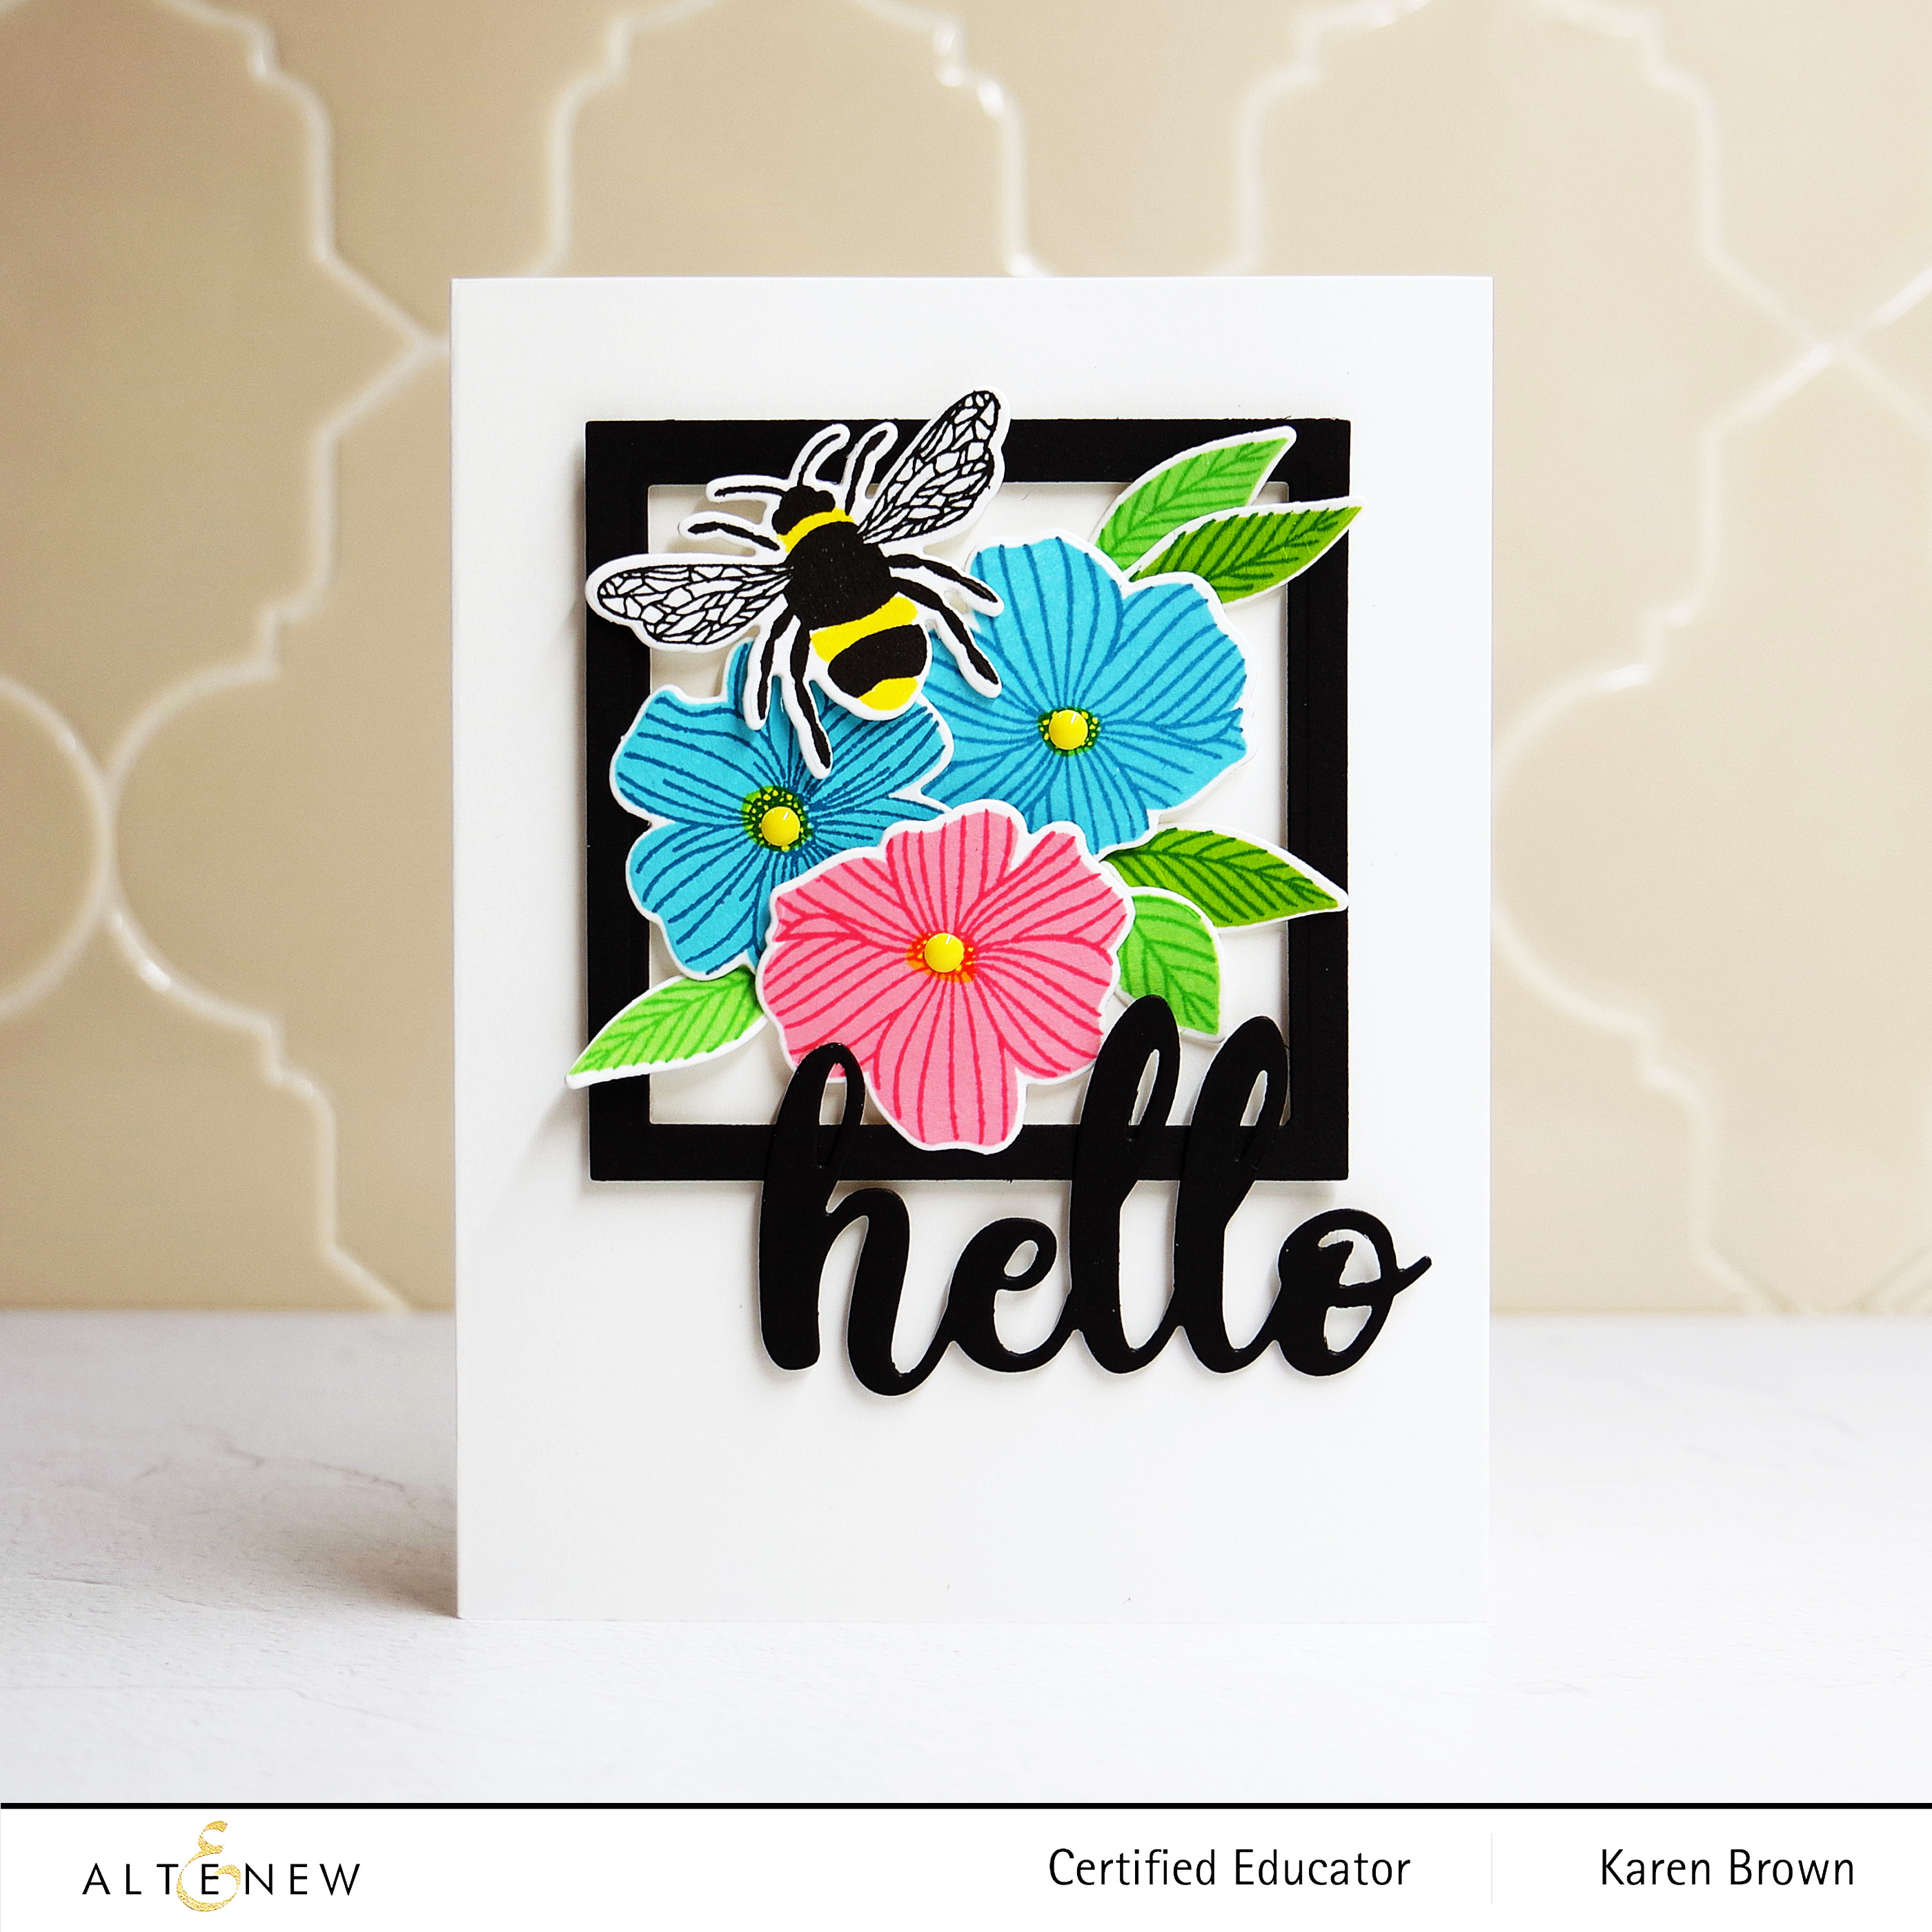
I thought I would start with the Precious Doodles Bundle. When “doodles” is in the title, I know it is going to be a favorite of mine!
Precious Doodles is a happy little stamp layering set and I used Altenew Crisp Dye Inks: Cotton Candy + Coral Berry, Ocean Waves + Dusk, Parrot + Shadow Creek and Firefly + Green Fields. Once my Doodles were stamped, I embellished with Enamel Dots, die cut a frame, added the darling bee and die cut the sentiment.
Products Used on Card #1
- Precious Doodles Stamp and Die Bundle
- Precious Doodles Layering Stamp Set
- Precious Doodles Die Set
- Bee Kind Stamp and Die Bundle
- Halftone Squares Dies (to die cut the frame)
- Pocket Full of Sunshine Enamel Dots
- Simply Hello Die
- Crisp Dye Inks
- Foam Tape

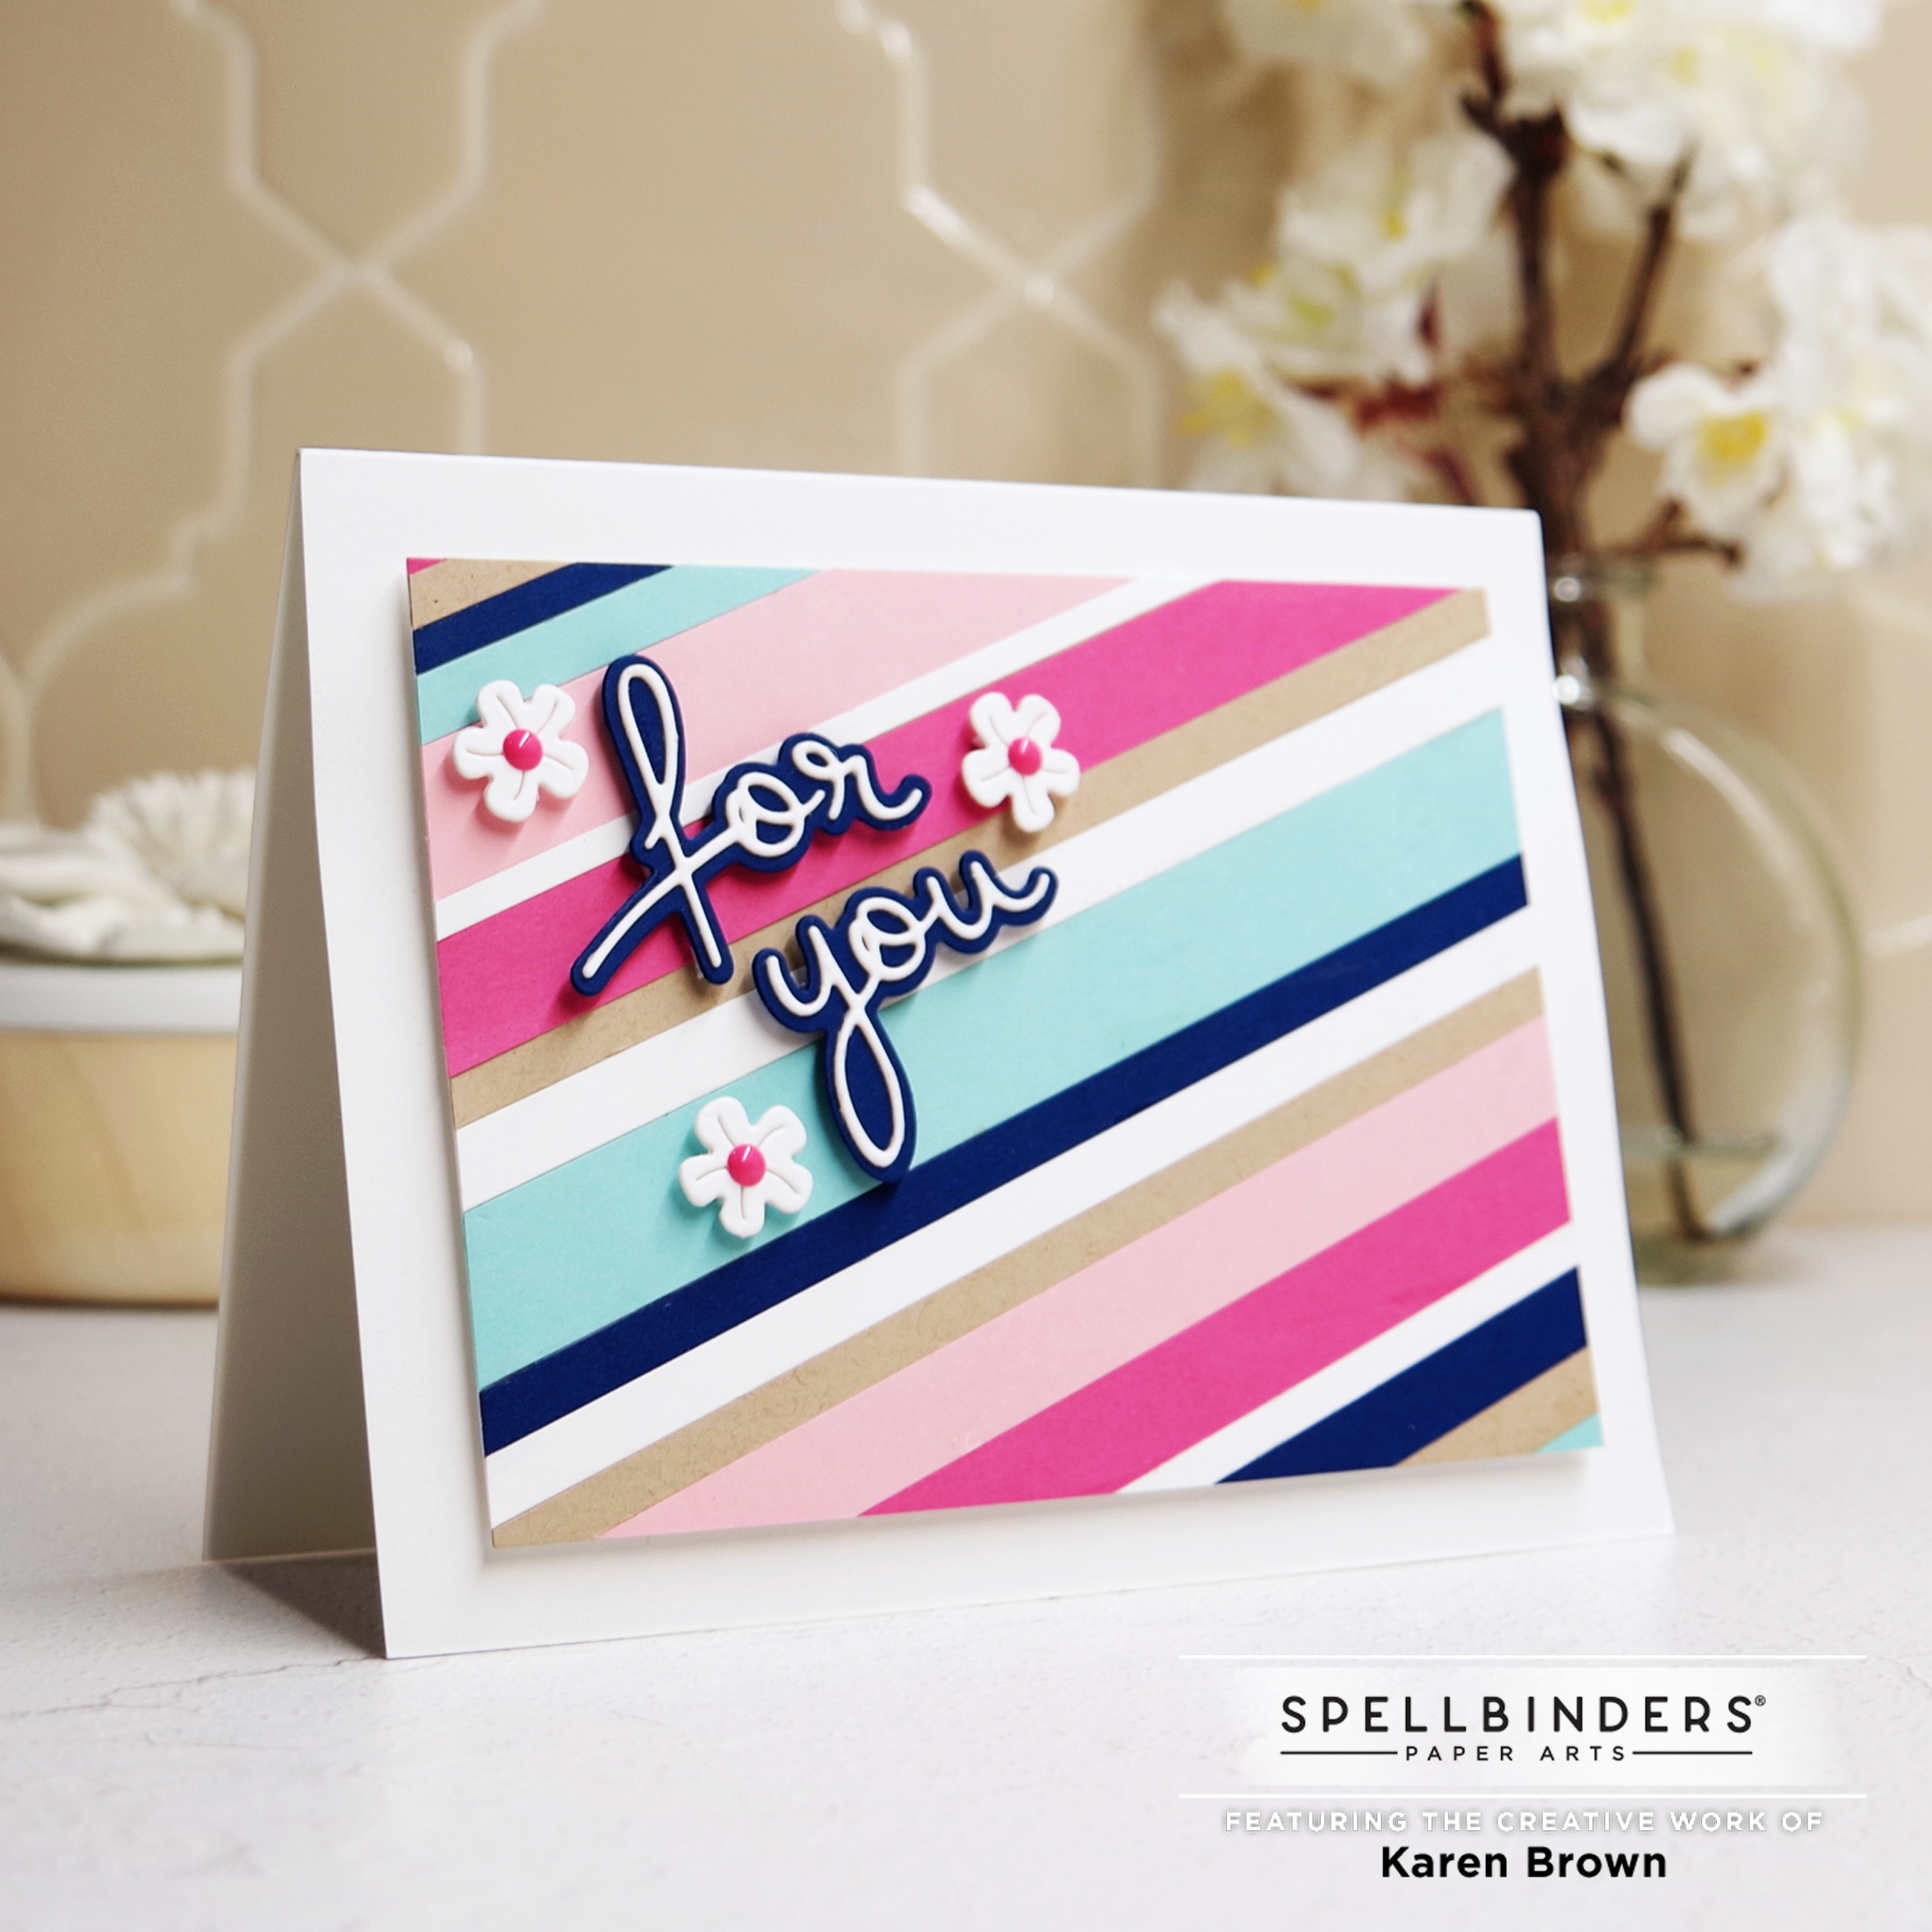
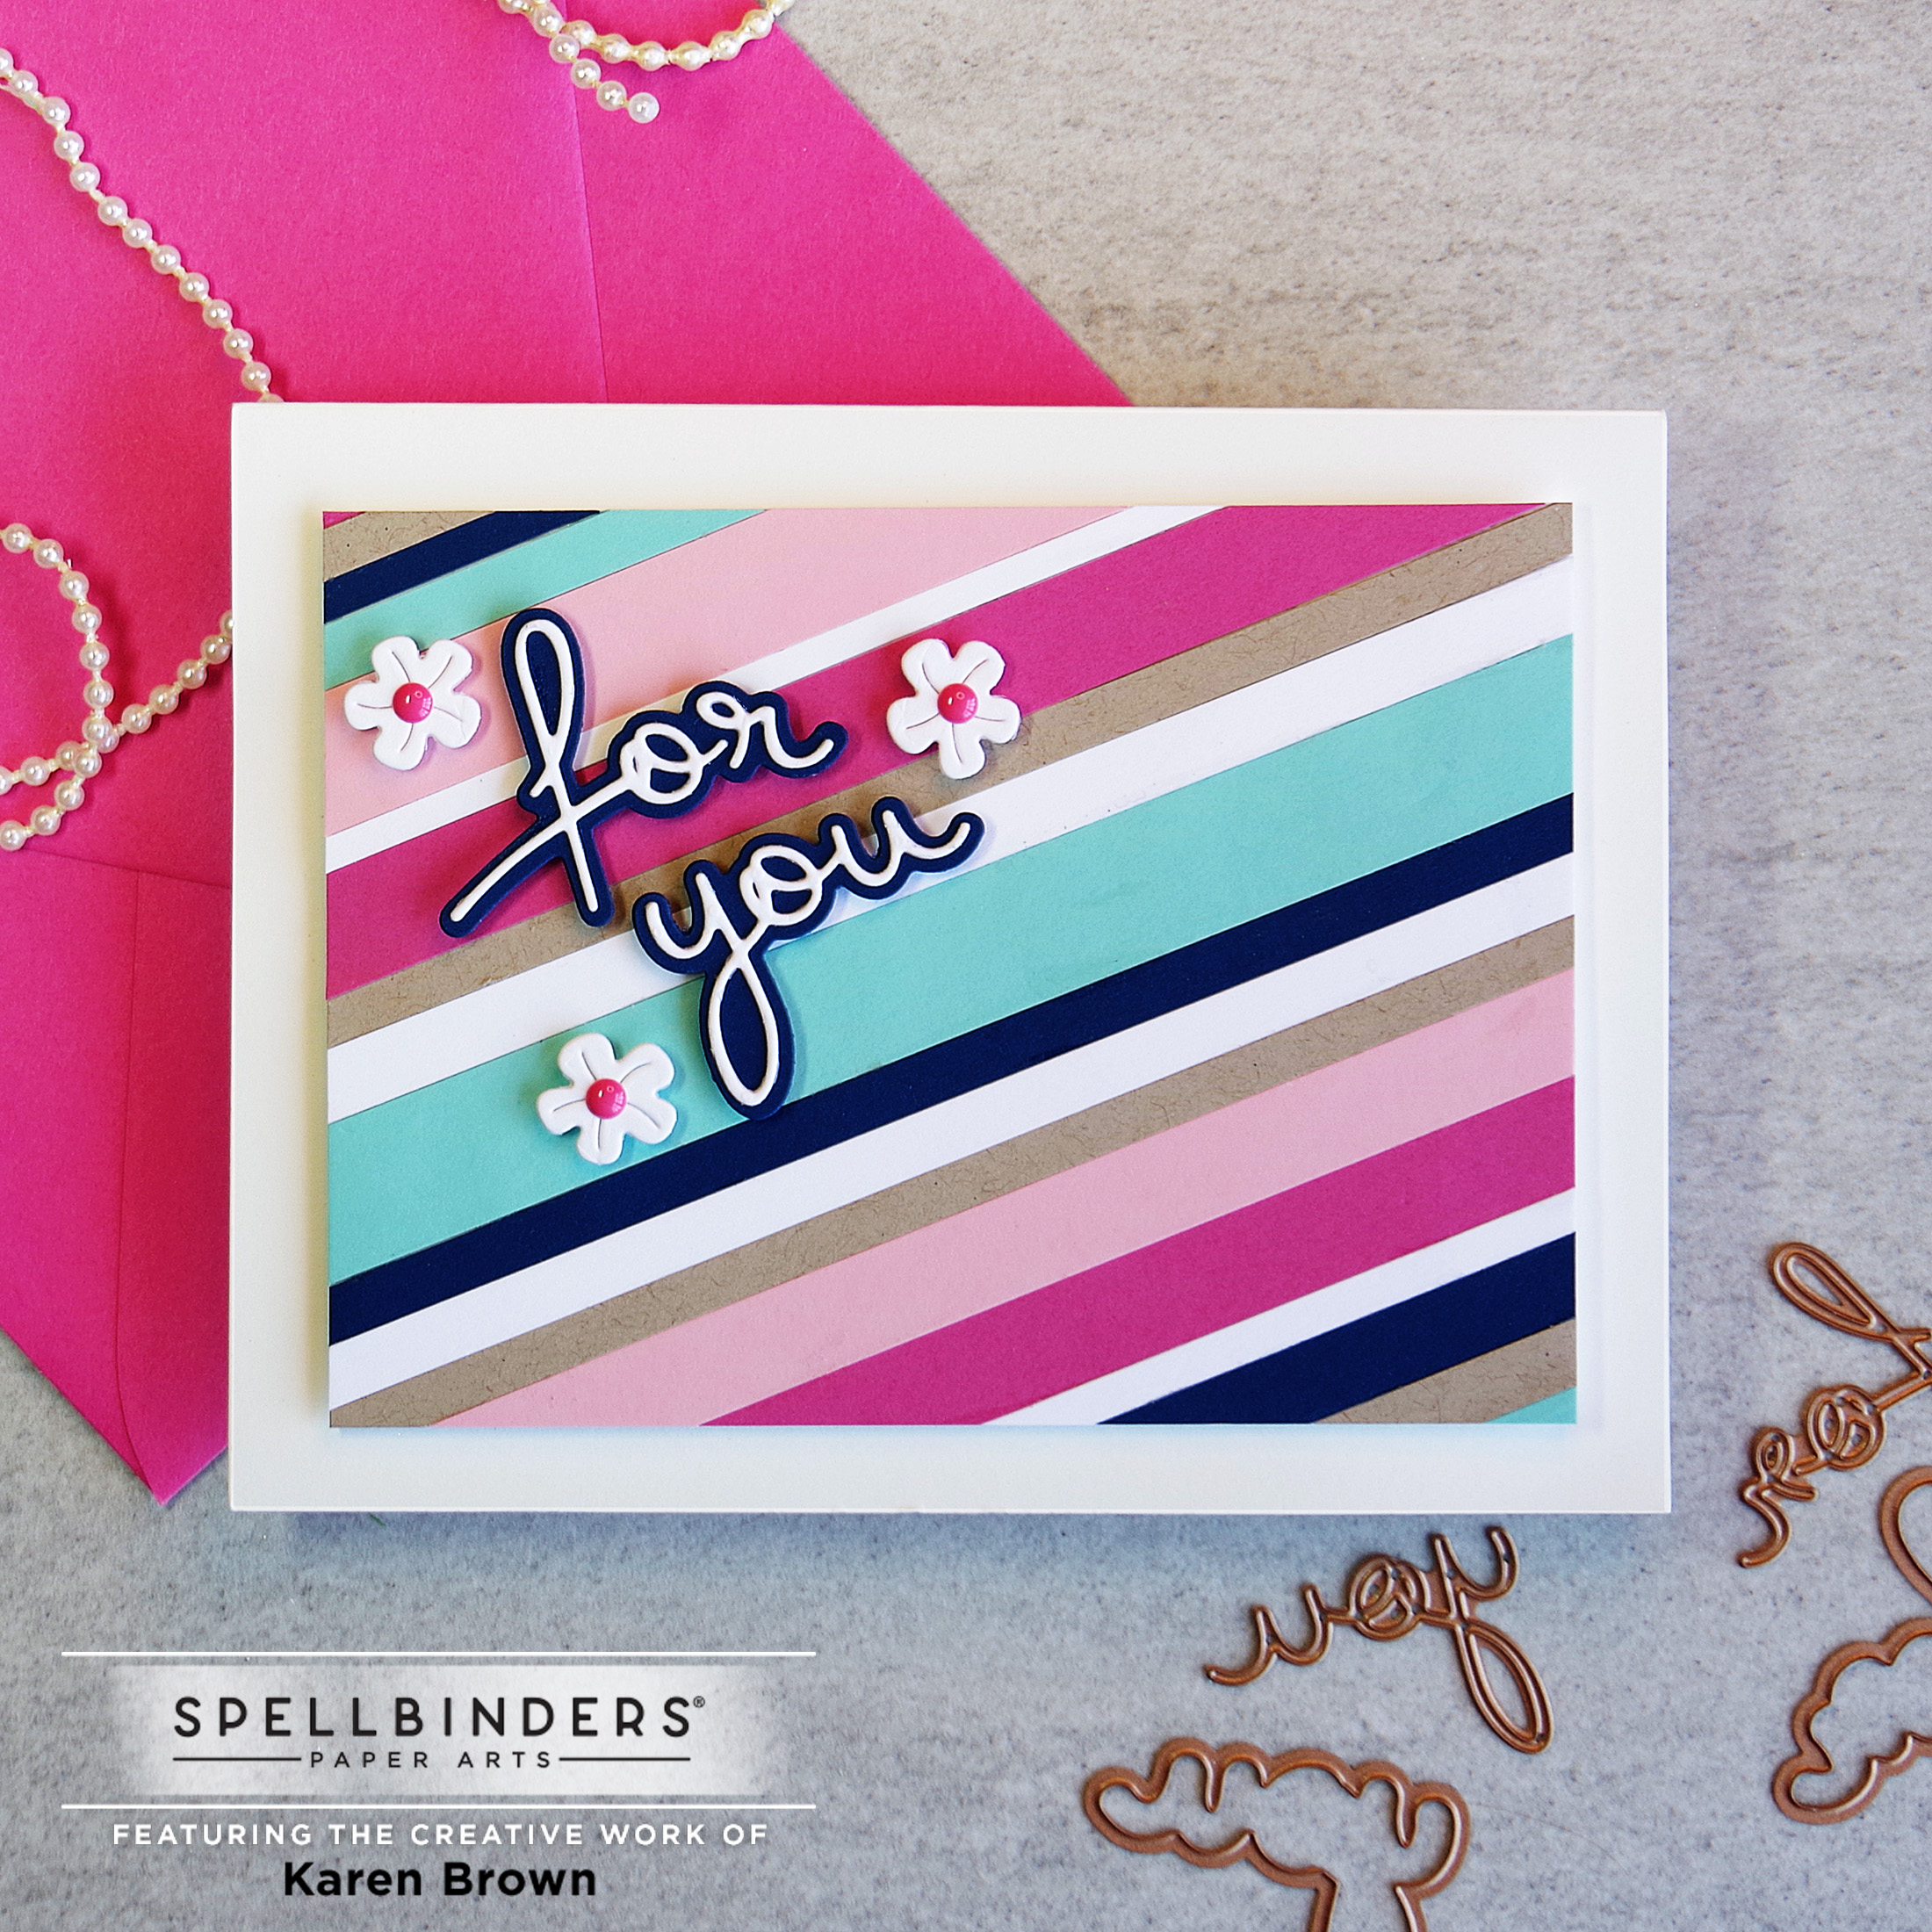
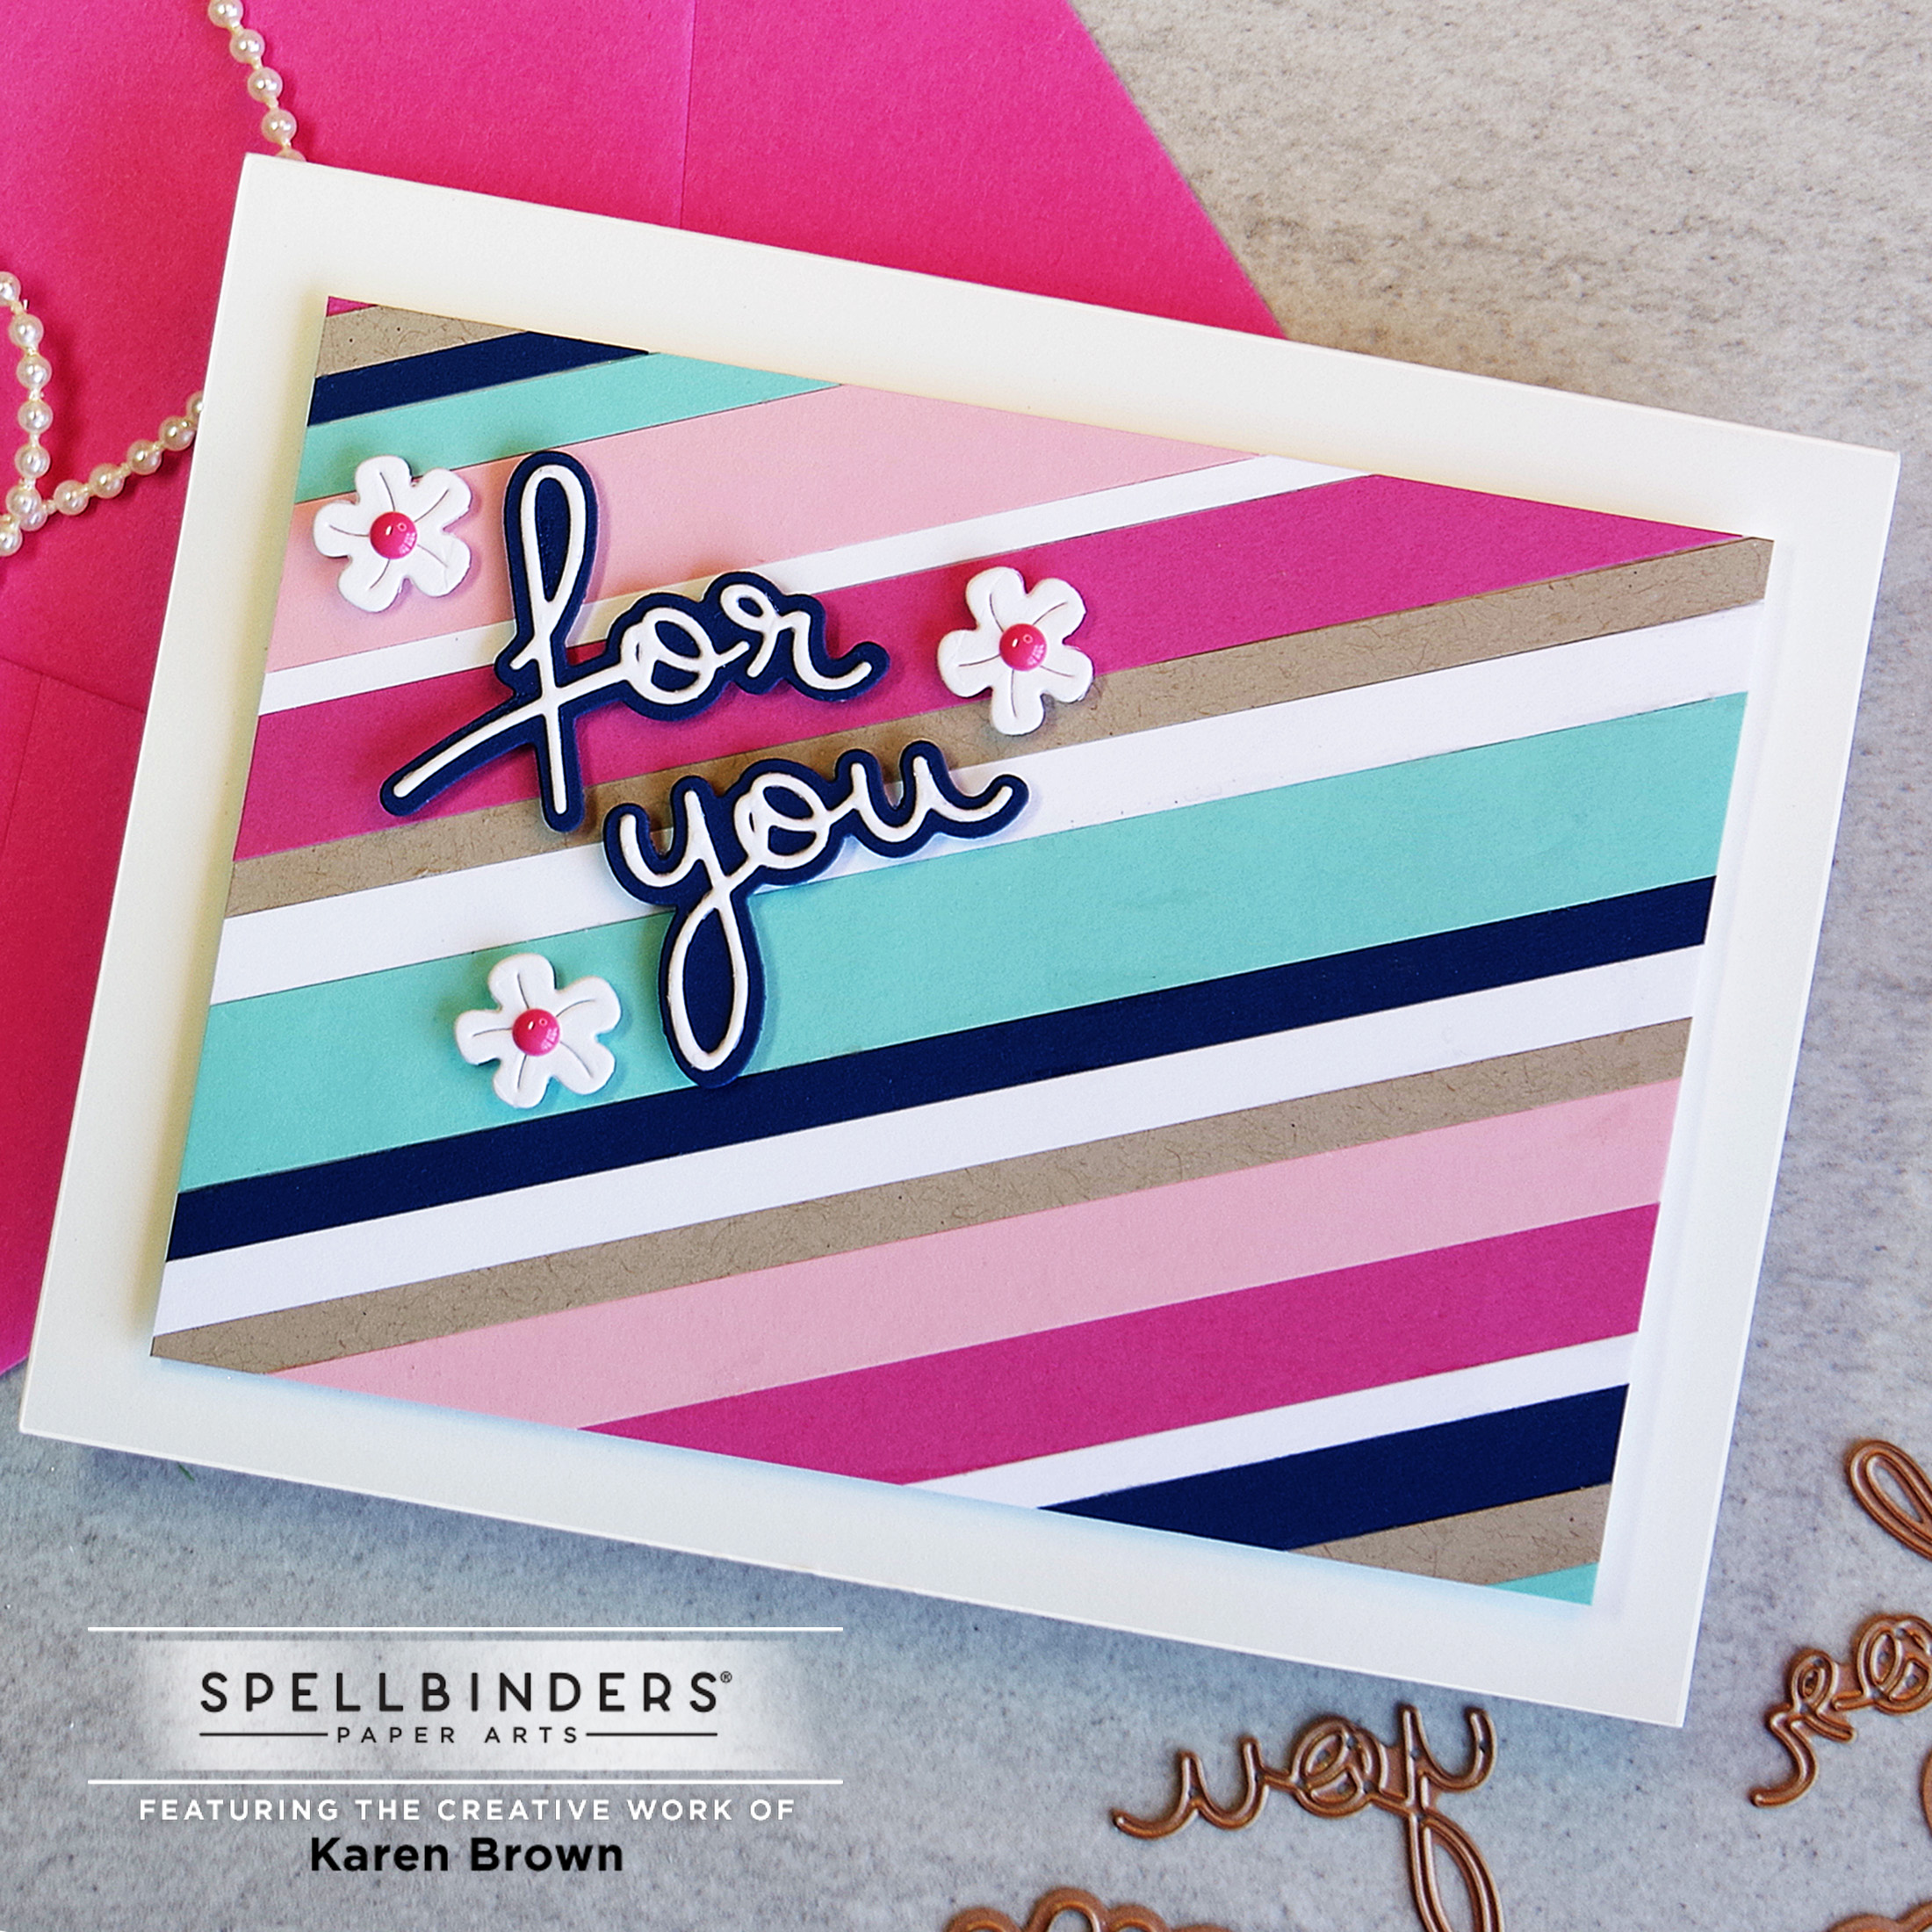
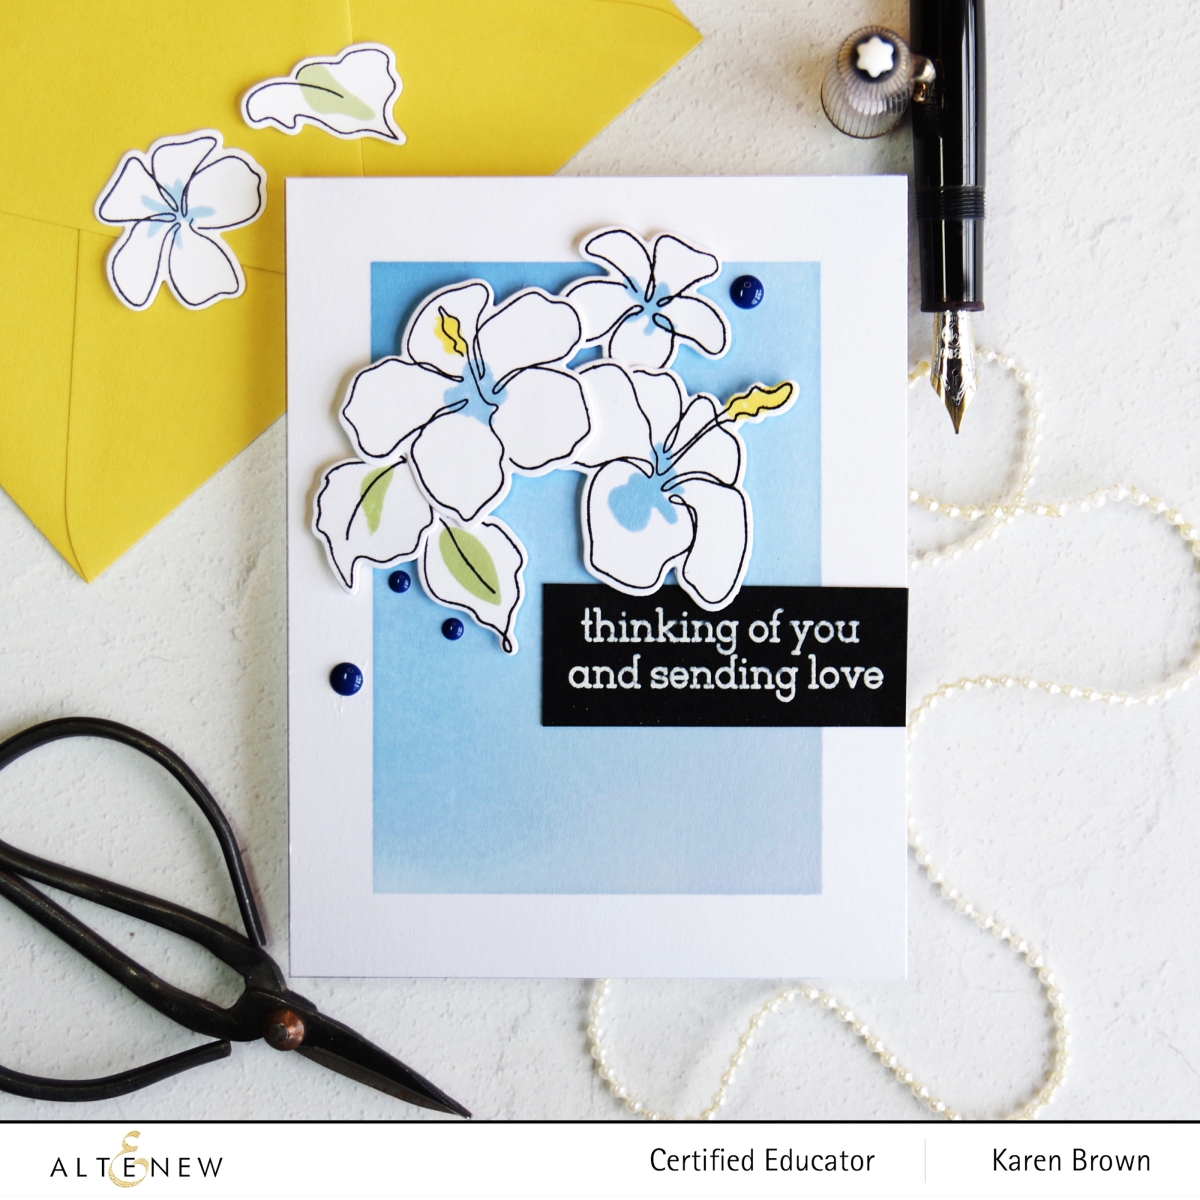
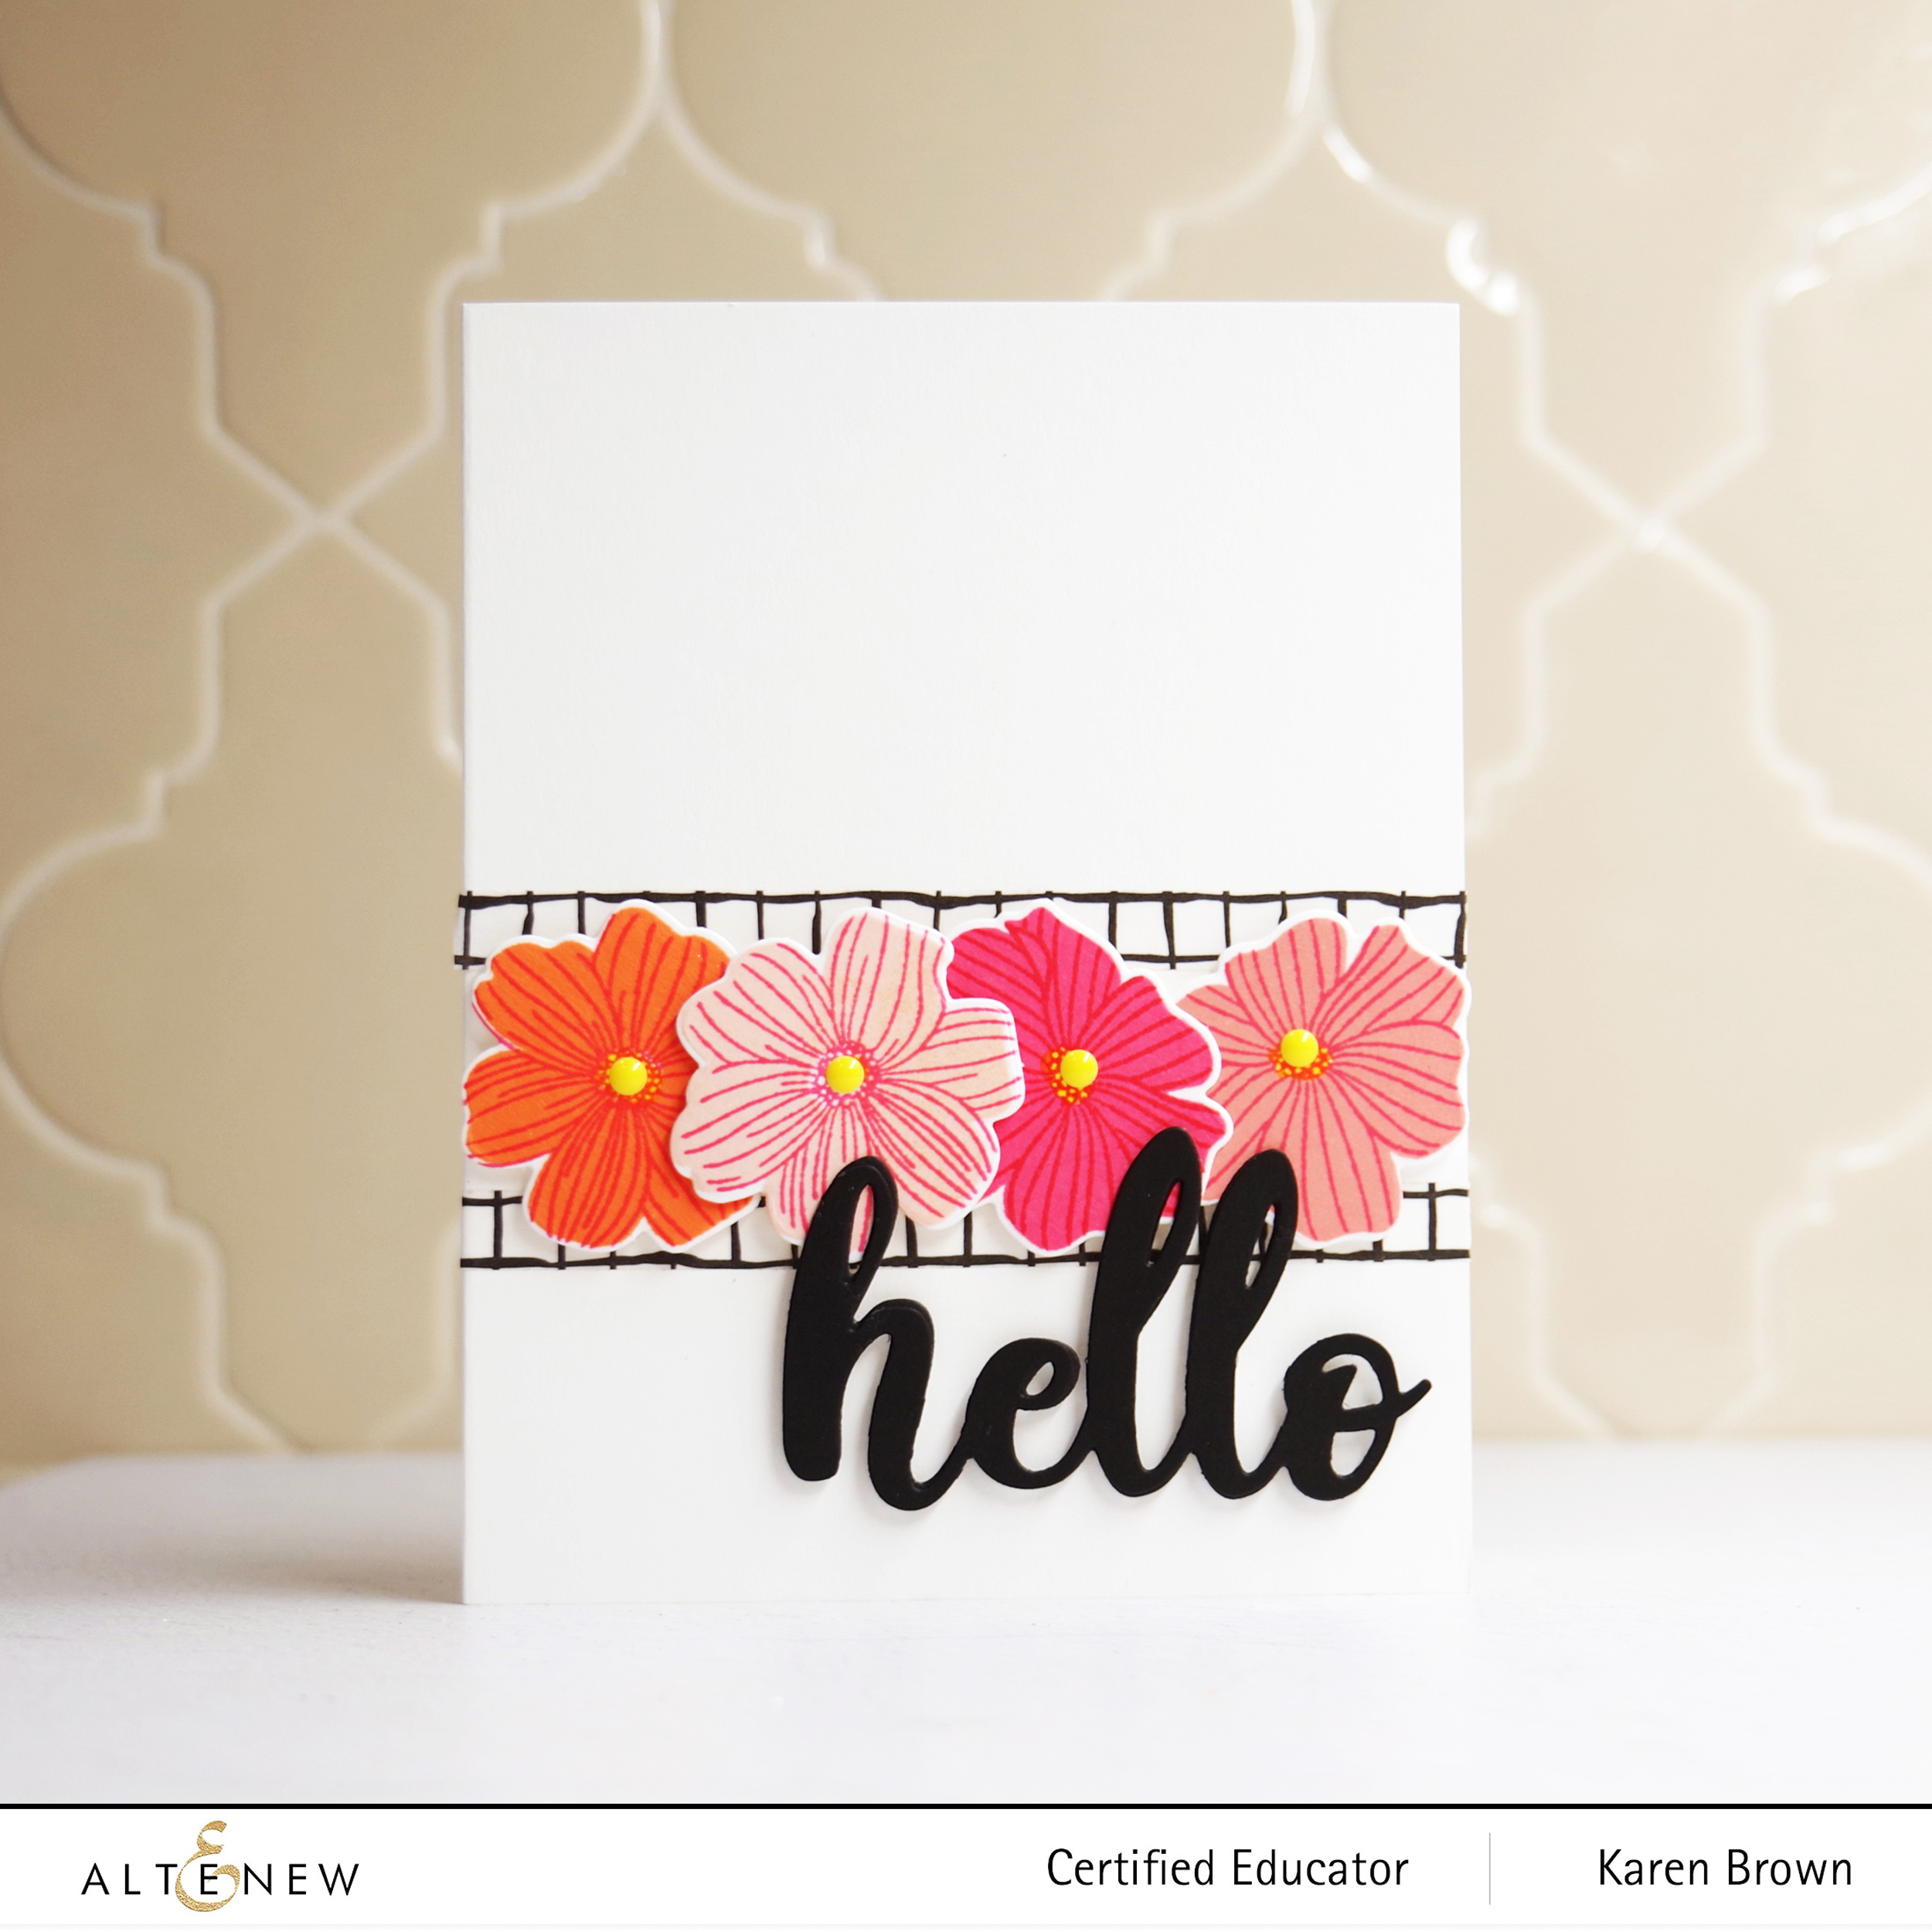
Card #2 was quick and easy! I stamped and die cut four flowers, embellished with enamel dots and mounted on a simple background defined by washi tape.
Products Used on Card #2:
- Precious Doodles Stamp and Die Bundle
- Painted Grid Washi Tape
- Simply Hello Die
- Pocket Full of Sunshine Enamel Dots
- Crisp Dye Inks (starting from left to right: Orange Cream + Coral Berry, Blush + Coral Berry, Coral Berry + Crimson, Rouge + Coral Berry)
- Foam Tape

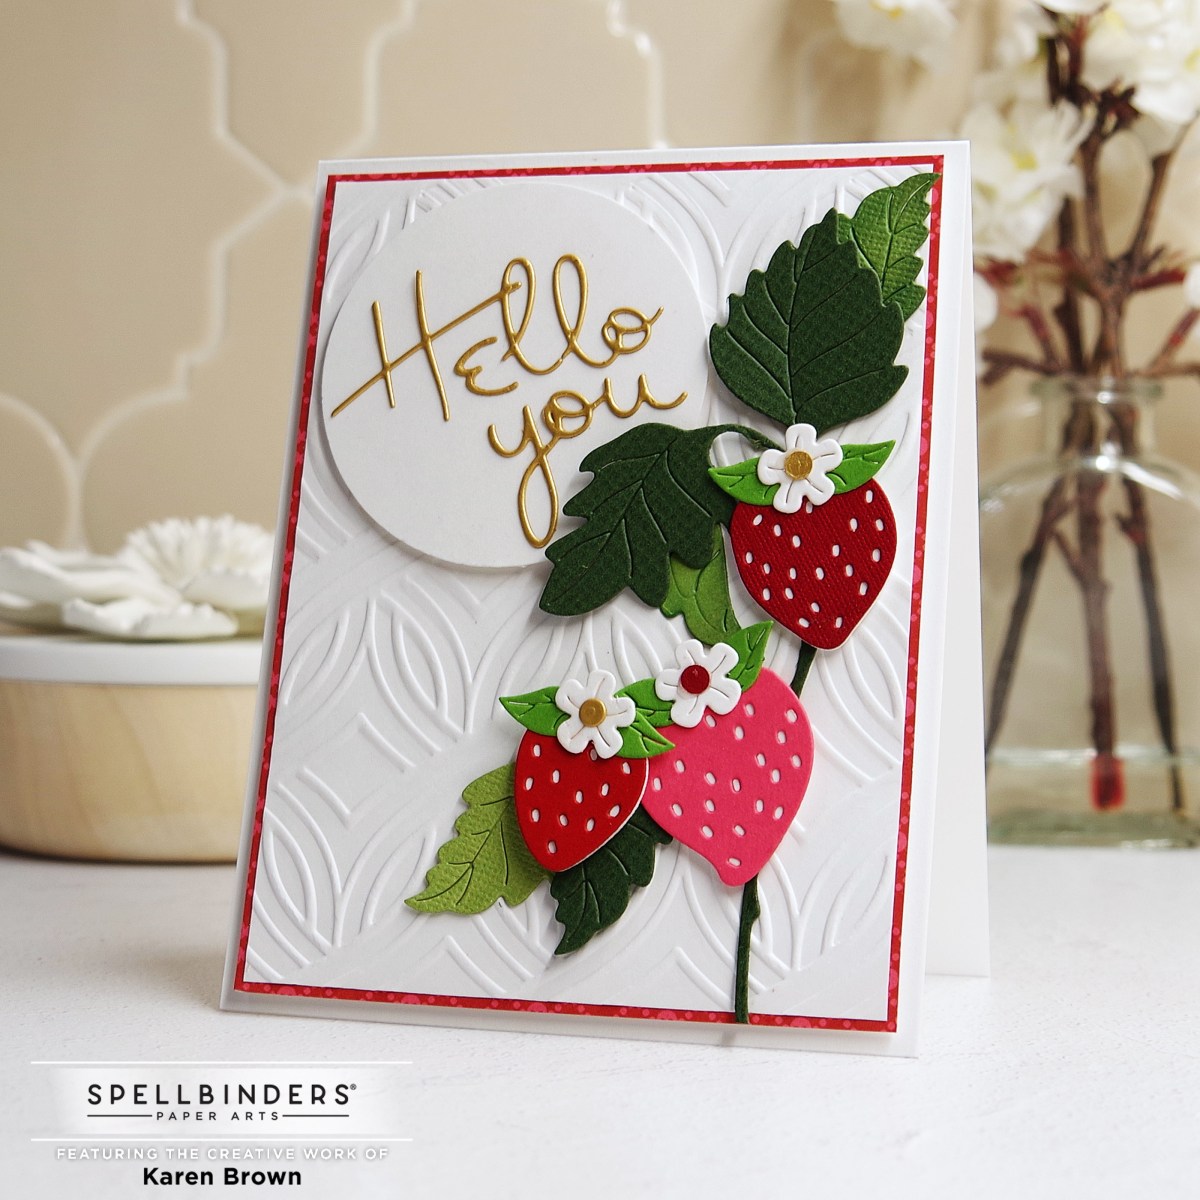
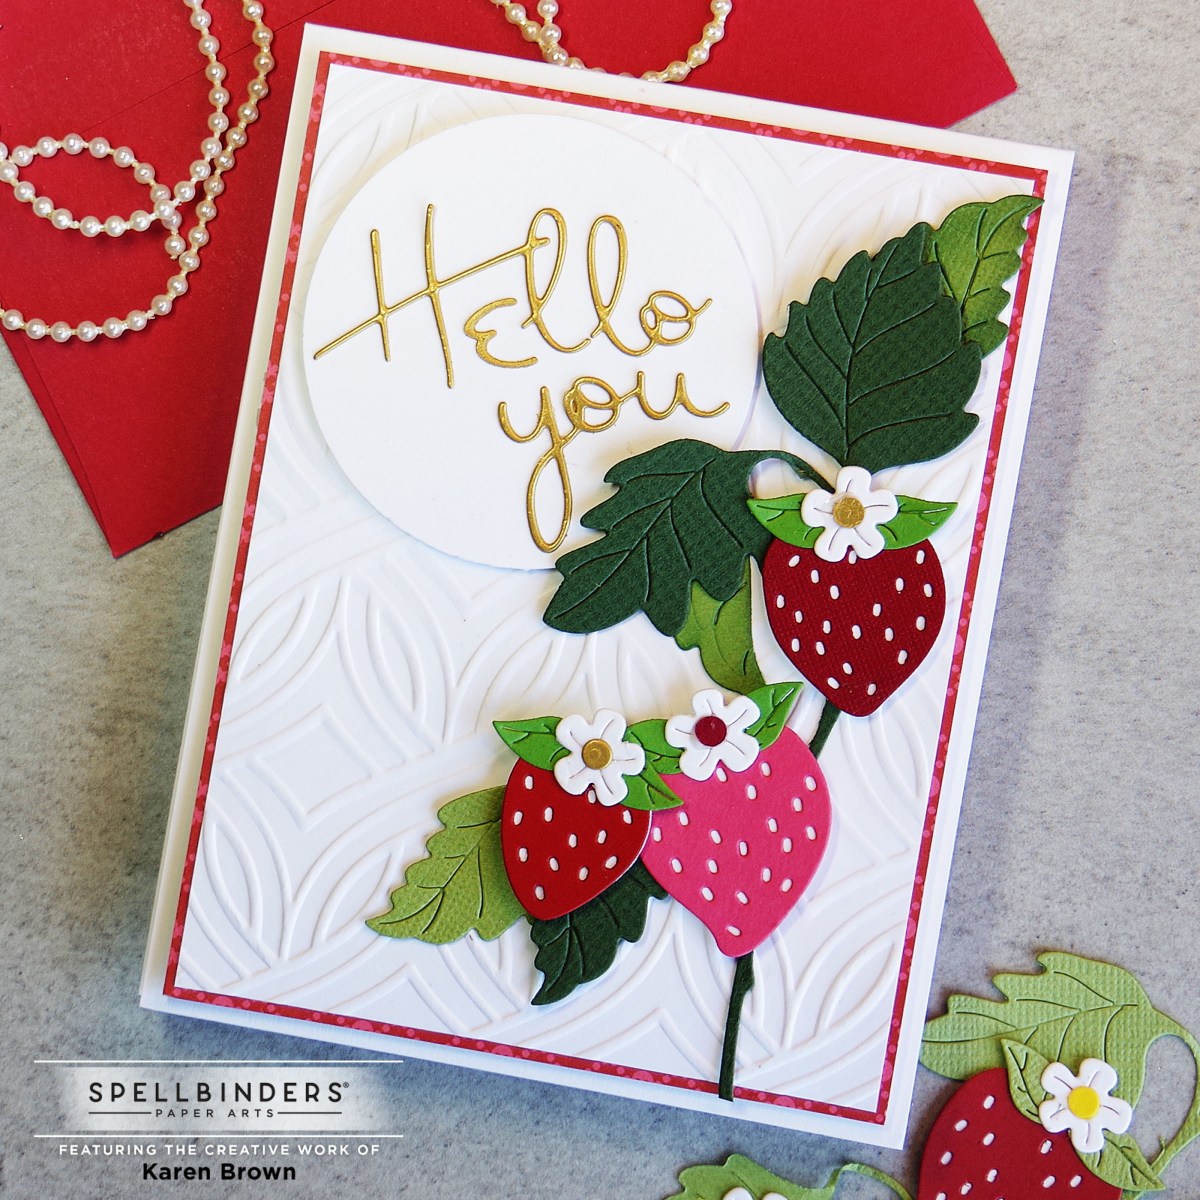
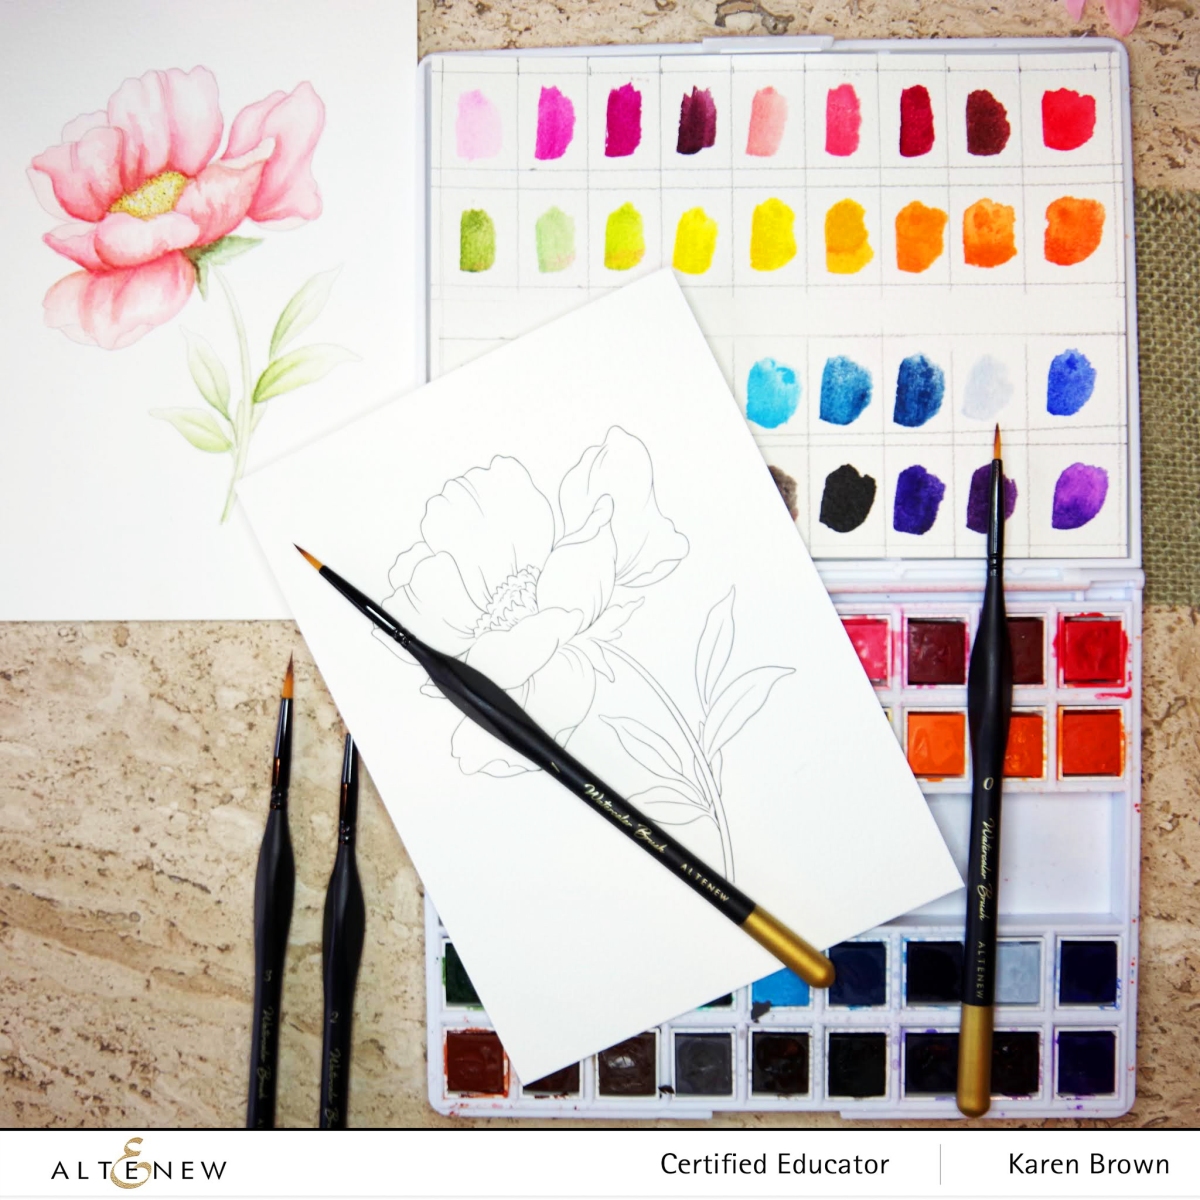
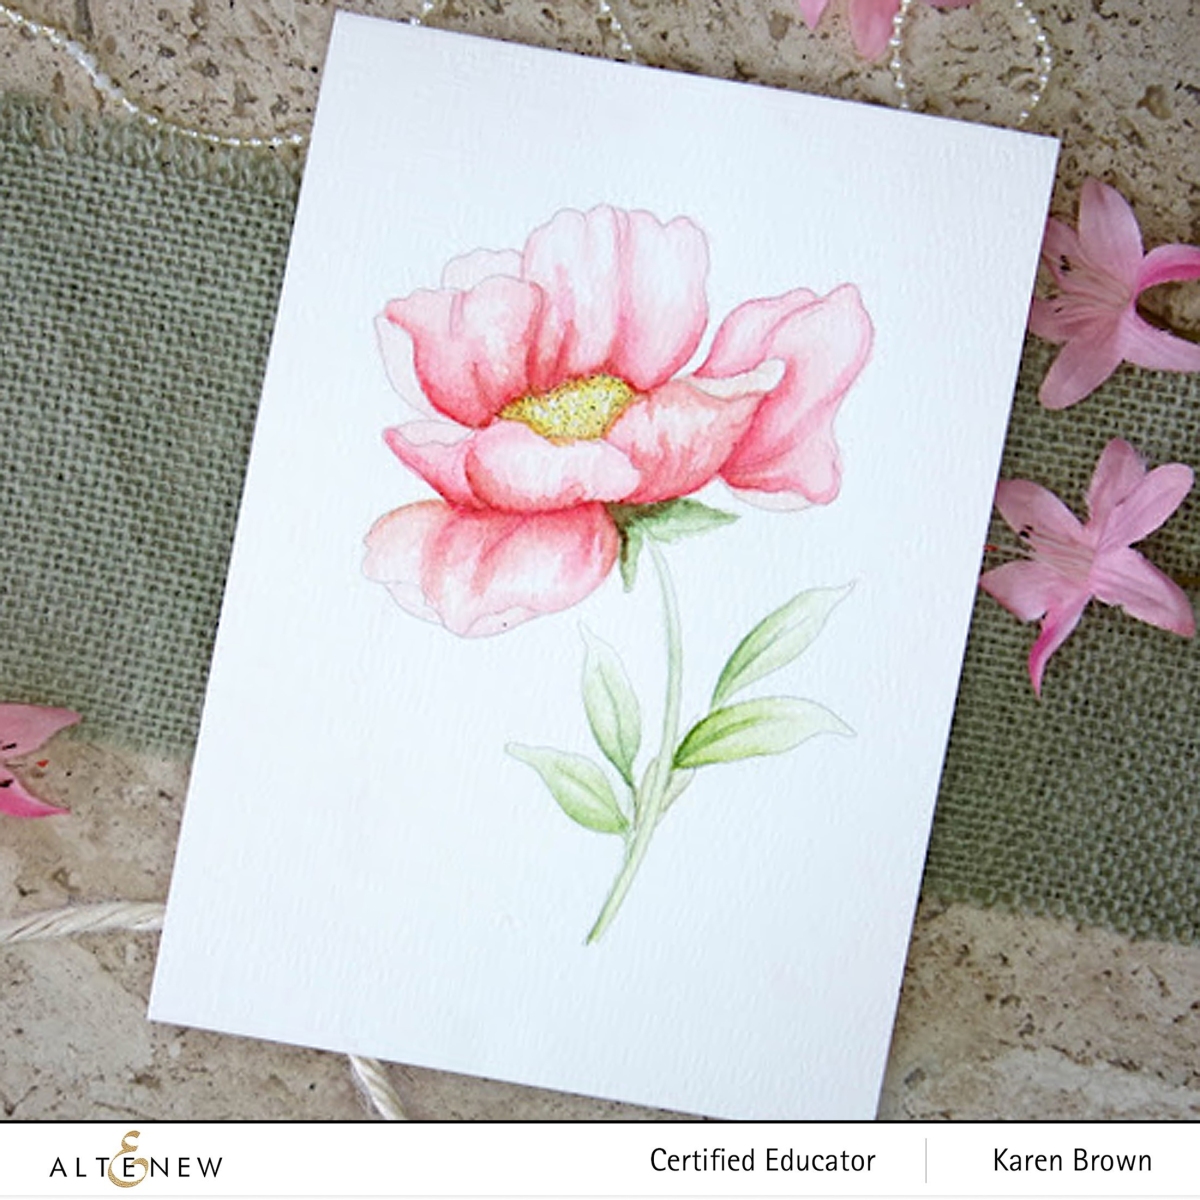
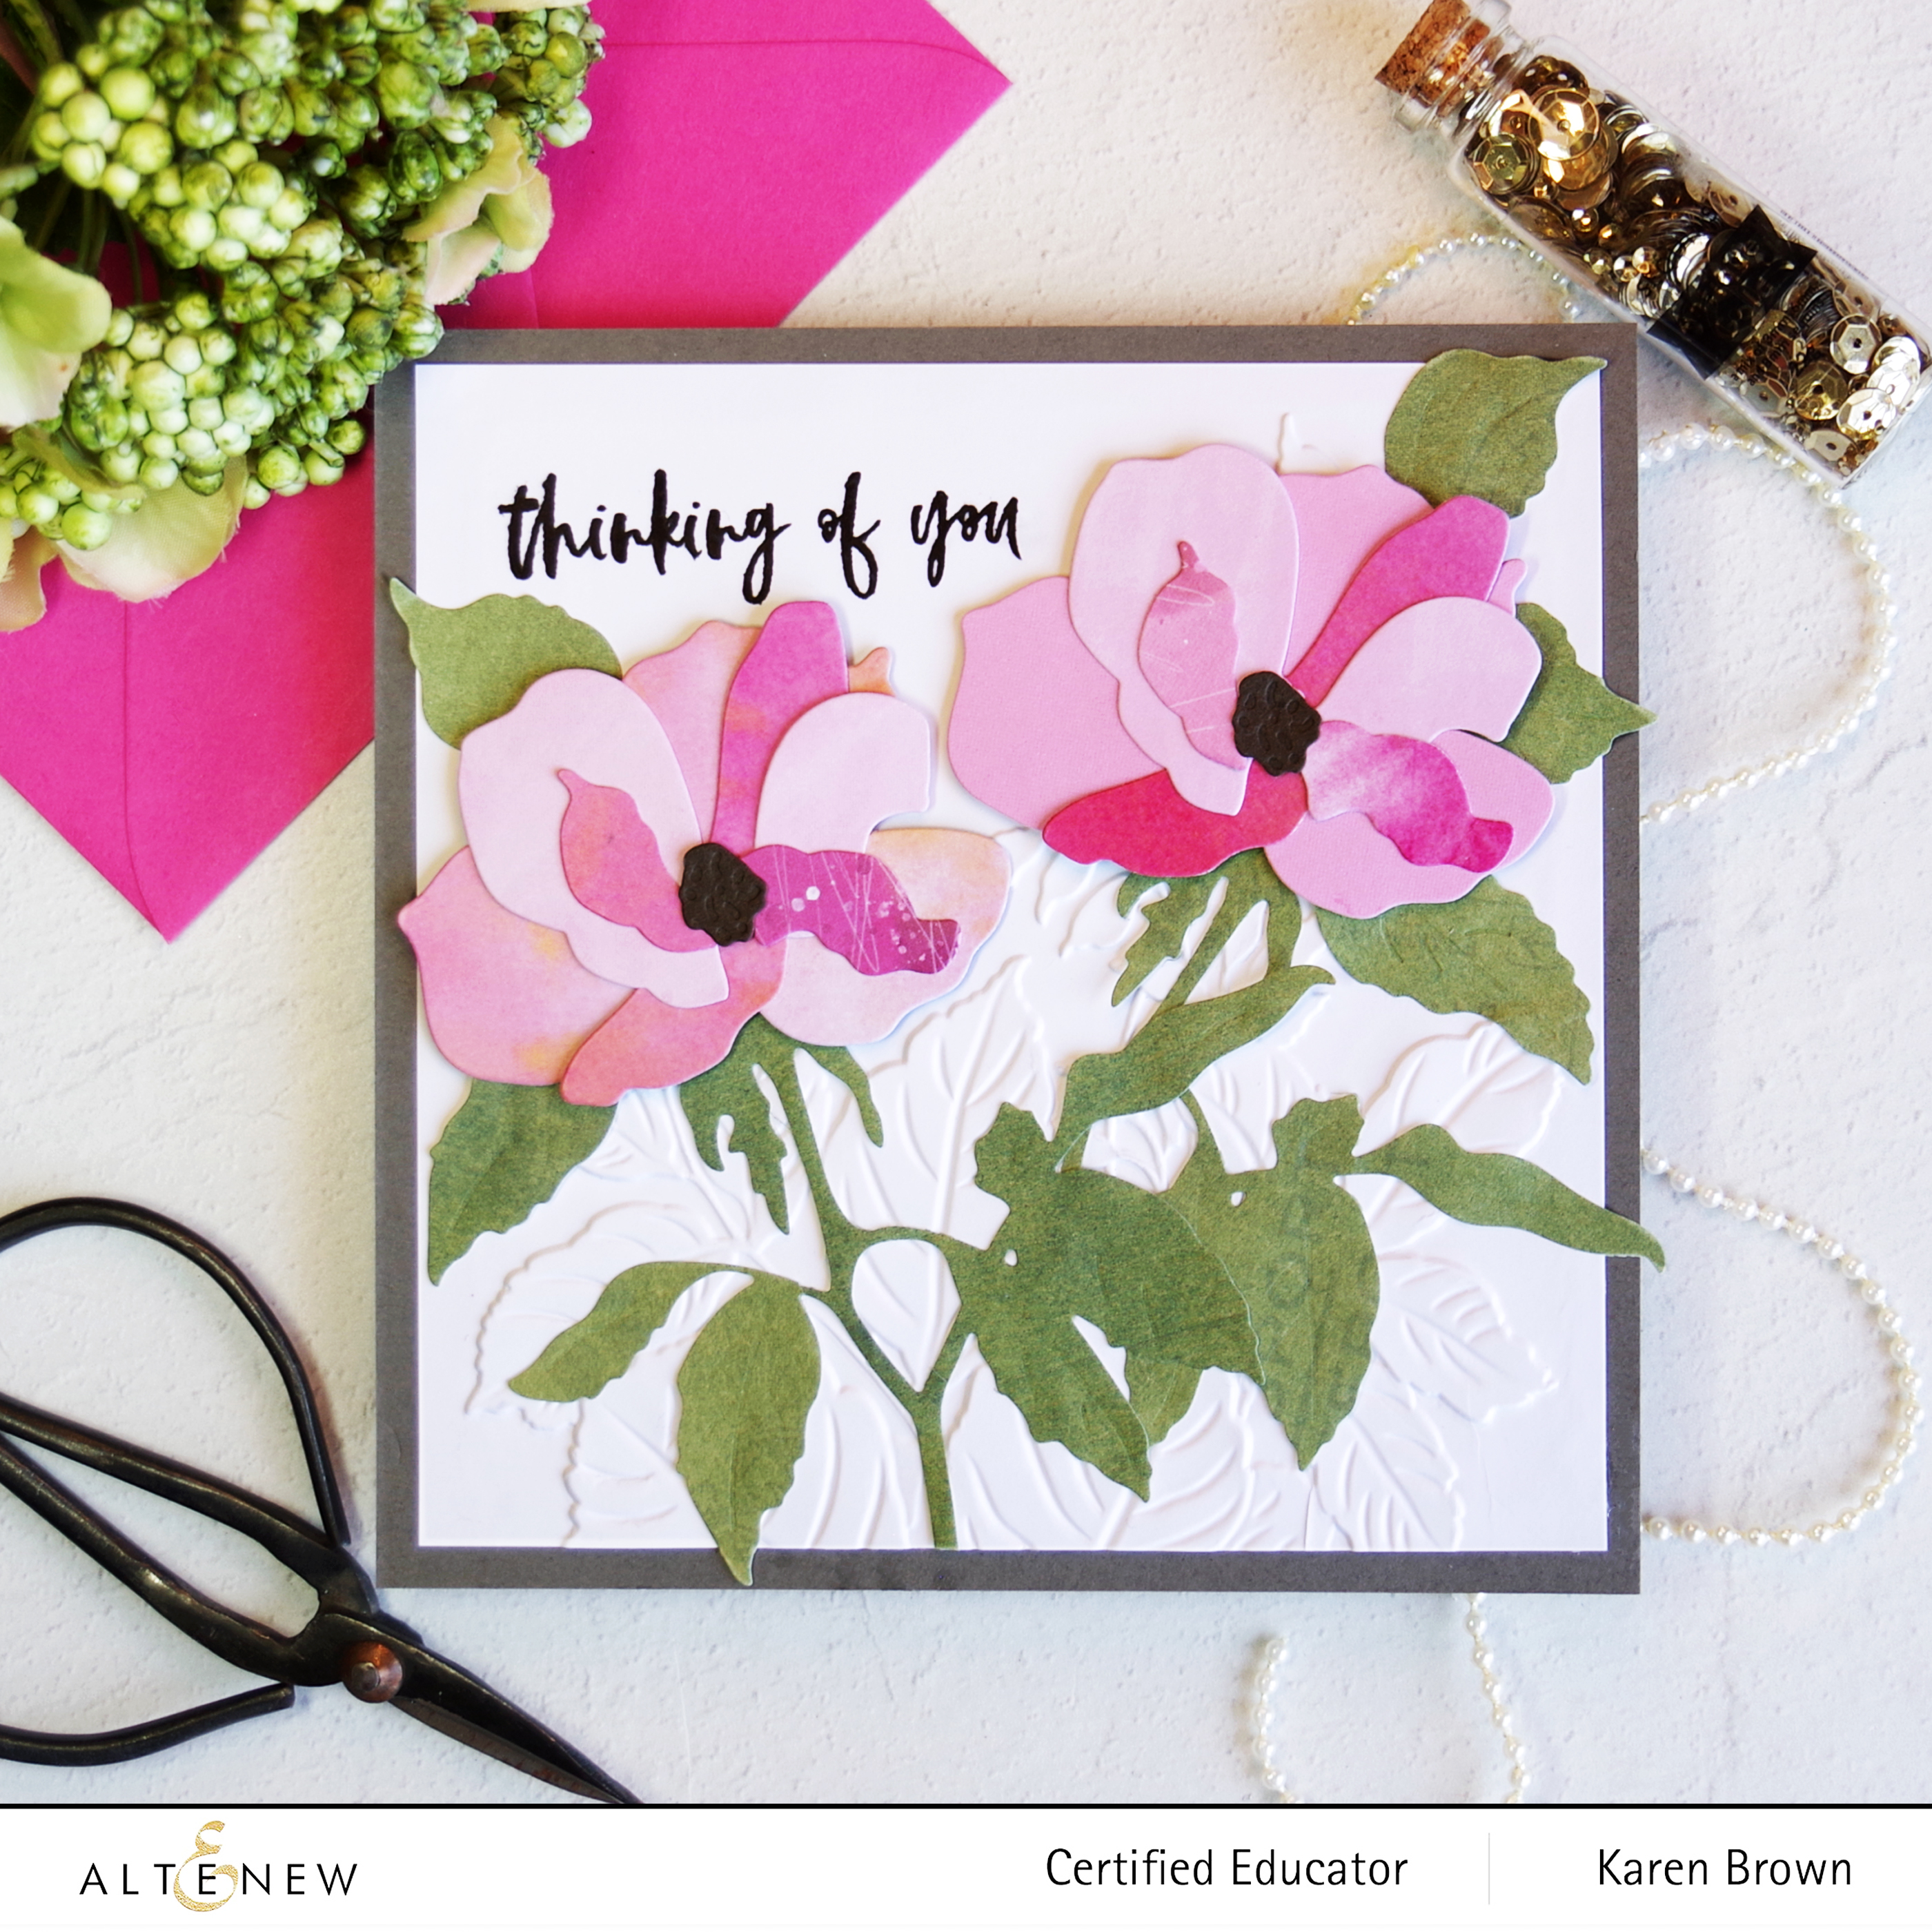
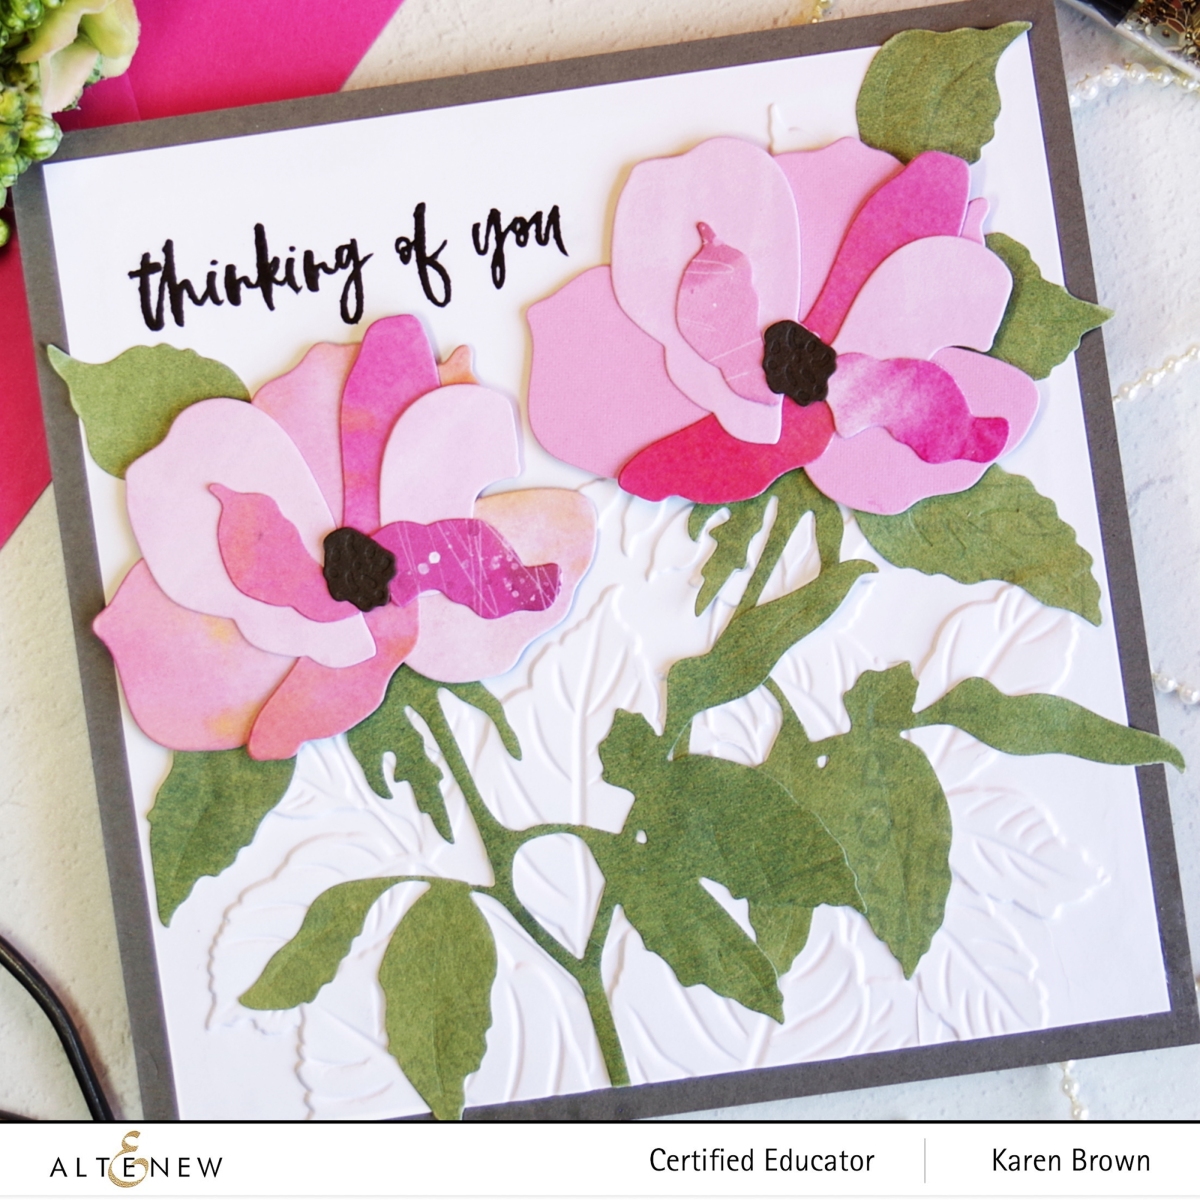
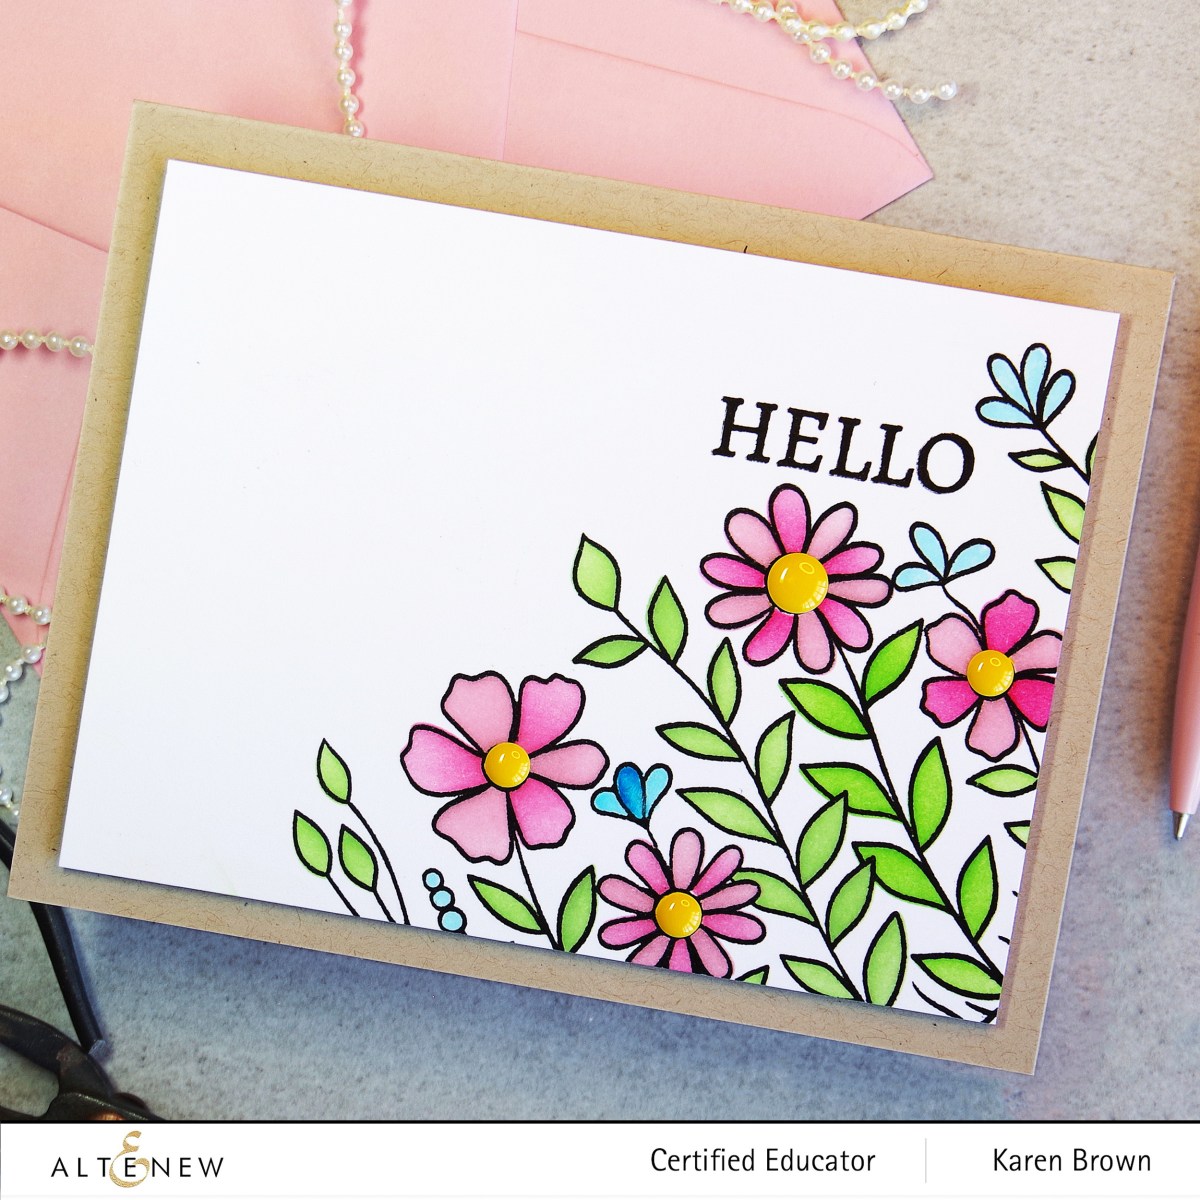
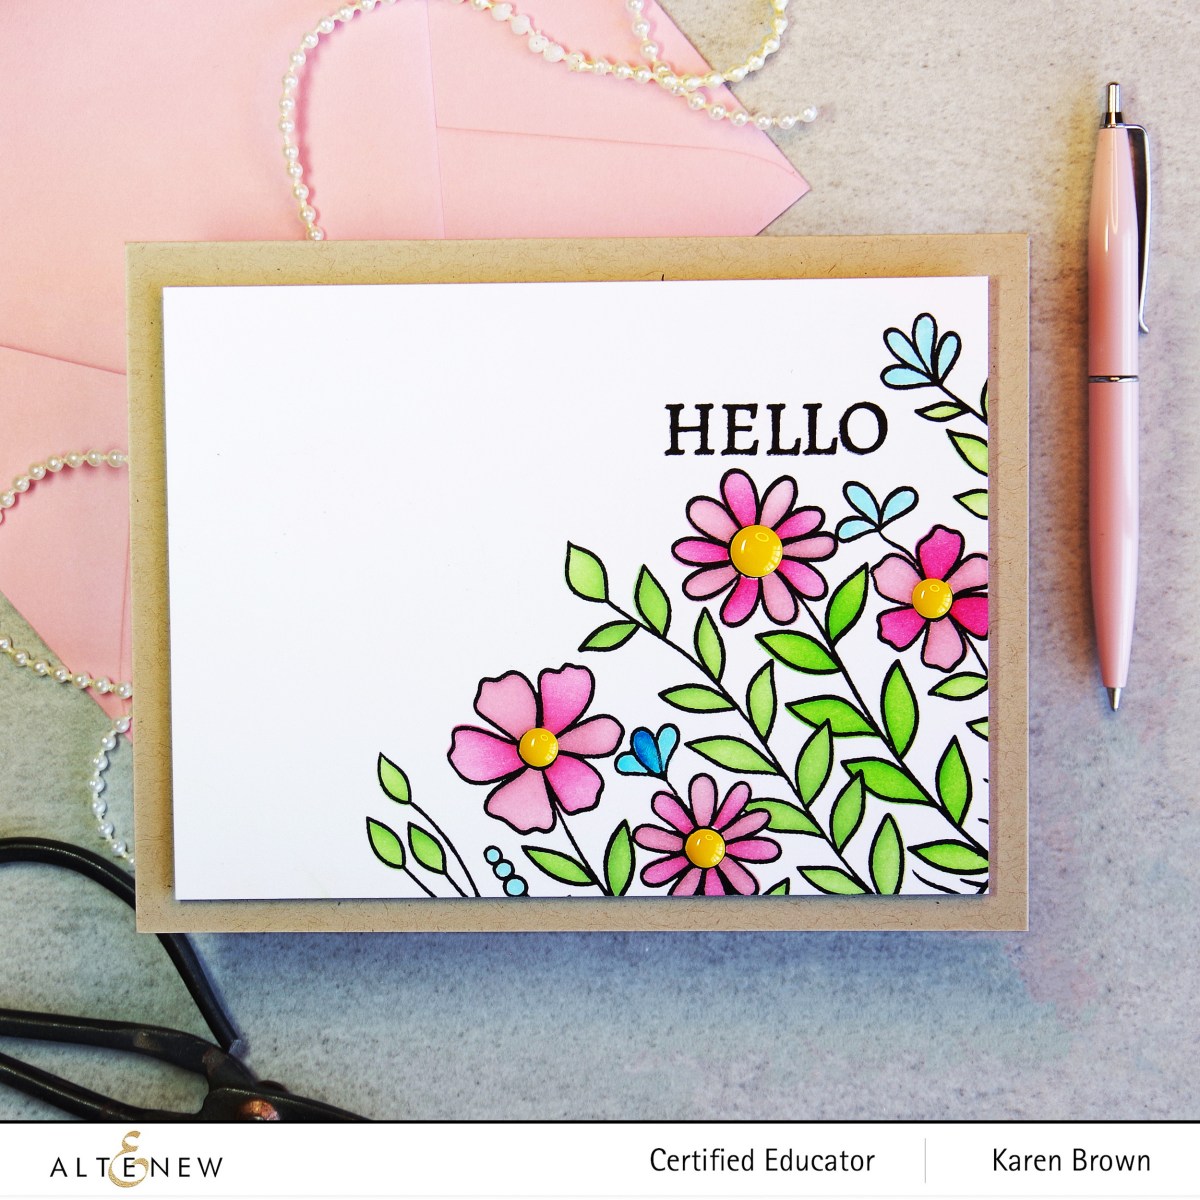
Altenew Arch of Flowers Stamp, Stencil and Die Bundle
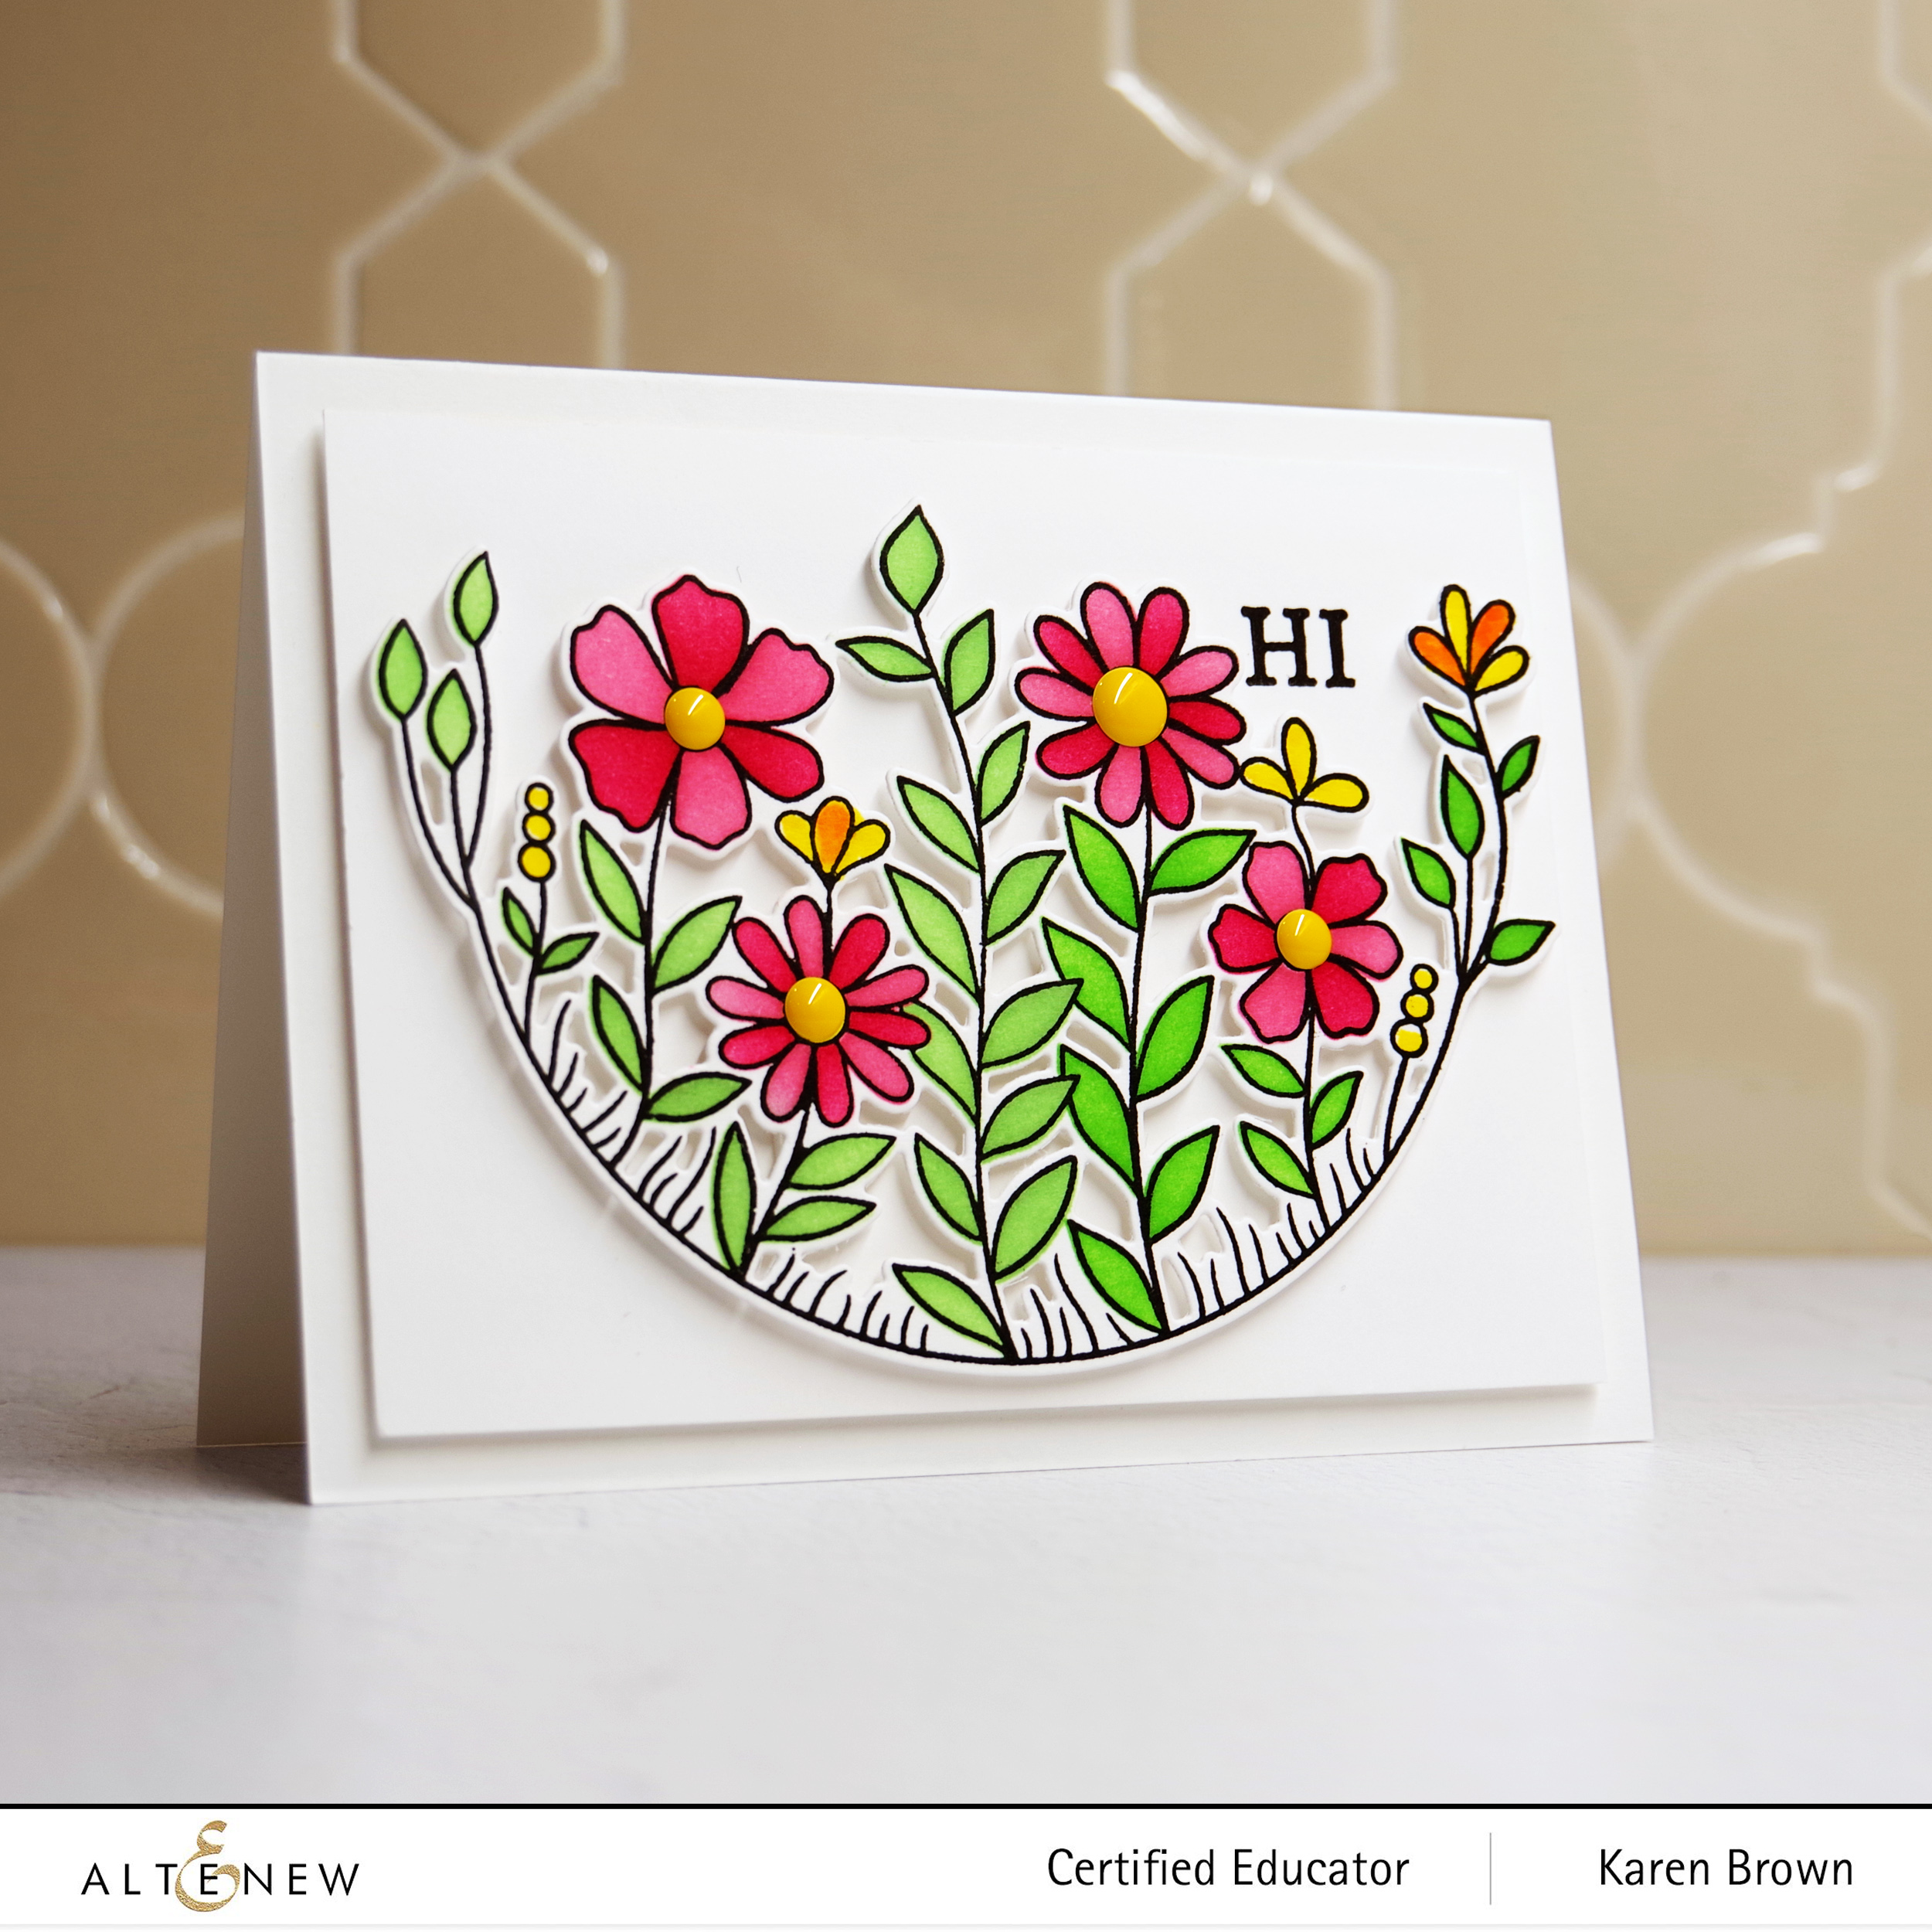
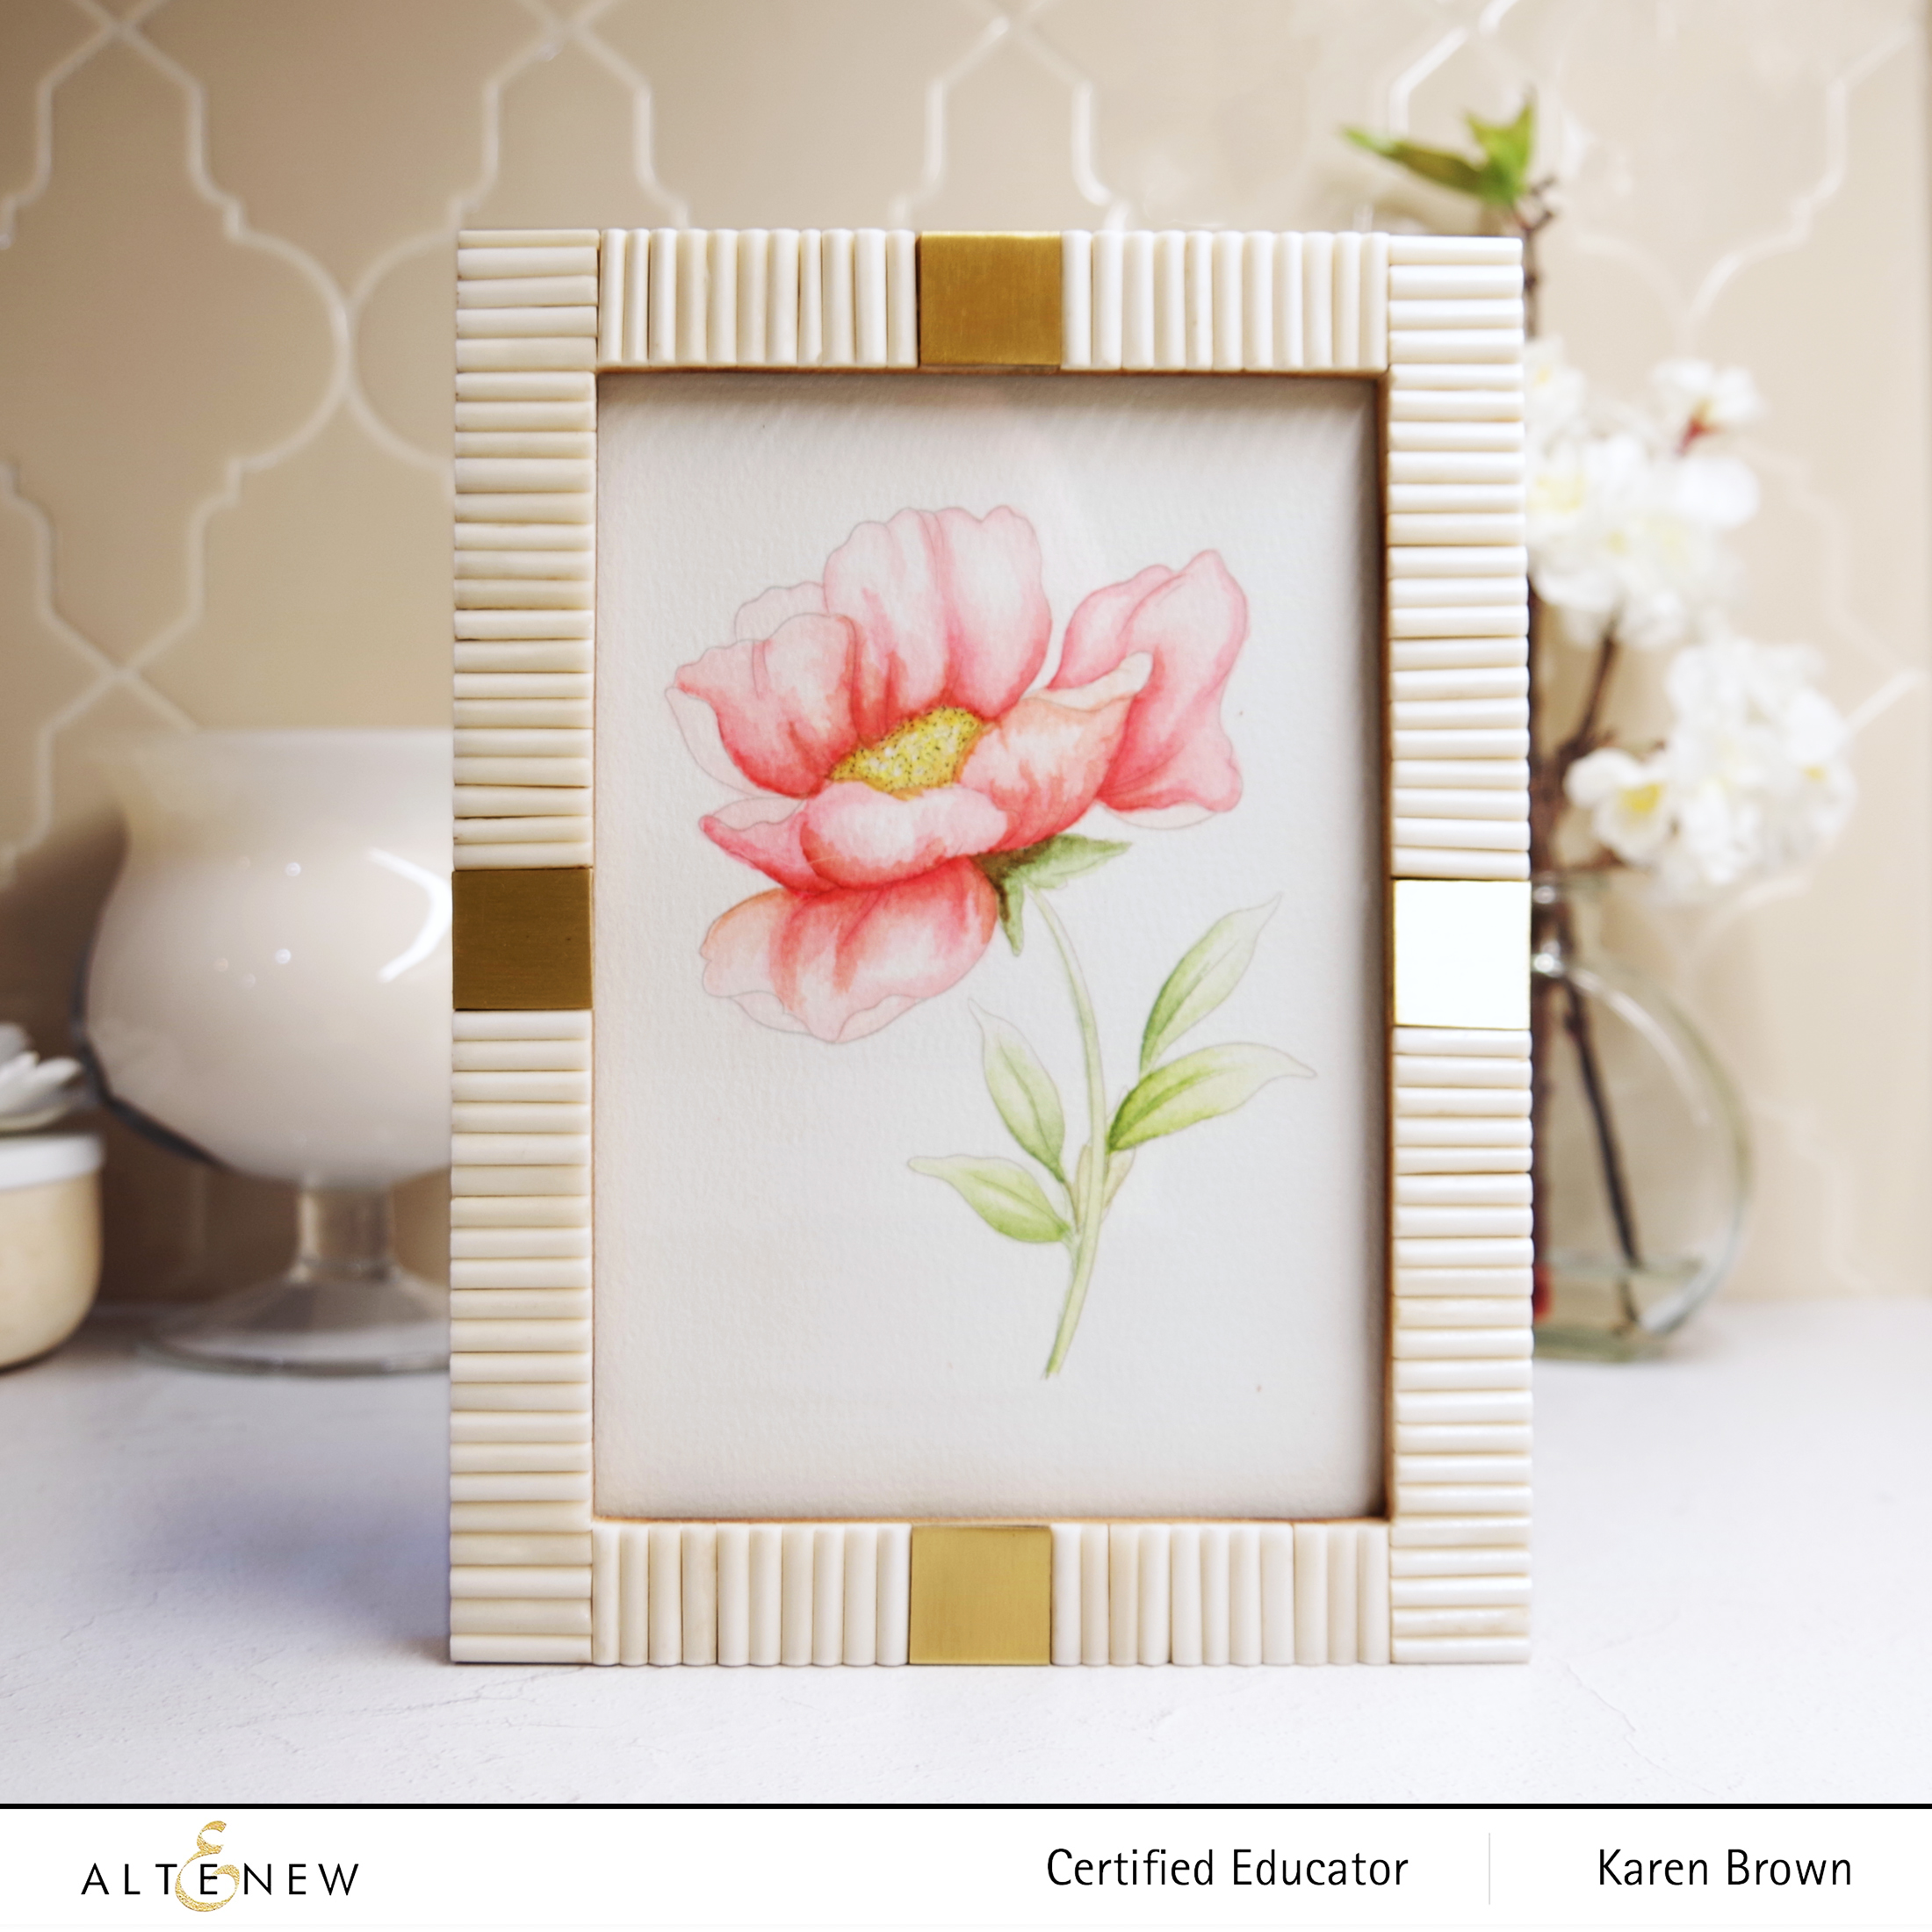
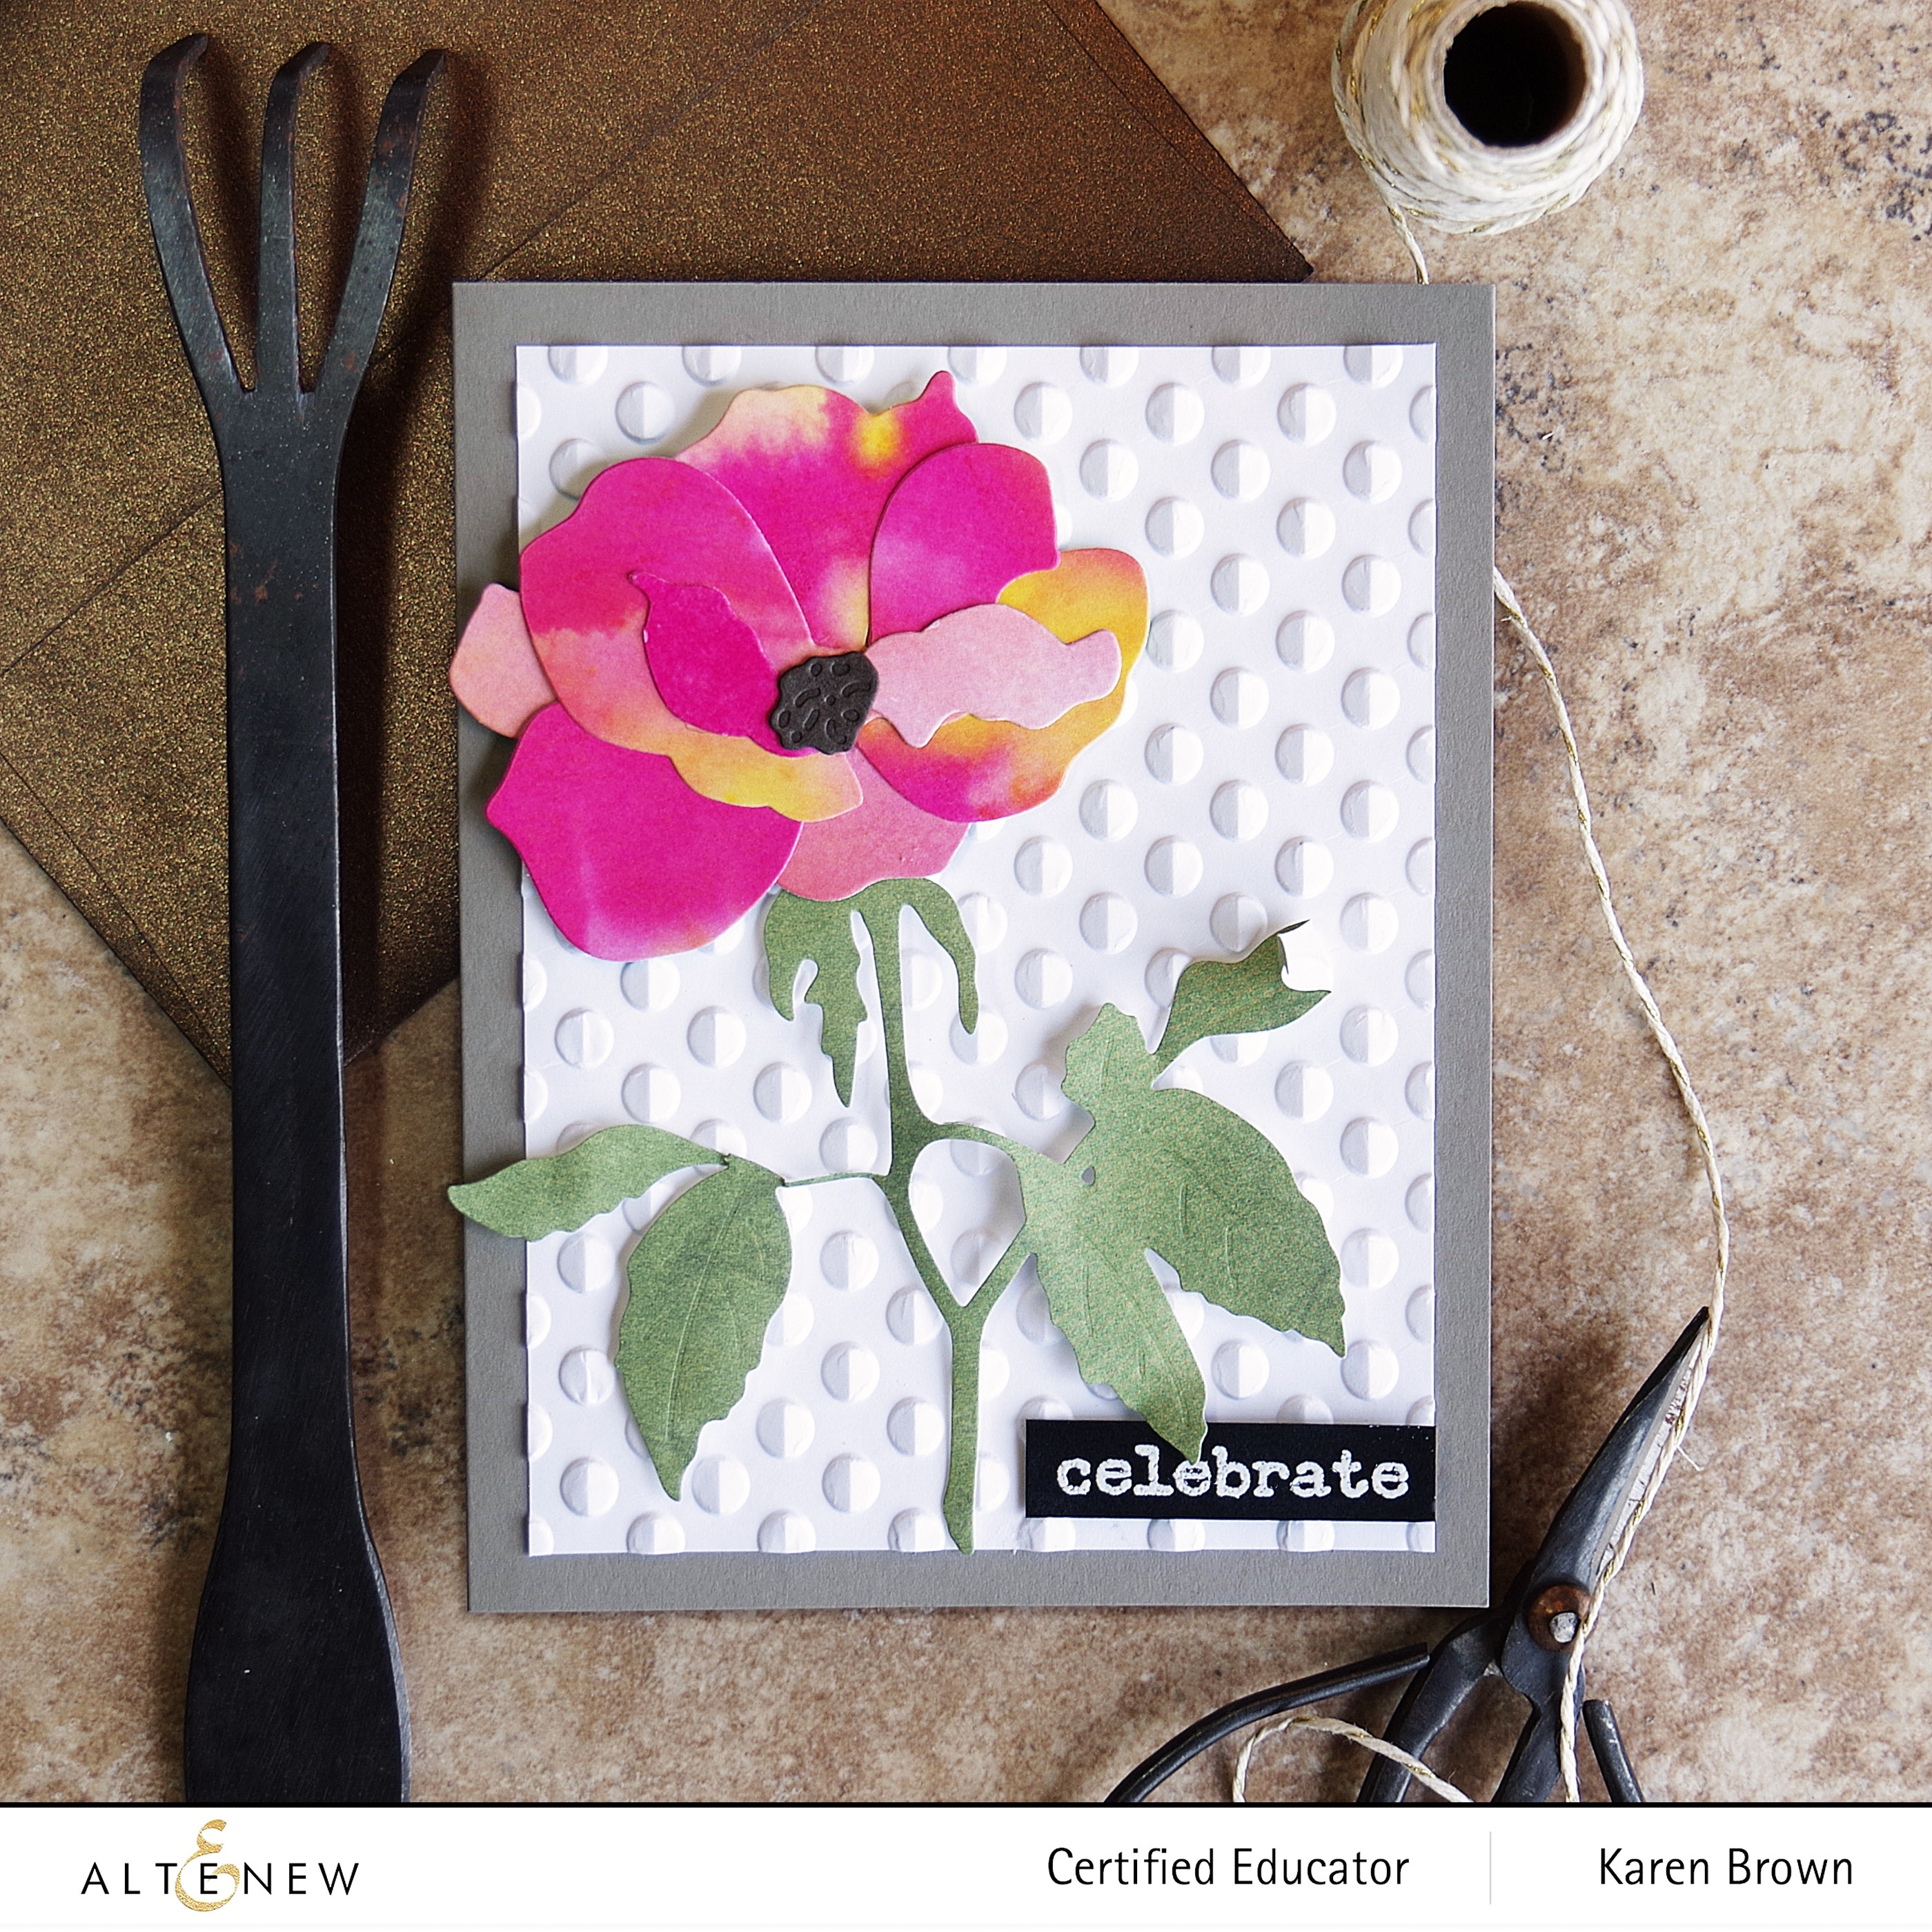
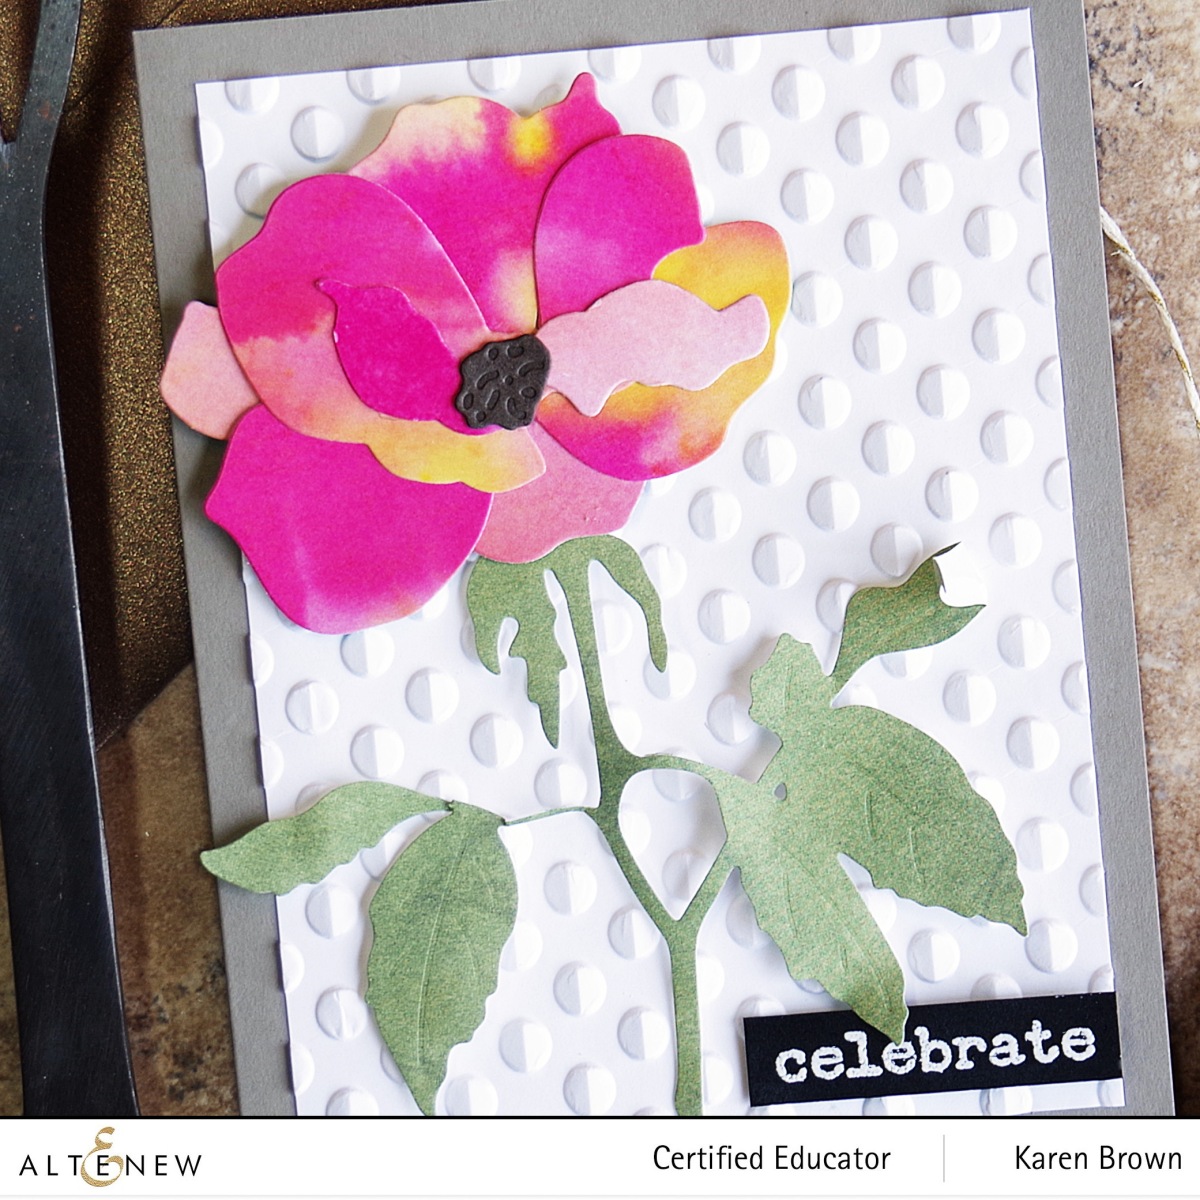
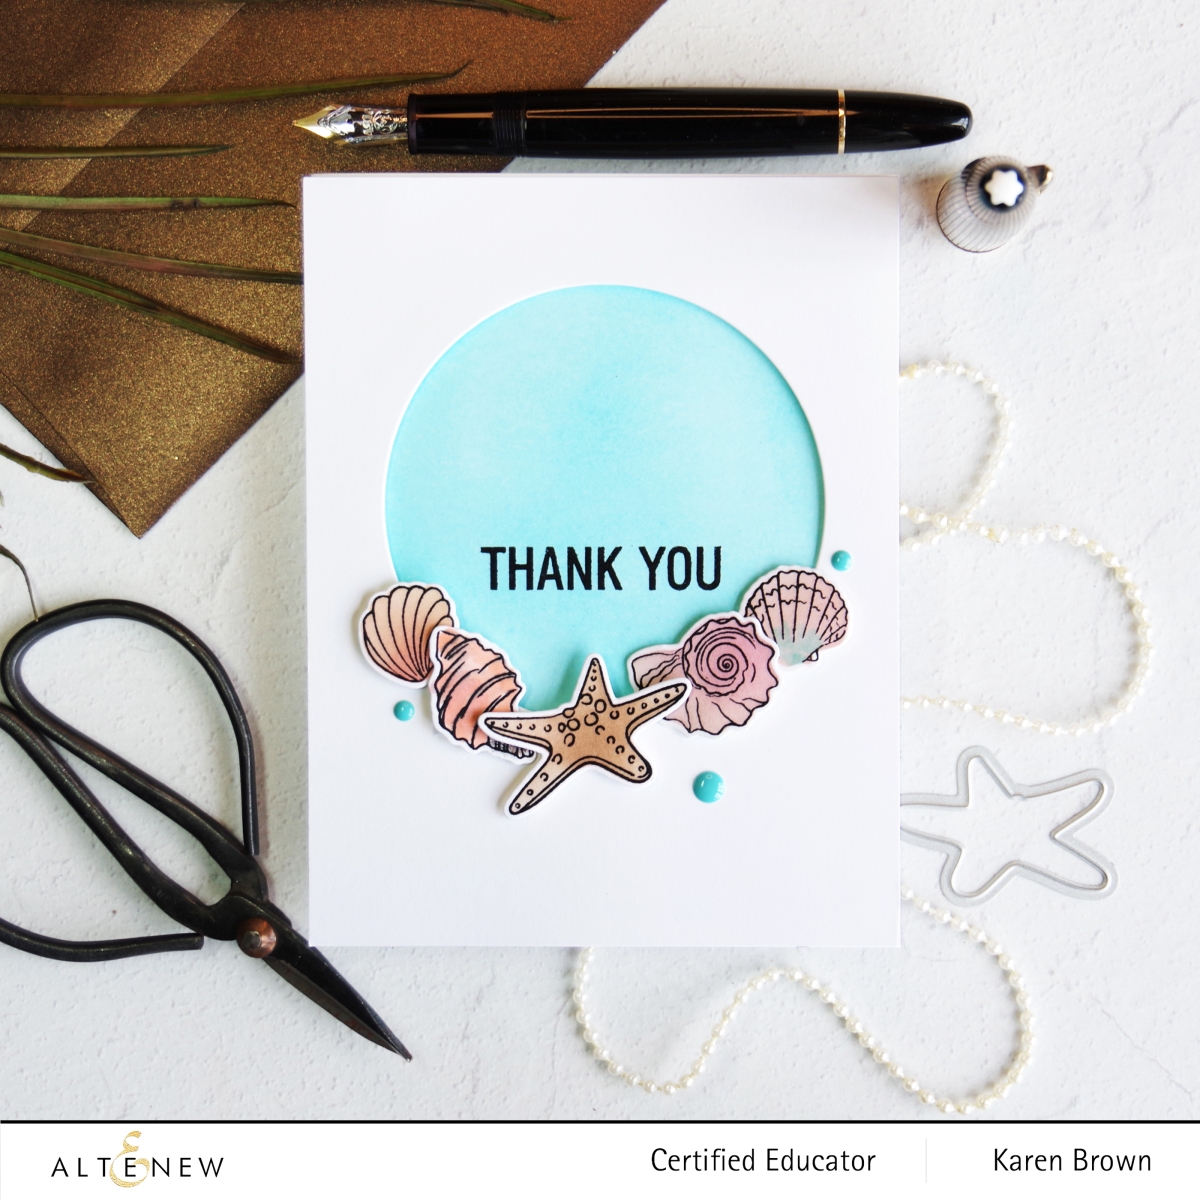
The Arch of Flowers Bundle is such a fun and creative kit! For my first card, I used the stamp, coloring stencil and die. The die is gorgeous and very detailed which really adds to its beauty! The coloring stencil was very easy to line up and use and I love the effect. The stamp set also has great sentiments included, which is always a big plus! To finish the card I just added enamel dots to the flower centers.

Products Used on Card #1:
- Arch of Flowers Stamp, Stencil and Die Bundle
- Pocketful of Sunshine Enamel Dots
- Crisp Dye Inks (Coral Berry, Ruby Red, Firefly, Green Fields, Sunshine, Orange Cream)
- Black Pigment Ink
- Foam Tape

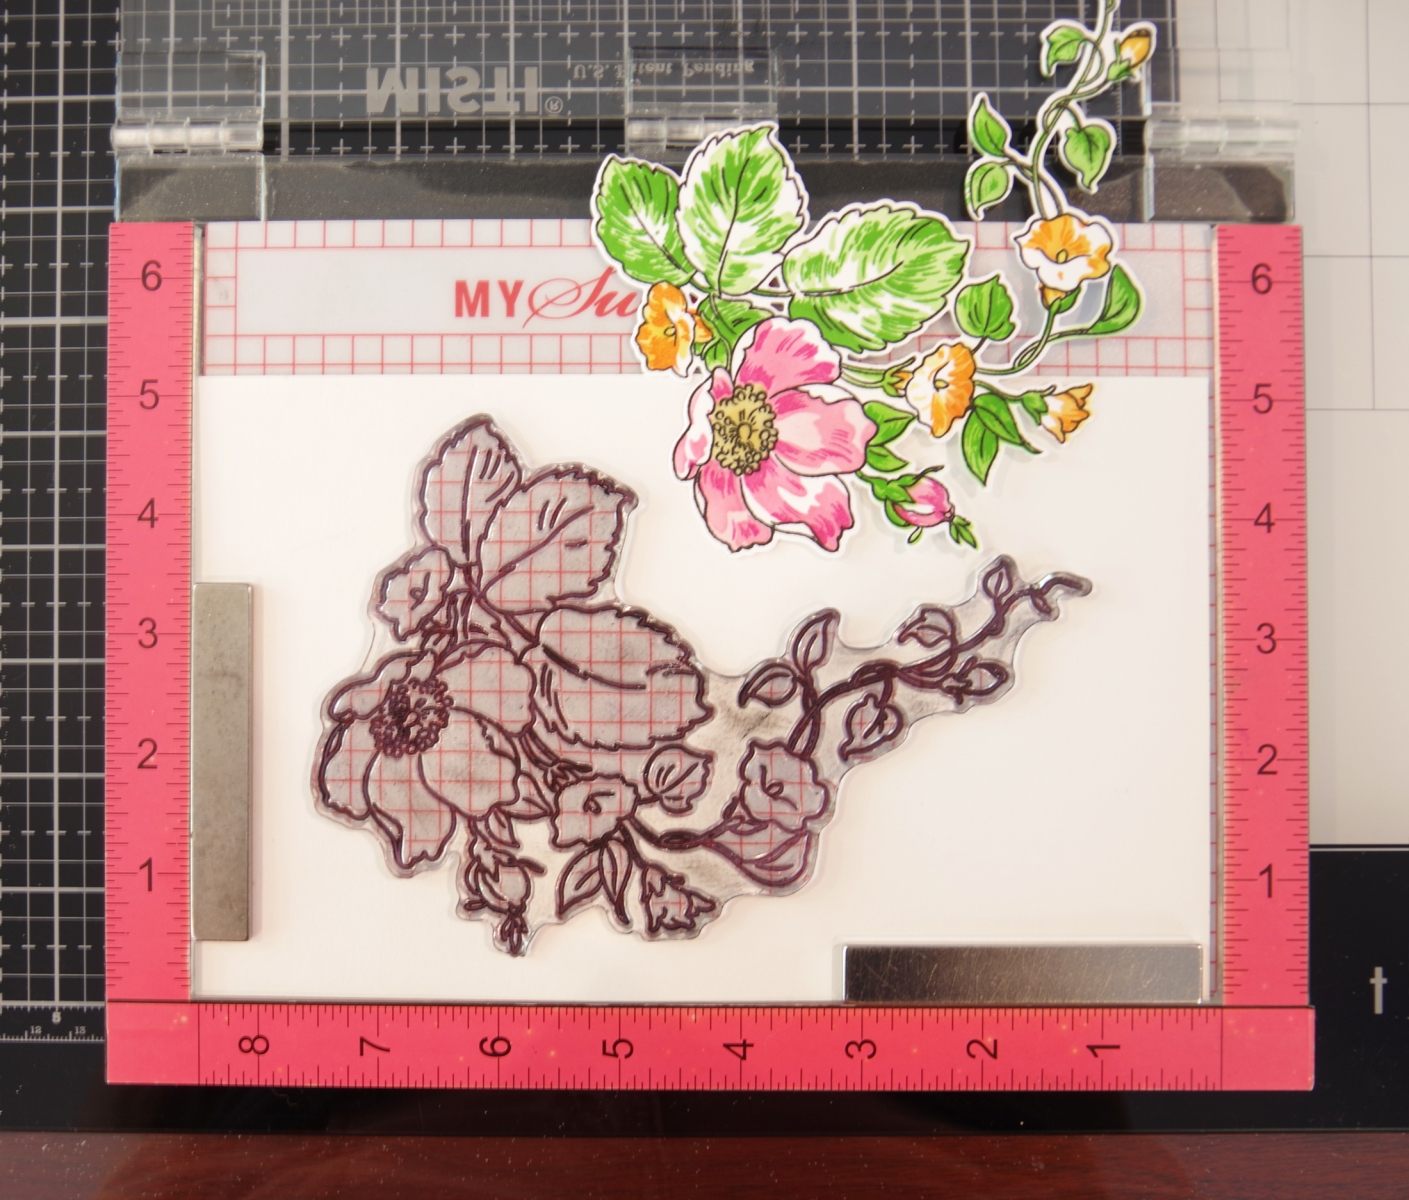
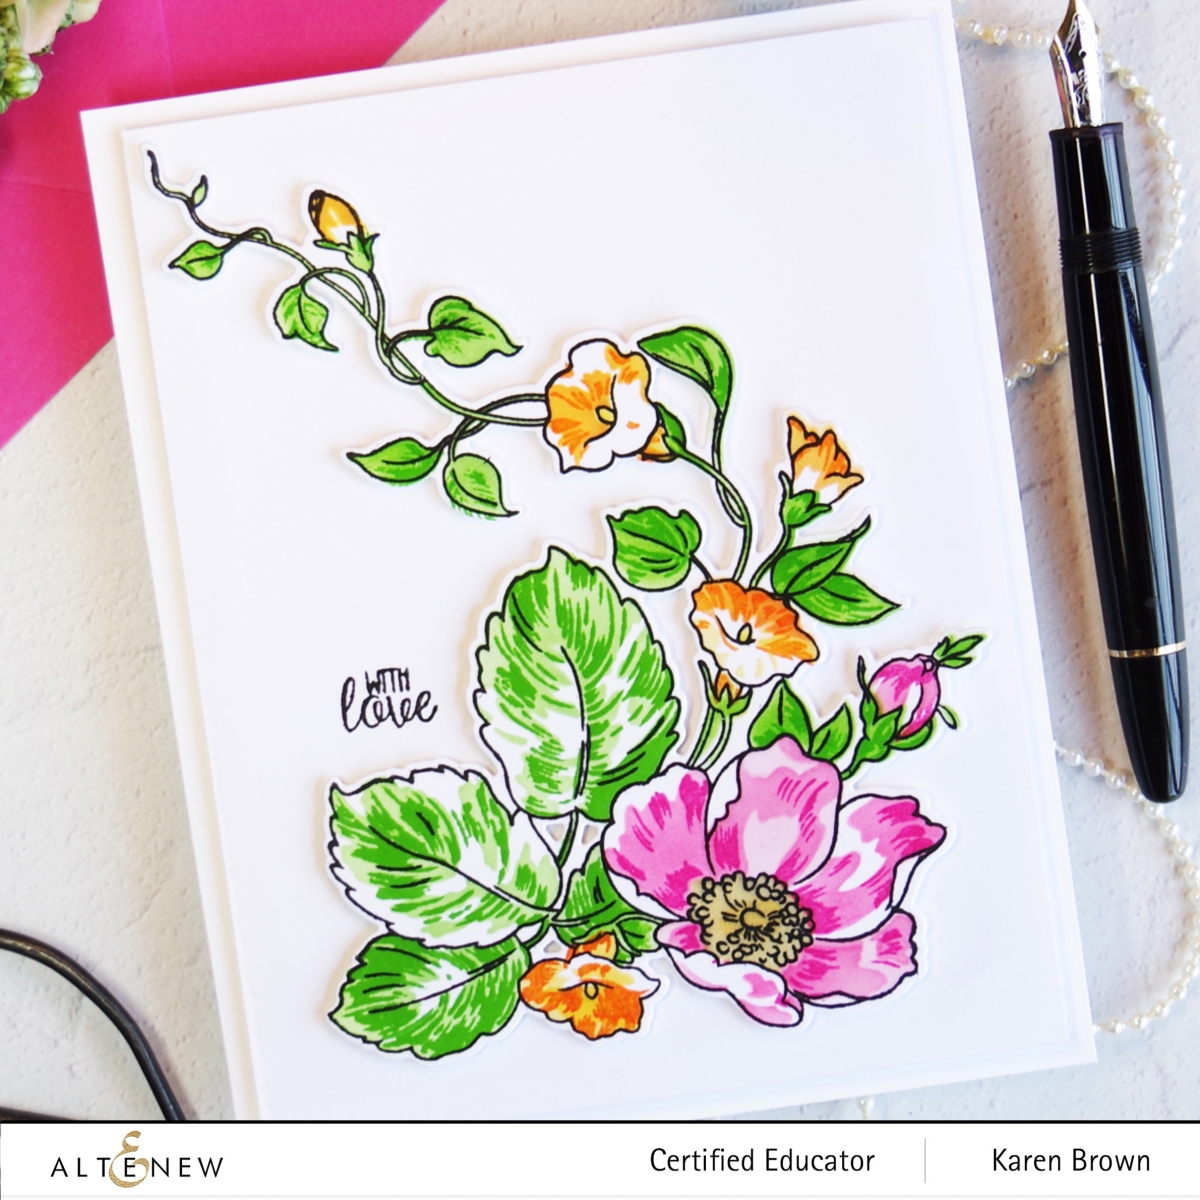
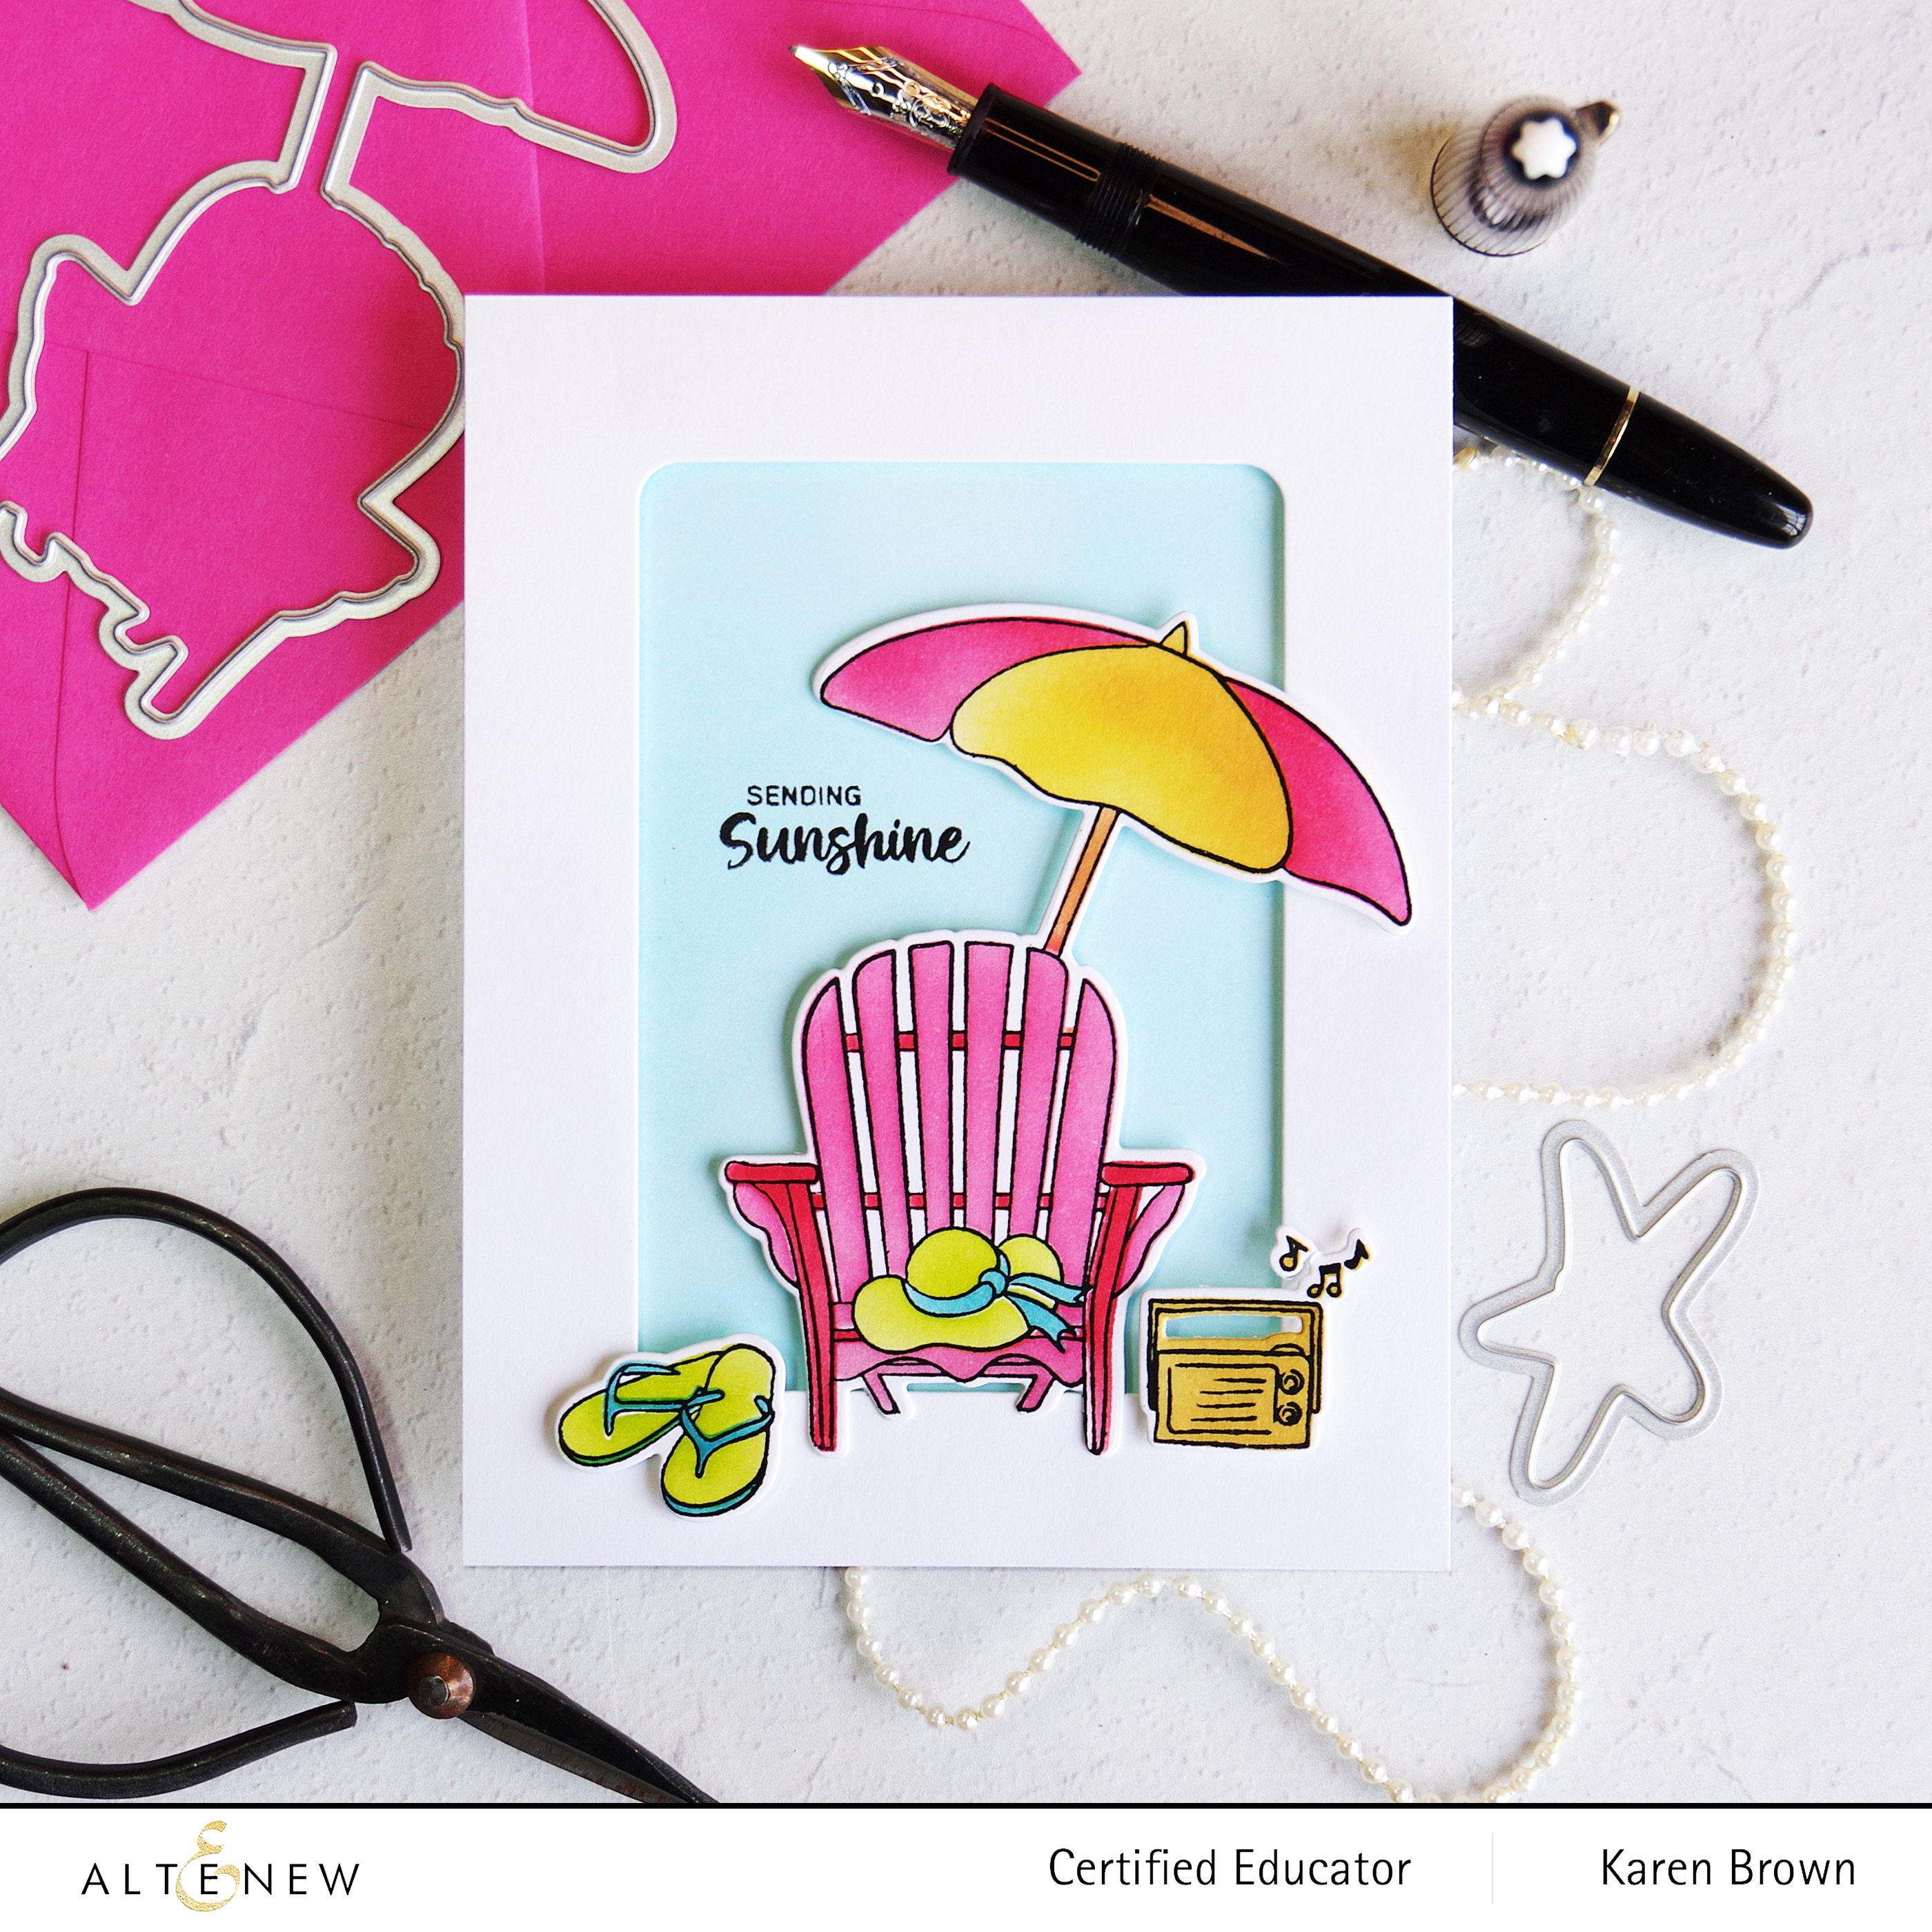
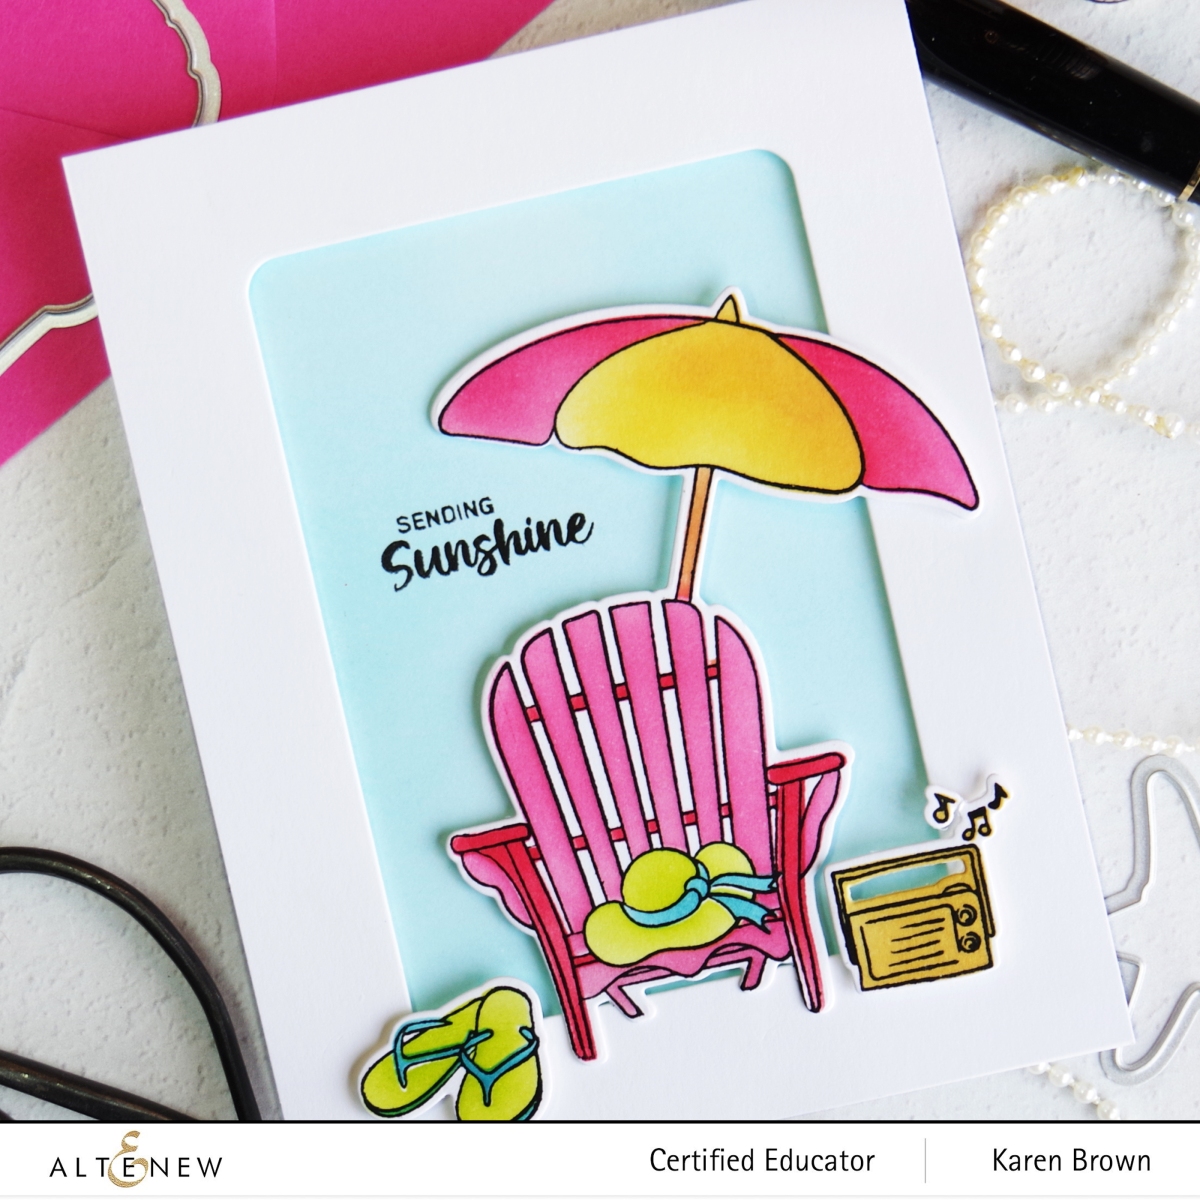
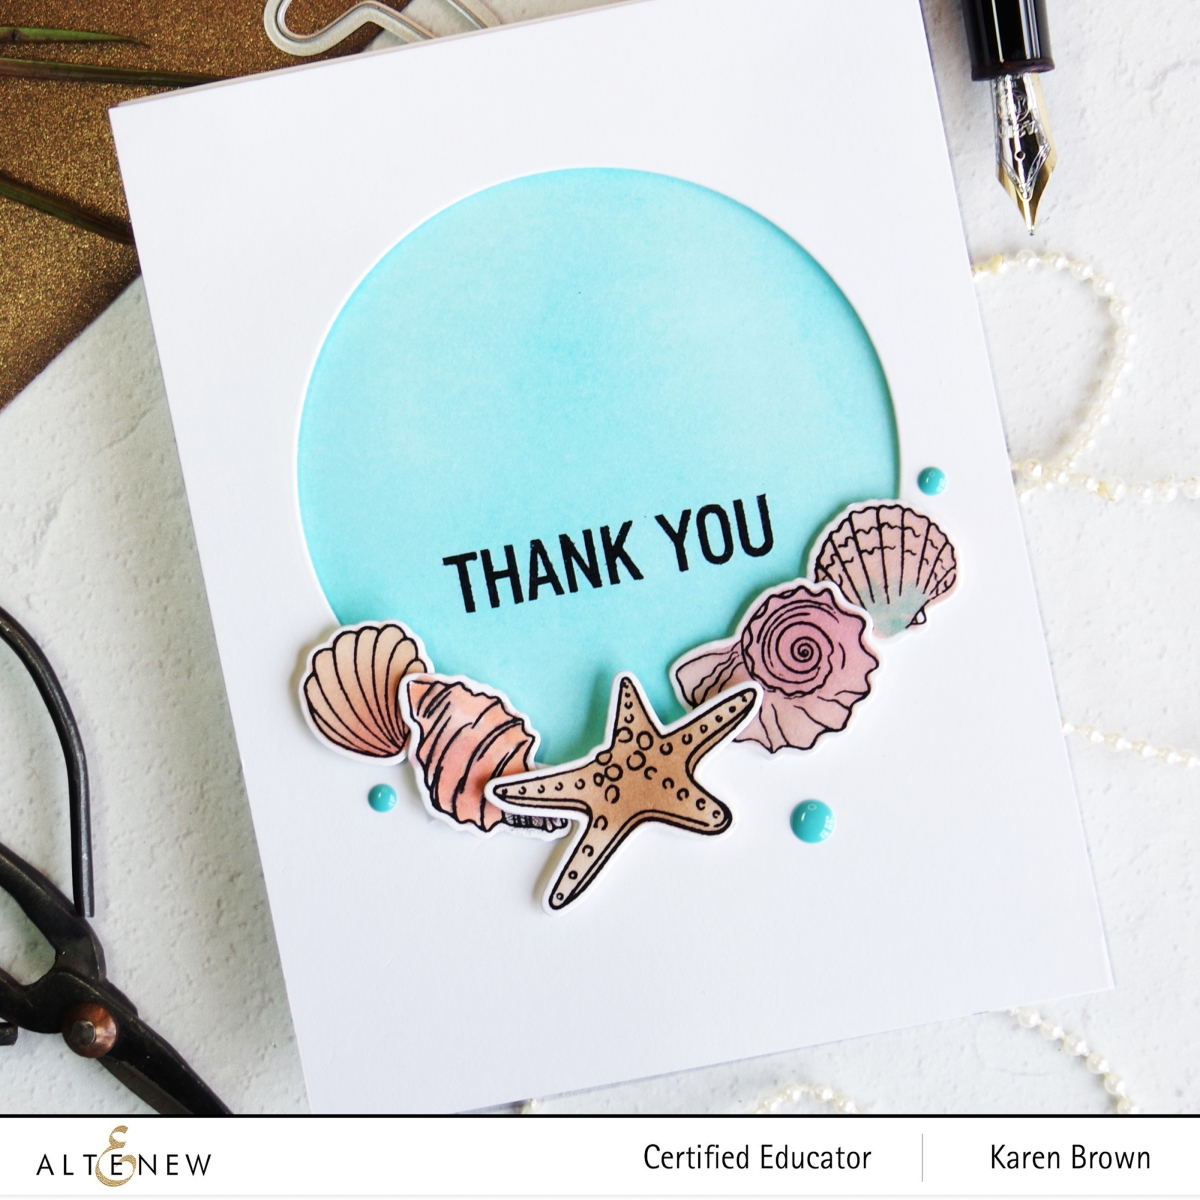
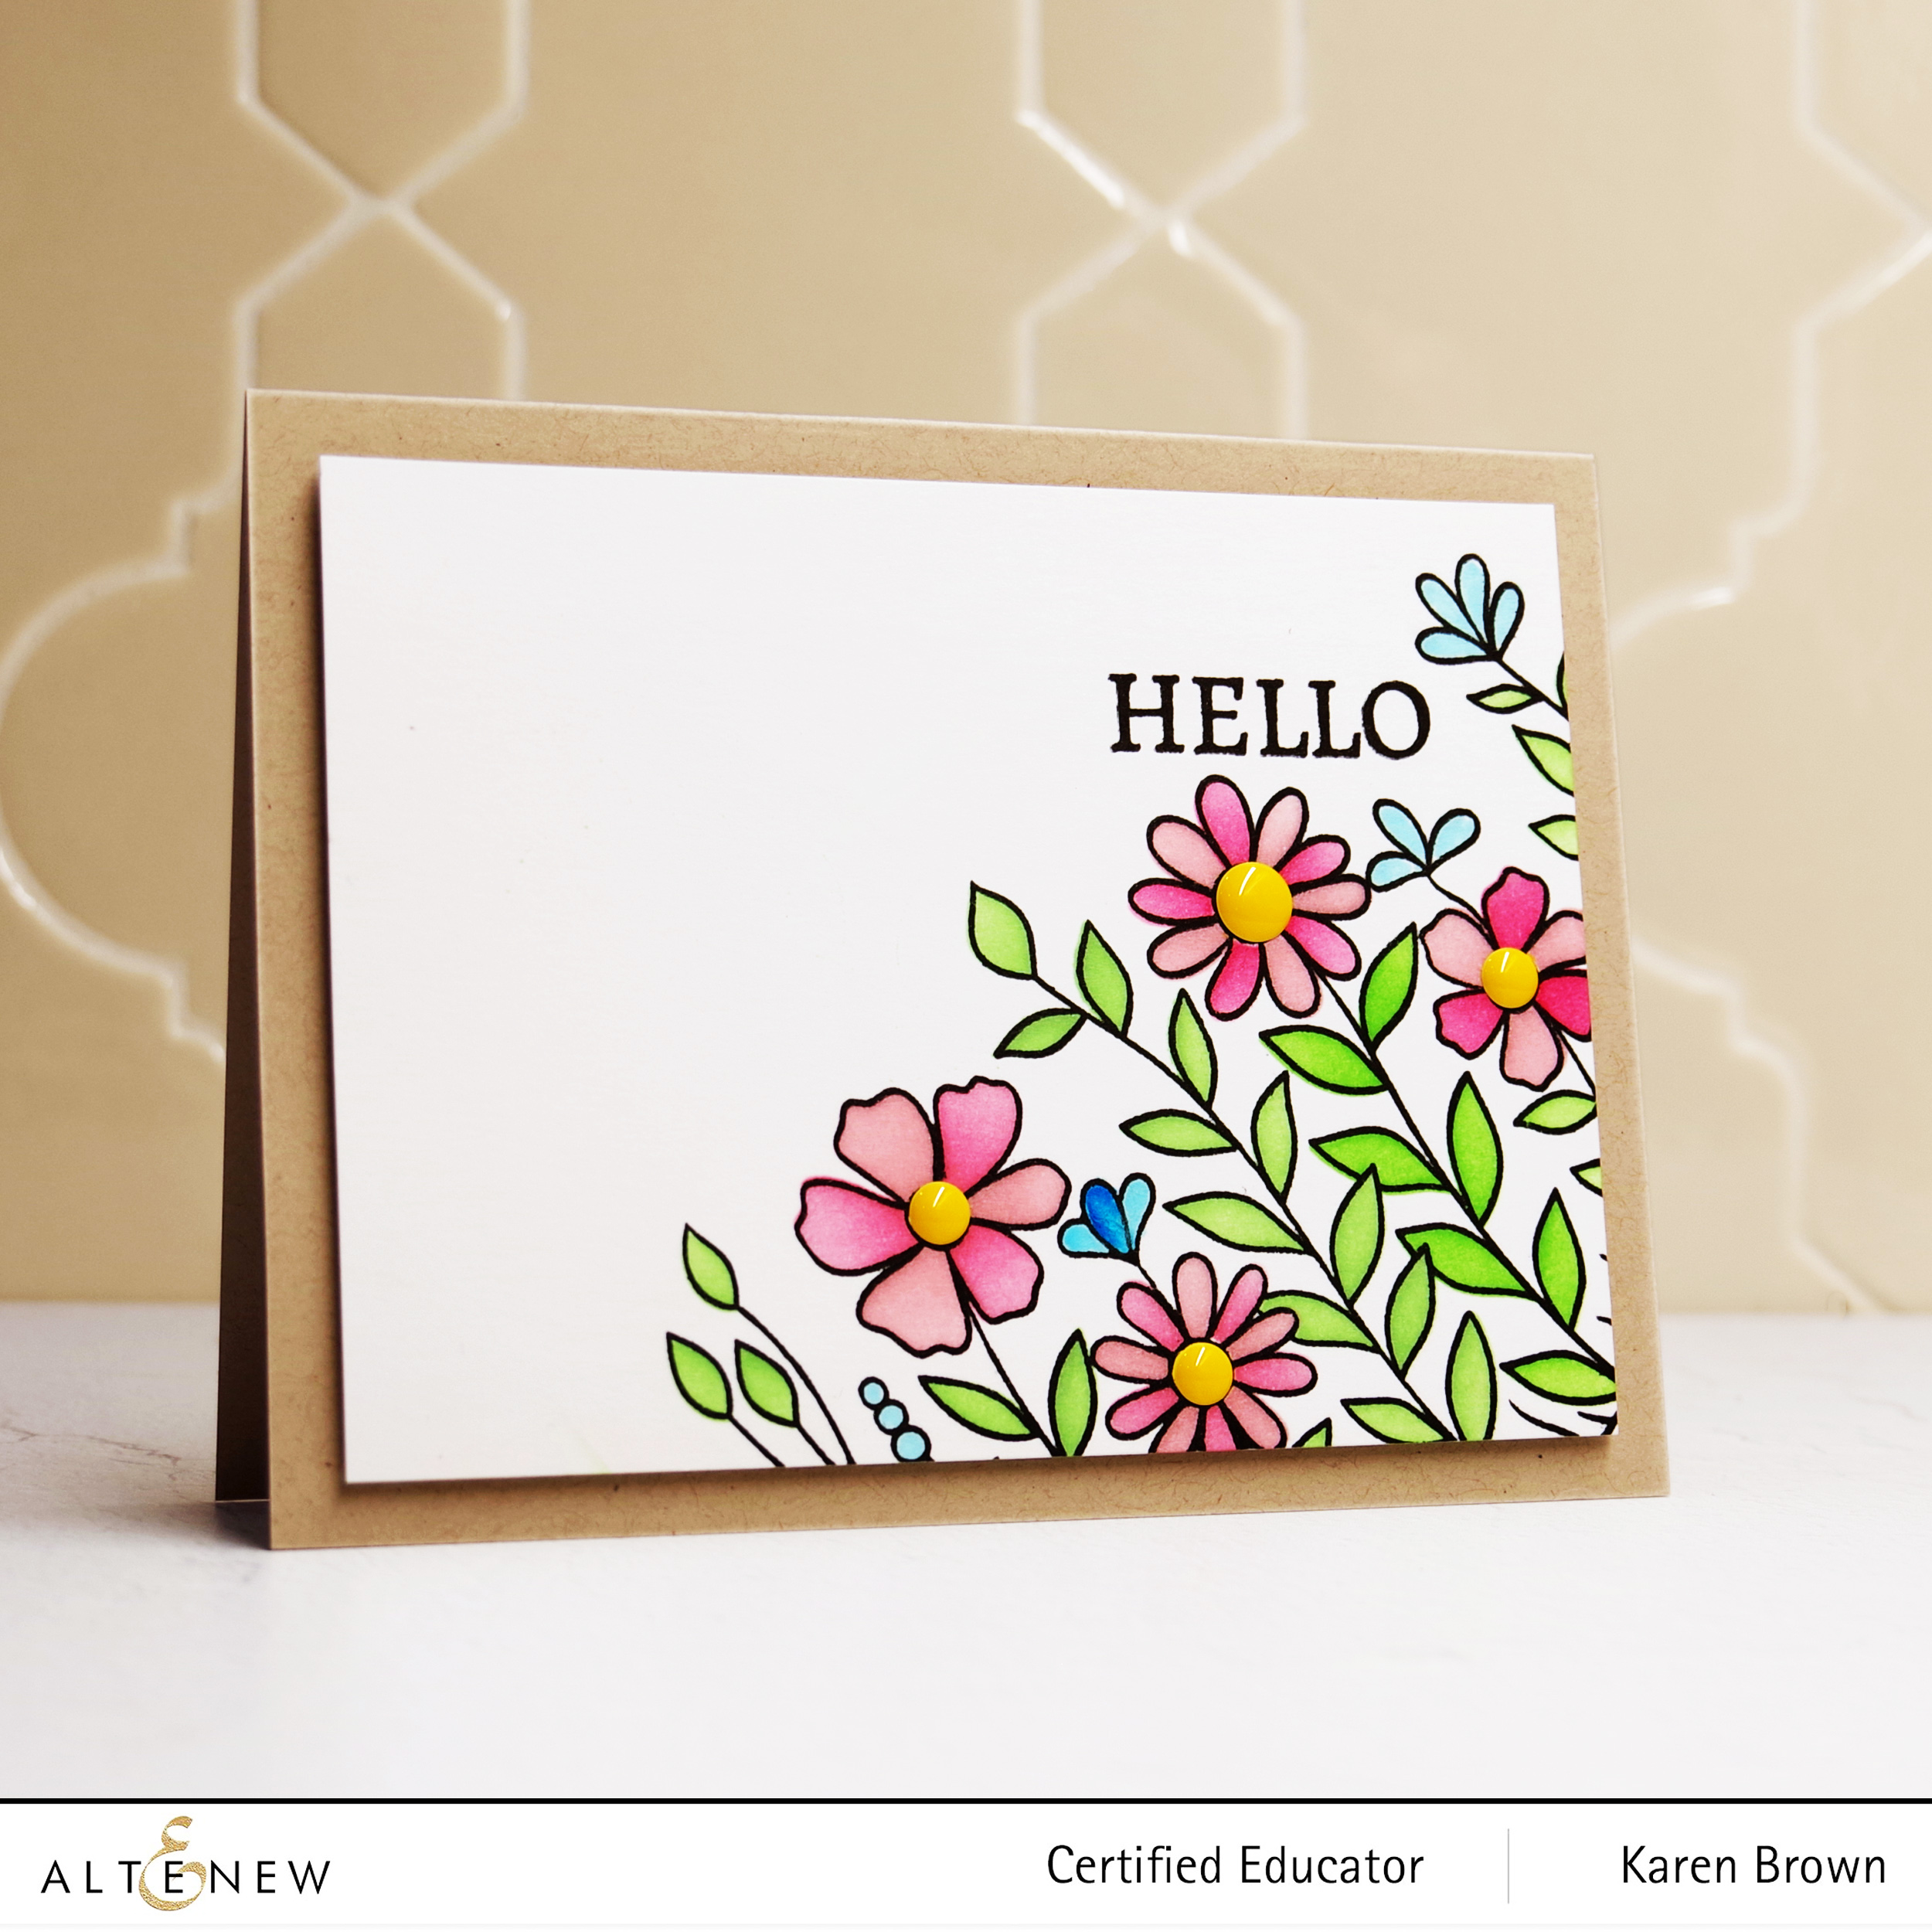
I also wanted to make a quick casual hello card with the stamp and coloring stencil. I angled the stamp and then quickly colored in the sunny little flower scene. Don’t the flowers look like they are reaching for the sun?
Products Used on Card #2:
- Arch of Flowers Stamp Set and Coloring Stencil
- Pocket Full of Sunshine Enamel Dots
- Altenew Crisp Dye Inks (Cotton Candy, Coral Berry, Firefly, Green Fields, Ocean Waves, Dusk)
I think this would make a cute stationary set or get well card too.
FREE GIFT OFFER!
To celebrate the release, we are running a free gift promotion. Feel free to share the promotion info with your followers.
- Get a FREE brand new Bold & Beautiful Mini Inspiration Guide with every order from 08/04/2022 through 08/06/2022. Shop HERE!
- Get a FREE brand new Bold & Beautiful Stamp & Die Release Inspiration Guide e-book (worth $5.99) with every order of high-value Bold & Beautiful Bundles. Shop HERE! *Exclusions apply.
- Get a FREE brand new Online Cardmaking Class with every order from the new Bold & Beautiful Stamp & Die Release Collection from 08/04/2022 through 08/10/2022. Shop HERE!
- 300 in total prizes! To celebrate this release, Altenew is giving away a $50 gift certificate to 2 lucky winners and a $25 gift certificate to 8 winners! Please leave a comment on the Altenew Card Blog and/or each designer’s blog post on the blog hop list below by 08/10/2022 for a chance to win.
Altenew will draw 10 winners randomly from the comments left on each stop of this blog hop and announce the winners on the Altenew Winners Page on 08/11/2022.
Blog Hop Order
Altenew Blog
Virginia Lu
Kari VanNoy
Laurie Willison
Caly Person
Erum Tasneem
Jenny Martin
Agnieszka Małyszek
Bobby Hagen
Mindy Eggen
Teri Wilson
Jaycee Gaspar
Terri Koszler
Annemarie Caister
Nichol Spohr
Therese Calvird
Angela Brennan
Lorena Brougher
Tenia Nelson
Nicole Watt
Lilith Eeckels
Mugdha Gujarathi
LauraJane
Maryám Pérez
Teresa Litchfield
Michelle Short
Bridget Casey
Nathalie DeSousa
Michelle Burnier
Jenny Colacicco
Fiona Duff
Svitlana Shayevich
Karen Brown You are here!
Laurie Patterson
Linda Westfall
Reiko Tsuchida ***Note: Due to strict regulations in Japan, you might not be able to leave a comment on her blog post.
Penny Pynnonen
Tania Ahmed
Dana Joy
Thanks for stopping by! I’d love to hear your thoughts on these cards.
Karen