Large Die of the Month – October 2022
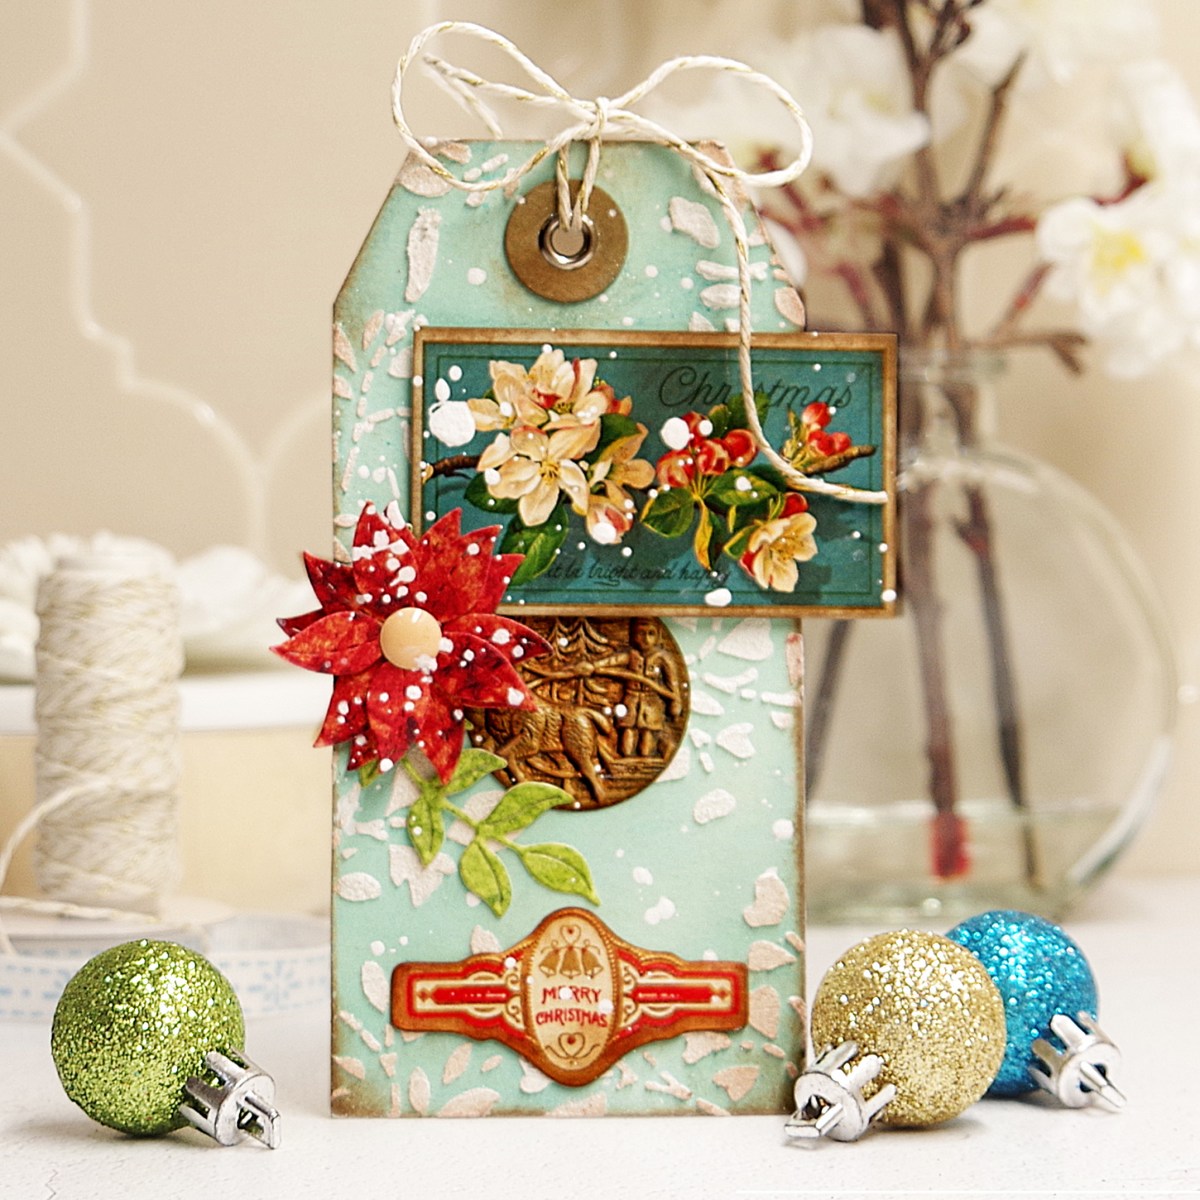
Hello! Today is Release Day for the October 2022 Spellbinders Club Kits and I have several cards to share with you. I’ll start with the beautiful Large of Die of the Month, which is a seasonal stitched Christmas ornament. In my mind, I saw a softly watercolored bauble so I die cut the ornament from watercolor paper. Then, using the wet on wet technique, I loosely painted the die cut with three shades of aqua. I also painted a pink and green panel for the poinsettia and greenery. I used the greenery from Stitched Ornament (S4-1231), which was released earlier this year. After allowing the paint to dry, I darkened the edges with a second coat of water color.
I used three strands of blue gray embroidery floss. I created the background (3 5/8″ x 8 5/8″) with this month’s Embossing Folder of the Month. I wanted a showy card, so I used a big slimline card base (8″ x 9″, scored at 4″). I found this card so relaxing to make!

Small Die of the Month – October 2022
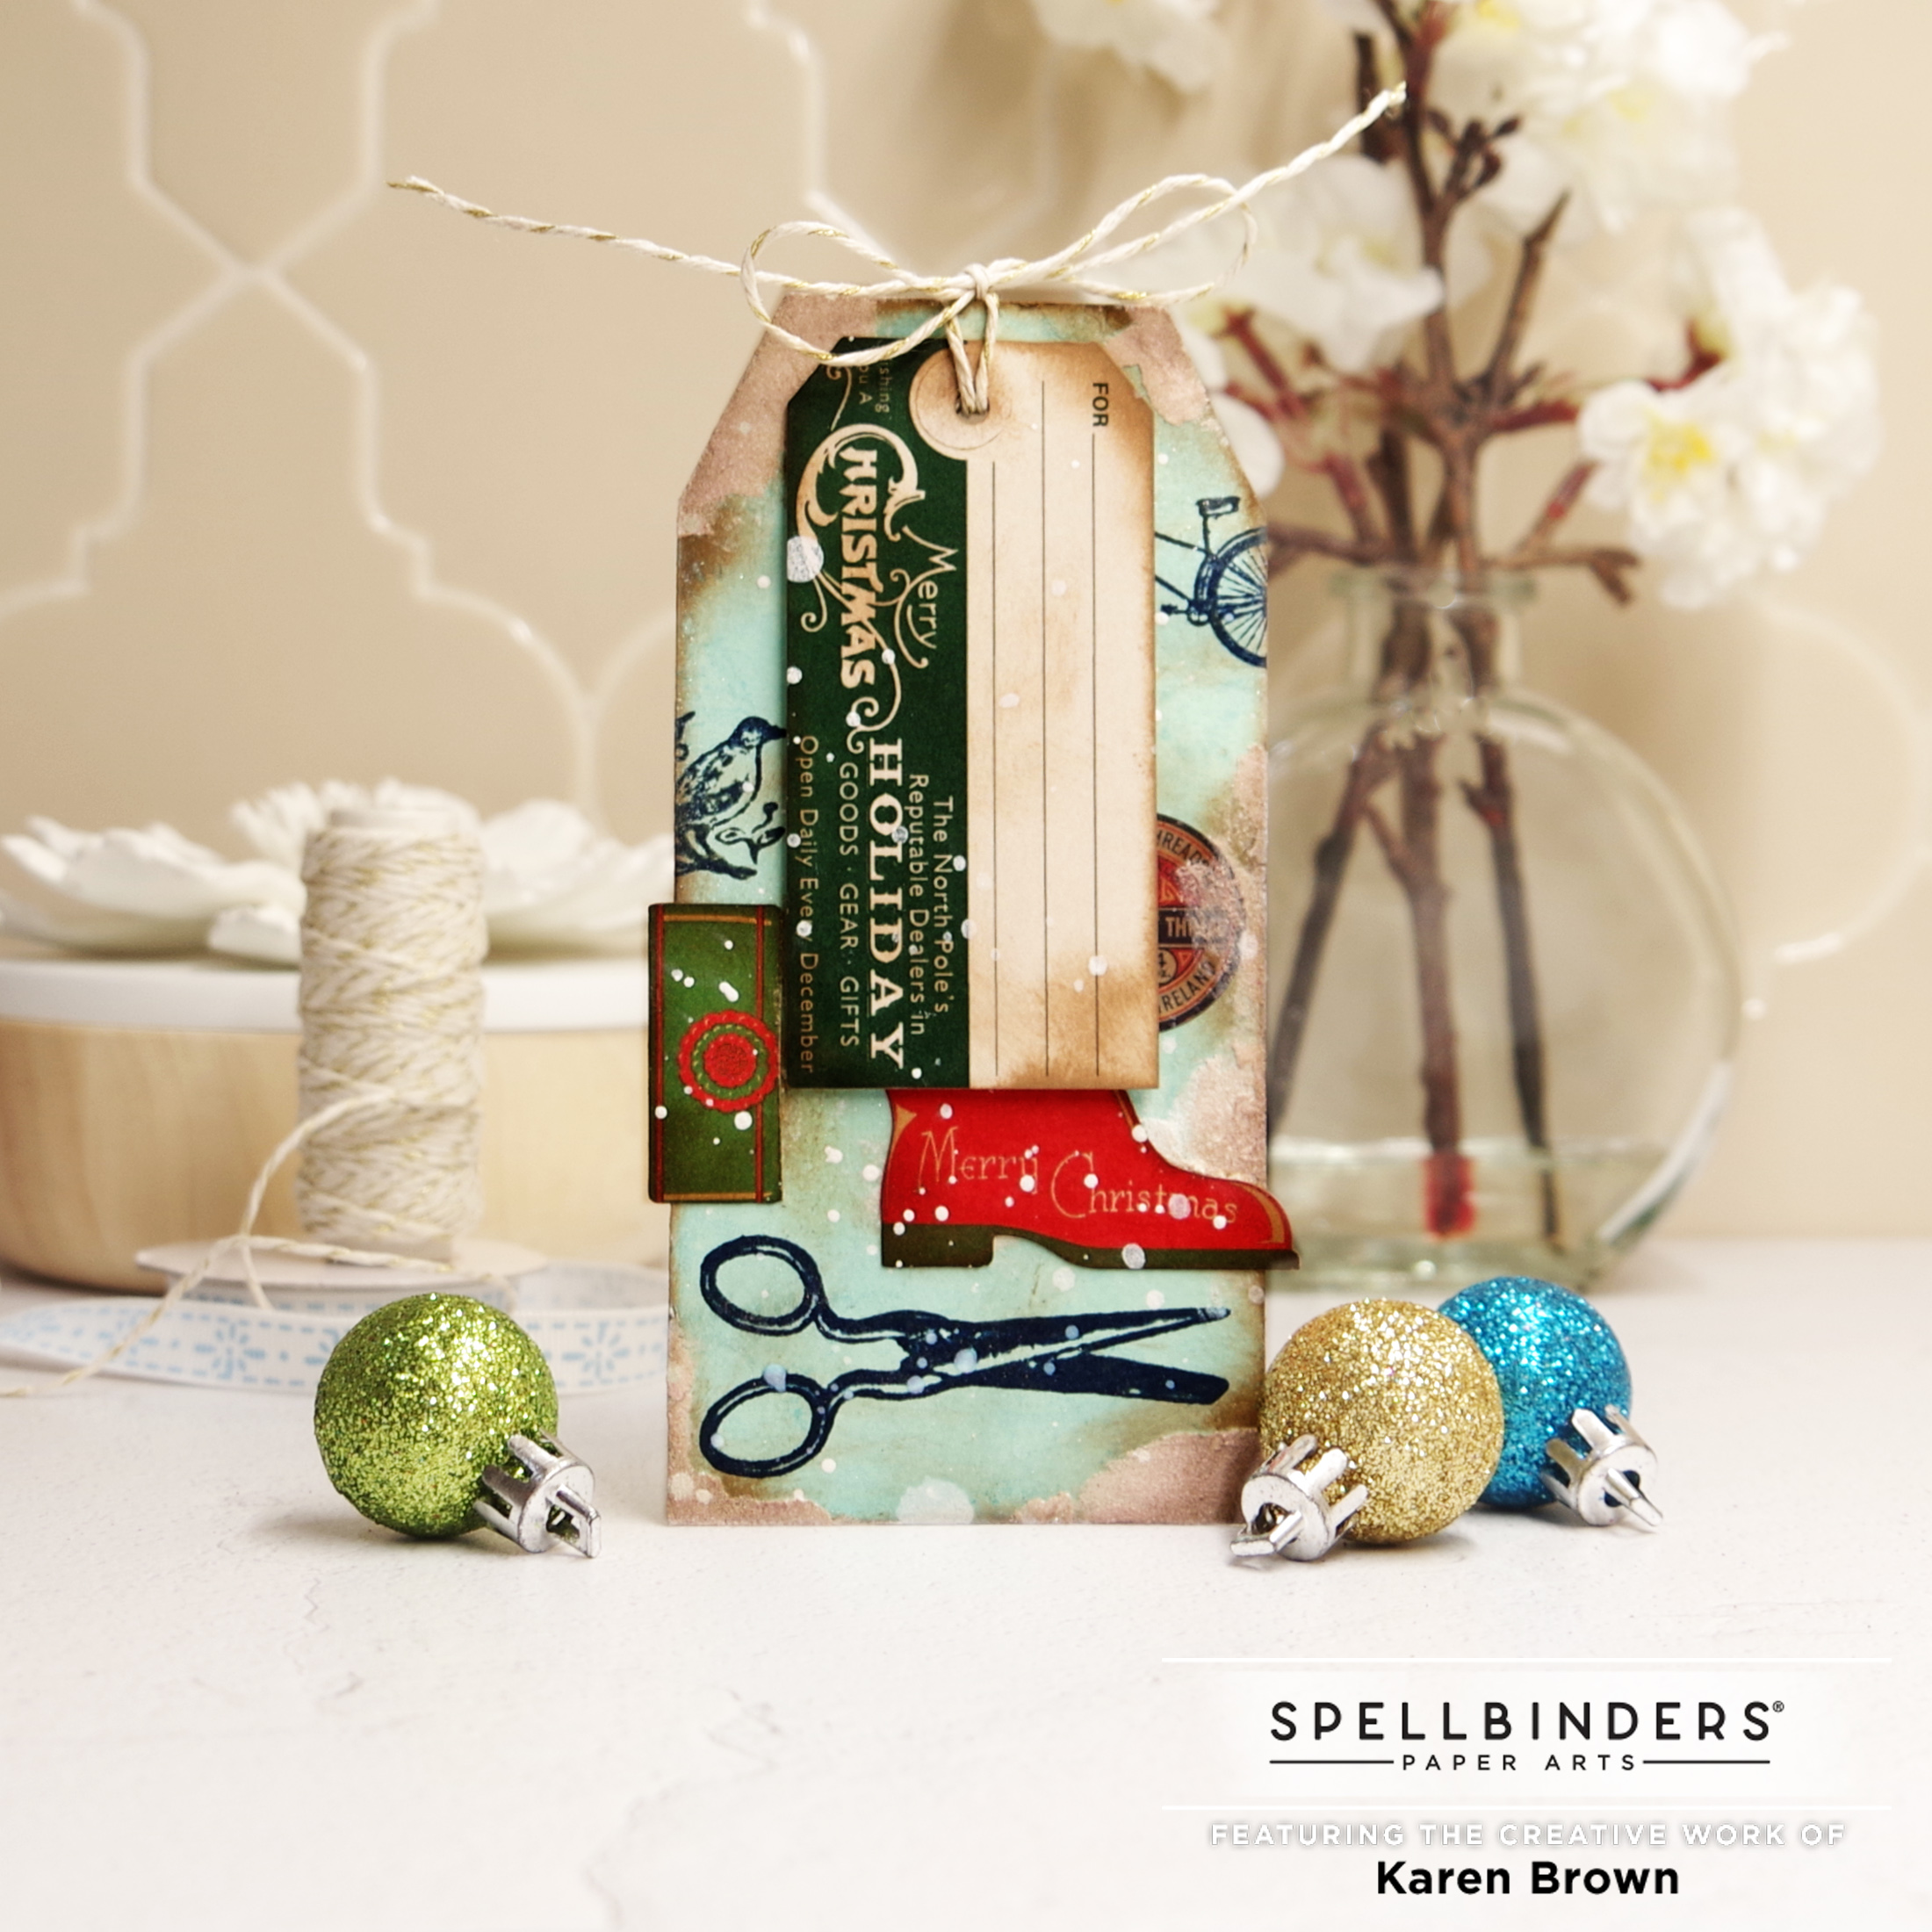
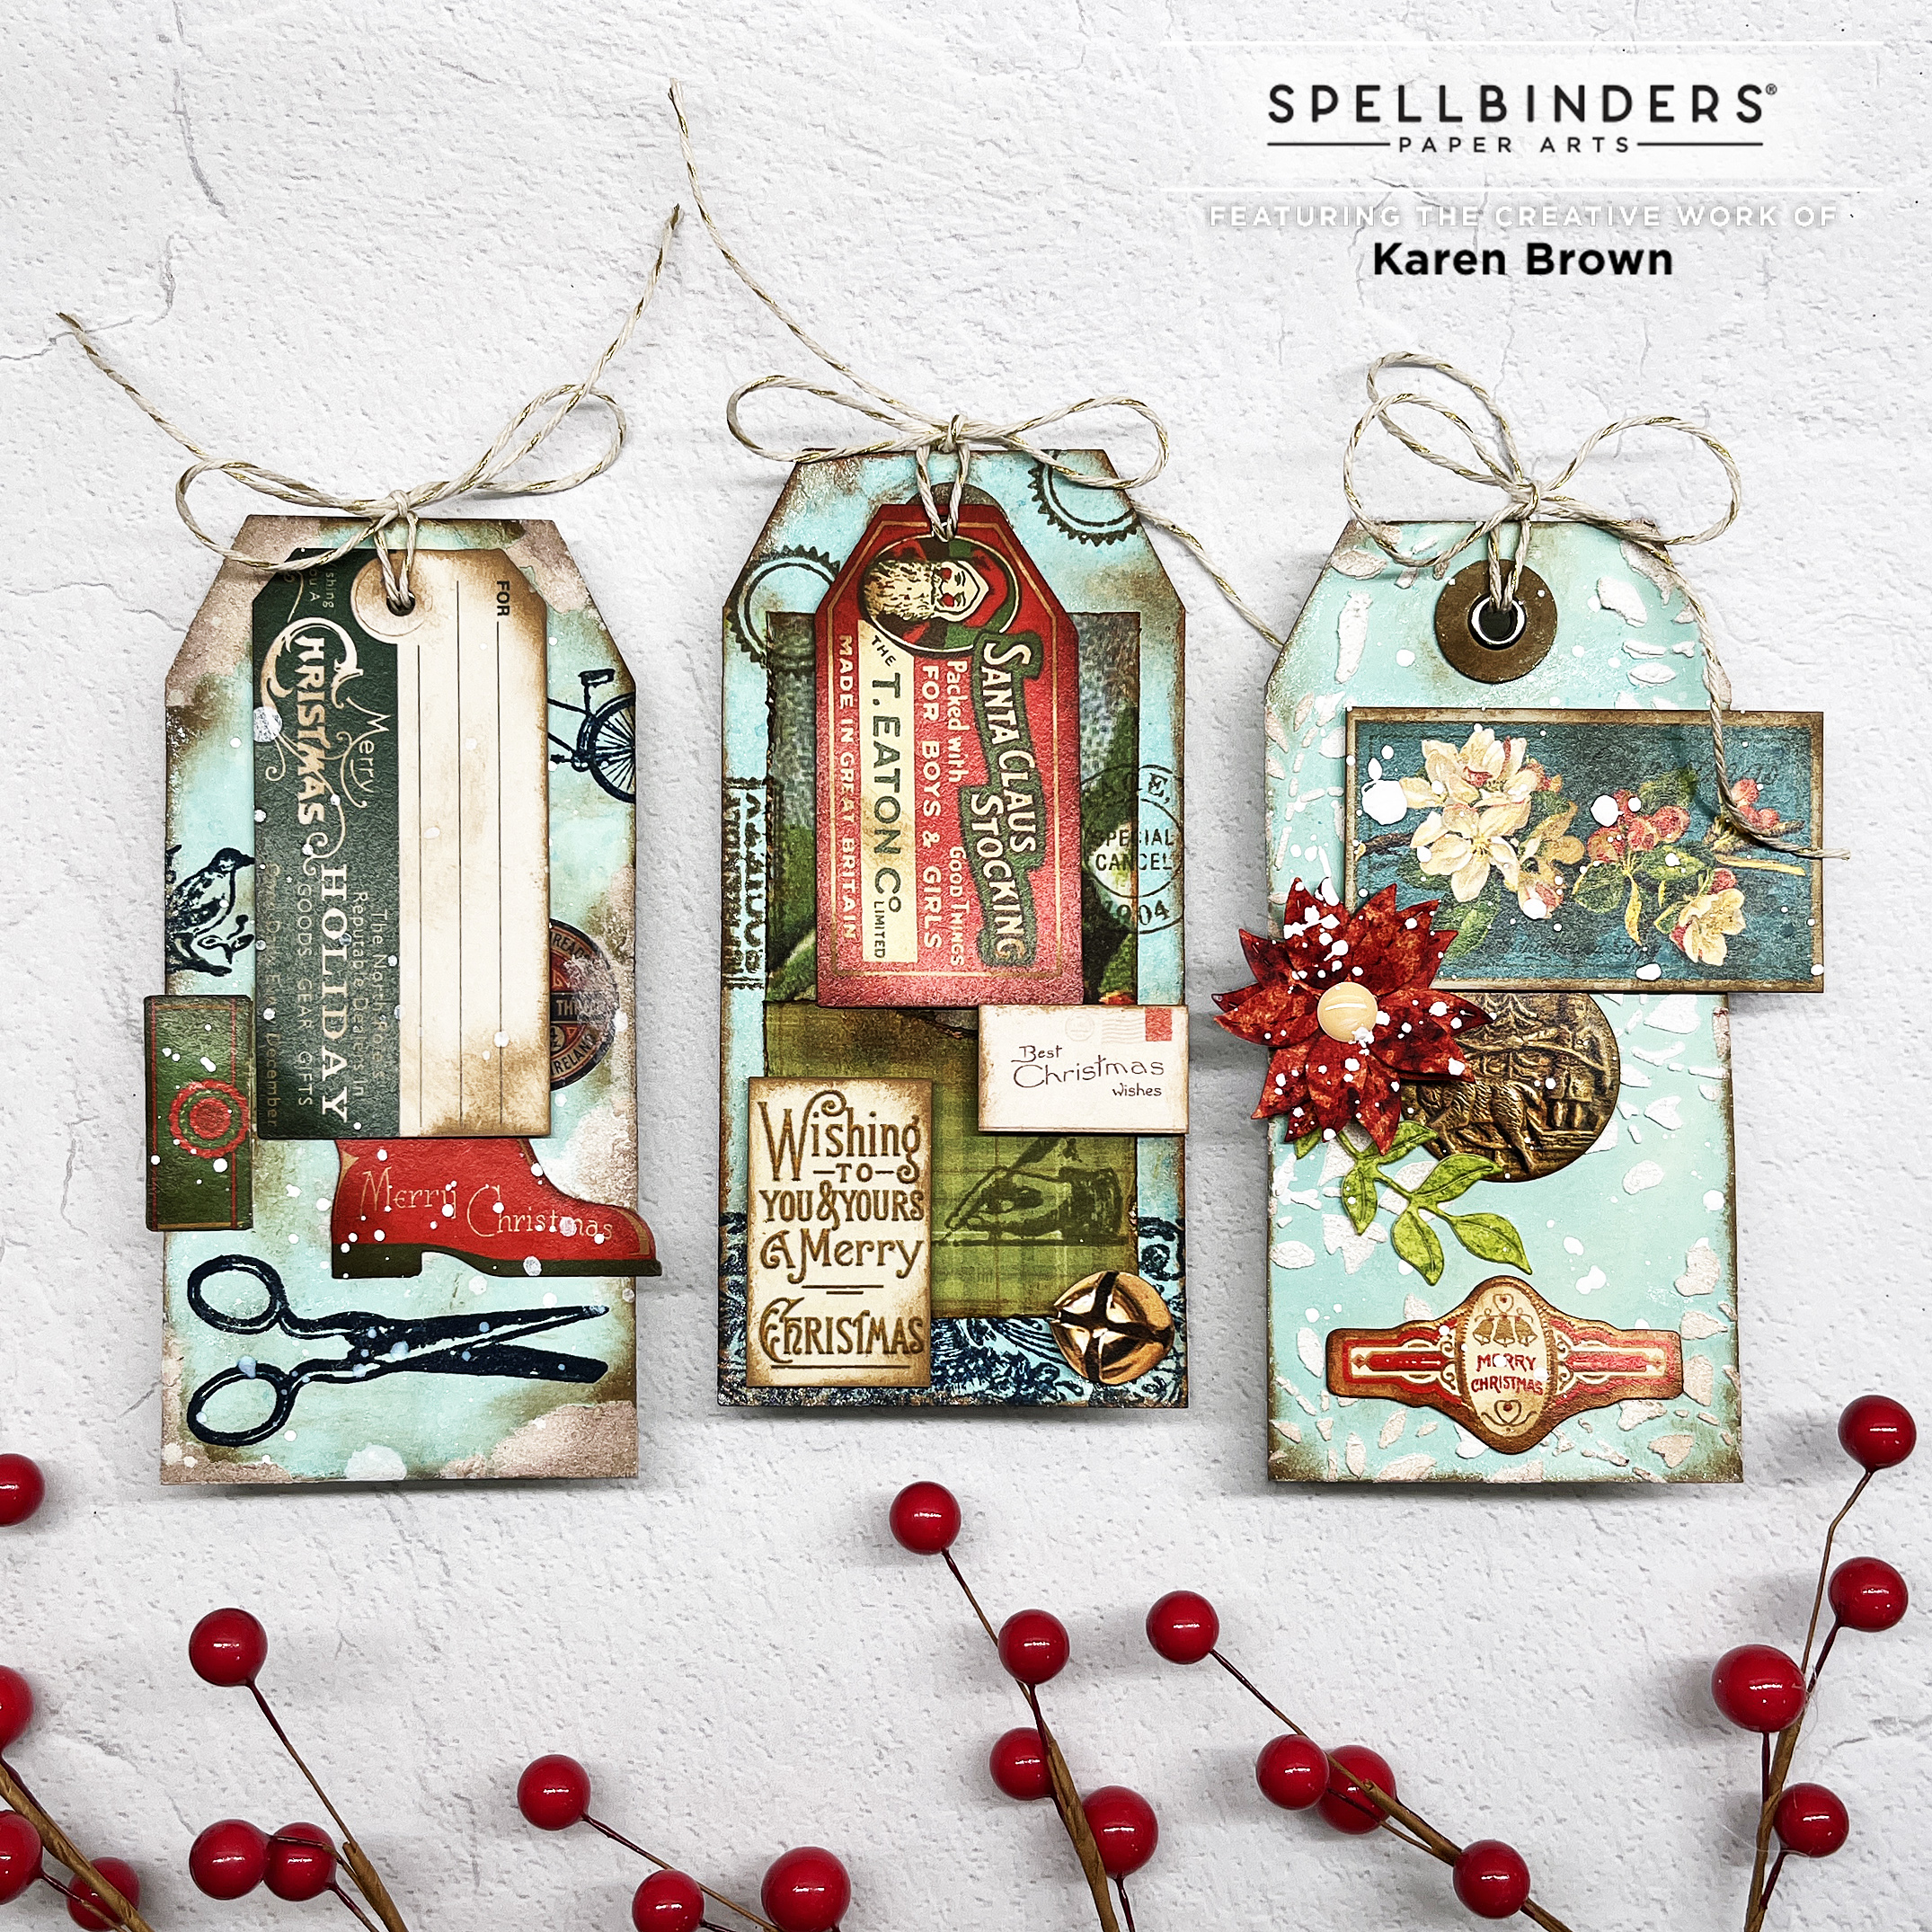
I created a cheerful Get Well card with the Small Die of the Month (Outlined Christmas Sentiments) kit. I love the ten mix and match sentiments (and shadows): Merry, Greetings, Warm, Christmas, Holiday, Wishes, Cheer, Enclosed, Joyous, Hugs.
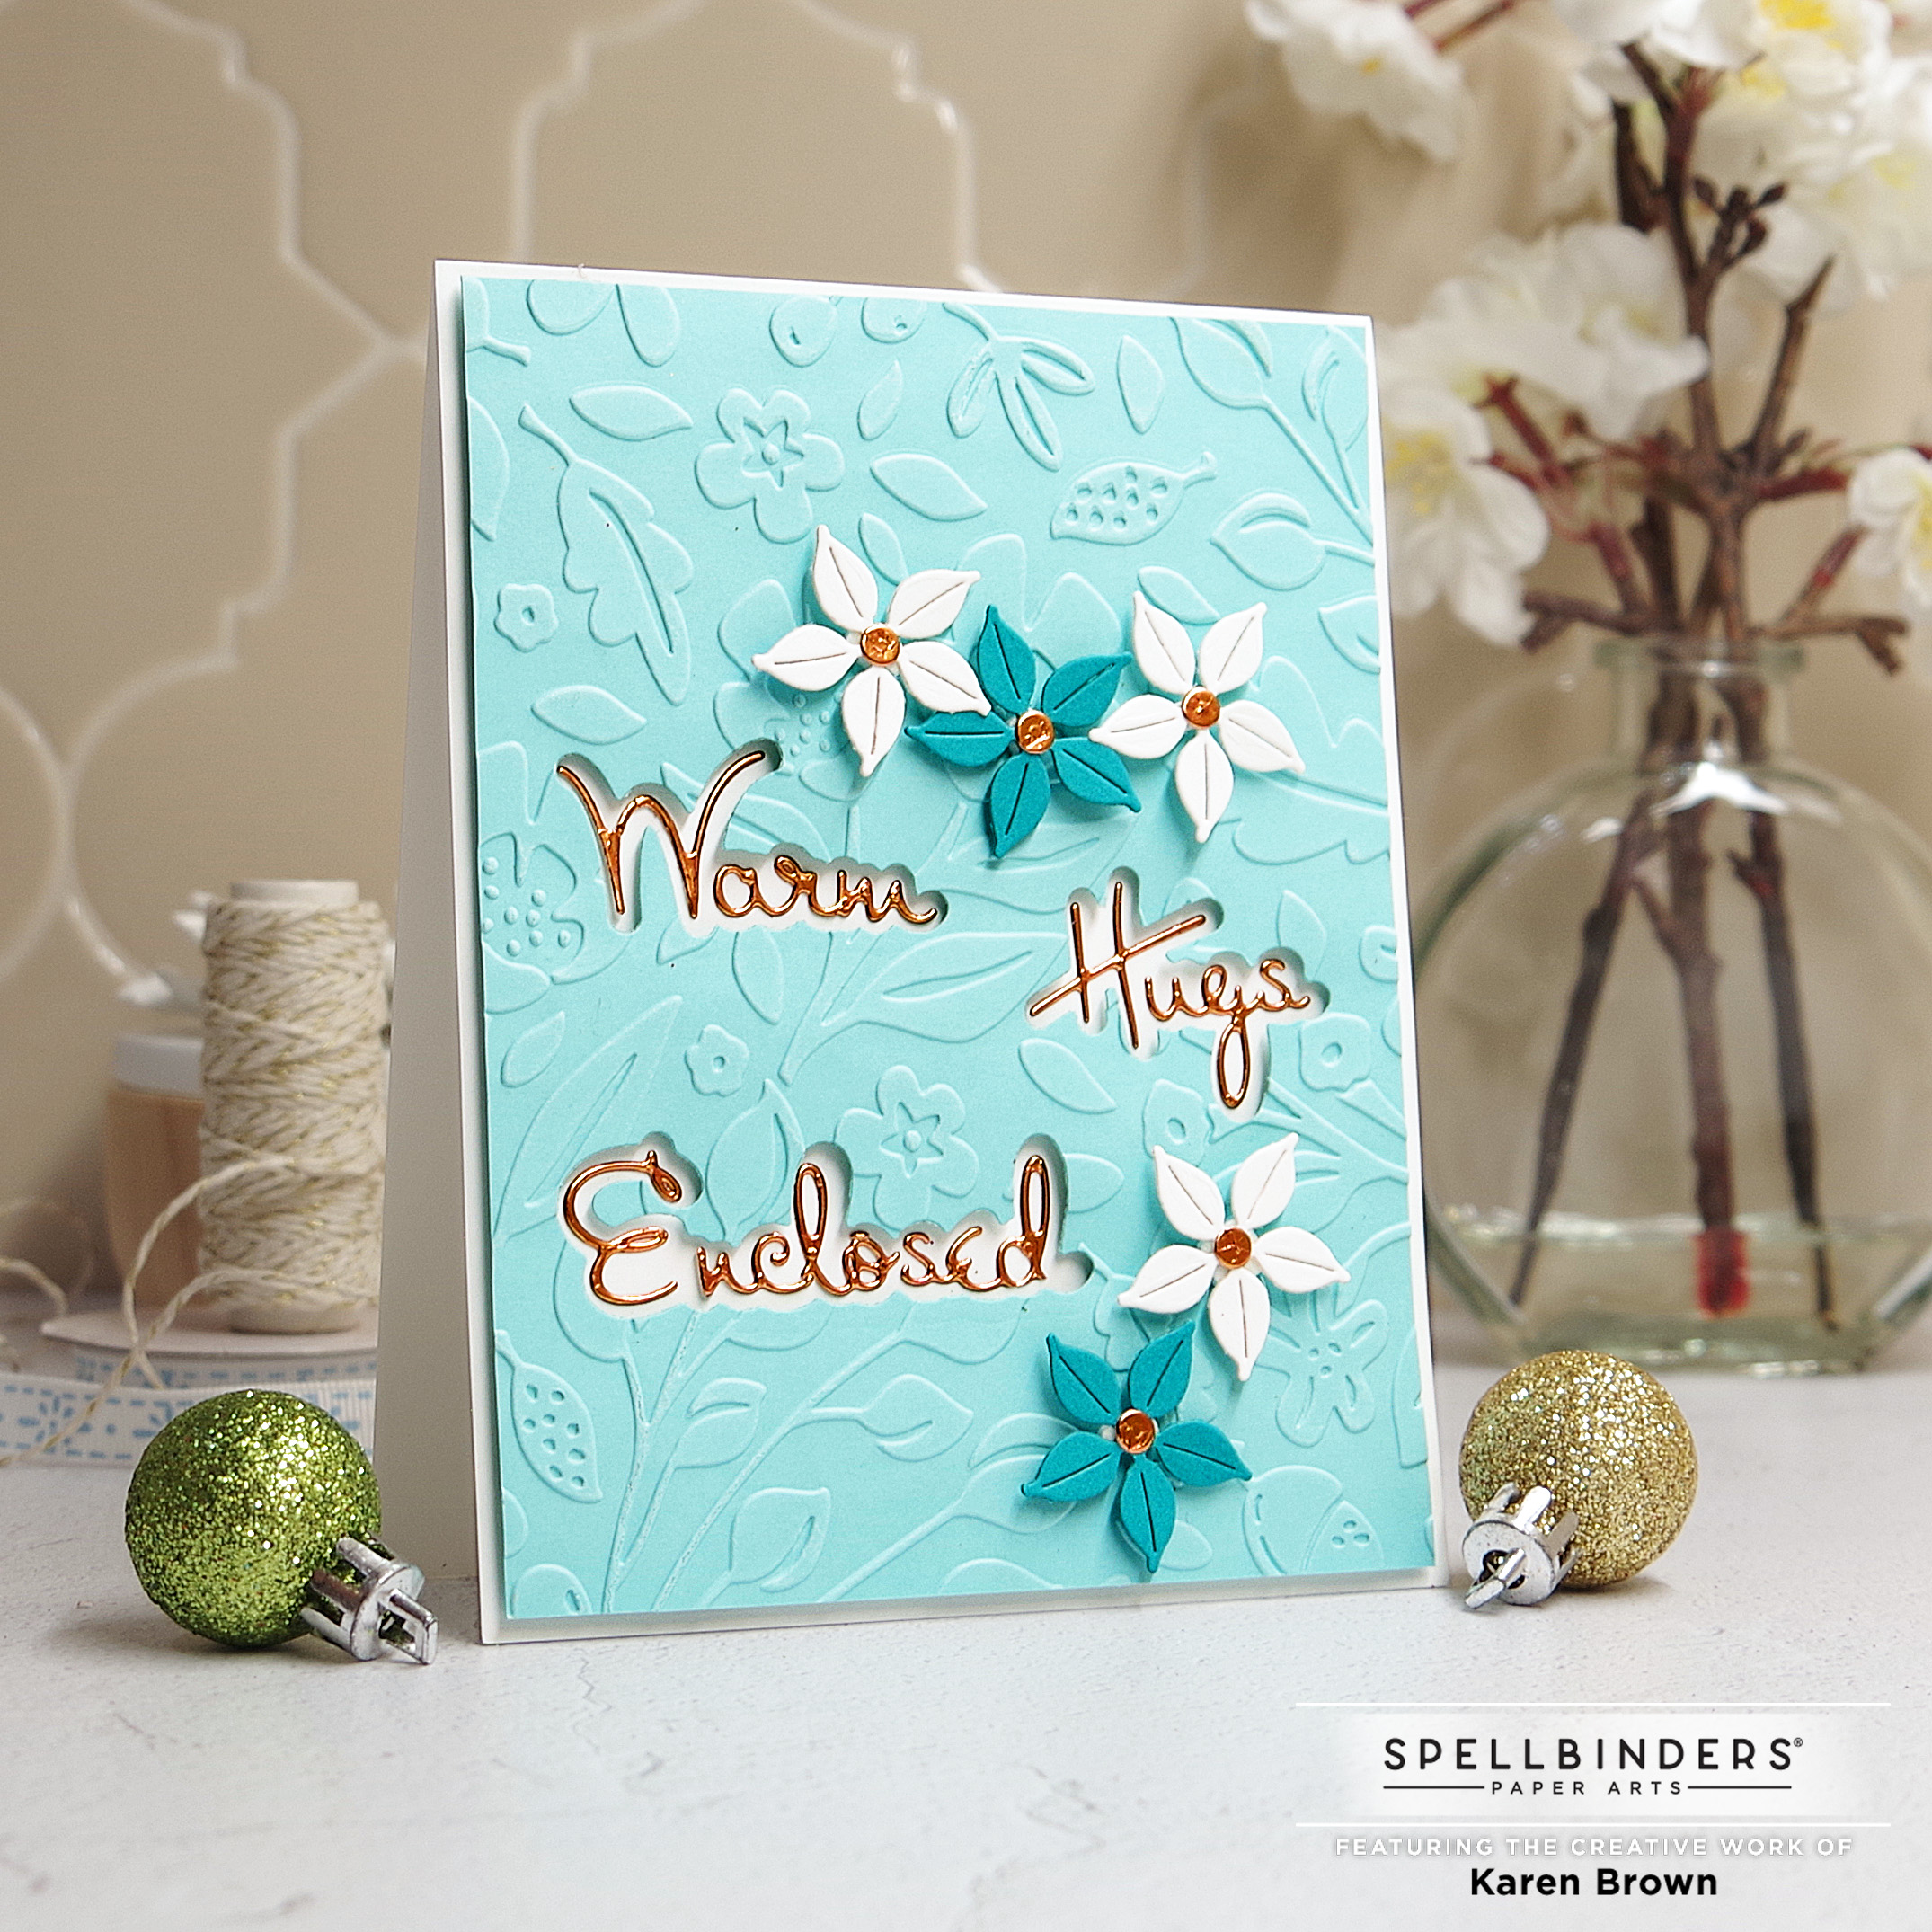
I started by embossing my background (September 2022 Embossing Folder of the Month: Scattered Fall) on Waterfall Cardstock, and then used the shadow dies to cut an opening for the words Warm Hugs Enclosed. The sentiment was then die cut from Copper Metallic Cardstock. I’ve found it works well if you attach a sheet of double sided adhesive paper to the cardstock prior to die cutting. After you die cut, just pull away the backing paper and apply! I also die cut the poinsettias (included in this month’s kit) from Teal Topaz and white cardstock. The last step was to assemble the A2 Top Folding card with craft foam behind the background and foam tape squares behind the poinsettias.

Embossing Folder of the Month: October 2022
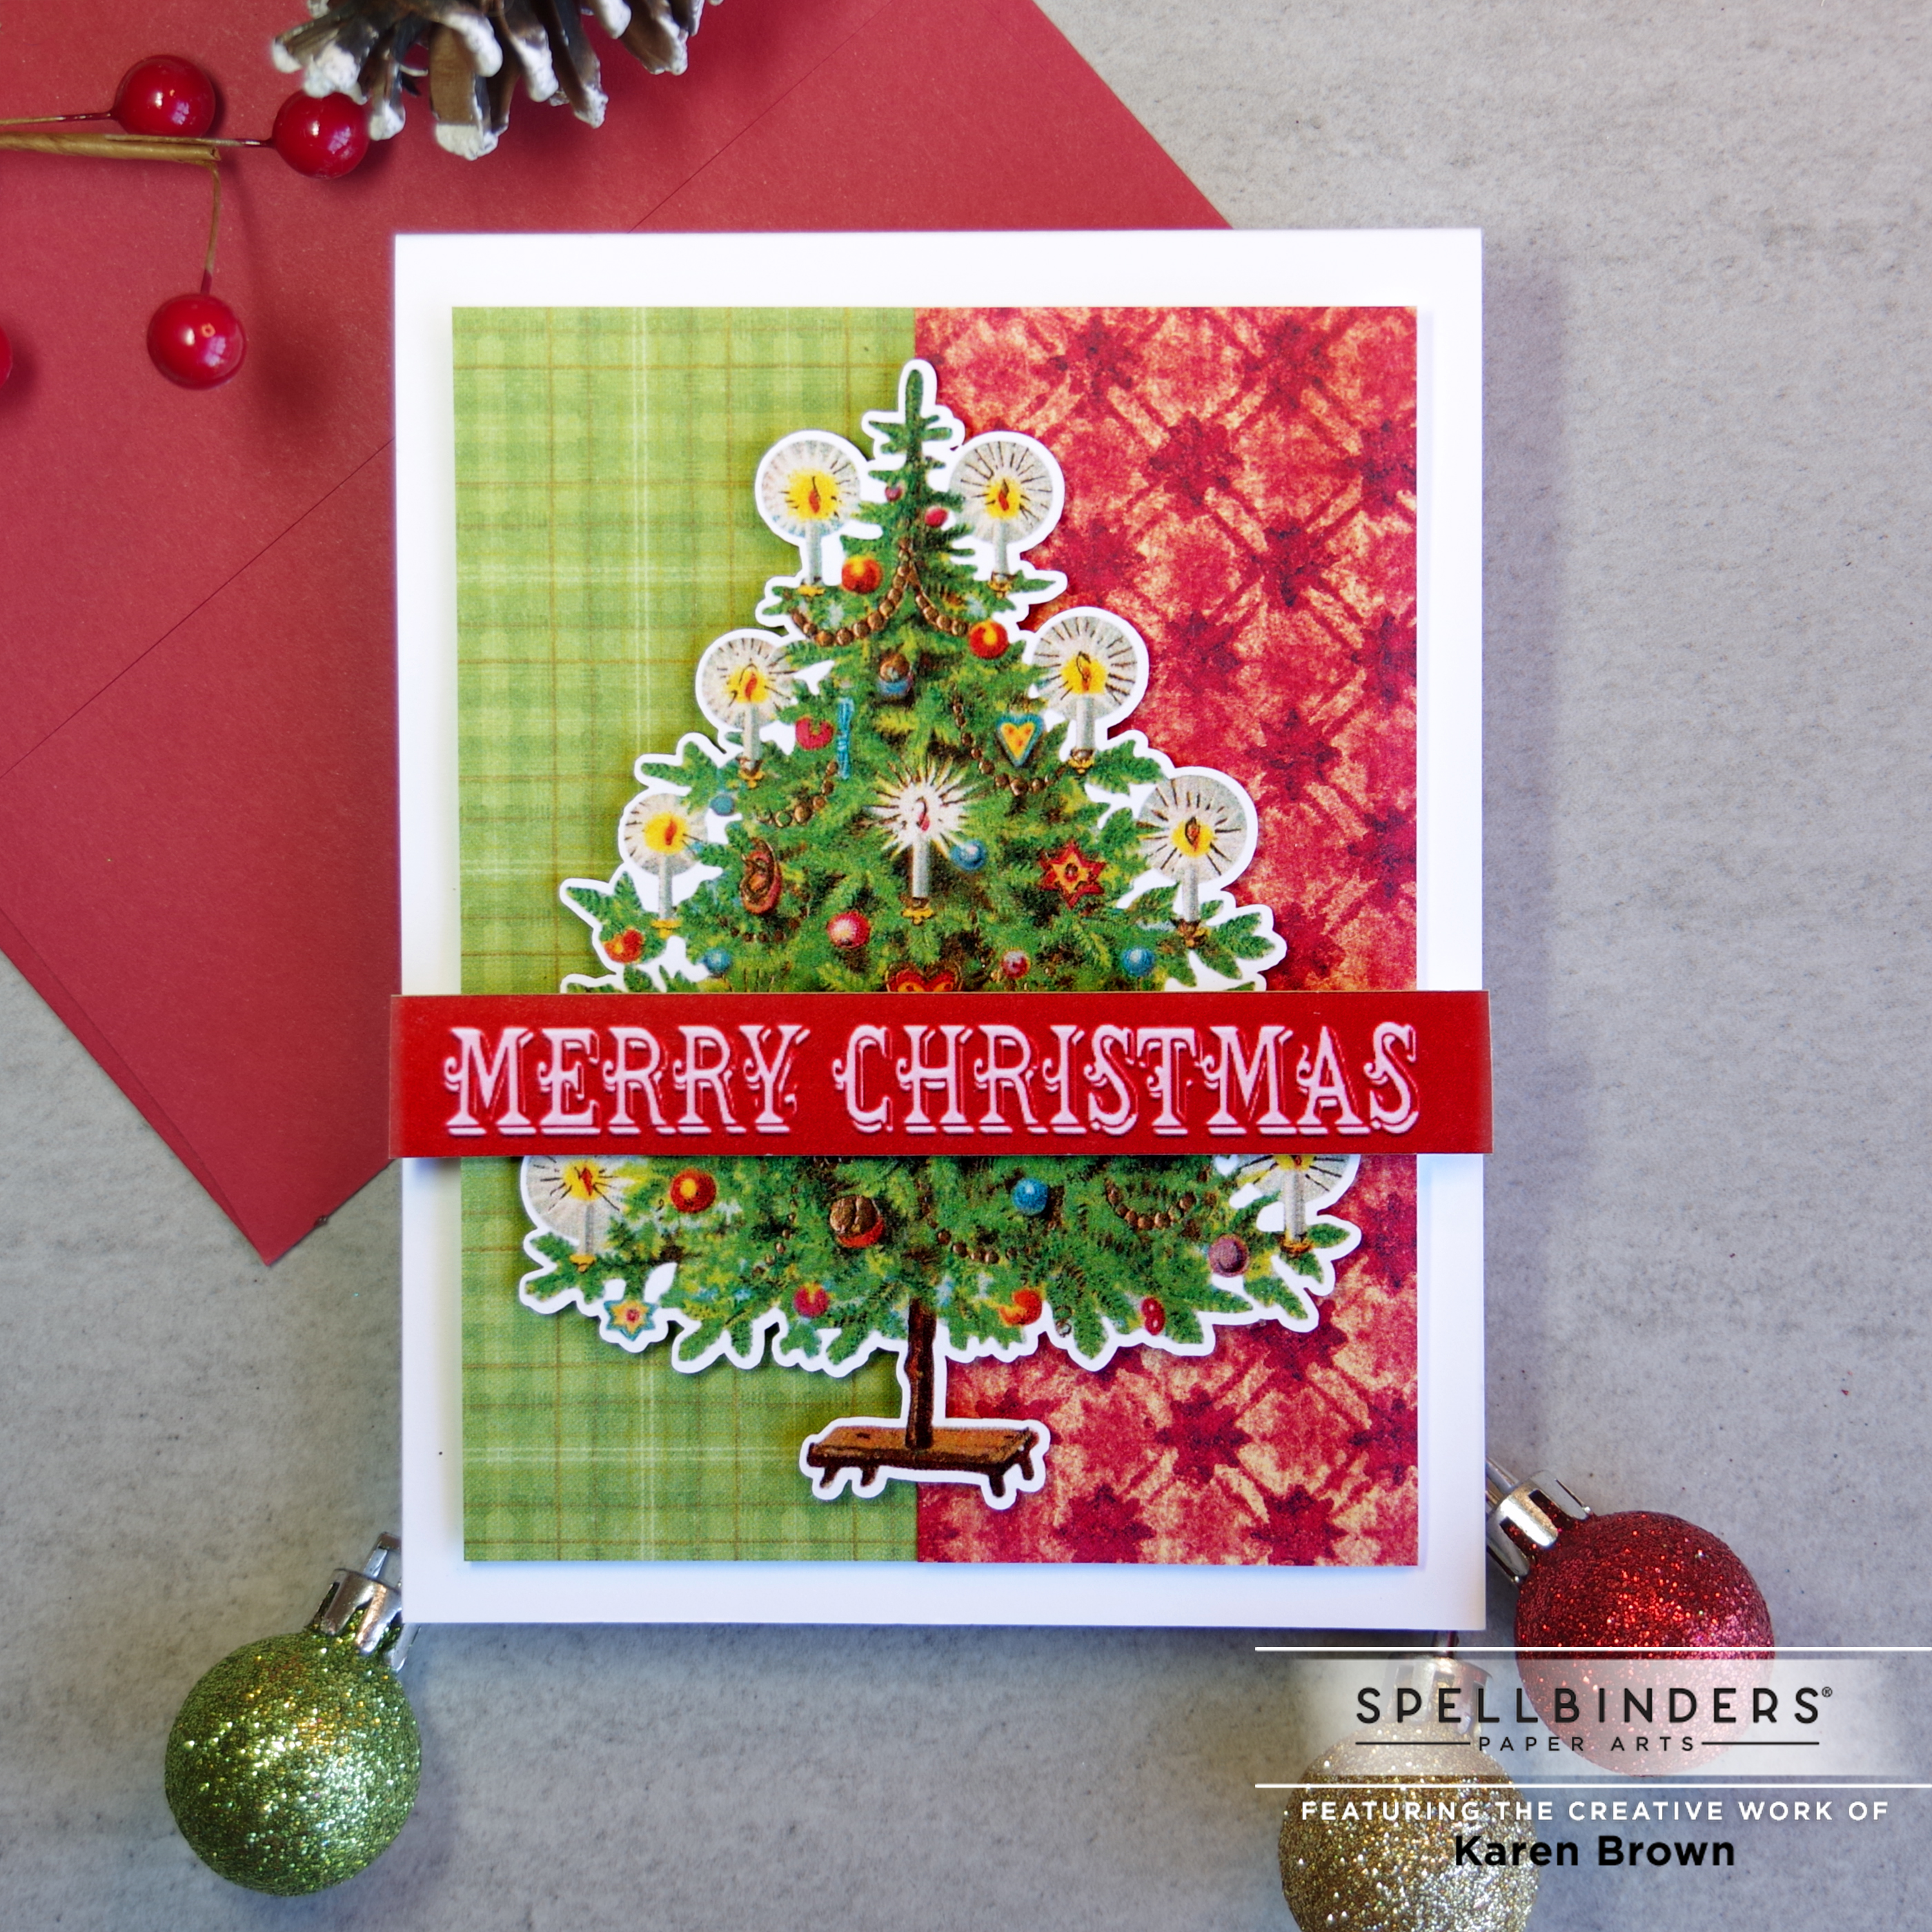
My last card was quick and easy! Using this month’s Embossing Folder (Scattered Christmas). I created my background with blue cardstock. I wanted the lovely embossing to be the star on this card.

I added a bold seasonal sentiment with three enamel dots and added the components to a top folding A2 card base.

I am so glad you stopped by today!
Karen