It may be mid-summer, but it’s never too early to get a head start on your holiday cardmaking! I’m kicking off Christmas in July with two cheerful and candy-colored designs using the brand new Candy Cane Season Collection from Hero Arts.
This sweet collection is full of playful holiday charm—peppermints, bows, and bold candy cane graphics that are perfect for building quick but eye-catching holiday cards.
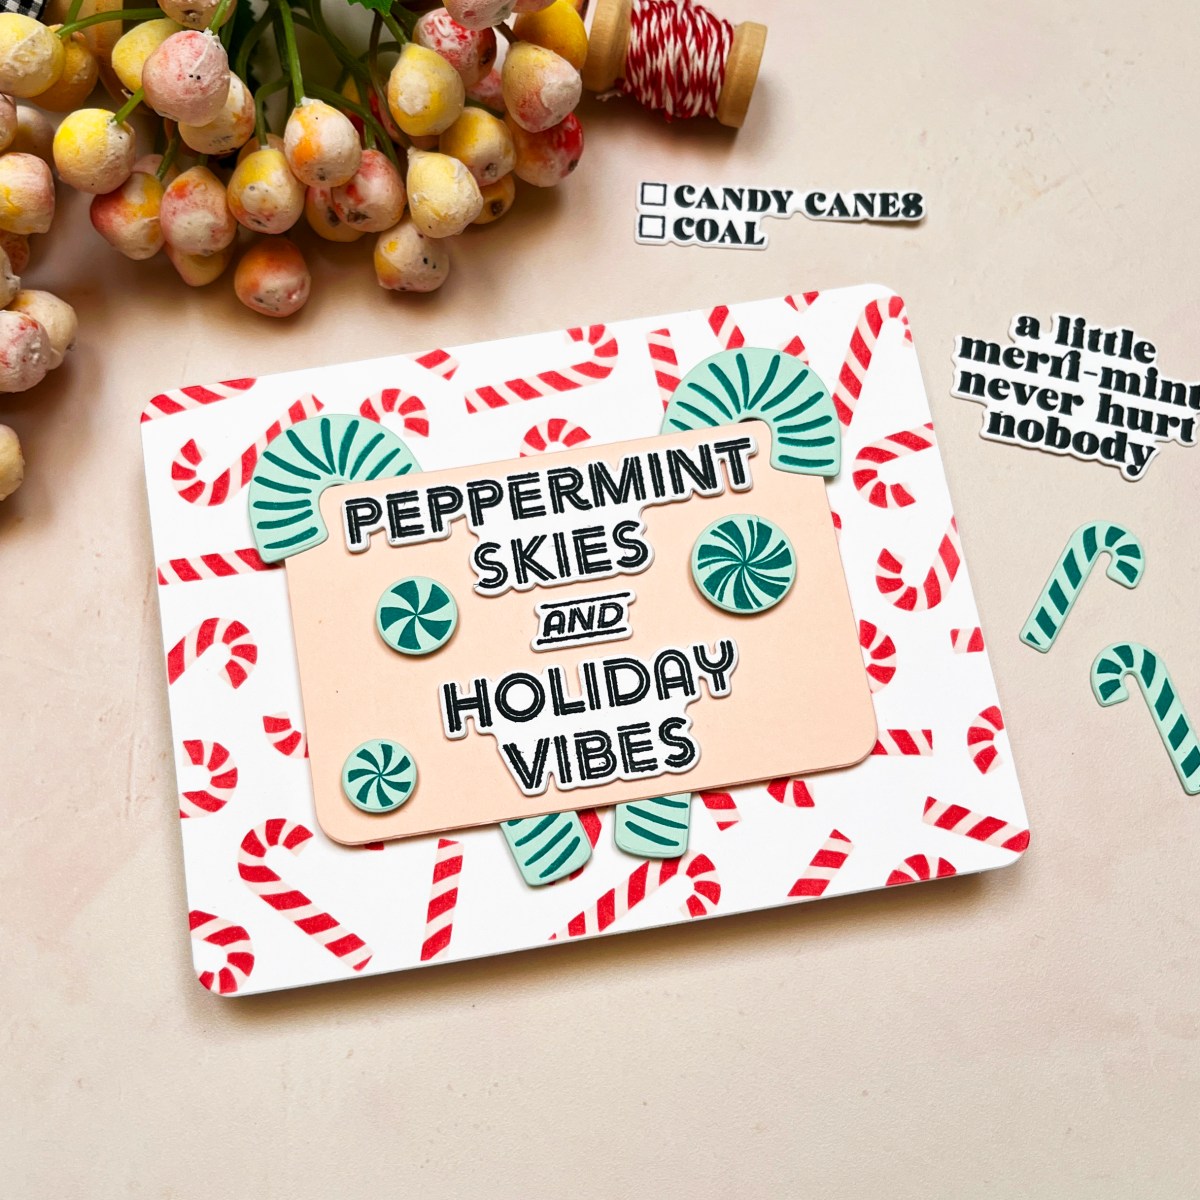
Card 1: Peppermint Skies & Holiday Vibes

My first card is all about peppermint joy! I started by creating a playful red and white background using the Candy Cane Toss Up Stencils and two Hero Arts inks:
- Peony
- Cherry
This creates the scattered look of candy canes tossed in the air—fun, festive, and full of movement. The sentiment, “Peppermint Skies and Holiday Vibes,” is stamped in black for a bold pop, centered over the background.
To bring in contrast and dimension, I added green candy canes from the Candy Cane Swag set. I stamped them in Pine ink on Mint ColorWheel Cardstock and die cut them multiple times—then did a little crafty engineering to extend the candy canes behind the sentiment strip. By layering extra pieces below the visible canes, they peek out above and below the sentiment, adding height and whimsy to the design.
This card’s theme is peppermint playfulness—and it’s a sweet way to start your stash of holiday greetings!
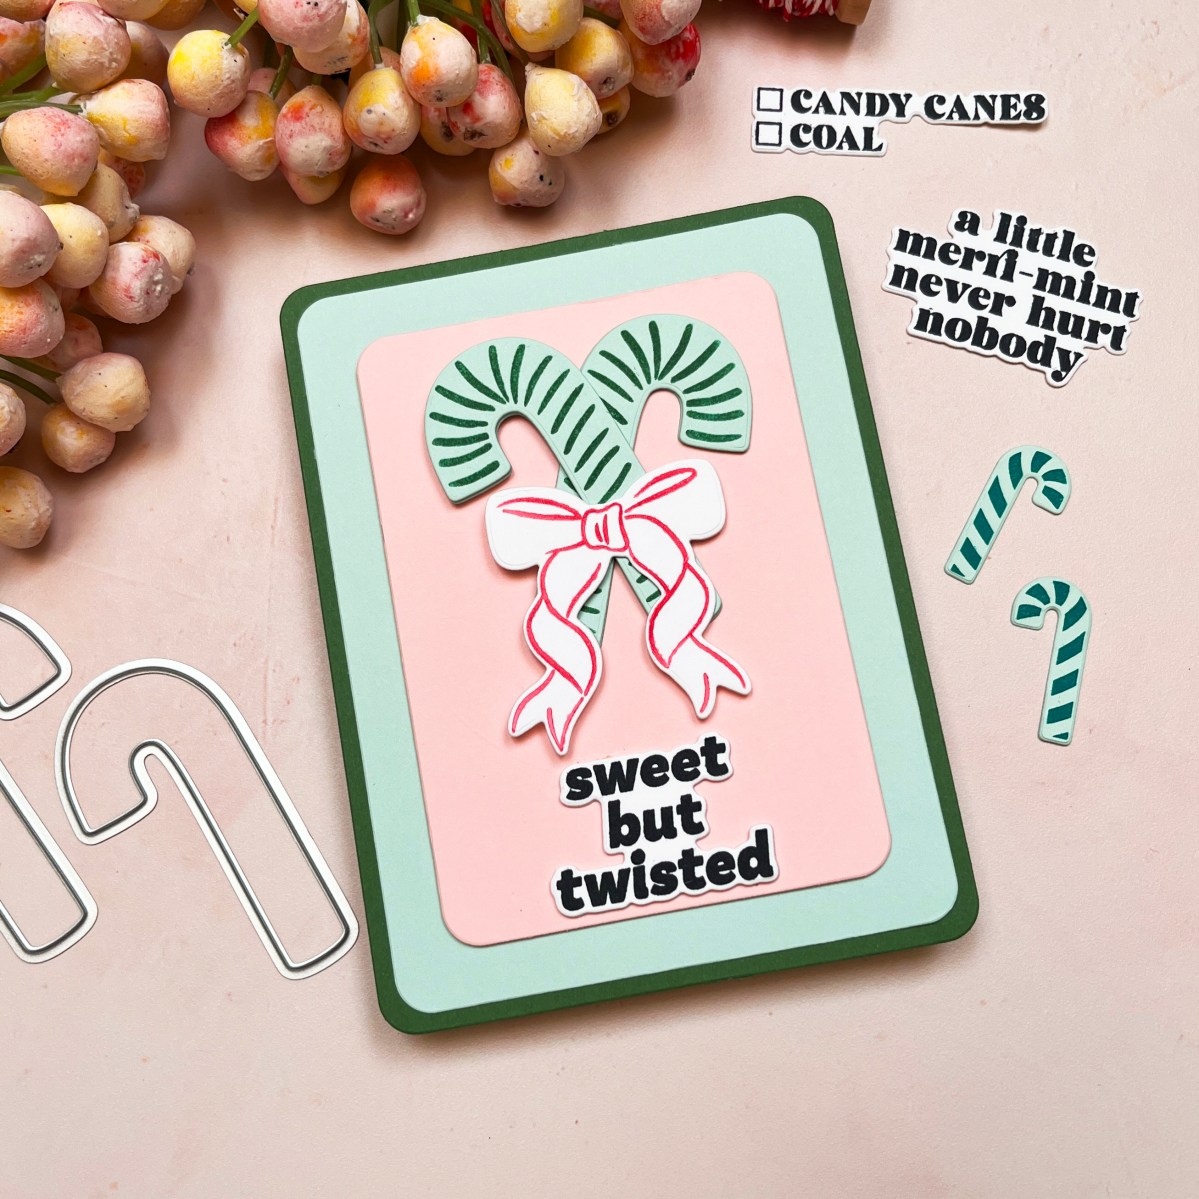
Card 2: Sweet but Twisted
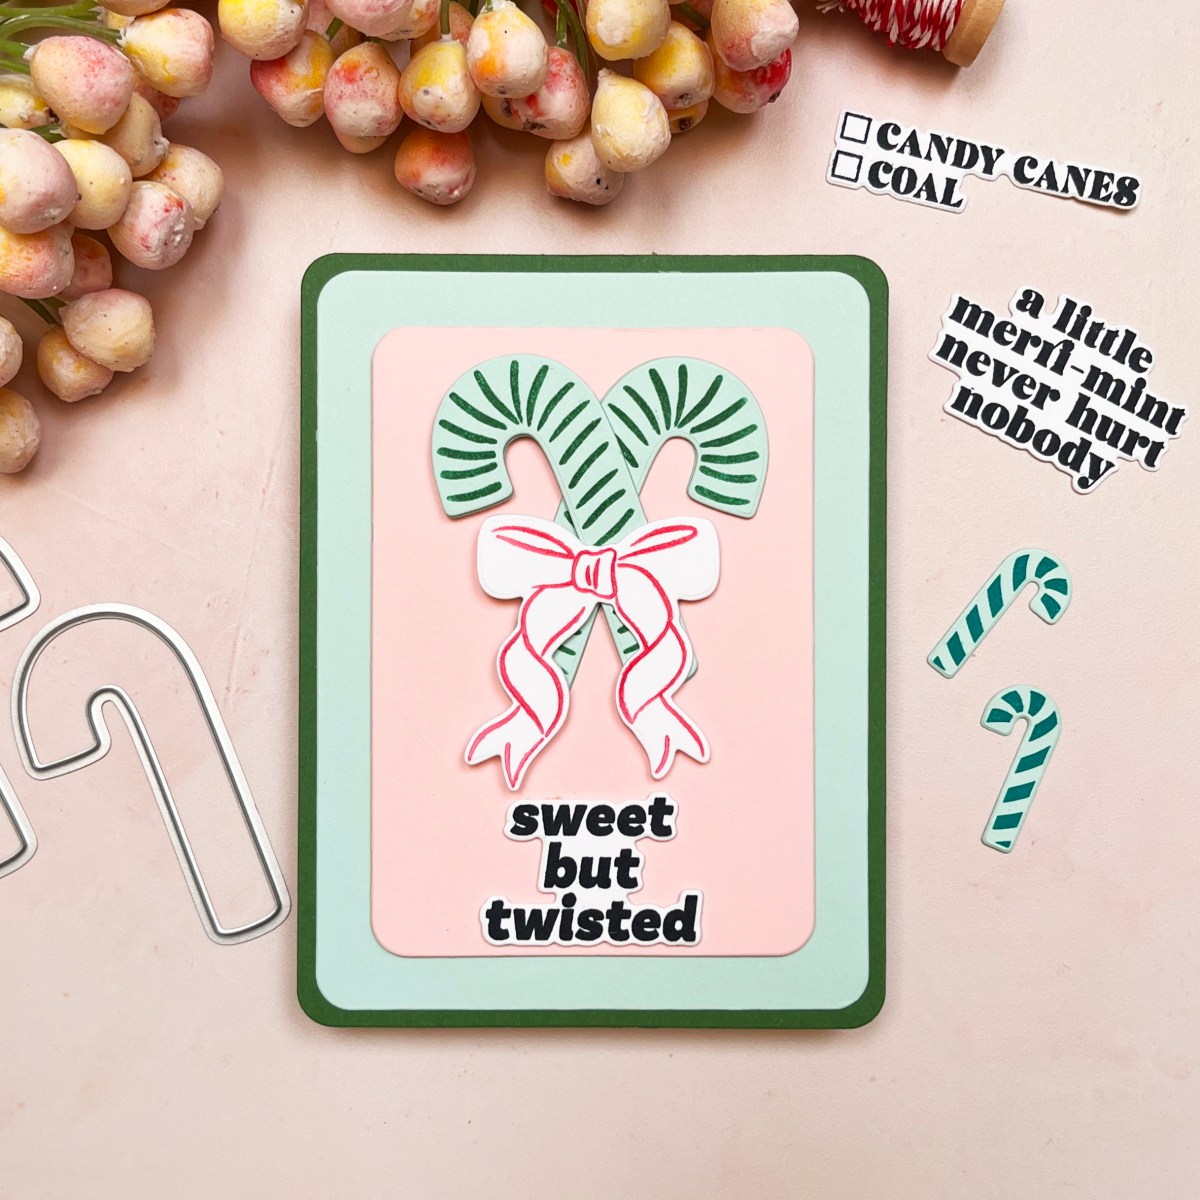
For my second card, I kept the focus on a clean graphic layout featuring crossed candy canes as the main design element.
I used the Candy Cane Swag stamps again, stamping two canes in Pine ink on Mint ColorWheel Cardstock, then crossing them in an “X” shape at the center of the card. I added a red and white bow (stamped in Cotton Candy ink and die cut) to the center, tying the two canes together like a festive wreath.
Behind the candy canes, I layered three coordinating ColorWheel cardstock panels, trimmed using my Rounded Rectangle Infinity Dies:
- Base Layer: Fern
- Middle Layer: Mint
- Top Layer: Bellini
These colors echo the classic red-and-green palette but with a soft, contemporary twist—perfect for a fun and modern holiday card.
The sentiment “Sweet but Twisted” is from the A Little Merri-Mint Stamp & Die Set, and I think it pairs perfectly with this cheeky little cane design!
Both cards feature cardstock from the ColorWheel Collection, which makes it so easy to mix and match hues while keeping your palette coordinated. And while they use some of the same elements, each card has its own unique personality—one playful and layered, the other bold and graphic.
It’s never too early to dive into the holiday spirit, especially with sweet designs like these. Whether you love traditional candy cane colors or like to mix things up, Candy Cane Season has something merry for everyone!