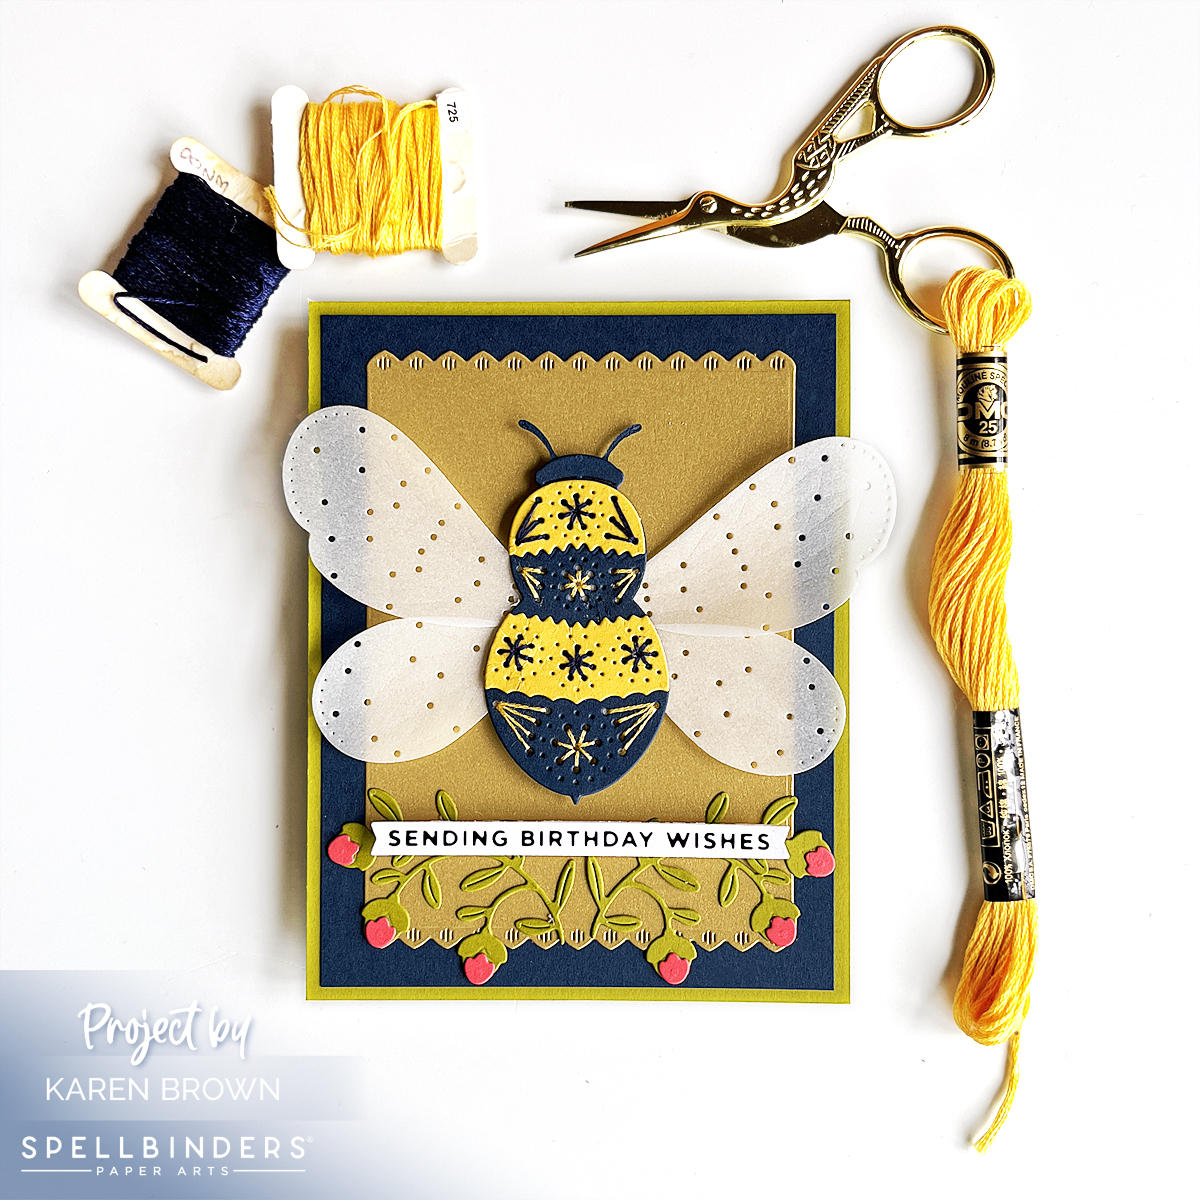
Spellbinders just released the lovely Every Occasion Floral Alphabet and I had so much fun handcrafting a pile of cards. Each kit comes with the floral uppercase letter + a separate corresponding sentiment. You can buy the complete alphabet or individual letters.
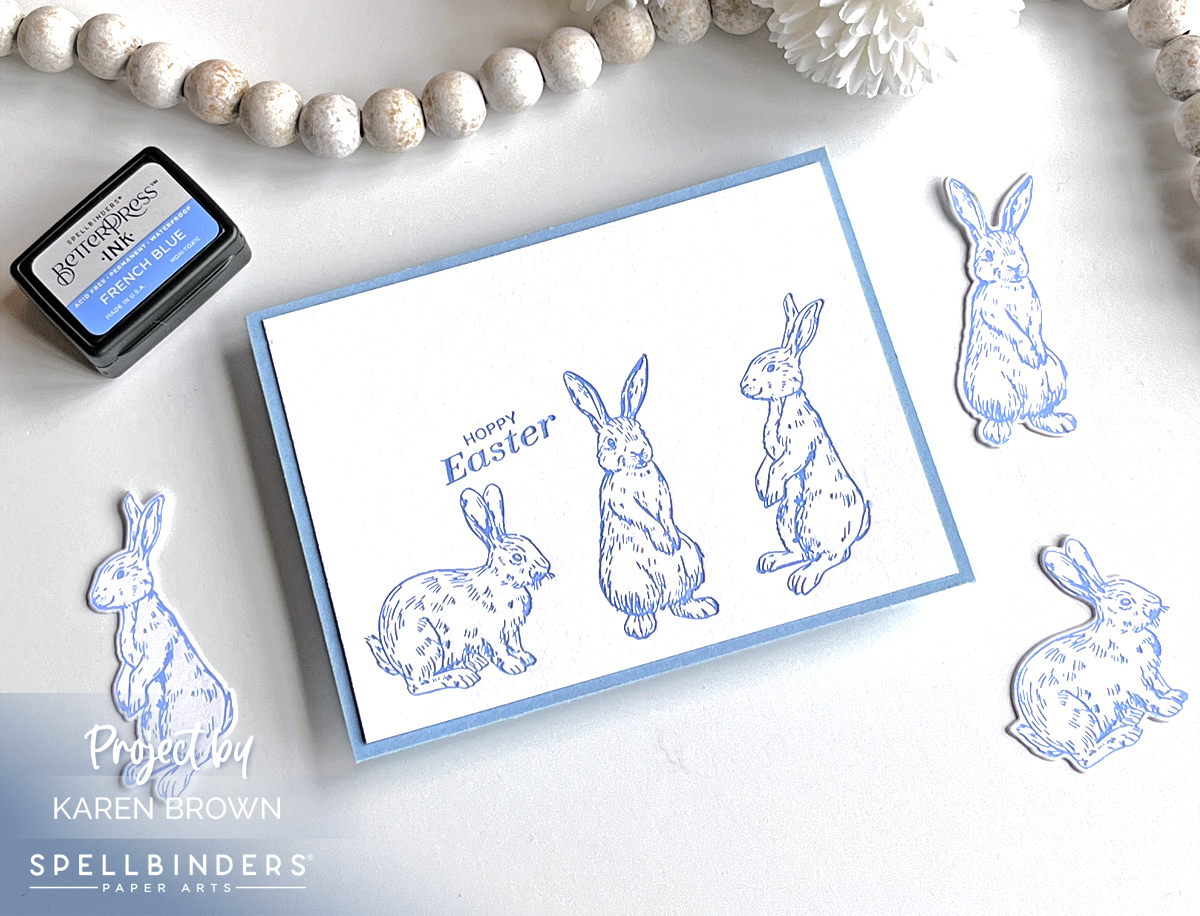
It’s my birthday today and I wanted to create some elegant thank you notes. I love the beauty and texture of letterpress so I used the Floral K to make a set of monogrammed cards in various shades of blue. The K also comes with a sentiment, You Are So Kind, but I did not use it on my cards.
I inked the plates well and rolled just one time through my BetterPress Machine for a nice crisp impression.
I have another post “9 Tips, Tricks and Insights for Spellbinders BetterPress Machine” that you can read HERE.
Products Used on My Monogram K Cards:
- Floral Alphabet K
- Every Occasion Floral Alphabet Bundle
- Bisque A2 Card Panel
- Coastal Ink from Dessert Sun Set
- Cosmic Sky from Regal Tones Set
- French Blue from Nature Tones Set
- December 2022 Die of the Month
- Hero Arts Nautical Cardstock
- PaperTrey Perfect Match Cardstock Sampler
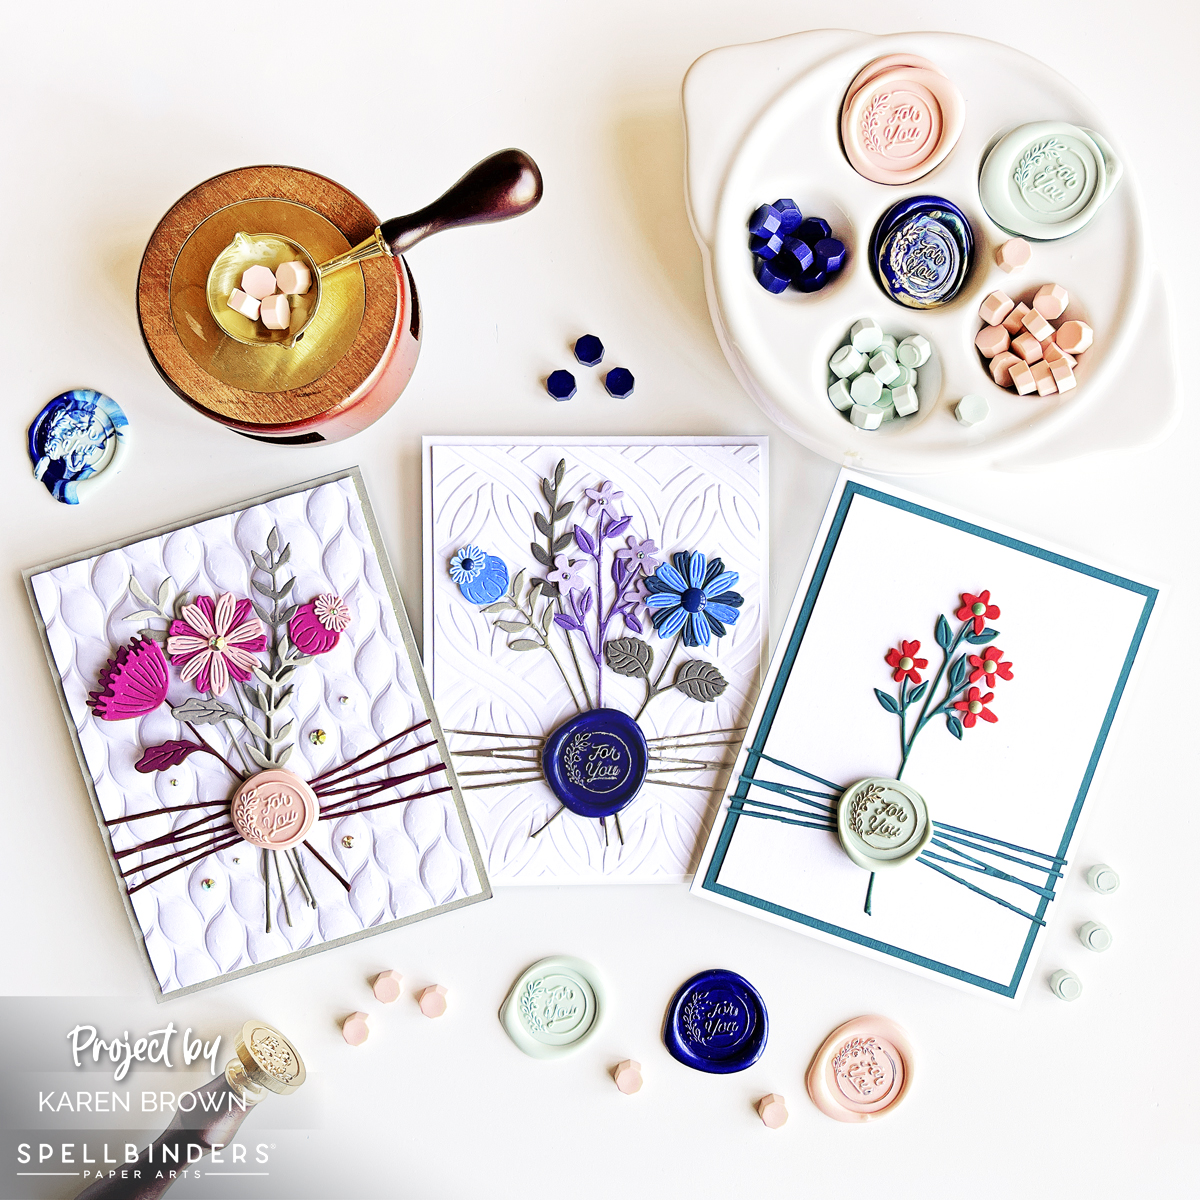
Versatile “For You” Card

I love how versatile the “F For You” plates are so I pressed Clay ink onto creamy Bisque cardstock panel. In person, the ink is a beautiful copper color. I used the December 2022 Die of the Month Kit for the background. The mat is from PaperTrey’s Perfect Match cardstock sampler.
Elegant With Sympathy Card

I like to keep Sympathy cards on hand and the “W With Sympathy” plates are so elegant. I used Mulberry Ink on Bisque panels and added Crystal Gems to some of the flower centers.
Best Supplies for BetterPress Projects:
- Spellbinders BetterPress System
- Spellbinders Platinum 6 Machine
- Porcelain A2 Cardstock Panels
- Bisque A2 Cardstock Panels
- Desert Sun Mini Ink Cube Set
- Flower Garden Mini Ink Cube Set
- Nature Tones Mini Ink Cube Set
- Regal Tones Mini Ink Cube Set
- Tropical Mini Ink Cube Set
- BetterPress Fancy Sentiment Strips
- Best Ever Craft Tape
- Ultra Clean Stamp Cleaner (works great to clean plates & platform)
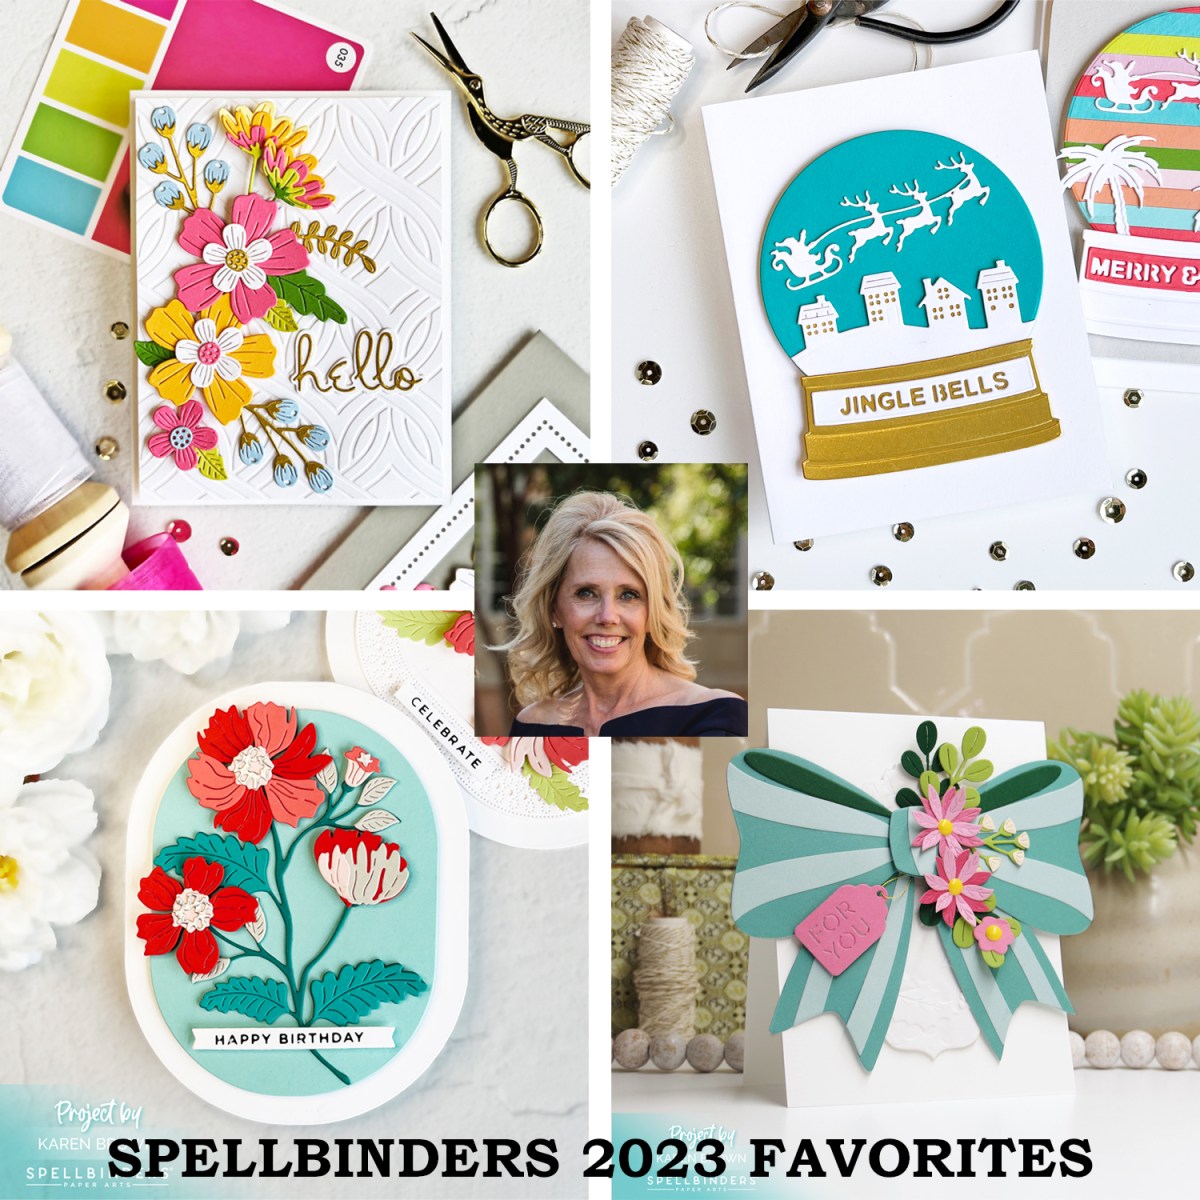
Thanks for stopping by!
Karen