cardmaking · Video

VIDEO | Spring Floral Stenciling & Color Theory: Create with Confidence!

Welcome back, crafty friends! Today, I’m diving into stenciled floral backgrounds with a focus on color theory and shimmering inks. If you’ve ever struggled with picking colors that pop or wondered how to make your stenciled backgrounds shine, this post (and my video!) is for you!

If you are having difficulty watching the video above, click HERE to watch on YouTube.

Three Ways to Use a Stenciled Floral Background

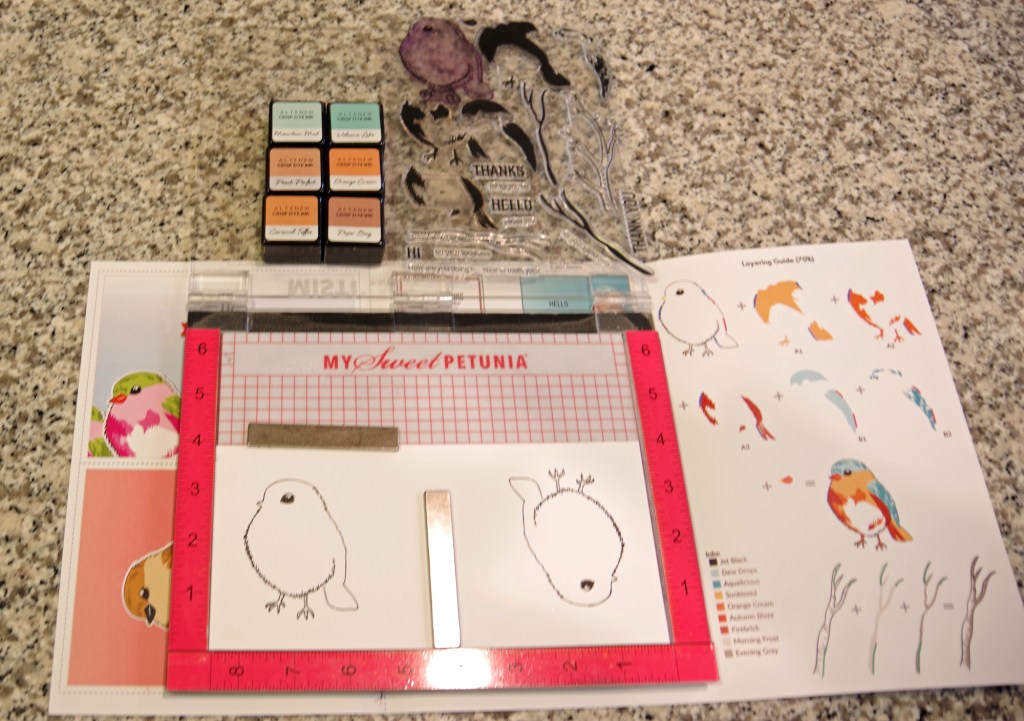
I’m using the Spring Floral Stencil and Large and Small Floral Layering Dies from the new Hero Arts Friendship Blooms Collection to create three different looks. Each one explores color, contrast, and shimmer, so let’s get into it!

3 bold floral stenciled backgrounds turned into cards with bold die cut focal elements.

Card #1: Byzantine Green Glitz + Bold Plum Congrats

A handmade card with a shimmering Byzantine Green floral stenciled background, featuring a bold Plum die-cut ‘Congrats’ sentiment with a vellum shadow.

For my first card, I wanted a rich, elegant background with plenty of shine. I stenciled with Byzantine Green Glitz Ink, which gives a gorgeous shimmer, and paired it with a bold Plum “Congrats” sentiment. Here’s the magic:

  • The background is a mossy olive hue.
  • The sentiment is red-violet, which is directly opposite on the color wheel—hello, instant contrast!
  • The large vellum shadow behind the sentiment softens everything just enough.

Pro Tip: When in doubt, check your color wheel! Using complementary colors creates high-impact contrast, making your card visually striking.

Card #2: 3. Aqua Gradient for a Fresh Take

A soft and elegant aqua gradient stenciled card featuring a layered white and aqua die-cut bloom, perfect for Mother’s Day.

For the next card, I switched things up with a cool-toned, gradient background using Pool Party, Paradise, and Blue Raspberry inks. The result? A soft, dreamy floral backdrop that’s perfect for spring!

Pro Tip: If you’re unsure which colors to use, swatching your cardstock makes a world of difference! I swatched mine with Spellbinders Color Swatch Petal Dies, and it made choosing my die-cut colors so much easier.

Card #3: Layered Floral Mother’s Day Card

A Mother’s Day card with a rich plum and eggplant stenciled background, adorned with delicate die-cut flowers in shades of plum, eggplant, and white.

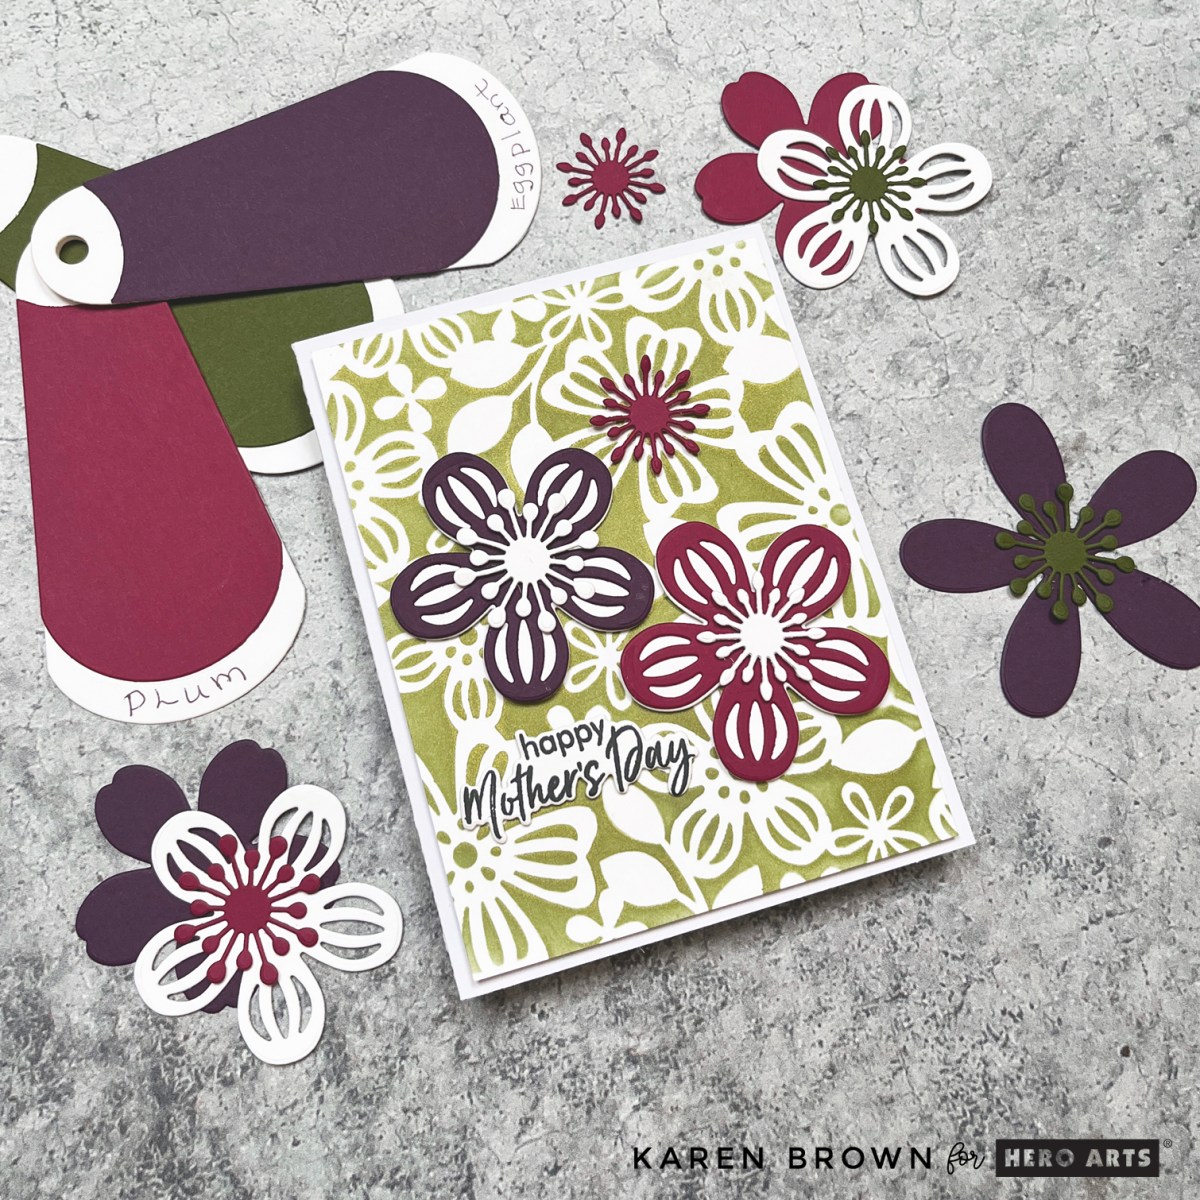
Since I was loving that Byzantine Green shine, I stenciled a second background—but this time, I turned it into a Mother’s Day card!

Spring Floral stenciling 3 ways for bold Mother's Day and Congrats cards.

I am so pleased you stopped by today!

cardmaking · papercrafting

Handmade DIY Mother’s Day Card

Altenew Bird of the Woods Mother's Day Card combined with  Majestic 3D Embossing Folder background

I am getting ready for Mother’s Day and am so excited about this whimsical yet elegant card. I used Altenew’s Bird of the Woods layering stamp and dies.

Altenew Bird of the Wood Layering Stamp and Die Bundle handmade card

I used an assembly line method which I write about below. For my Mother’s Day card I used the following:

My Process:

  • I wanted to make a bunch of cards so I set up an assembly line. I cut cardstock panels to fit in my Misti Stamping Tool and stamped one bird on the left, rotated the panel upside down, reinserted the panel and then stamped a second bird on the clean half.
  • I stamped my outlines with Pigment Ink for a nice dark outline and let them dry overnight so there was no risk of smearing. You could also heat set to speed up the process.
  • I then positioned the layering stamps in two Mistis. I was careful to line up the stamps so I could then stamp quickly. I put the first layering stamp on the left in Misti 1, the second layering stamp went on the right in Misti 1 and the third layer went in Misti #2. This way I was able to stamp all the cards in assembly line fashion.
  • I repeated this technique with the two layering stamps for the bird’s head.
Ink Color Combinations for Altenew Bird of the Woods Layering Stamp set.
7 ink color combinations

While I had my supplies out, I made a companion birthday card.

Whimsical Bird Birthday Card.
  • Colors used for stamping the birthday card: Peach Perfect, Orange Crush, Brown Paper Bag, Mountain Mist, Volcano Lake.
  • I made a sparkly custom background by mixing Volcano Lake ink with Shimmer Spray. I applied three layers to wet watercolor paper. You can’t see the shimmer in the photos but it is beautiful in person.
  • Altenew Essential Sentiment Strips
Handmade card with colorful stamped bird.

I have a blog post with two other bird cards HERE.

I am so glad that you stopped by!

Karen

Uncategorized

WWC268 – Dawn\’s Challenge: All About Occasions

Hello and Welcome!  This week I\’ve created an \”occasion\” card for The Watercooler Wednesday challenge where Dawn is this week\’s hostess.  The occasion I\’ve chosen is Mother\’s Day.
Frantic Stamper Basketweave Cover die.
I really enjoyed making this card. I recently ordered this pretty bouquet stamp and thought it would be perfect for my mom.
 
I stamped, Copic colored and die cut the main image.  I wanted a white on white background so I die-cut this lovely basket weave panel. The sentiment is heat embossed but I thought it needed a little contrast around the edge so I gently put Versamark Ink around each edge, dipped in gold embossing powder and then heat set.  

Supplies used:
Technique Tuesday Bowl Bouquet stamp and die
Frantic Stamper Basket Weave Cover Die
Neenah cardstock
Paper Source Sentiment
Versamark Ink
Gold and Black embossing powder for the sentiment

I am entering my card in the following challenges:
The Card Concept #133: Hello Spring  I focused on the flowers in a container; the pink, blue and yellow color scheme and the muted white background.  I think my card might be best described as \”Clean and Layered\”. 


The Flower Challenge: Spring/Autumn – I was making my Mother\’s Day card so I went with \”Spring\”

Happy Little Stampers Anything Goes With Dies – I used the floral die and cover die on this card.

Allsorts – Floral or Showers

Addicted to Stamps #386 \”Anything Goes\”

Make My Monday \”Spring Flowers\” #120


I am so pleased you stopped by!

Karen

Image may contain: text

Uncategorized

WWC220 – Kath\’s "All About Occasions" Challenge

Happy Wednesday and thank you for stopping by.  It is All About Occasions on the Watercooler Website and Kath is our hostess this week.
Distress Ink:  wilted violet, salty ocean, twisted citron, squeezed lemonade, carved pumpkin

This is the Mother\’s Day card I made for my mother-in-law.  I embossed the  blooms and leaves from Create a Smile\’s In Bloom.  I love these large bold flowers!  Then I used distress ink (wilted violet, salty ocean, twisted citron, squeezed lemonade, carved pumpkin) on an ink blender to color each image.  I buffed and let dry. Finally, I fussy cut each image.  I really need to order the die cuts for this much used set.

Next, I stamped a background using SSS\’s Brush Stroke Messages.  I adhered the flowers and leaves using foam tape for dimension.  Last I popped on the sentiment and added SSS sequins  and Pretty Pink Posh jewels.

I am joining Simon Says Stamp\’s Wednesday \”For a Special Lady\” Challenge

Thanks for stopping by!
Karen
Image may contain: text

Uncategorized

WWC219 – Heidi\’s Feminine "Anything Goes" Challenge

Hello and thank you for stopping by!  This week it is Feminine Anything Goes at Watercooler Wednesday.  Heidi is our hostess this week. Check out our website for more artist cards and details on the challenge.

Card Background using Stamper\'s Anonymous Bricked Layering Stencil.

I LOVE scene cards, so when I saw Hero Arts January 2019 kit I had a ton of card ideas.  This particular card is for Mother\’s Day.  It took a bit of time to make, but I love the end result.

  • I ink-blended the Stamper\’s Anonymous Bricked Layering Stencil for the Background.  
  • The shop scene was stamped on Bristol cardstock and then watercolored with Tombow Dual Tip markers.  Everything was die-cut and then arranged on an A2 card with foam tape.
I am entering this card in:
 Allsorts Mother\’s Day Challenge
Grab our logo

Mod Squad Mother\’s Day Challenge

UPDATE:  My Mother\’s Day card was chosen \”Top 5\”in the Allsorts Challenge! 🙂
In our Top 5 ?

Karen
Uncategorized

Mother\’s Day Card

I am very excited about the Mother\’s Day card I created for my Mom.  I used the In Bloom Stamp Set from Create a Smile.

Handmade Mother\'s Day Card

I colored the flowers with Copic Markers and then fussy cut them out.  On card stock I added some paint splatters and then adhered each piece with adhesive foam squares.    Next, I embossed the sentiment (Hero Arts) on a strip of black card stock and then mounted on the card.  I am happy with the card and can\’t wait to share with my mother.

I am entering the card in the Create A Smile Challenge:
Create A Smile Floral Challenge

Update:
I am very excited that I was chosen as the winner in this Challenge!

Thanks for stopping by.
Karen