Hi everyone, Karen Brown here! I am one of the new members of Hero Art’s Creative Team and I am excited to share my new video (see below). I am loving the new Hero Arts Alphabet Letter Dies and I thought they would be fun and festive on my gift tags.
Using the the Nesting Tag dies, I die cut 5 tags from Paradise, Cherry and Dove White Cardstock. My first card I call “Joy to the World” and I chose to use the “J” die from DF167. I cut the “J” three times from Cherry Cardstock and glued them together for a nice substantial element. For a quick sentiment, I trimmed “Joy to the World” from the White Holiday Collage Hero Transfers kit and then rubbed onto the bottom of my tag. I think it is the kid in me, but I just love doing this!
R is for Robert and I used DF168 to die cut the R. For interest, I also die cut two linear accent strips using The Hole Punch Edge Fancy Die.
B is for Brown (my last name) and since I love rub-ons so much, I covered the top tag with a Hero Transfer with text from A Christmas Carol. The “B” die is included in Letter Die set DF165.
Hello My Monthly Hero lovers and welcome to the December 2023 Release Hop and Giveaway! I am excited about this month’s kit….so much wonderfulness! December’s theme is the Alphabet (Classic) and Numbers (Premium).
• XL Alphabet Clear Stamp Set, 8″ x 10″ • Alphabet Cover Plate Die • 10 Pack of Watercolor Pencils • 6 Sheets of Luxe White Watercolor Paper, 8.5″ x 11″ • Water Flow Brush
I love them both, but this post is about the Classic Kit plus a very fun Add-On product. I am sharing three different cards with three very different looks today.
Inlay Diecutting with the Alphabet Plate Cover Die
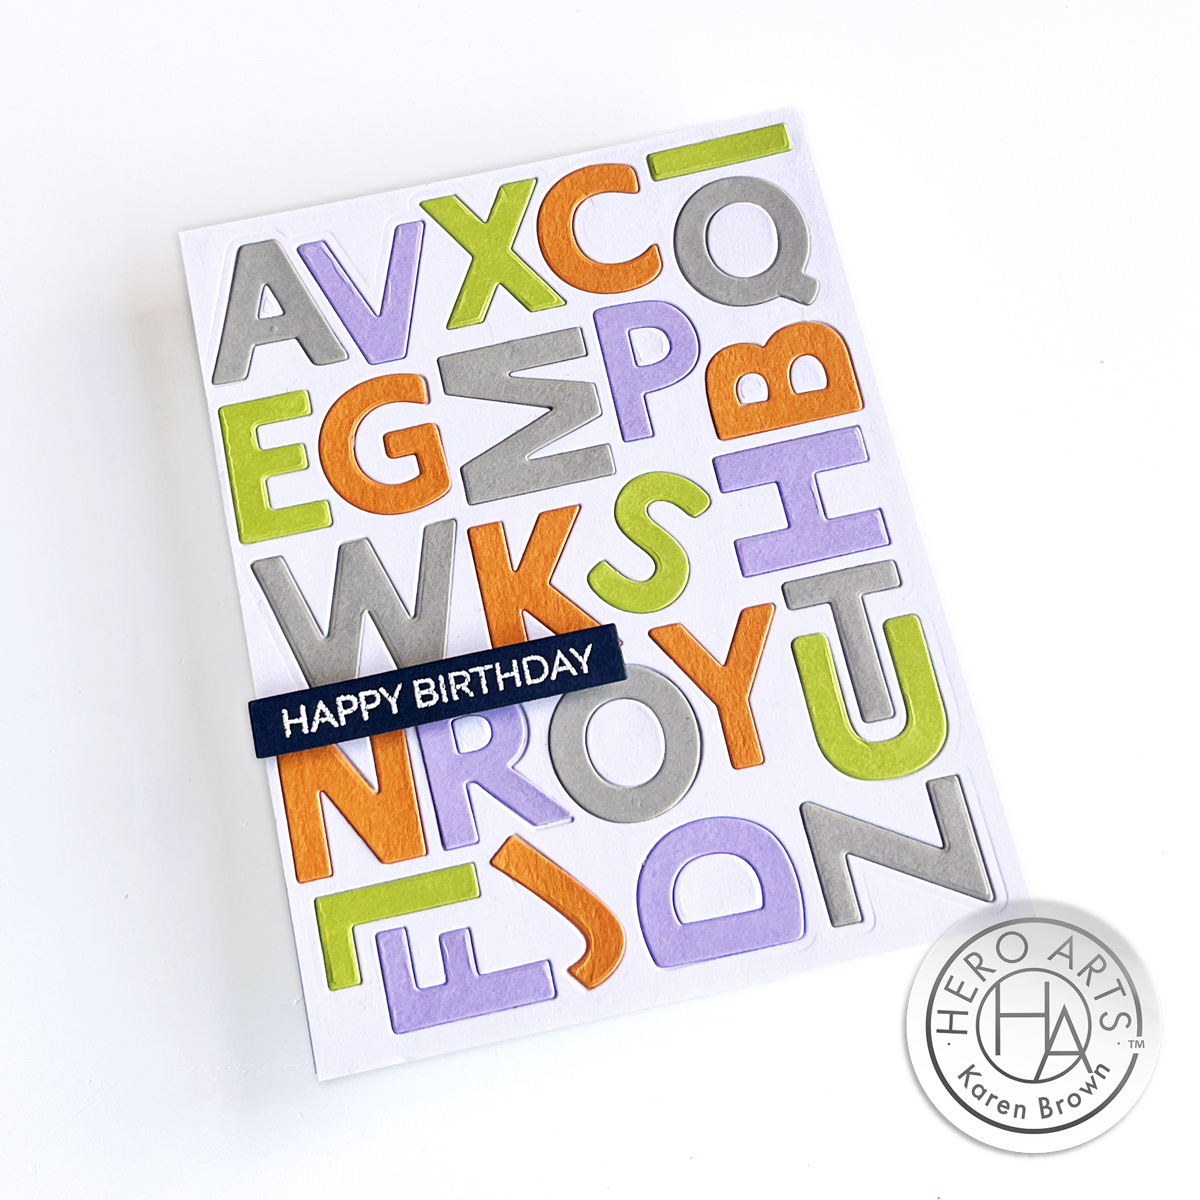
This card might look difficult, but it all came together in one hour. I started by die cutting the alphabet 5 times from different colors of cardstock: Papaya, Kiwi, Passion Flower, Dove White and Granite. I saved the white die cuts to use on a future project, and then attached the white background to an A2 cardbase. Next, I laid out the letters until I had the colors where I wanted them. With the layout done, the gluing went very quickly. I added a simple heat embossed sentiment from Hero Art’s Message Strips Stamp and Cut XL (DC286). I love the bright simplicity of this card.
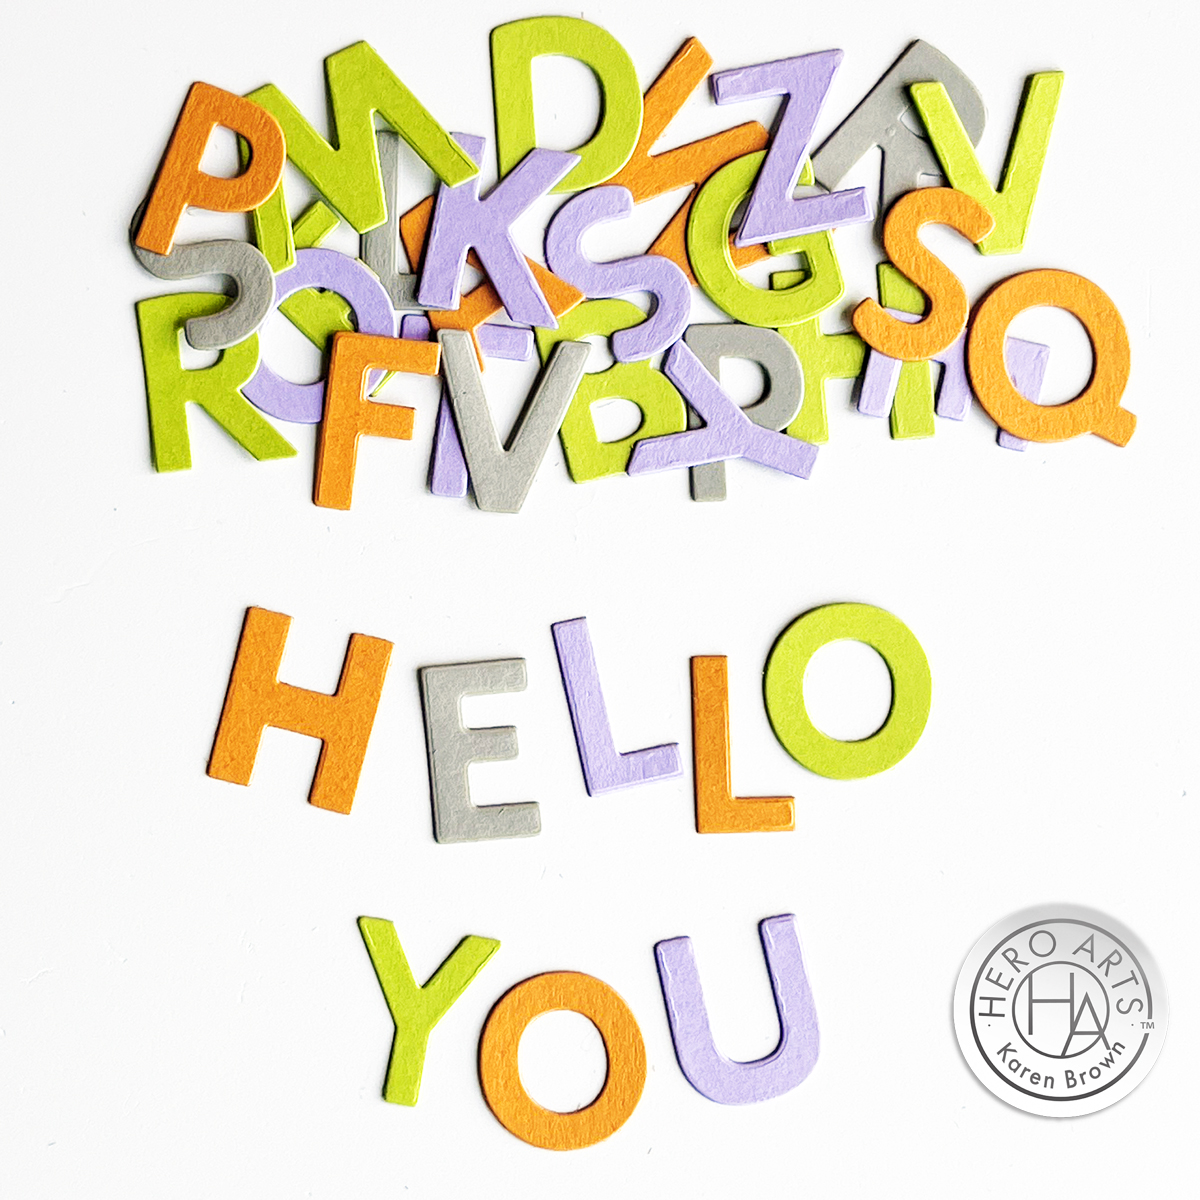
A bonus is that I have TONs of leftover die-cut letters to use on future projects! It is such a time saver to be able to cut 26 letters with one pass of the diecutting machine.
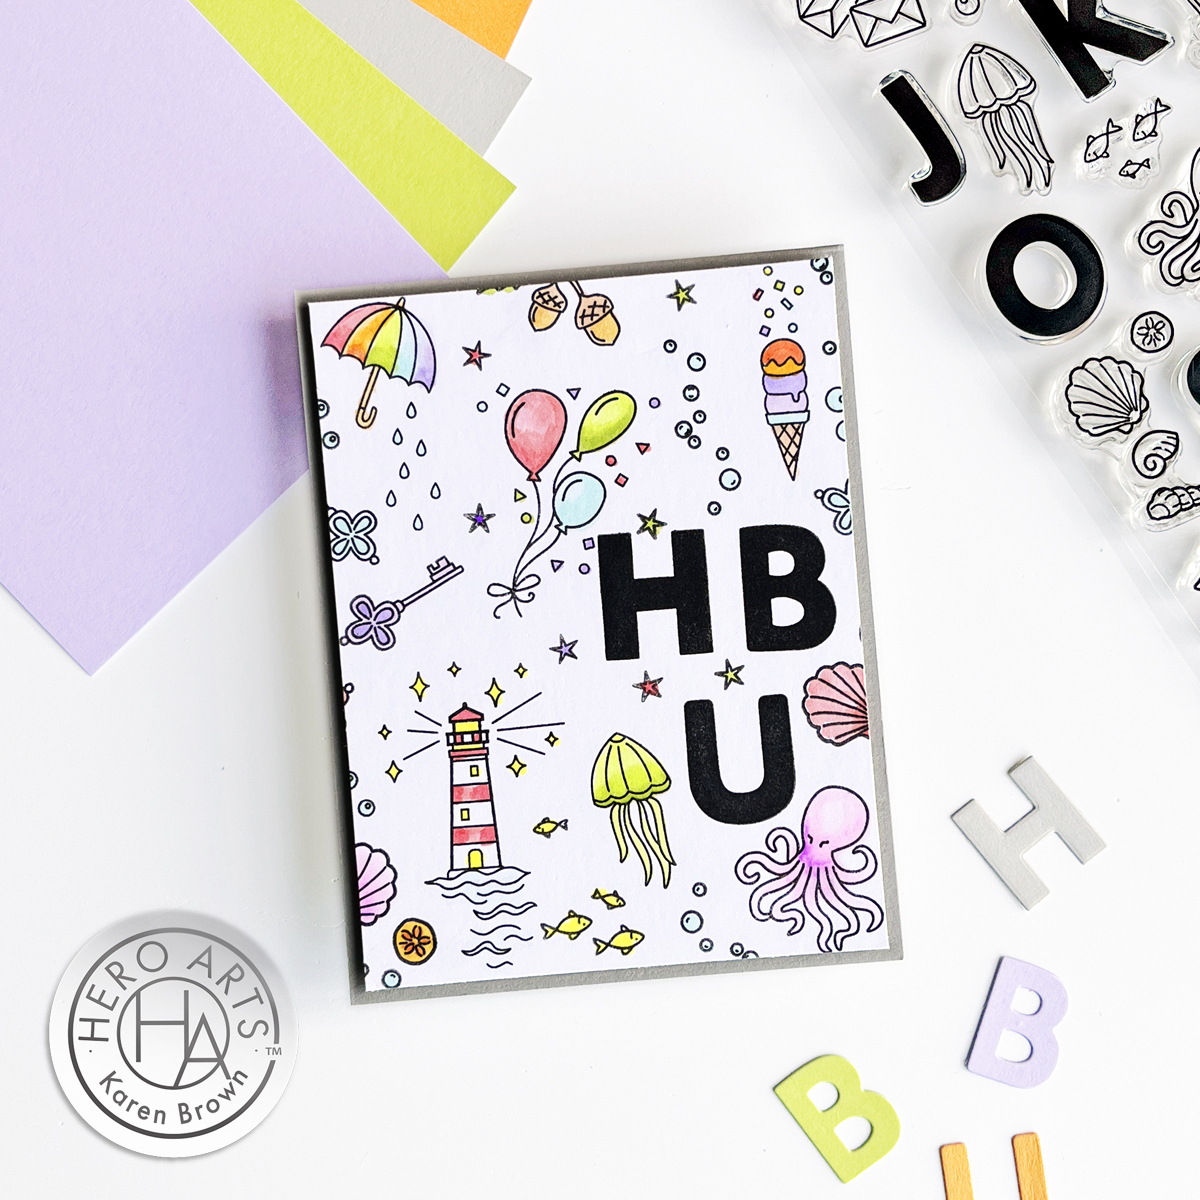
There is something so therapeutic about covering a card front with stamps and then coloring them in. My daughter was so captivated by the XL Alphabet Clear Stamps that she created two fun word signs with images for her office.
GIVEAWAY:
We will give away a $50 gift card, drawn from the comments left across the hop. Enter by Sunday, December 10th at 11:59pm Pacific, and the winner will be announced on the Hero Arts blog the following week.
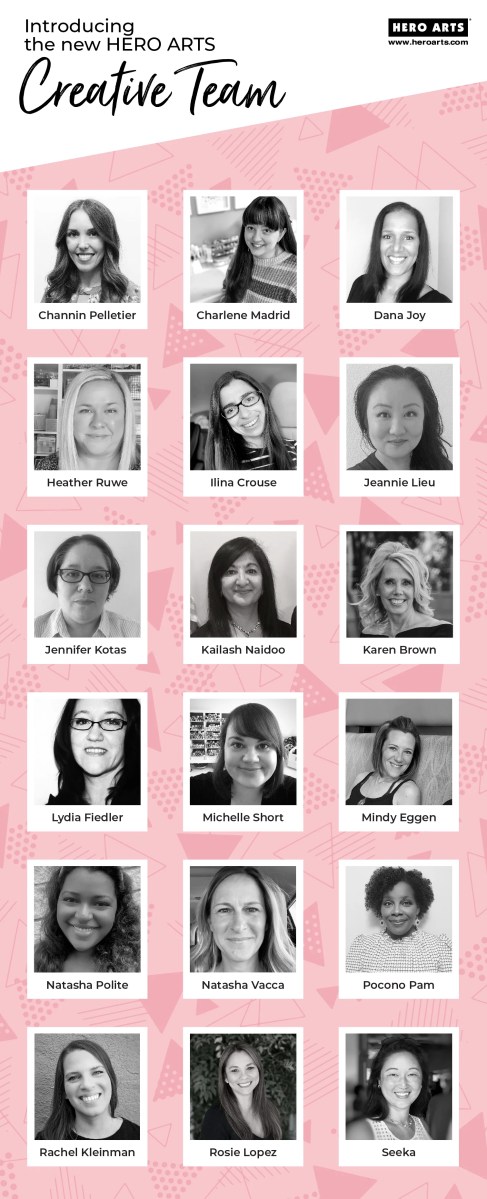
I am thrilled to announce that I have been selected to join the Hero Arts Creative Team! This incredible opportunity allows me to collaborate with a group of talented and passionate artists who share a love for crafting and creativity. I am beyond excited to explore new techniques, experiment with Hero Arts’ amazing range of products, and inspire others on their own artistic journeys. Together, we’ll embark on a creative adventure filled with endless possibilities, and I can’t wait to share the magic that unfolds along the way! Stay tuned for a whirlwind of innovative projects, tutorials, and inspiration that will surely ignite your own crafting passions. 🎨✨ #HeroArtsCreativeTeam
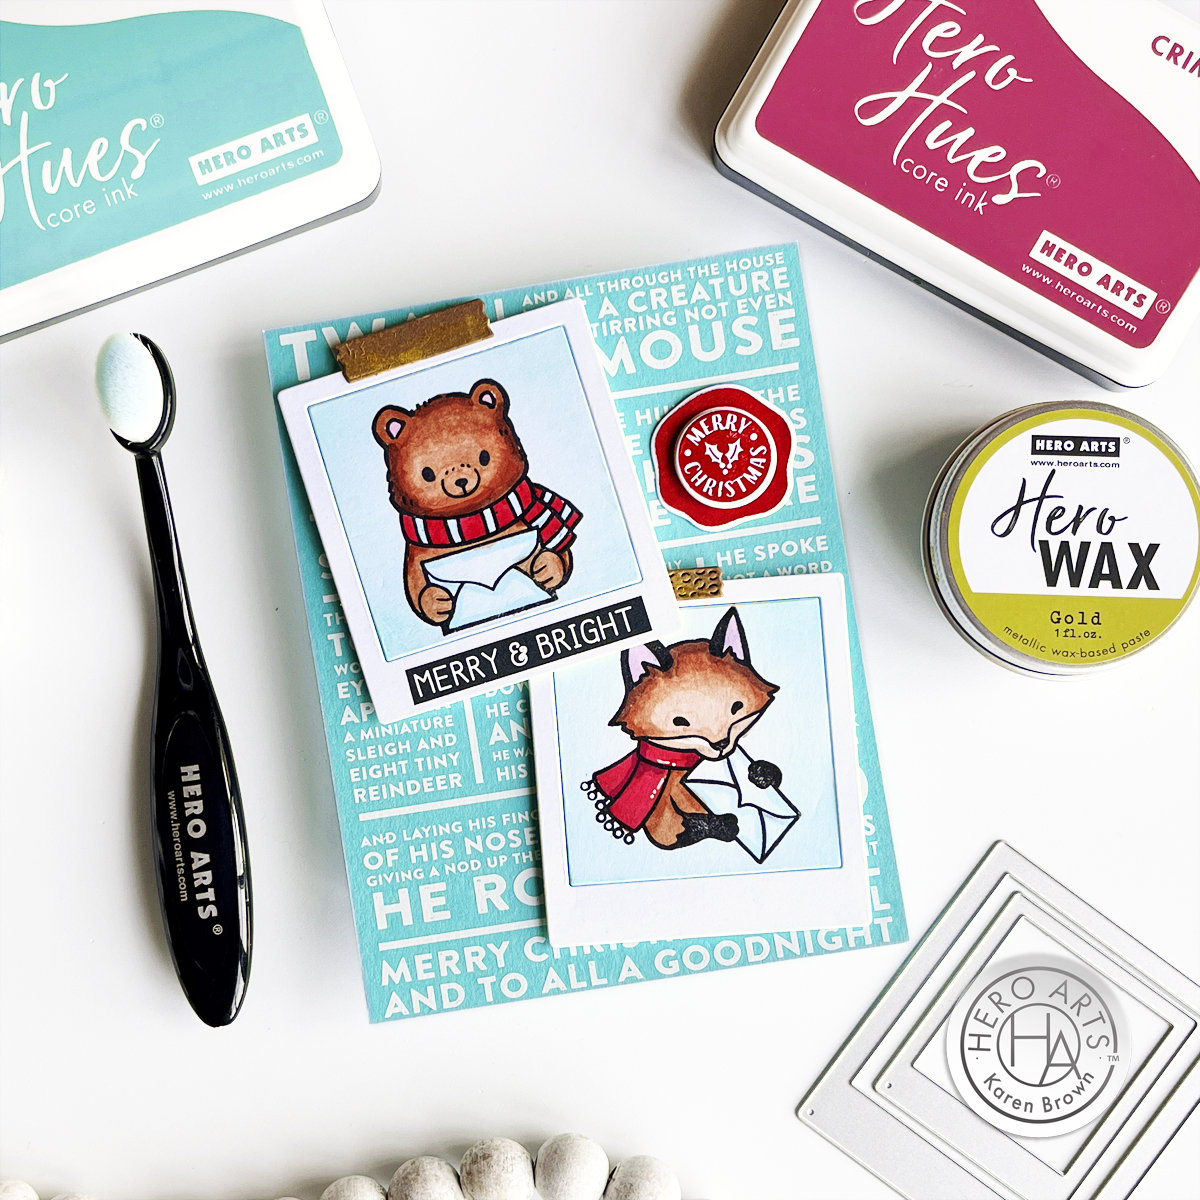
The background was so easy! I rubbed on the fun Twas the Night Before lettering from the White Holiday Collage Hero Transfers (RT121) with a bone folder and all the writing transfered to the paper perfectly on the first try. The card background is Paradise cardstock.
I wanted a pop of red, so I stamped and die cut a Merry Christmas Wax Seal using Crimson Core Ink. I also put a dab of Hero Wax Gold to add a little depth and shine to the “photo tape”
I assembled my card with foam tape and it is ready to send.
Hello and welcome! This week we are making feminine cards at the Watercooler Challenge and Heidi is our hostess.
I had a lot of fun making this valentine for my daughter. I started with a piece of wet watercolor paper and then I applied pink, purple, red and a hint of yellow Kuretake watercolors to the panel. I swirled, blended and then heat dried the paint and then repeated the process so I wound up with layer upon layer. Because I added several layers, the watercolor appears much more vibrant than most watercolors I have done in the past. After the panel was nice and dry I die cut a bunch of hearts in three sizes. I stamped the sentiment, played with the layout and came up with this random pattern that I liked. I adhered the hearts with foam tape so there is lots of dimension to the card.
Hello and welcome! This week, at The Watercooler Wednesday Challenge, we are creating cards for the men in our lives. Marsha is our talented hostess. I made this card for a male friend that turns the BIG 60.
This card is all about the background and sentiment. I used Hero Arts Bold Tribal Print background stamp and Catherine Pooler\’s Blue Suede shoes to stamp the background. After cleaning off the stamp, I restamped with the background stamp using clear embossing powder and then heat set. This created a lovely shiny blue pattern. After the background cooled, I ink blended Twisted Citron onto the card base using blending brushes. This filled in all the white areas.
On Fog grey cardstock, I stamped the sentiments (SSS Big Birthday Wishes) and then die cut. I adhered the sentiments with craft foam for some nice dimension.
I think the end result is a bold masculine card with nice shine and texture. I am entering this card in: Allsorts Challenge #555 – More than a single word. I wanted the emphasis on the words so I used two sentiments for this card. Always Fun Challenges The challenge this week is use your favorite stamp so I used my favorite background stamp. Masculine cards are always a bit harder for me and I find this bold background stamp works well for a lot of cards for the men in my life.
Shopping Our Stash – Winter Blues Lots of blue on this card. I just received Catherine Pooler\’s Blue Suede Shoes ink and wanted to try it out. Sisterhood of Crafters \”New\” Challenge I just received Catherine Pooler\’s Blue Suede shoes ink and wanted to give it a try on a card. Update: I was so pleased to discover that this card was a \”winner\” in the Always Fun Challenge.
Hello and welcome! There are five Wednesdays in July so that means it is Anything Goes at Watercooler Wednesday.
Sometimes you just know you need a stamp. It was that way when I saw Hero Arts\’ Venetian Neighborhood. This card is so much fun to color that I made four different versions in one week. This card is colored with Zigs. The building was colored with 064 Oatmeal and 061 light brown. I think the result is very stucco like, which is what I was going for. This is a get well card so I wanted bright rainbow colors for the windows and clothes.
I love the sentiment: Hello Bluebird Rainbow Script.
I came up with an idea to combine two of my favorite Hero Arts sets: My Monthly Hero January 2019 kit and Hero Arts Fun in the Rain.
The pup from this set looks like my mini-Aussie so I colored her with markings like my \”Scout\”. I think it is so cute that she has a raincoat on and I thought this would be perfect for a Spring card.
Since this is an easel card, I die cut some thick leathery textured paper from The Paper Company. I used black paper to simulate a blackboard and then heat embossed with a bold birthday sentiment to get that chalkboard look.
I am really pleased with the way this card came together.
Cardz4Guyz \”Let\’s Get Messy\” – For me, I always make the biggest mess with embossing powder. No matter how neat I try to be, little bits of powder wind up all over my work surface! The Male Room \”Spring\” Challenge – This cute pup is sporting her raincoat for the spring showers.
Tri-color Puffer Fish birthday card. This is a versatile card that I think would be perfect for a beach loving girlfriend or child\’s birthday. I love the happy whimsical fish from The Hero Arts I Am Puffer For You Stamp set.
I mounted three fish on an acrylic block and hand stamped the pattern. I knew I wanted to use three colors so I next worked out which fish would be which color. I didn\’t want stripes of color so I went with the combination above. I then heat embossed the sentiments on gravel cardstock and loosely fussy-cut the words. I then mounted the base on a \”gravel\” colored card from Paper Source.
I am entering this card in the following challenges:
I wanted to do a birthday card featuring this cute whimsical bird and decided a bold background would be fun. Since it is The 4th of July, I used Red, White and Blue as my color inspiration. I started by stamping the Hero Arts Tribal Stripes Bold Print Background Stamp with Ranger Denim ink. Next I stamped the bird from one of my favorite stamp sets, Simon Says Stamp Stacking Animals.
I used the same denim ink for the bird and sentiment to tie the card together. I colored the bird with Copic markers and then added Tonic Nuvo Glaze to the birds beak. I trimmed the smaller panel down and mounted (with foam tape) on the blue background,. I then mounted the background on a white card and stamped a birthday sentiment inside the card.
I am entering this card in the following challenges: