
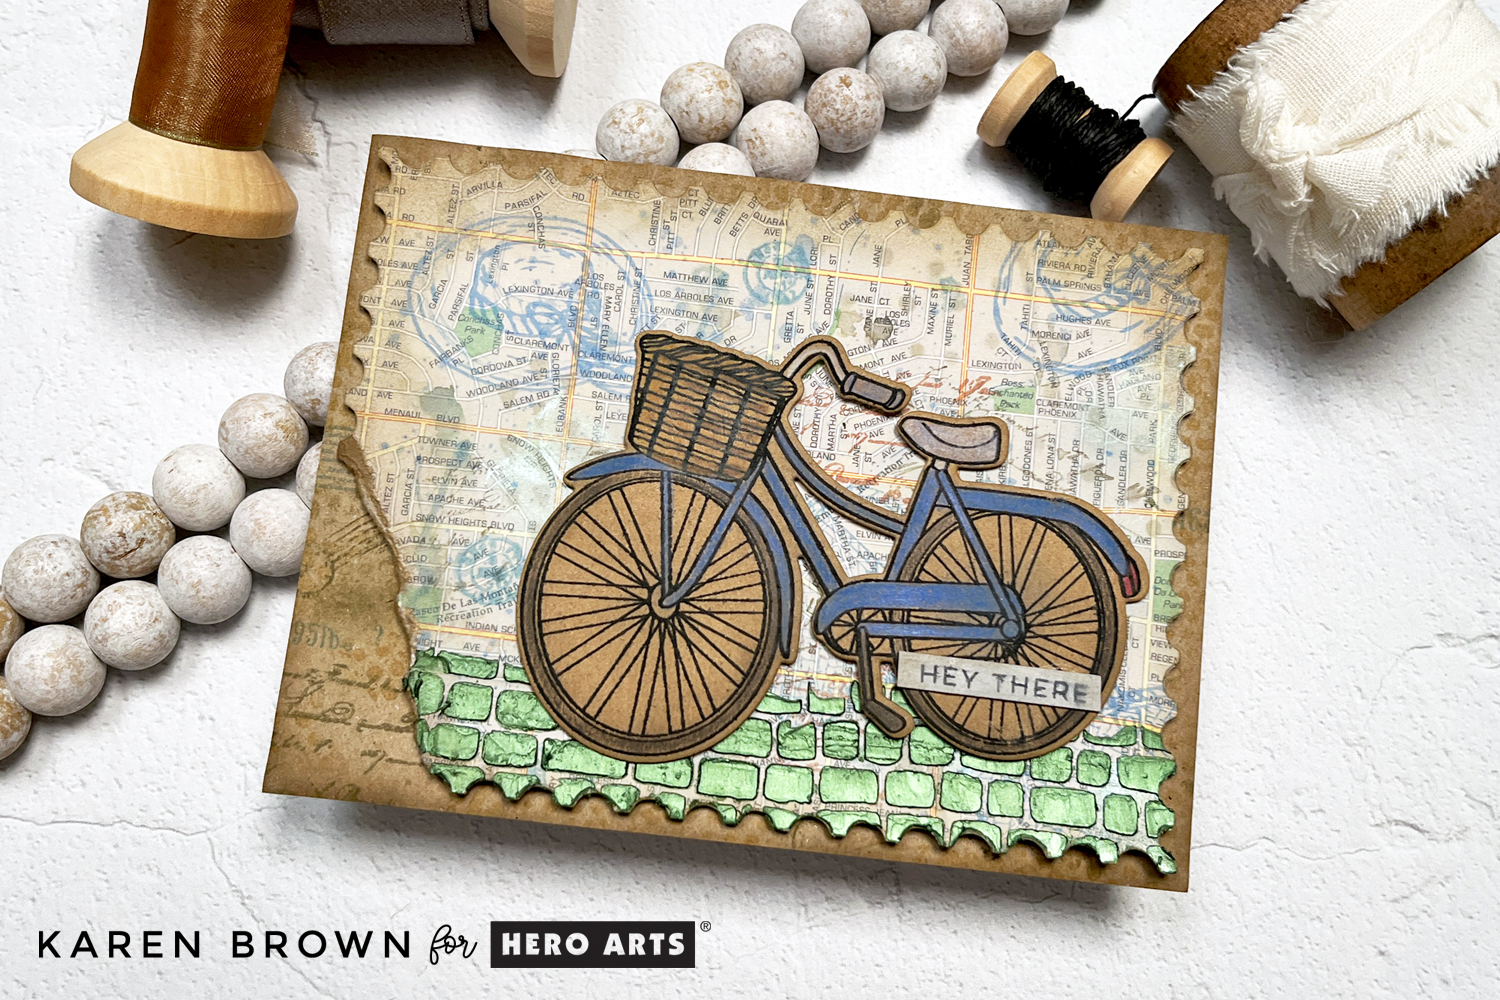
Today, I want to show you how to repurpose and upcycle paper to create a mixed media card. I started with a map from an old Atlas and a brown paper shopping bag. I used the bike stamp and die from Hero Arts June card kit as my focal point which I stamped on a panel cut from the shopping bag.
How to Create Mixed Media Cards Step-By-Step:

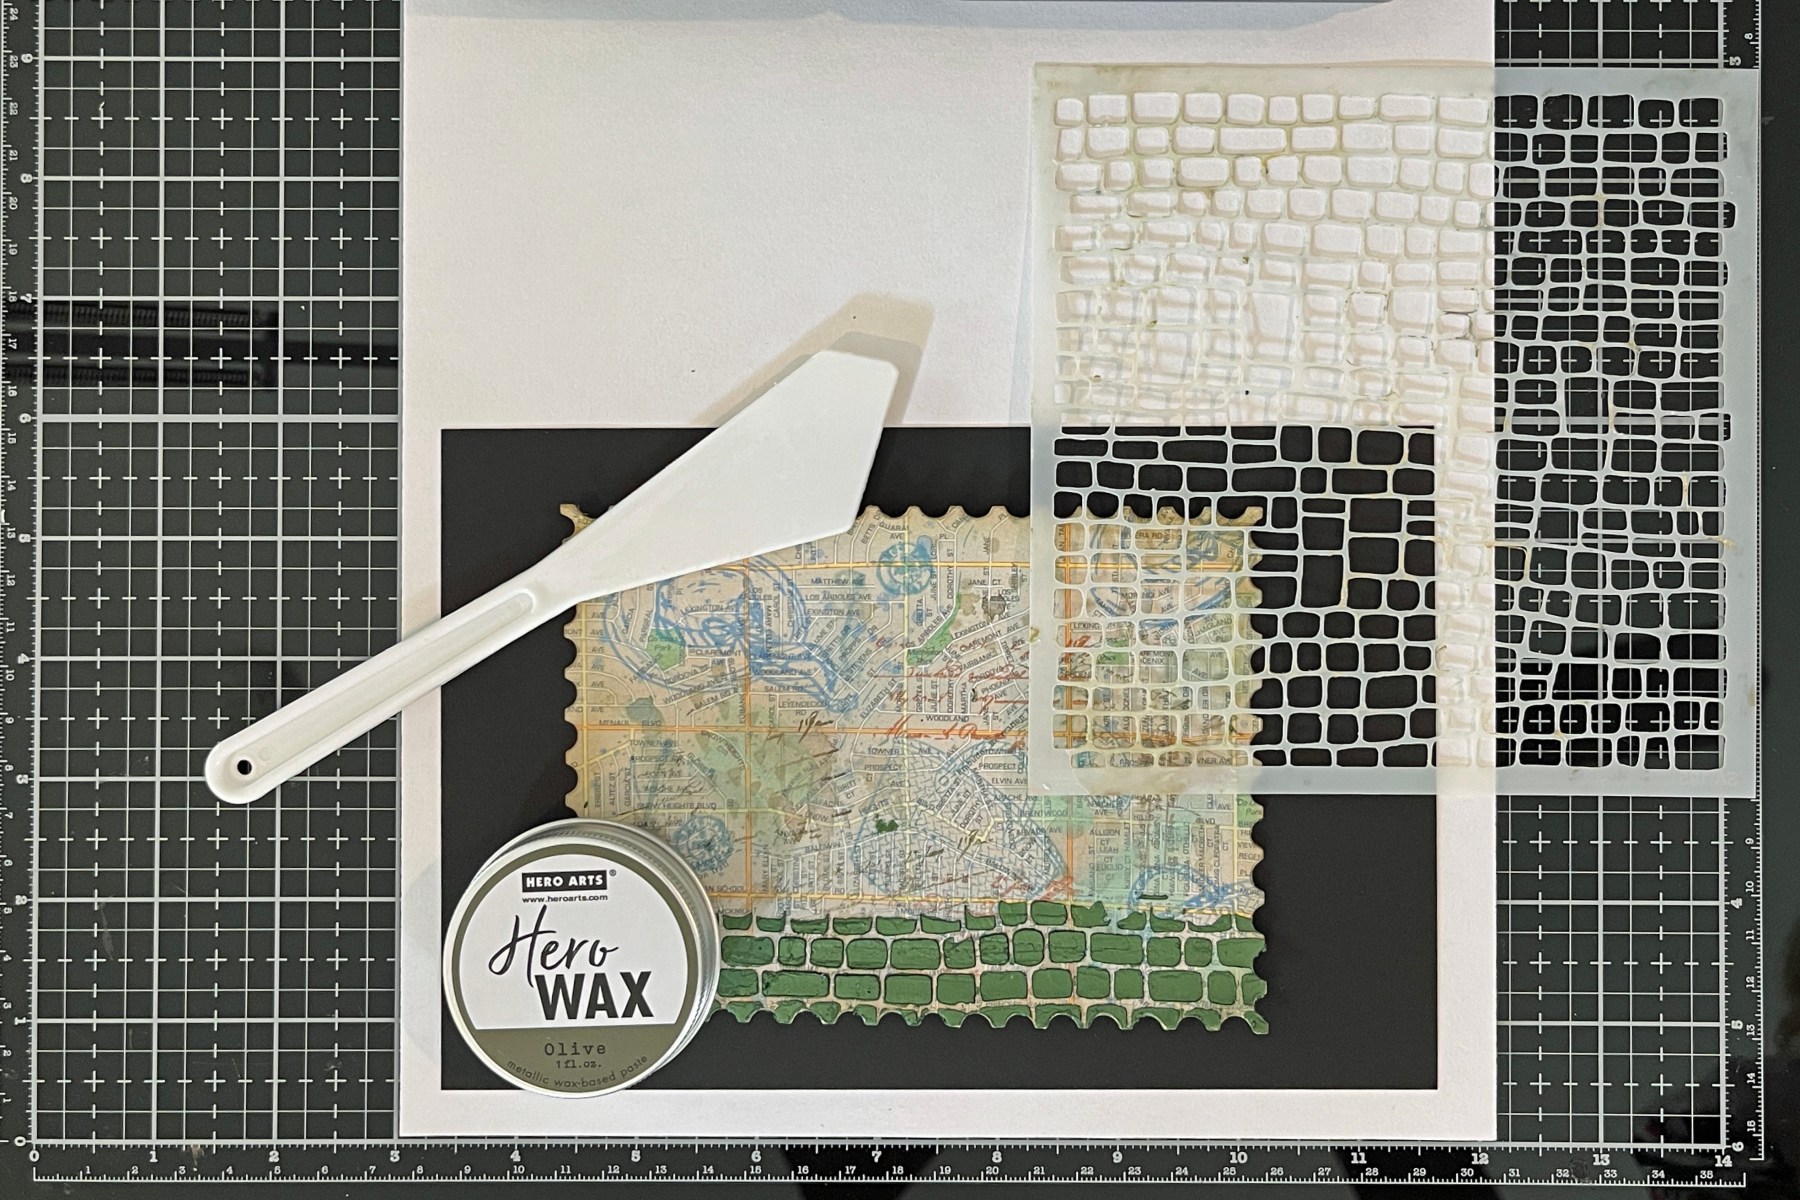
Above, you can see the repurposed papers that I used on my card. Here was my process:
- I attached a piece of watercolor cardstock to the back of the Atlas page so that I would have a more substantial panel to work on. I used Matte Medium to adhere the two pages together. Dry.
- To make sure there was no shine and to have the right surface texture for my mixed media project, I applied a layer of Gesso Acrylic Paint to the map. Dry.

- I used two blue Core inks and two brown inks, Cornflower and Periwinkle + Fawn and Root Beer, on an acrylic block to stamp the beach bag and hat from the June Card Kit plus some images from Vintage Postmarks and Tickets and Vintage Maps and Ledgers. I stamped randomly.

- I stenciled a few spots with the Leaves and Abstract Shapes Stencil with Root Beer ink.
- I die cut the panel with a Nesting Postage Stamps Infinity Die and then ink blended Fawn and Root Beer along the corners and edges. I wanted a grungy vintage look.
- I added watered down blots of Periwinkle and Root Beer. Dab some ink on acetate, spritz with a bit of water and dab on the panel. Tilt a bit to make it run. Blot up if you have more ink than you want.
- Add ink splatters with a fan brush with the same inks used above, which adds color and depth.
- I did second generation stamping (ink stamp, lightly stamp on scratch paper and then stamp background) with Root Beer ink. You can see I keep adding layers.

- I stenciled Olive Hero Wax over the bottom of my map panel with the Cobblestone Stencil to simulate a road.
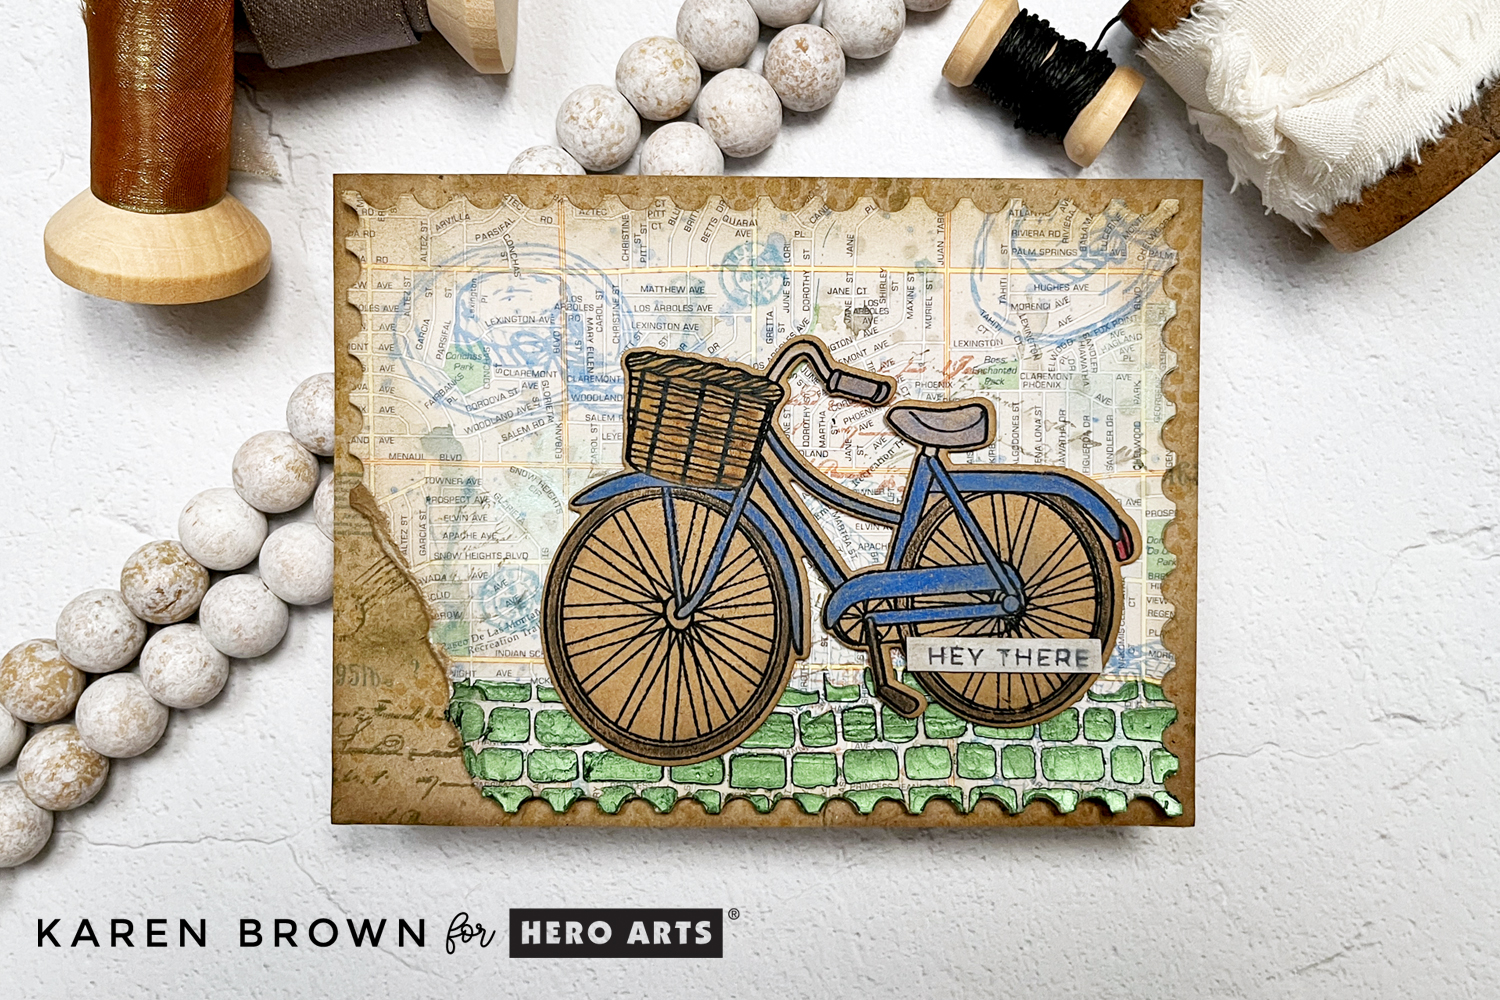
- Tear the bottom left corner off the panel for a really old and tattered look. Ink blend along the tear line.
- After looking at my panel I decided I wanted to darken the edges even more, so I added additional ink blending around the edges and corners.
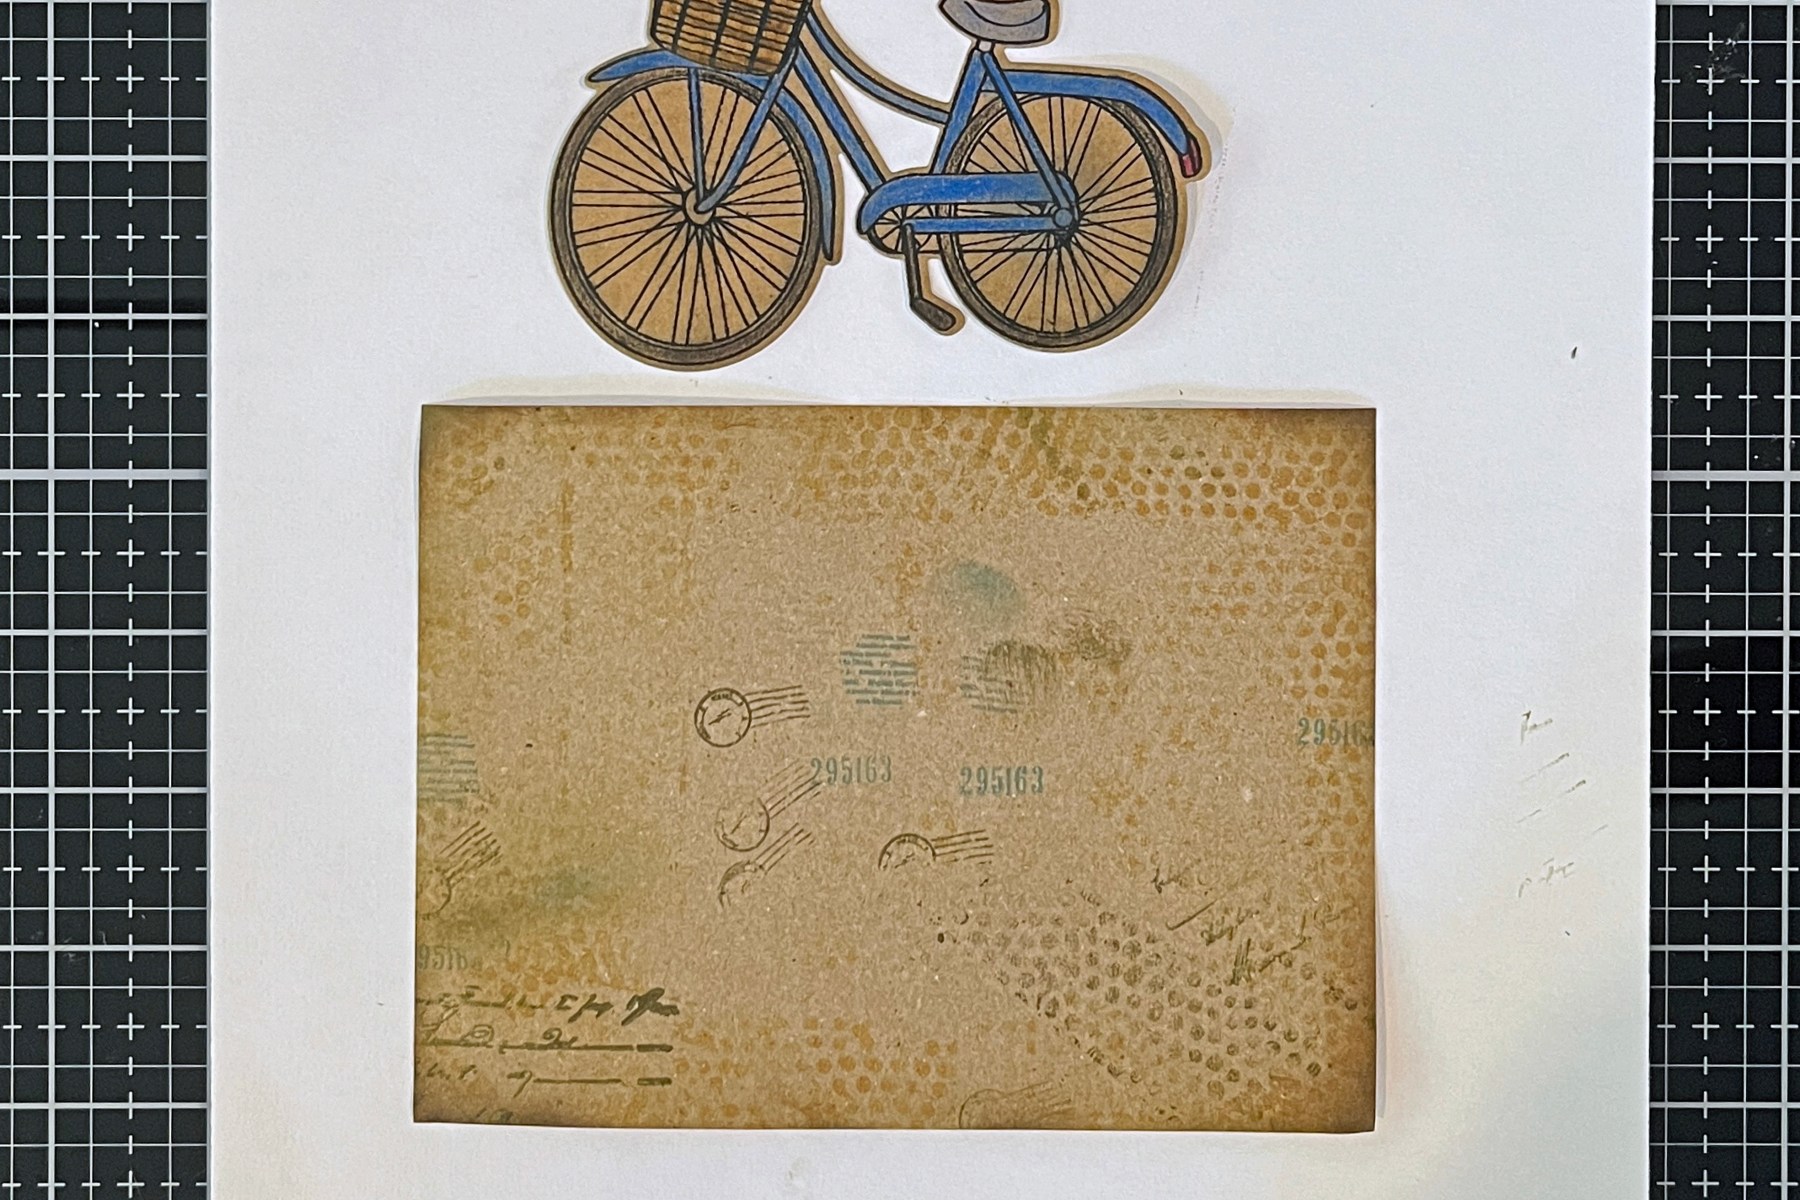
Bicycle Focal Point:
- On a panel from the brown paper shopping bag, I stamped the bike from the Hero Studio June card kit. I left it in the stamp positioner and colored with InkTense colored pencils. Then I restamped the bike for a crisp black look.
- Die cut bike
- Ink edges with root beer ink.

Tattered and Worn Base Mat:
- Cut a second panel from the brown paper bag to act as a base mat.
- Using the Rough Dot Bold Prints Stamp, stamp with Root Beer ink and Fawn Ink on the second panel (which is slightly larger than the map panel). Dab a bit here and there, heavier in some places, lighter in others for a vintage look.
- In the bottom left corner add some text stamping for interest. This is where the torn edge will be positioned, so this area of the base will be more visible. I Used Vintage Postmarks and Tickets and Vintage Maps and Ledgers again and randomly added numbers etc around the perimeter of the card base.
- Ink the edges and corners to darken them.
I love the inky grungy look of this card!
Use What You Have! Old maps, shopping bags, sewing patterns, dictionary pages, music books—they all bring unique texture and charm to your cards. Mixed media is about building interest through layers, so don’t be afraid to play!


