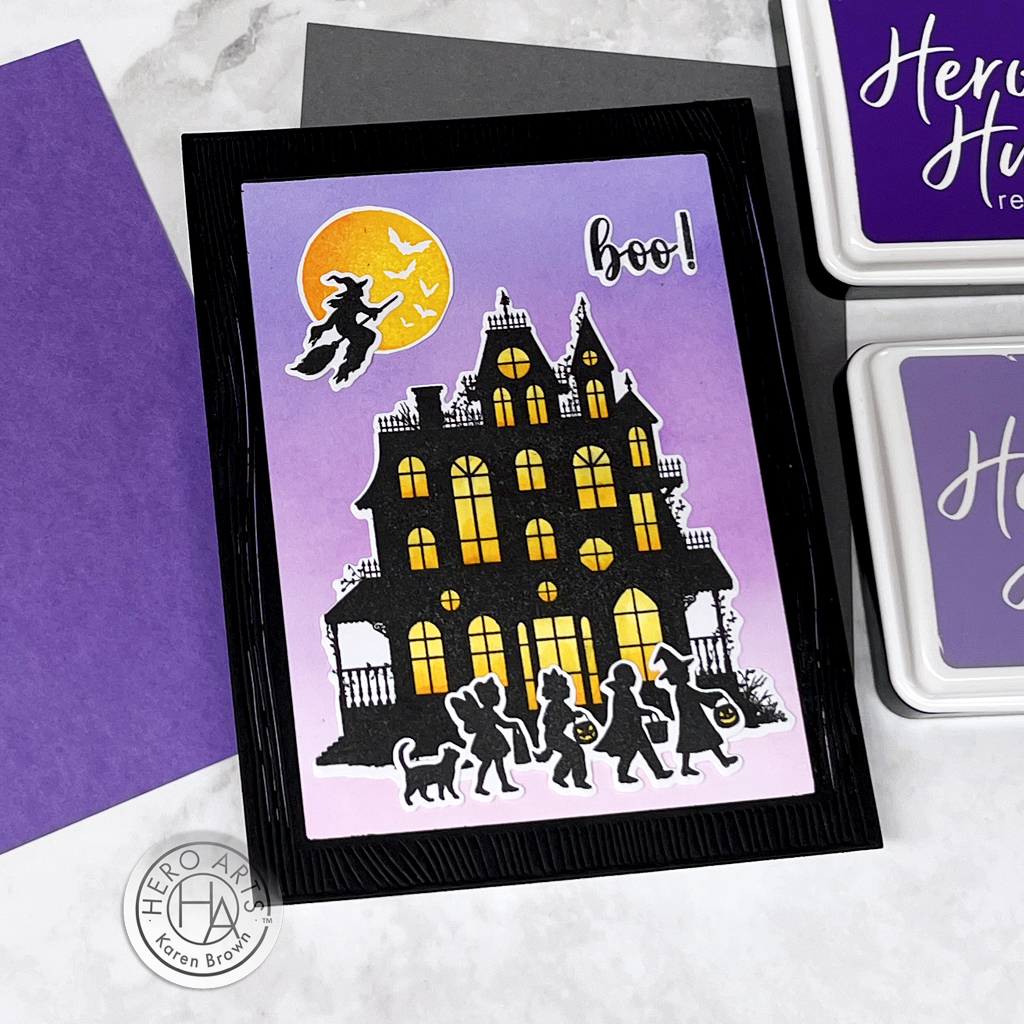
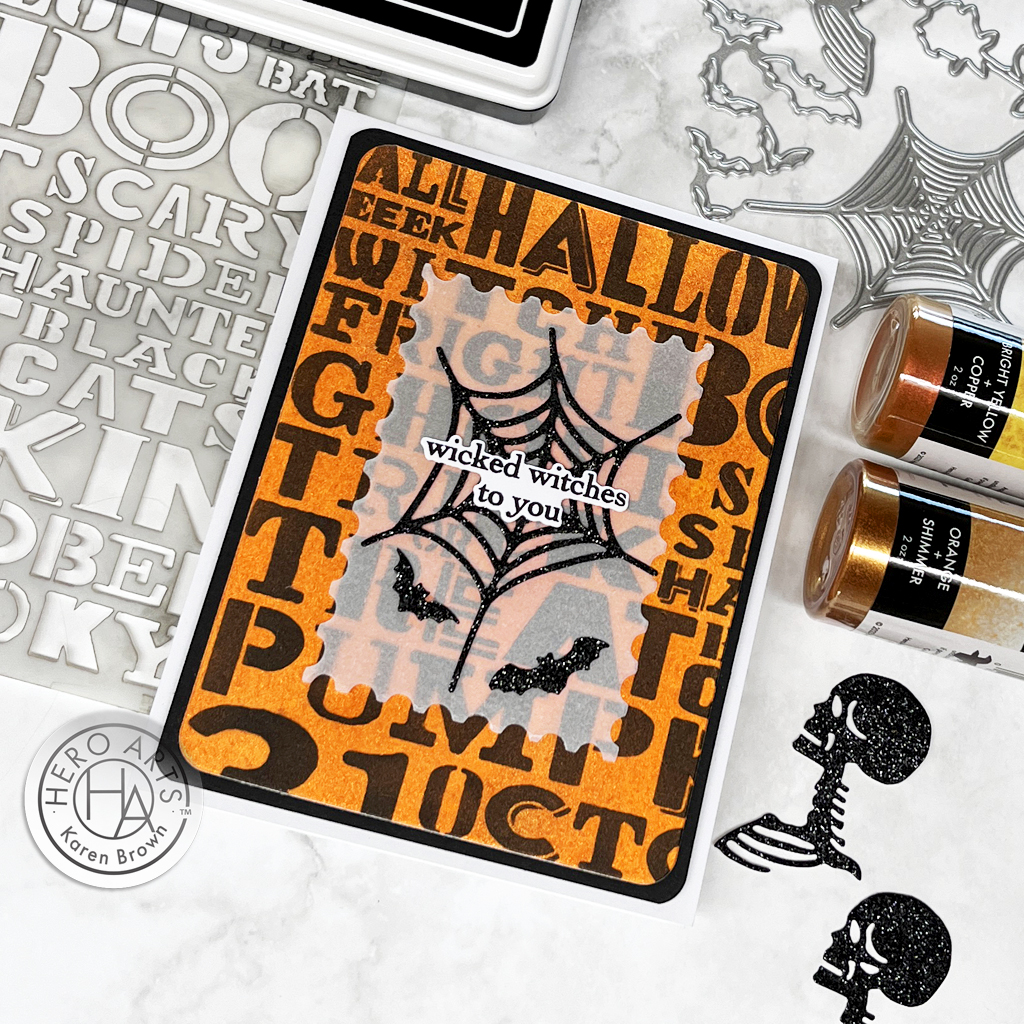
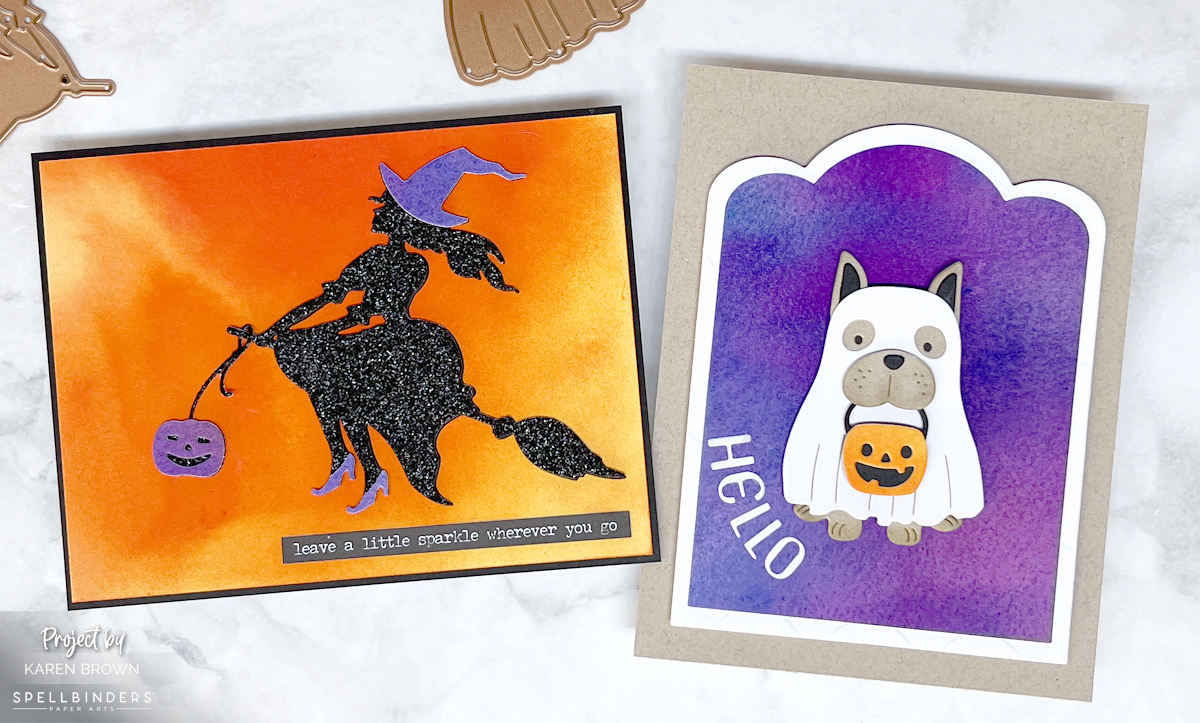
Are you ready to add a touch of winter magic to your card-making? In today’s video, I will guide you step-by-step through the enchanting process of creating shimmery snowflake backgrounds that will leave everyone in awe!
If you are having trouble viewing the video, click HERE to watch on YouTube.
Halloween is creeping around the corner, and it’s the perfect time to brew up some crafty magic with die-cut Halloween scene cards! The September Hero Studio Release is bursting with fun new products + an exciting Blog Hop, so hop along and gather tons of inspiration from some incredibly talented crafters. Let’s dive into the cauldron of creativity and get started!
Witch’s Kitchen | Monthly Mini Clear Stamp and Die Set
Next, I stamped all the stamp elements, colored with alcohol markers and then die cut. Then, I played around with layouts until I liked my spooky little scene. A little magic potion anyone???
I started by ink blending my background with Taffy, Thistle and Purple Galaxy inks. On a different white card panel I stamped my elements using Intense Black ink. I stamped the black several times for a dark silhouette. I stamped the moon with Lemon Drop and Creamsicle, blending a bit on the stamp before stamping. To “light” my windows, I used a yellow and pale orange alcohol marker. After I completed my little scene, I decided my card needed a frame, so I die cut one from Pitch Black cardstock using my Wood Frame Infinity Dies.
$46 with Subscription + FREE SHIPPING $49.99 One-Time Purchase While Supplies Last
5 Wonderful Kit Options:
For this blog post, I created with two kits and two Extraordinary Extras, but there there are 5 kits plus 5 Extras available. You can also buy the Whole Studio, which includes all 5 kits at a wonderful savings.
The Whole Studio ($120 with subscription or $138.95 one-time purchase price)
Now it’s time for the Blog Hop! What’s a Blog Hop, you ask? It’s a fun, crafty event where you can hop from one blog to another, gathering inspiration, tips, and tricks from different crafters. Each blog in the hop will feature a Halloween project (or two or three!), so you’re sure to leave with your cauldron overflowing with ideas!
Hero Arts will give away a $50 gift card, drawn from the comments left across the hop. Enter by Sunday, September 8th at 11:59pm Pacific, and the winner will be announced on the Hero Arts blog the following week.
Here’s how to join:
Visit the Next Blog in the Hop: Check out the list of participating blogs (links below), and hop to the next one – Lydia Fiedler – to see what spooky creation she has brewed up!
Leave a Comment: Show some love to your fellow crafters by leaving a comment on their posts. It’s a great way to connect and share the Halloween spirit!
Creating die-cut Halloween scene cards is a fang-tastic way to get into the spooky spirit and share some handmade love with friends and family. Plus, participating in a Blog Hop is the perfect way to find inspiration and connect with the crafting community. So, grab your dies, fire up your die-cutting machine, and let’s make this Halloween a crafty one to remember!
Happy crafting, and don’t forget to join the Blog Hop! 🎃👻
Hello Crafty Friends! Today, we’re diving into the delightful world of scene cards by creating a cozy little card featuring a house, a tree, and a swing. Spellbinders just released a new Storytelling Collection and I used Home Sweet Home for this card.
This project is perfect for those moments when you want to escape into a serene, idyllic scene—no matter what’s going on outside your window. So, grab your crafting supplies, and let’s swing into some creative fun!
Why a Scene Card?
Scene cards are like mini stories captured in paper. They allow you to create a complete world on a small canvas, bringing warmth, nostalgia, and a touch of whimsy to whoever receives it. Plus, you can evoke that peaceful, happy feeling of home, making this card perfect for any occasion.
I love creating scene cards, so I combined some of my favorite die sets on this card.
Creating scene cards is such a rewarding way to let your imagination run wild. This card, with its quaint house, sturdy tree, and gently swinging swing, is like a little escape to a peaceful place every time you look at it. So, grab your crafting supplies and start creating your own mini world on a card!
Happy crafting, and may your creative journey be as joyful as a swing on a sunny day! 🌞🌳
Halloween is just around the corner, and what better way to get into the spirit than by creating some spooky yet charming Halloween cards? Spellbinders has just released an adorable collection called Happy Haunting that is SO fun! I created two cards today that I am going to send to my daughters. I used Witchin” Heels (S3-525) and Woof or Treat (S3-521).
Spooky (and Cute!) Card Designs
For a simple yet delightful card, I created a dramatic sunset background to contrast with my sparkly witchy silhouette. I love using Liquid Watercolors because they are so vivid.
My Design Process:
I started my design process by creating two bold backgrounds using liquid watercolors.
Witchin’ Heels background: I brushed water onto a watercolor paper panel and then used the Dandelion Yellow Liquid Watercolor eye-dropper to drop color onto the paper. I added yellow at the top and bottom of the panel and dropped Orange in the middle. I then used my mini-mister sprayer to add water to the colors, tilting different directions so that the colors blended and flowed. I repeated this process a couple of times.
Woof or Treat backgound: I repeated the process for my purple panel using Indigo and Neon Brights Pink Liquid Watercolors. Since I didn’t have purple watercolor I created my own by dropping a big blob of Indigo ink and then putting a smaller drop of pink in the center. I spitzed with water and then tilted to move the ink. I added several layers for an intense color.
I used my heat tool to speed up the drying process.
Below, you can see a photo of my completed backgrounds.
Die cutting was next. I used Black Glitter Paper for the Witch and added purple accents die cut from my purple watercolor panel. For my ghostly pup, I used khaki and added a hint of shading with a blending brush.
To frame my little trick-or-treater, I used my Scallop Label Infinity Dies. I also added a little dimension with foam squares and craft foam.
I feel like each of these cards has a little bit of seasonal magic combined with crafty love. I adore the bold colors acheived with liquid watercolors.
I hope you found some inspiration today. Thanks for stopping by!
Hello lovely crafters! Karen Brown here and today I am excited to share with you a simple yet stunning way to create a floral background with a gorgeous new cling stamp called Orchids.
I started by making two background panels. I took a Clear Acetate Window Card Panel, dabbed Reactive Ink on the acetate and then spritzed with water. Some spots were watery and others were a bit dryer, and think I think this combination adds more character to backgrounds.
I turned the acetate over, bent it so that it touched just a portion of my background, and applied a section of the diluted ink onto Luxe Watercolor Paper. I continued adding different colors until I liked the look of my panel. I wanted contrast so I made sure to leave some white space. You can see my process photo below.
I let my backgrounds dry overnight but you could speed things up with a heat tool.
I find I get a better result if I season my cling stamps prior to stamping my project. I inked up the Orchids stamp and stamped on plain computer paper and then discarded this test paper.
I put my ink smoosh background and cling stamp in my stamp positioner and stamped three times with Intense Black Ink. I wanted a nice dark impression that really penetrated the paper.
I am so excited that it is Launch Day for Hero Studio’s playful August jungle theme release. I can’t wait to show you some of Hero Arts GORGEOUS new products, so kick back and hop along with the Creative Team.
Hero will give away a $50 gift card, drawn from the comments left across the hop. Enter by Sunday, August 11th at 11:59pm Pacific, and the winner will be announced on the Hero Arts blog the following week. Links to all the Hop Participants is below.
Create Your Own Jungle | Studio Card Kit of the Month
The August Card Kit of the Month is so playful with tons of wonderful elements to incorporate into your papercrafting projects. For my first card, I used the Heroscape stamp set to create a “wild” birthday card. I think the Nesting Postage Stamp Dies give an exotic travel feel to my card.
KIT INCLUDES: • Jungle HeroScape Clear Stamp Set, 6″ x 8″ • 12 Coordinating Dies • 5 Fancy Dies • Jungle Scenics Stencil, 6″ x 6″ • Olive Hero Wax • White Plastic Palette Knife • 3 Reactive Ink Cubes (Key Lime Fizz, Green Apple, Fruit Punch) • 2 Reactive Glitz Ink Pads (French Pink, Byzantine Green) • 5 Printed Sticker Sheets, 6″ x 6″
Kit Cost:
$46 with Subscription + FREE SHIPPING $49.99 One-Time Purchase While Supplies Last
5 Wonderful Kit Options:
For this blog post, I created with two kits and 1 Extraordinary Extra, but there there are 5 kits plus 5 Extras available. You can also buy the Whole Studio, which includes all 5 kits at a wonderful savings.
The Whole Studio ($120 with subscription or $138.95 one-time purchase price)
I used my favorite blues and greens for this cool and calm Jungle Serenity card. I stamped my images, colored with alcohol markers and layered my backdrop using my Rounded Rectangle Infinity Dies.
PRO TIP: There is a small die in the lower left corner that is easy to overlook when you are snipping your dies apart. Be sure to separate that piece before die cutting.
I ink blended my background and then continued the foliage theme by adding die cuts and a sentiment from my August Card Kit of the Month. I love how the kit themes for each month all work together….endless possibilites!
Hello crafters! Karen Brown here and I am delighted to be back on the Spellbinders Blog with some ideas for streamlining your creative cardmaking process. Lately, I have been incorporating a lot of pre-printed elements into my cardmaking and I love how this allows me to focus on the joy of designing. Today I have a “sneak peek” of one of my cards, but you can read my entire blog post HERE on the Spellbinders Blog.
Get ready to unleash your creativity with the soon to be released August 2024 Layering Stencil Monthly Mini Card Making Kit! Dive into a lush paradise of tropical foliage as you create stunning, multi-dimensional cards that burst with vibrant blues and greens. All of Hero Arts August kits release on Monday, so stay tuned!
Today, Hero Arts is hosting their Day 2 Countdown Blog Hop and Giveaway that you can find HERE. The Day 1 Countdown Hop is HERE.
I love bright fun colors and this layering stencil background was perfect for aqua blues and greens. I used a few items from my August Card Kit to embellish my card and continue with the jungle foliage theme.
This may be my favorite Spellbinders kit of 2024! The August 2024 Stitching Kit of the Month is perfect for cardmakers, artists or anyone that loves a colorful card. I truly love rainbow cardstock and floss….put them together and you have a real keepsake.
Spellbinders has 9 great Club Options that you might want to check out + their Deluxe Caboodle, which includes all 9 kits + a bonus gift, all at a 60% savings.
Rainbow Craft Theme Card Kit:
Tips and Tricks for Stunning Stitched Cards:
I started by die cutting my Stitching Kit pieces with my Platinum 6 die cutting machine. When I got to the smaller pieces, I found it easiest to use my desktop cutter: Scout. I used leftover colorful cardstock scraps for my paint palette. Since it was long and thin, I die cut the paintbrush twice and then glued it together for a substantial base. I die cut the other pieces once.
Spellbinders has a nice selection of stitching accessories in their shop that you can find HERE. Today, I used used DMC 776, 725, 745, 772, 504, 800, 211, 828, 646 and metallic gold floss. I have been buying and collecting floss for decades, so some of these are vintage.
When I started stitching, I took two strands of floss, separated them one at a time, brought them together and then stroked and lengthened them until they seemed tame and ready to use.
I used thin double sided tape to secure my floss to the die cuts. I like that this tape is easy to hide behind the die cuts and I don’t even bother to take the top release paper off the tape.
Remember to keep your floss taught as you stitch.
When I move from one area to the next, I run the floss through the just finished stitched area to keep the thread secure. This gives a nice look on the finished project.
Don’t stitch with threads that are too long or they are likely to knot.
When I was done, I added a bit of Bearly Glue to the ends so that they would stay in place.
Club members can cancel, upgrade or change clubs from the 1st-5th of each month. Popular Clubs frequently sell out during this period so club members get first dibs on everything.
NEW for 2024: Club Members get EARLY access to new releases on the 6th!
On the 6th, Clubs become available to non-members.
On the 27th, Club registration closes for the current month.
If a club did not sell out, you can buy under “Shop Past Clubs”. Past kits are available on the 10th of the FOLLOWING month.
Do you have a dog lover in your life? There’s nothing more delightful than receiving a card that perfectly captures the charm and whimsy of an adorable dog. Enter the cutest die cut handmade dog card— Big Pug Etched Dies – a perfect blend of creativity and cuteness that is sure to bring a smile to anyone’s face. And, there is a super fun accessory set so you can dress up your little creatures! The scarf and bow are in the accessory kit. I used Rainbow Wood Designer Paperfor my background, scarf and bow.
Bibi Cameron and Spellbinders just released a fun Cats and Pugs Collection that is going to be a longtime favorite in the Brown family. I really enjoyed creating this darling card. I added an easy but fun puffy sticker sentiment to finish my card.
I created an extra special big showy 5″ x 7″ (A7) card. Isn’t the expression on the Pug just precious?
Handmade die cut cards are more than just greeting cards; they are keepsakes that recipients will cherish. The thought and effort put into creating such a card make it a meaningful gesture, perfect for any occasion.
In a world filled with digital messages and mass-produced cards, a handmade card stands out as a unique and personal way to connect with others. So, why not try your hand at crafting one? Spread a little Pug love and make someone’s day with the cutest die cut Pug dog card!