Happy 50th Anniversary Hero Arts! Hero Arts is celebrating their impressive milestone!
I wanted to acknowledge the occasion with a little cardmaking, so I created this “Congrats Card” using my Premium Special (50th Anniversary) Gift that was included in my May Monthly Hero Premium Kit.
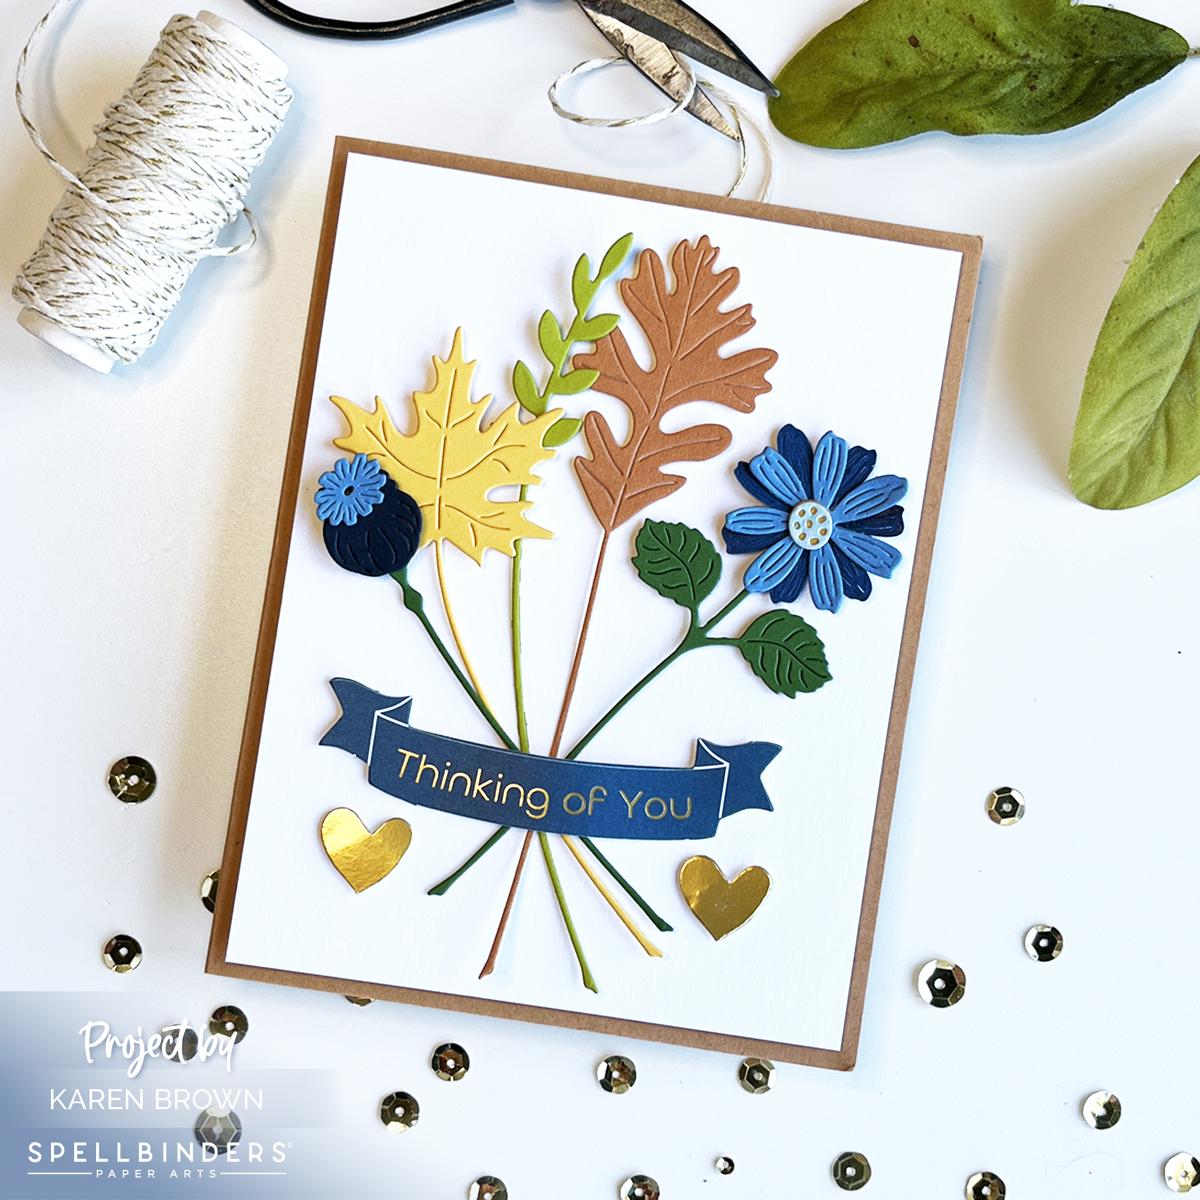
This card would also be perfect for graduation, retirement or any other congratulatory event.
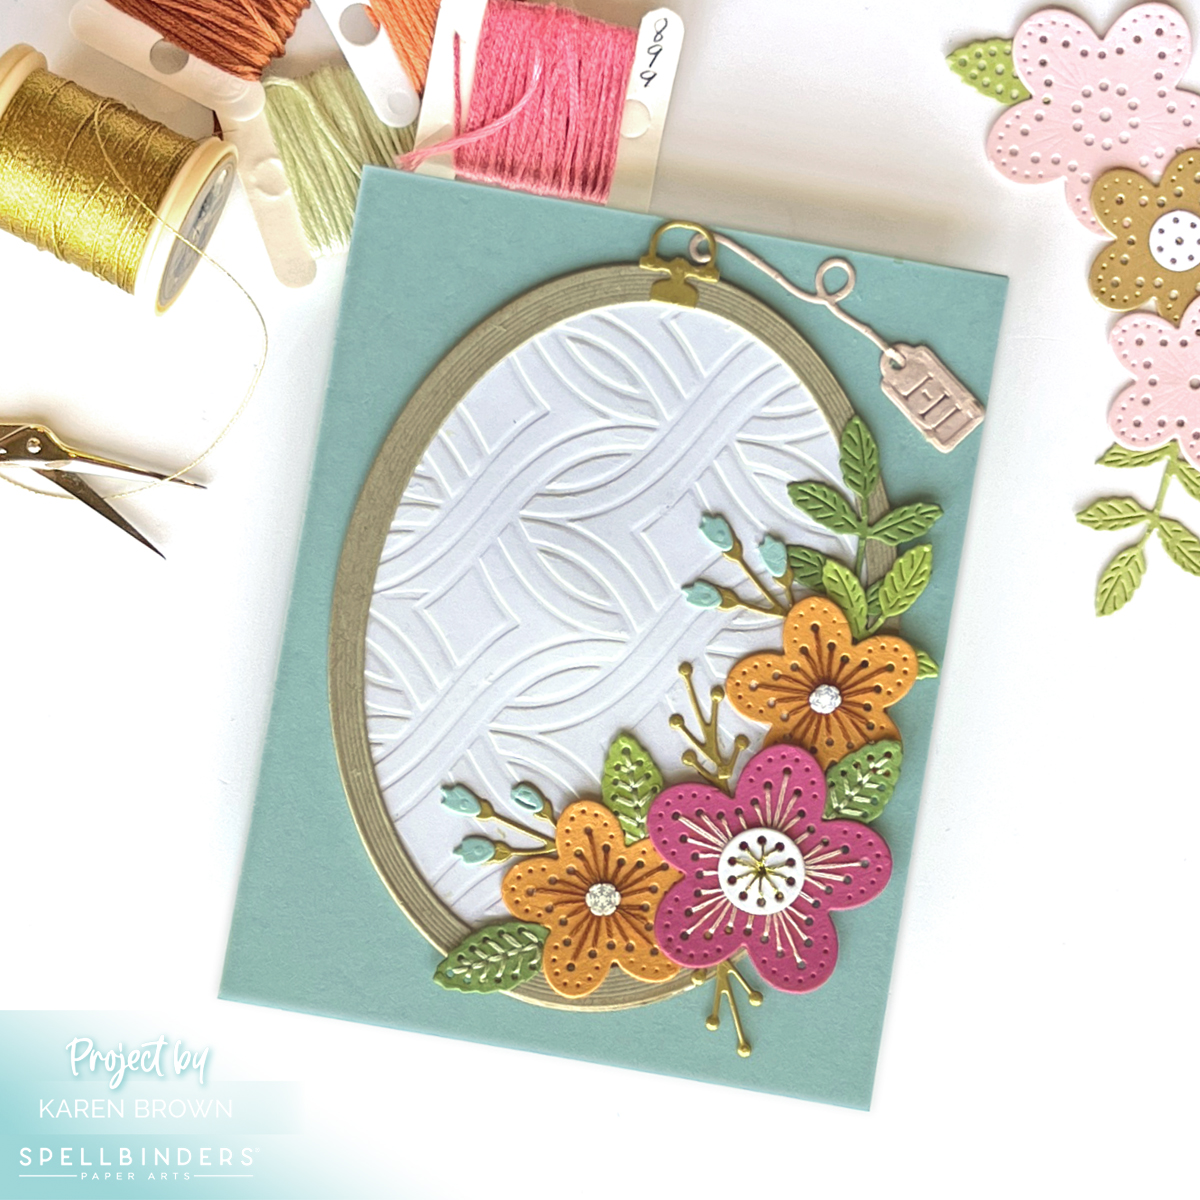
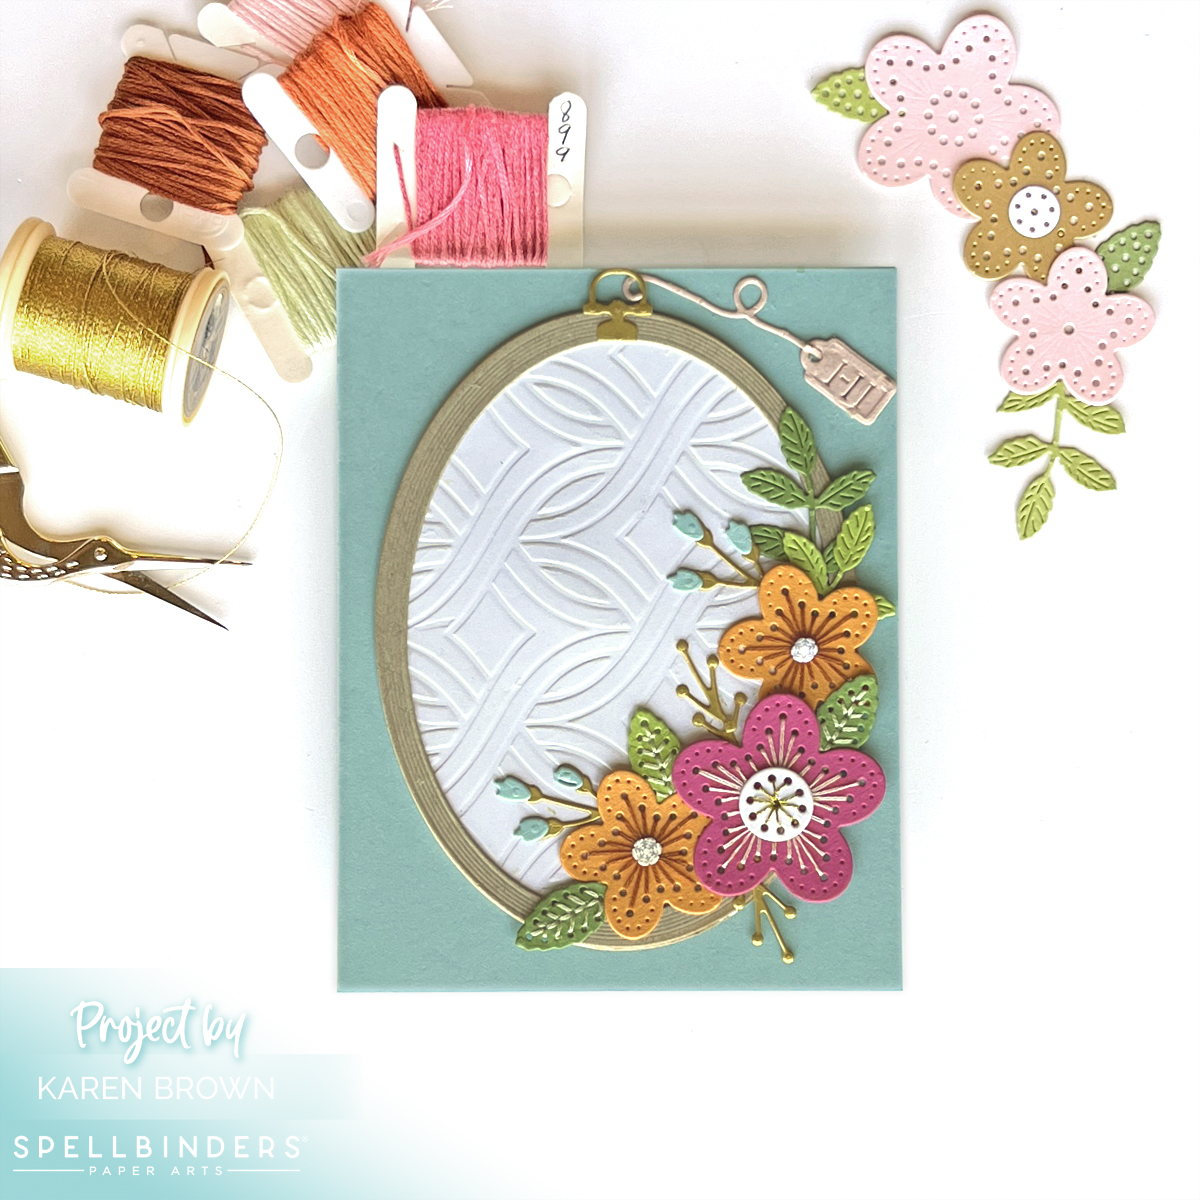
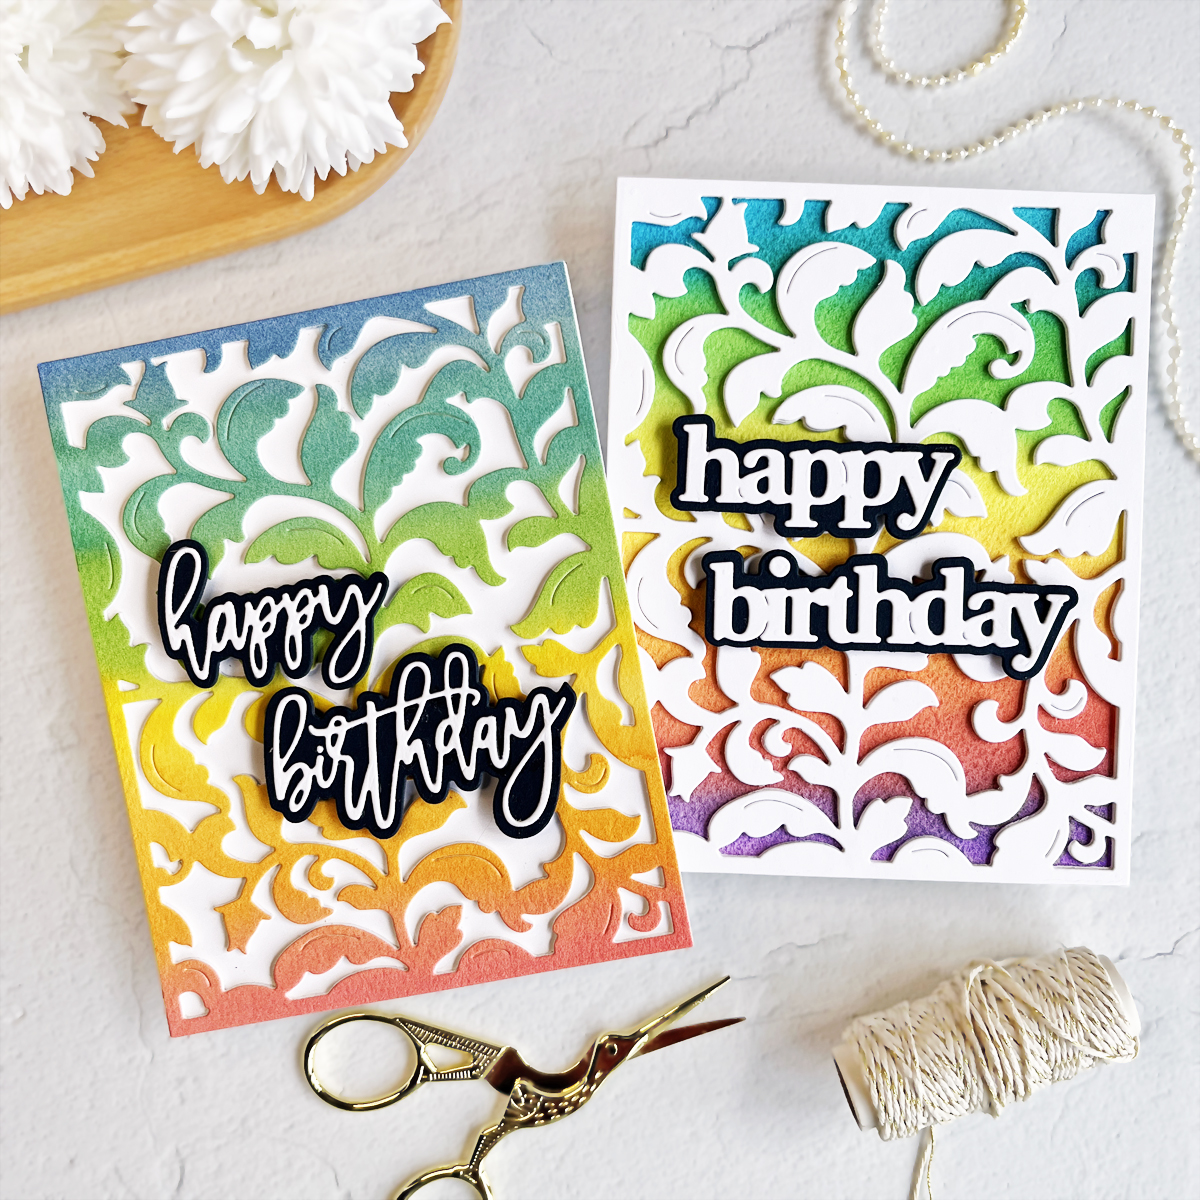
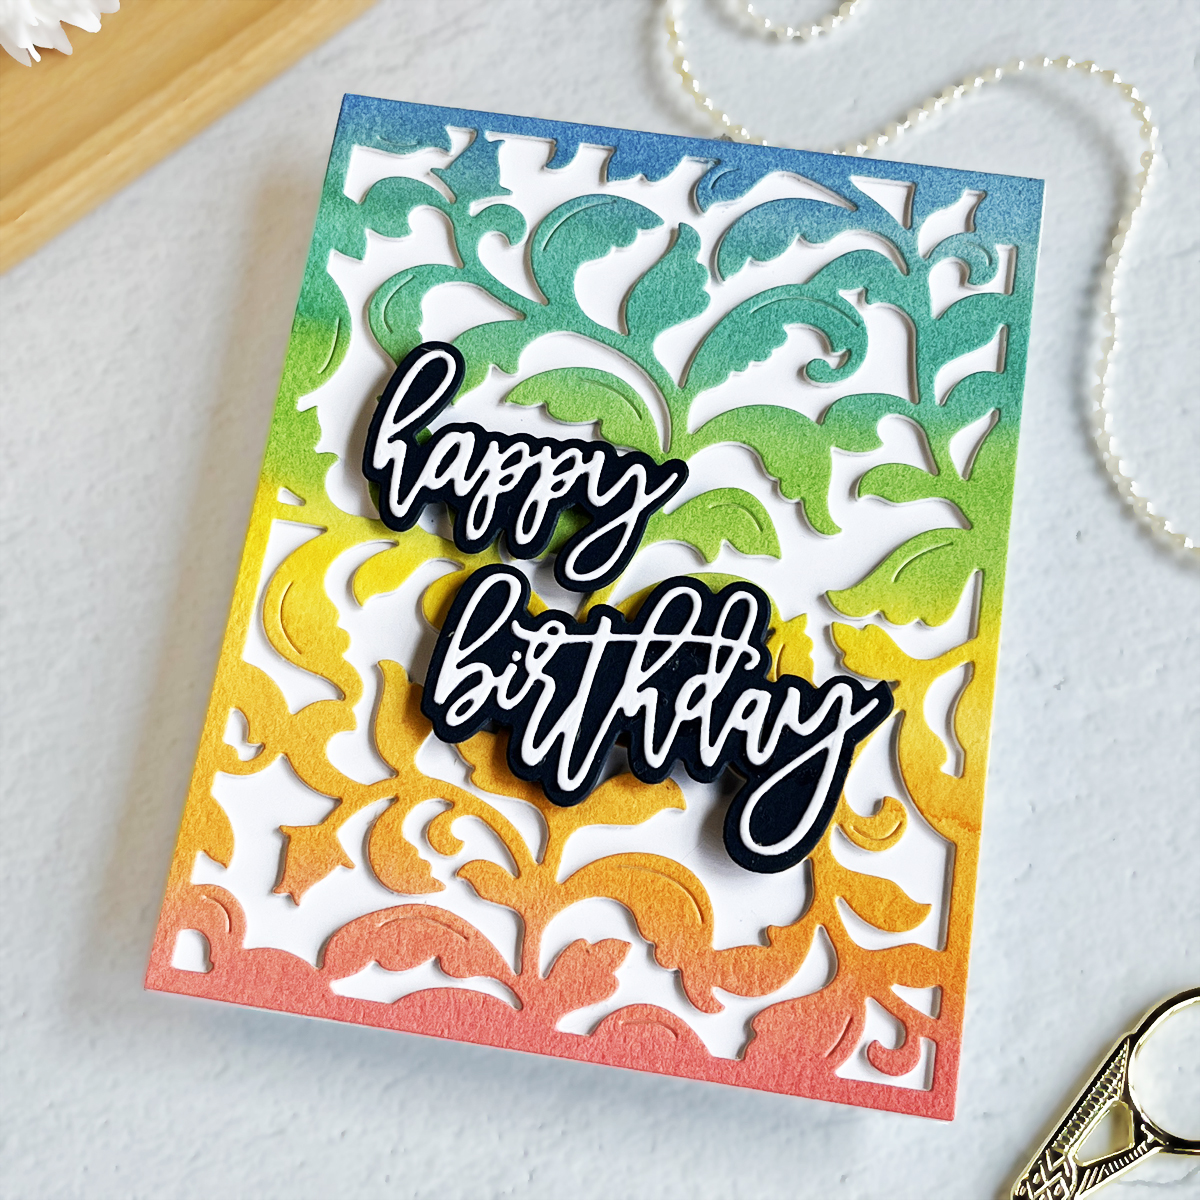
Fuchsia and Nautical Congrats Card
My Process:
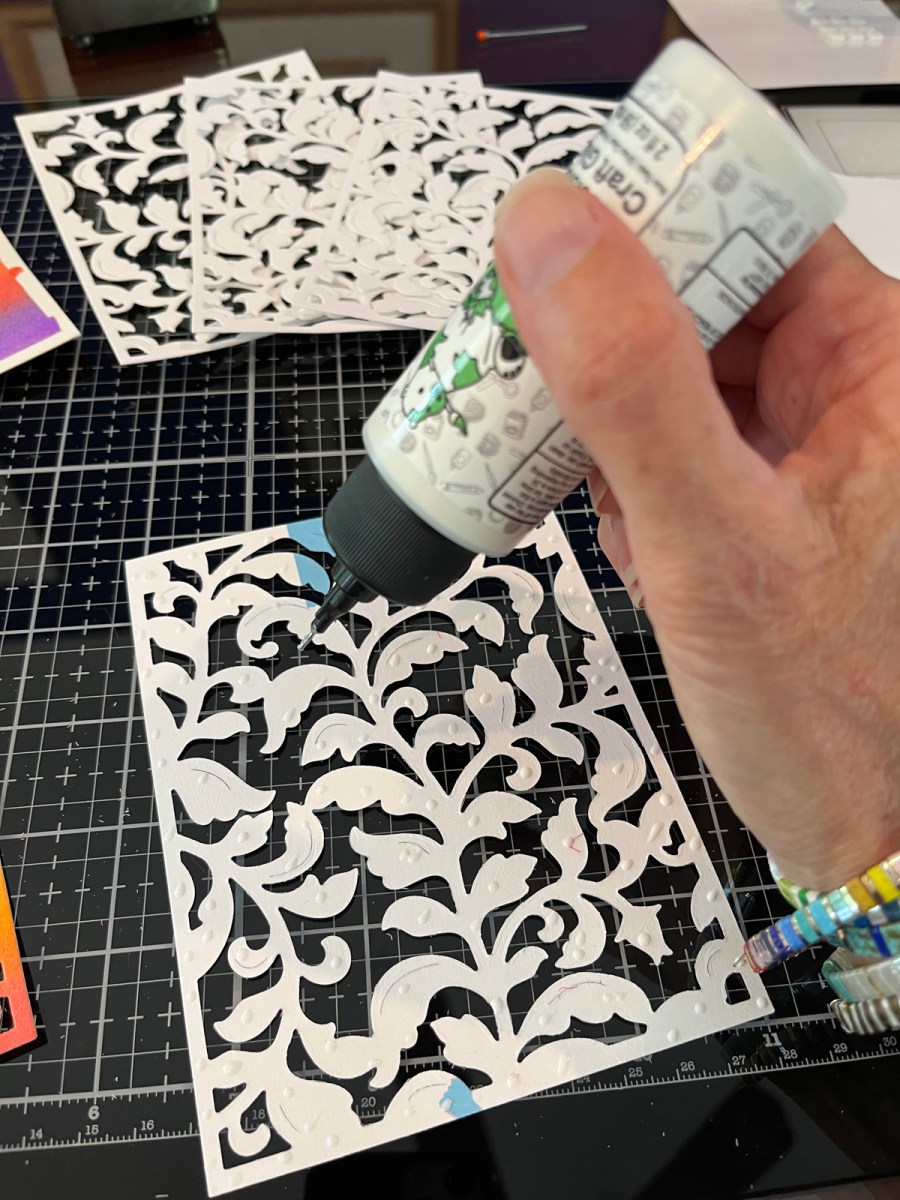
- I started by lightly ink blending Tangerine Core Ink onto Watercolor Paper and let the panel dry.
- I then added Fuchsia + Gold Two Tone Metallic Spray to the well of my paint palette.
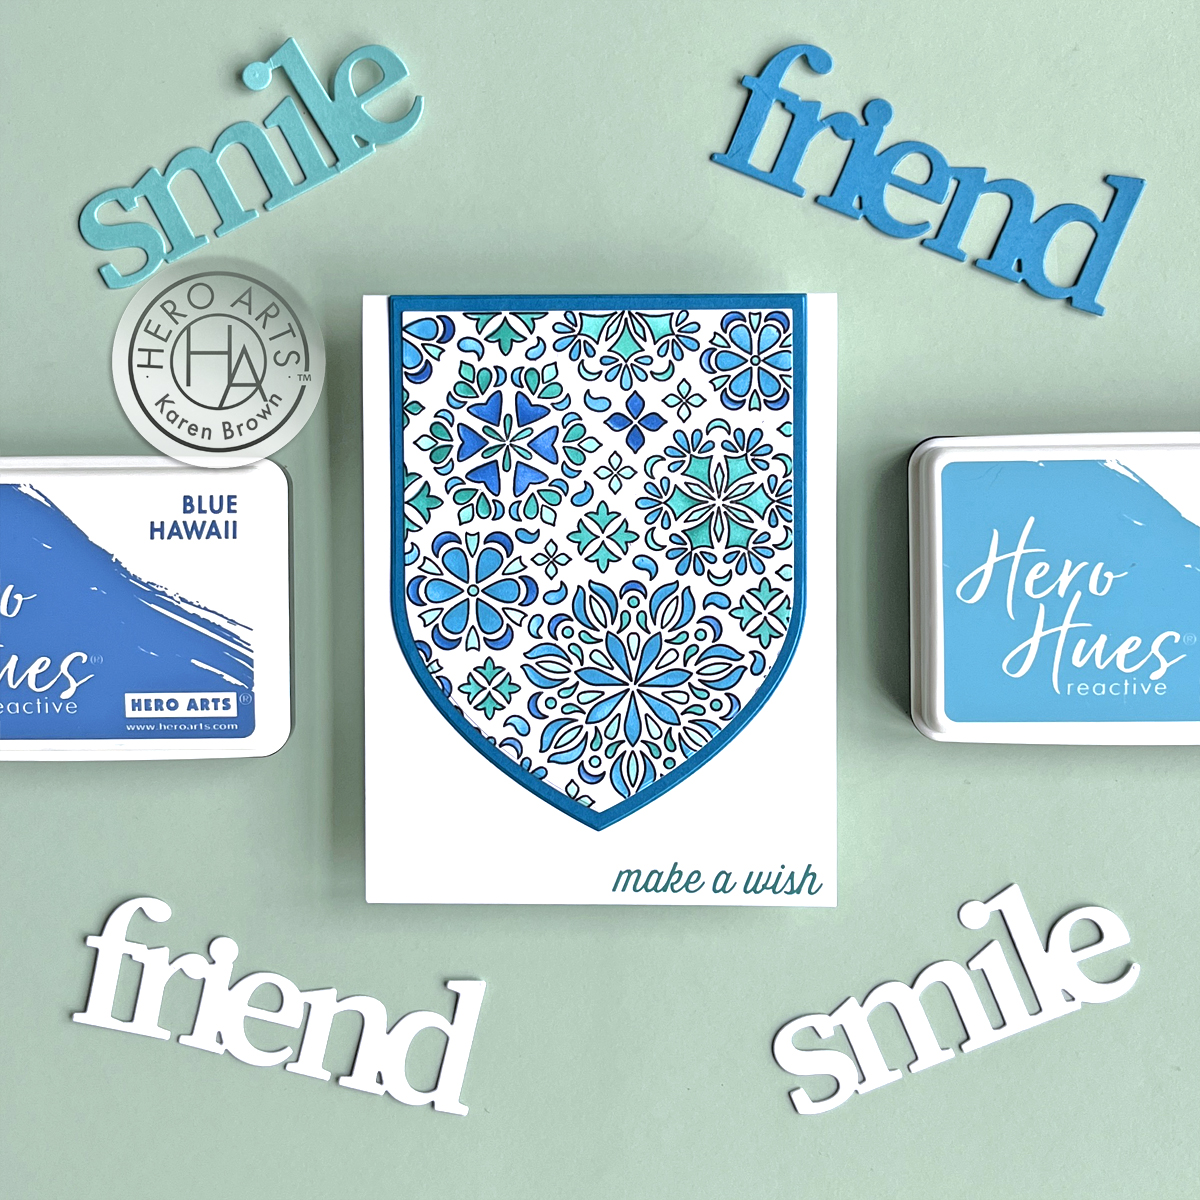
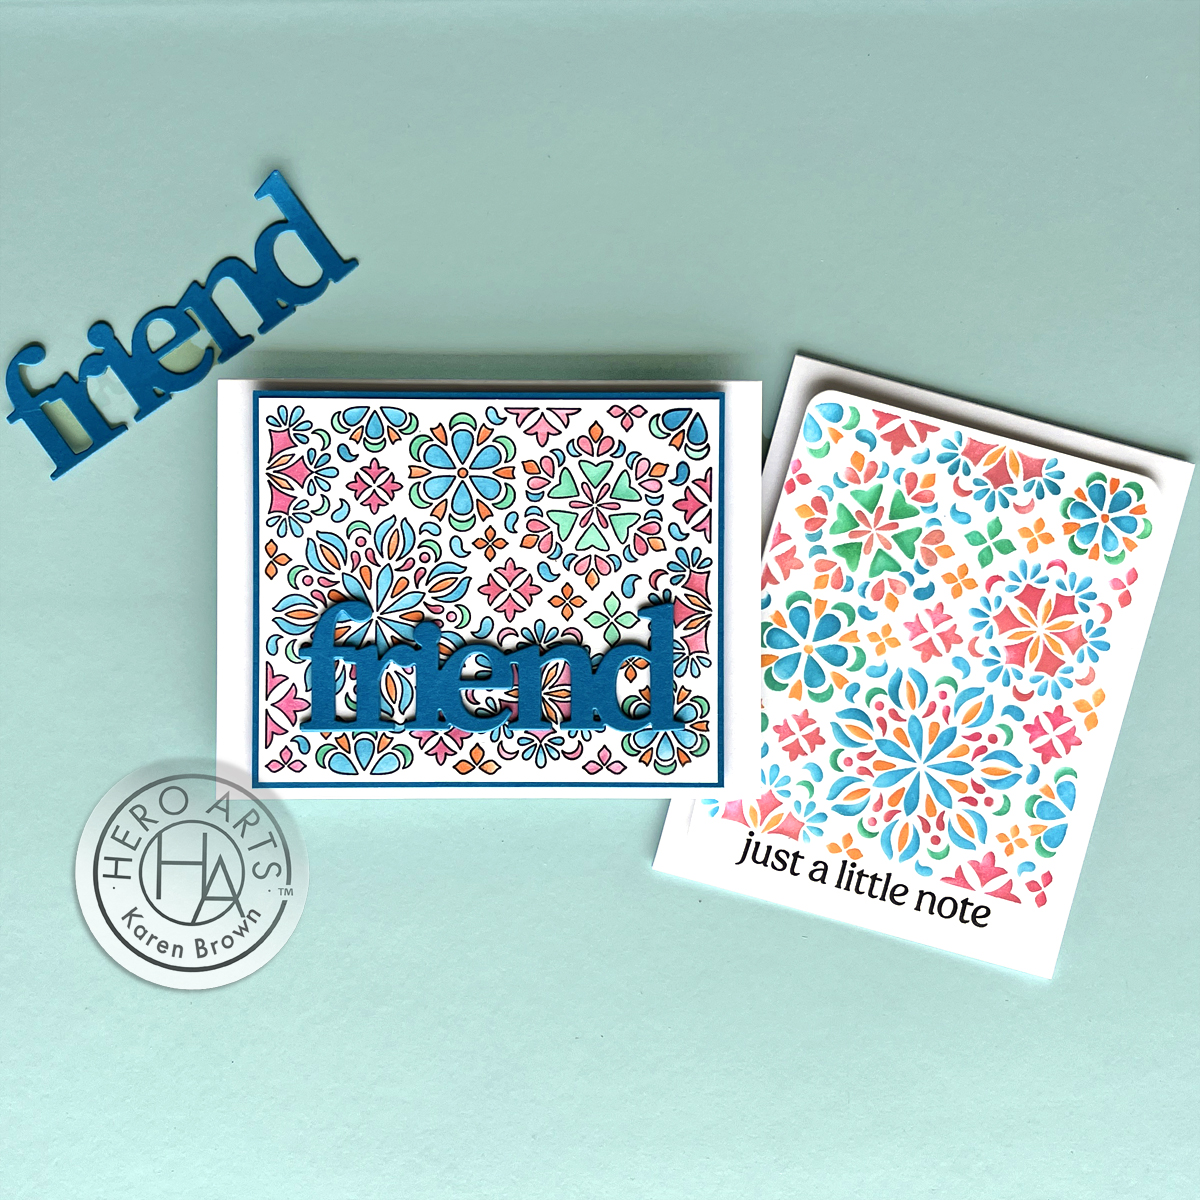
- I put my Abstract Feather Bold Print background stamp in my stamp positioner with a piece of Luxe White Watercolor Paper.
- With my Flat Water Brush, I brushed the pink paint onto my stamp and then stamped on my watercolor paper. I used Fuchsia + Gold Two Tone Metallic spray that was a fairly thick consistency. I did not dilute with more water.
- I let my panel dry and then trimmed with my Rounded Rectangles Infinity Dies.
- To add a bit more interest, I added a Rounded Rectangle Infinity die frame die cut from Nautical cardstock.
- I die cut my sentiment from the Congrats and Yay Stamp and Cut XL set 3 times from Nautical cardstock and then glued together for a substantial look and feel. I also added a die cut Vellum shadow.
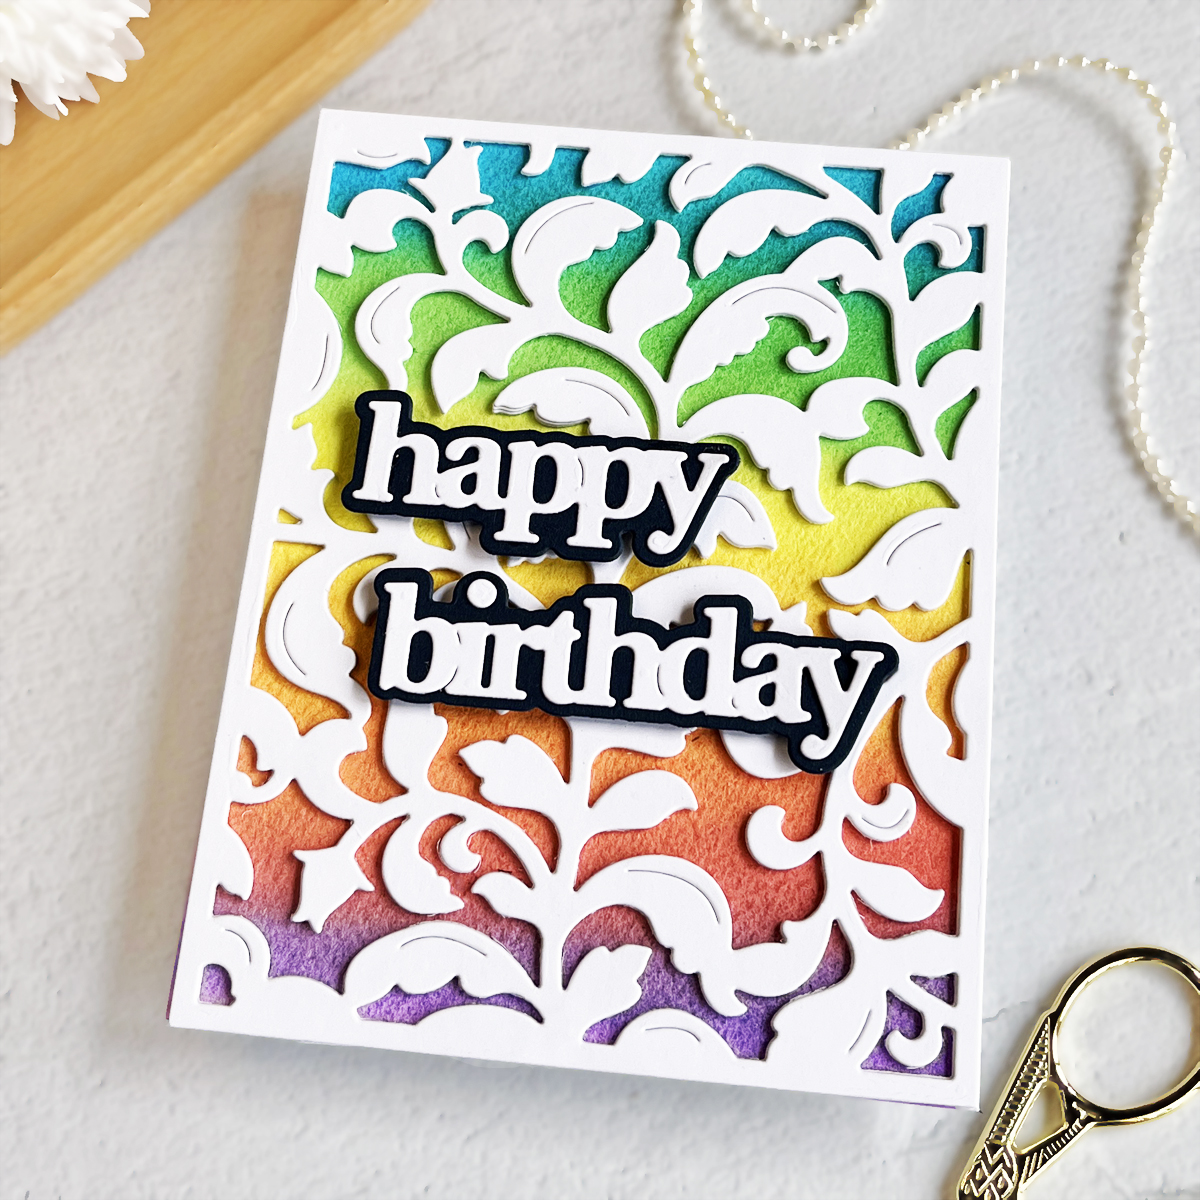
I really love this bold card, and it would be so easy to mass produce.
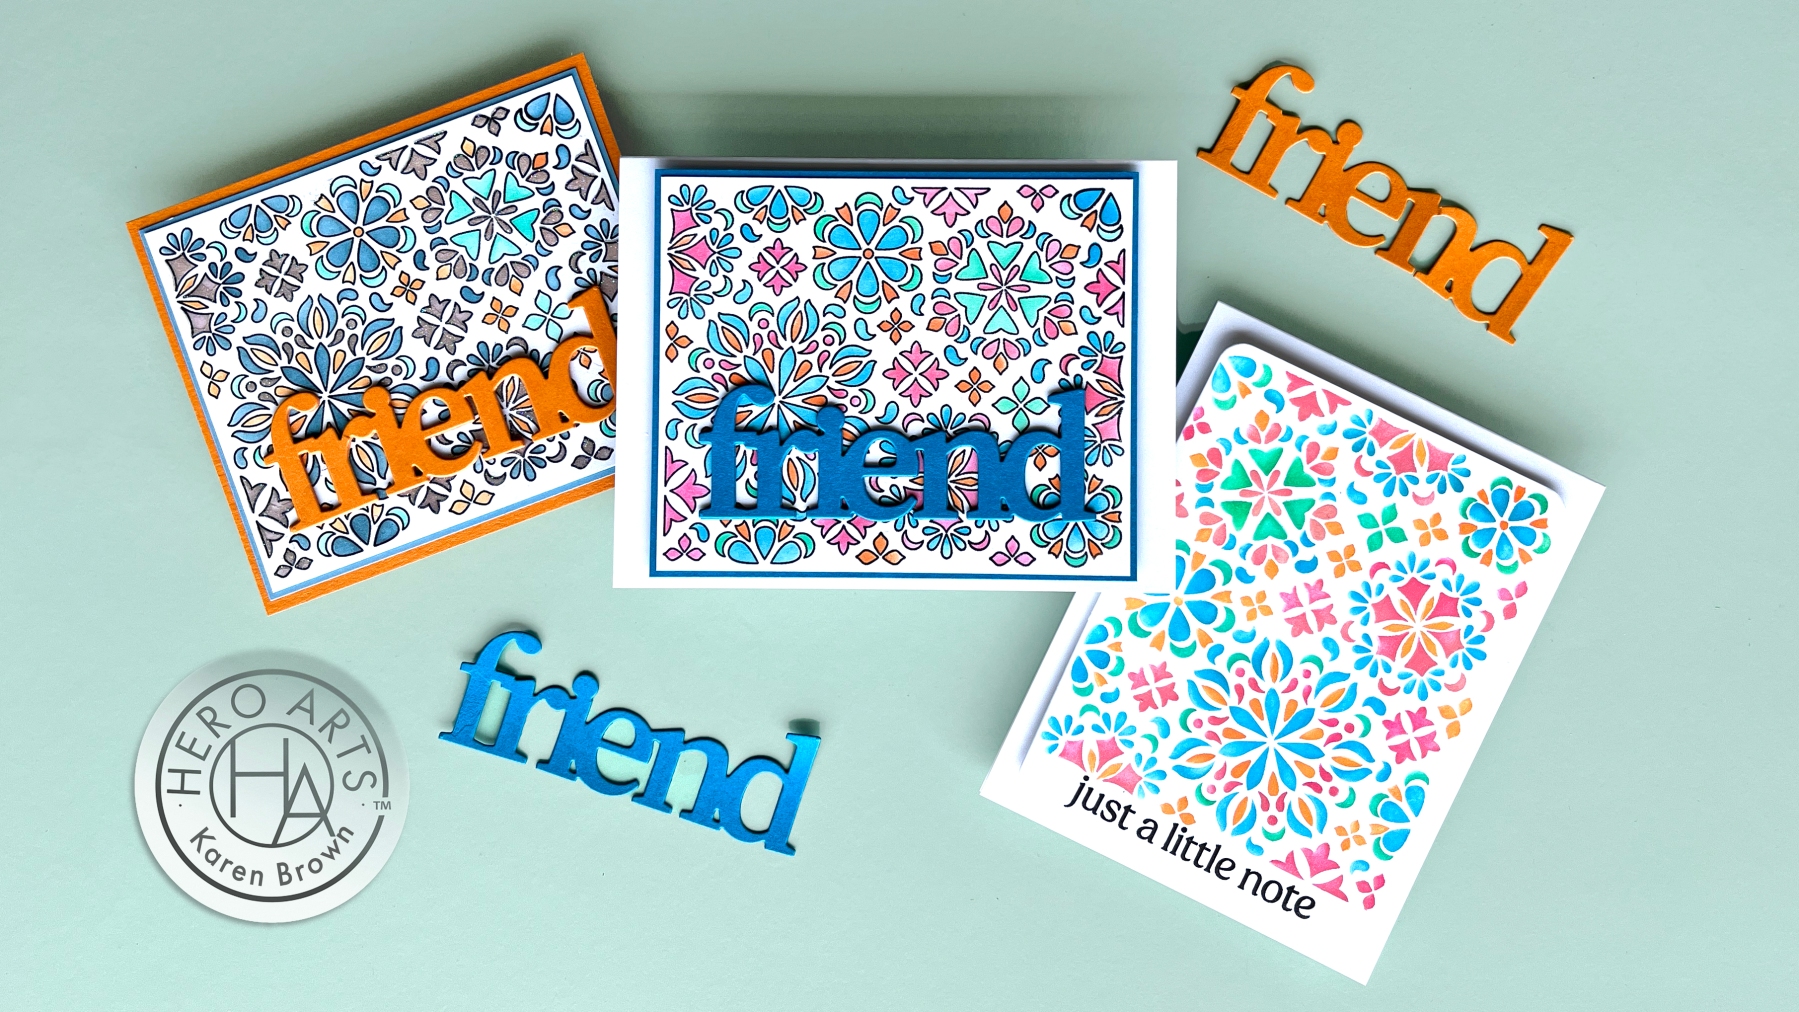
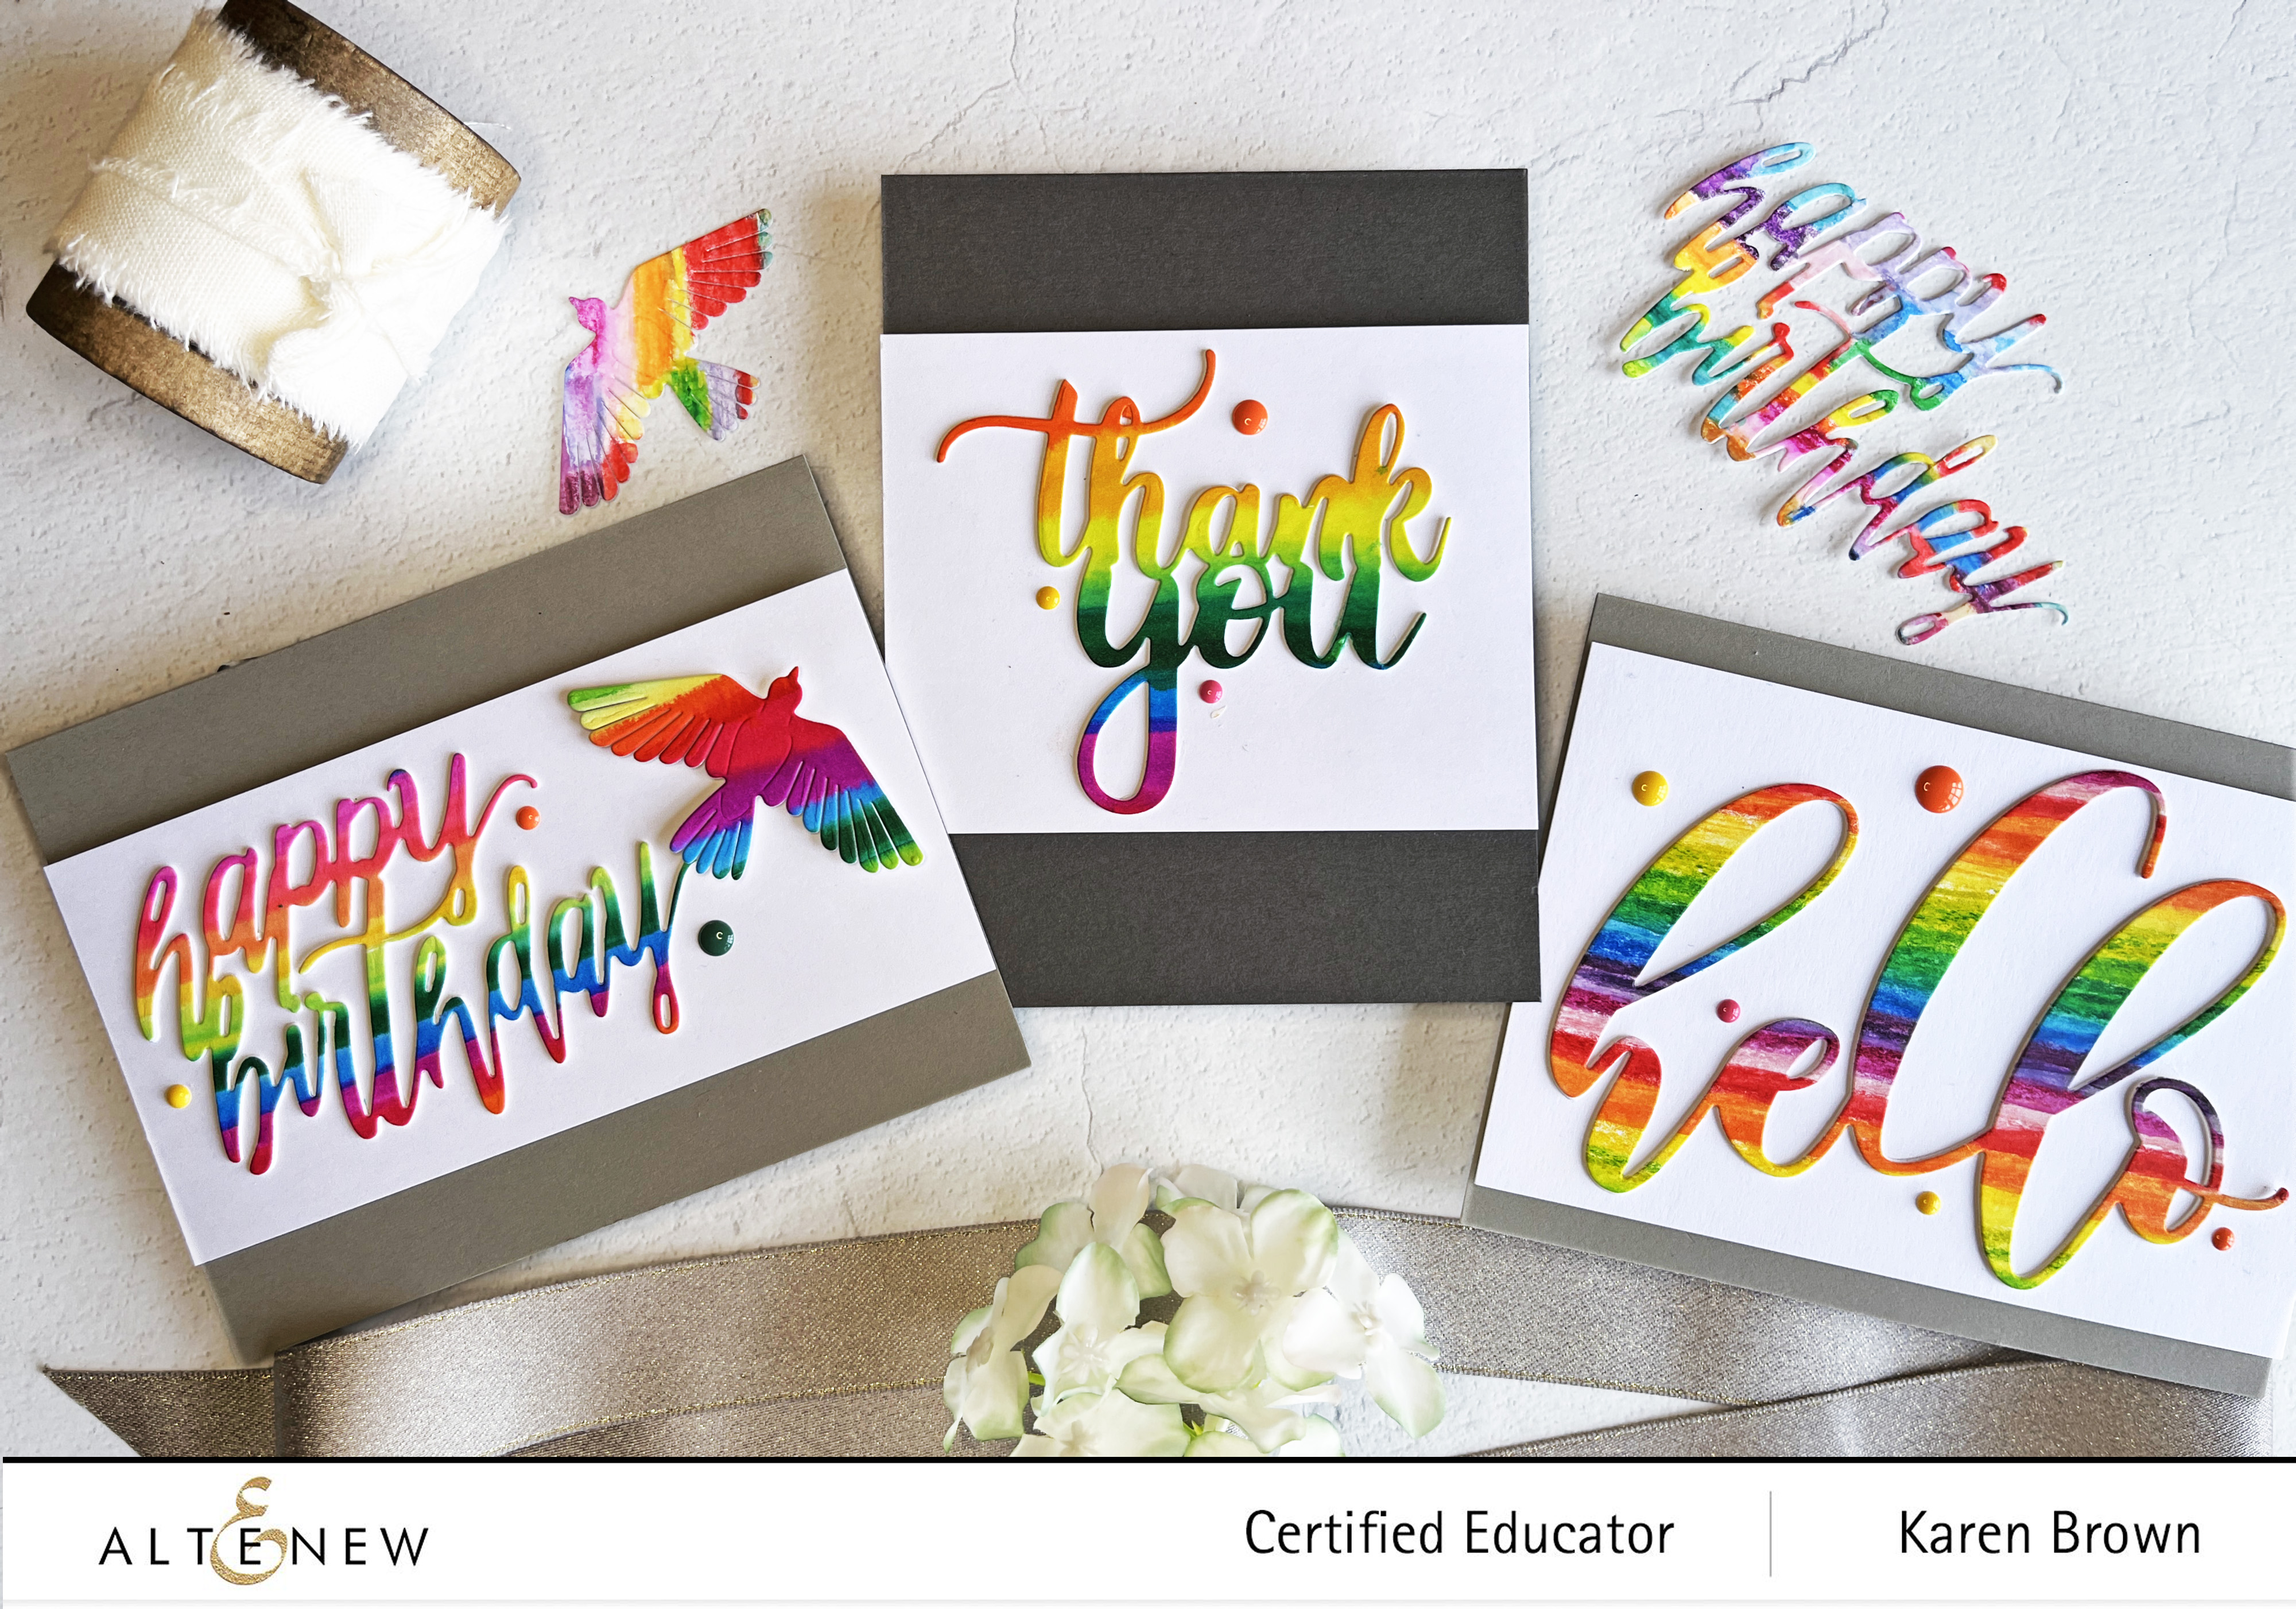
Last month, I did a trio of cards using the same technique. Click HERE if you’d like to read that post.
Thanks for stopping by….see ya next time!