Today I’m sharing a bright and cheerful card that was pure joy to create—inspired by my three beloved Meyer lemon trees! I’ve cared for these trees for over 15 years, and each winter they gift me with sunny, fragrant lemons. As I wait for this year’s green fruit to ripen, I crafted a lemon-themed card that celebrates the zest of life and all things citrus.
Key Products:
- Citrus Spritz Lemon Dies
- La Dolce Vita Collection
- Script Text BetterPress plate
- Scallop and Stitched Edge Oval Dies
- La Dolce Vita Sentiment plates and dies
- Flower Garden BetterPress Ink
- Combo Craft Stax Organizing Trays
- BetterPress System
- Glimmer Hot Foil System
- Platinum 6 Machine
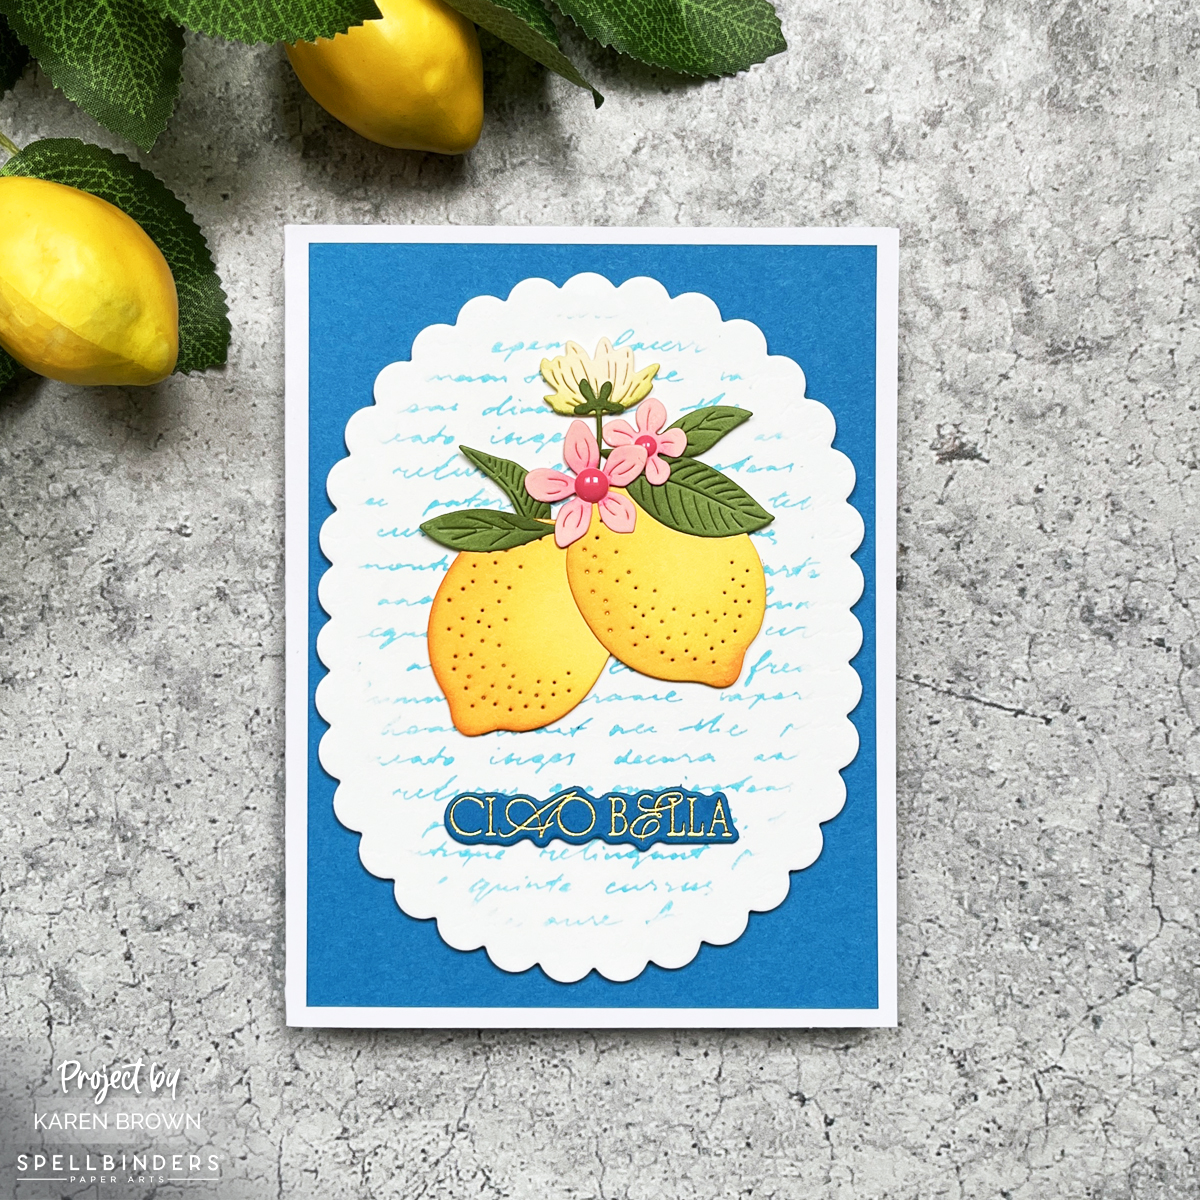
🍋 The Card Details:
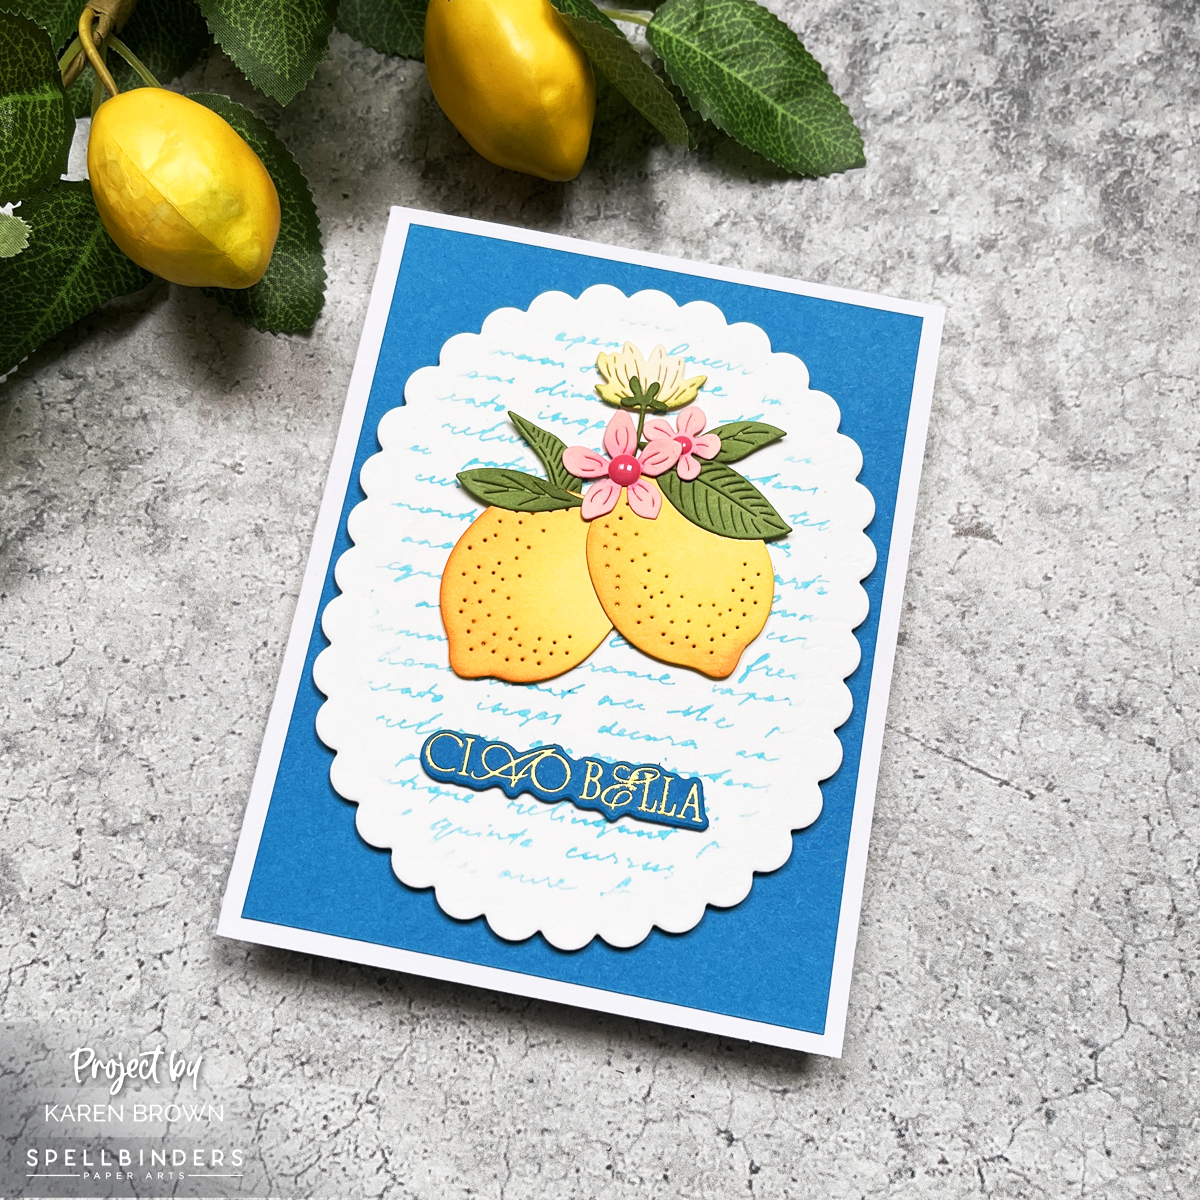
This design features two Citrus Spritz die cut lemons, softly ink blended for dimension and realism, along with a few complementary die cut leaves and tiny blossoms.
The background uses the Script Text BetterPress Plate, inked up in Hydrangea BetterPress Ink. I used a simple oval mask while pressing, to keep the impression focused and centered. I then die cut the panel using a Scalloped Oval die from the Scalloped and Stitched Ovals Die Set. You can find step-by-step instructions in my recent blog post.
For the sentiment, I went for a touch of European flair with “Ciao Bella” from the La Dolce Vita BetterPress Plates. But instead of pressing, I used my Glimmer Hot Foil System to gold foil the plate. I love that the BetterPress plates can pull double duty as hot foil plates! This is a quick and easy way to make LOTS of sentiments at once.
The finished card is matted on a vivid blue cardstock that picks up on the hydrangea tones in the background. The result? Fresh, bright, and irresistibly cheerful.
📷 Behind the Scenes:

I am also sharing a process photo showing how I organize my die cuts using the Spellbinders lidded Combo Craft Stax Tray Set. It’s a game-changer for assembly!

And here is a photo of one of my Meyer Lemon Trees. The lemons are green now, but come November, they will ripen into lovely fragrant yellow fruit perfect for cooking.
📌 Related Inspiration:
- Interested in learning more? Read my 9 Tips, Tricks and Insights into Spellbinders BetterPress Machine.
- Want to see how I used the same BetterPress masking technique in a previous project with a mixed media vibe? Click HERE to check it out.