Hi everyone, Karen Brown here! I am one of the new members of Hero Art’s Creative Team and I am excited to share my new video (see below). I am loving the new Hero Arts Alphabet Letter Dies and I thought they would be fun and festive on my gift tags.
Using the the Nesting Tag dies, I die cut 5 tags from Paradise, Cherry and Dove White Cardstock. My first card I call “Joy to the World” and I chose to use the “J” die from DF167. I cut the “J” three times from Cherry Cardstock and glued them together for a nice substantial element. For a quick sentiment, I trimmed “Joy to the World” from the White Holiday Collage Hero Transfers kit and then rubbed onto the bottom of my tag. I think it is the kid in me, but I just love doing this!
R is for Robert and I used DF168 to die cut the R. For interest, I also die cut two linear accent strips using The Hole Punch Edge Fancy Die.
B is for Brown (my last name) and since I love rub-ons so much, I covered the top tag with a Hero Transfer with text from A Christmas Carol. The “B” die is included in Letter Die set DF165.
Hello My Monthly Hero lovers and welcome to the December 2023 Release Hop and Giveaway! I am excited about this month’s kit….so much wonderfulness! December’s theme is the Alphabet (Classic) and Numbers (Premium).
• XL Alphabet Clear Stamp Set, 8″ x 10″ • Alphabet Cover Plate Die • 10 Pack of Watercolor Pencils • 6 Sheets of Luxe White Watercolor Paper, 8.5″ x 11″ • Water Flow Brush
I love them both, but this post is about the Classic Kit plus a very fun Add-On product. I am sharing three different cards with three very different looks today.
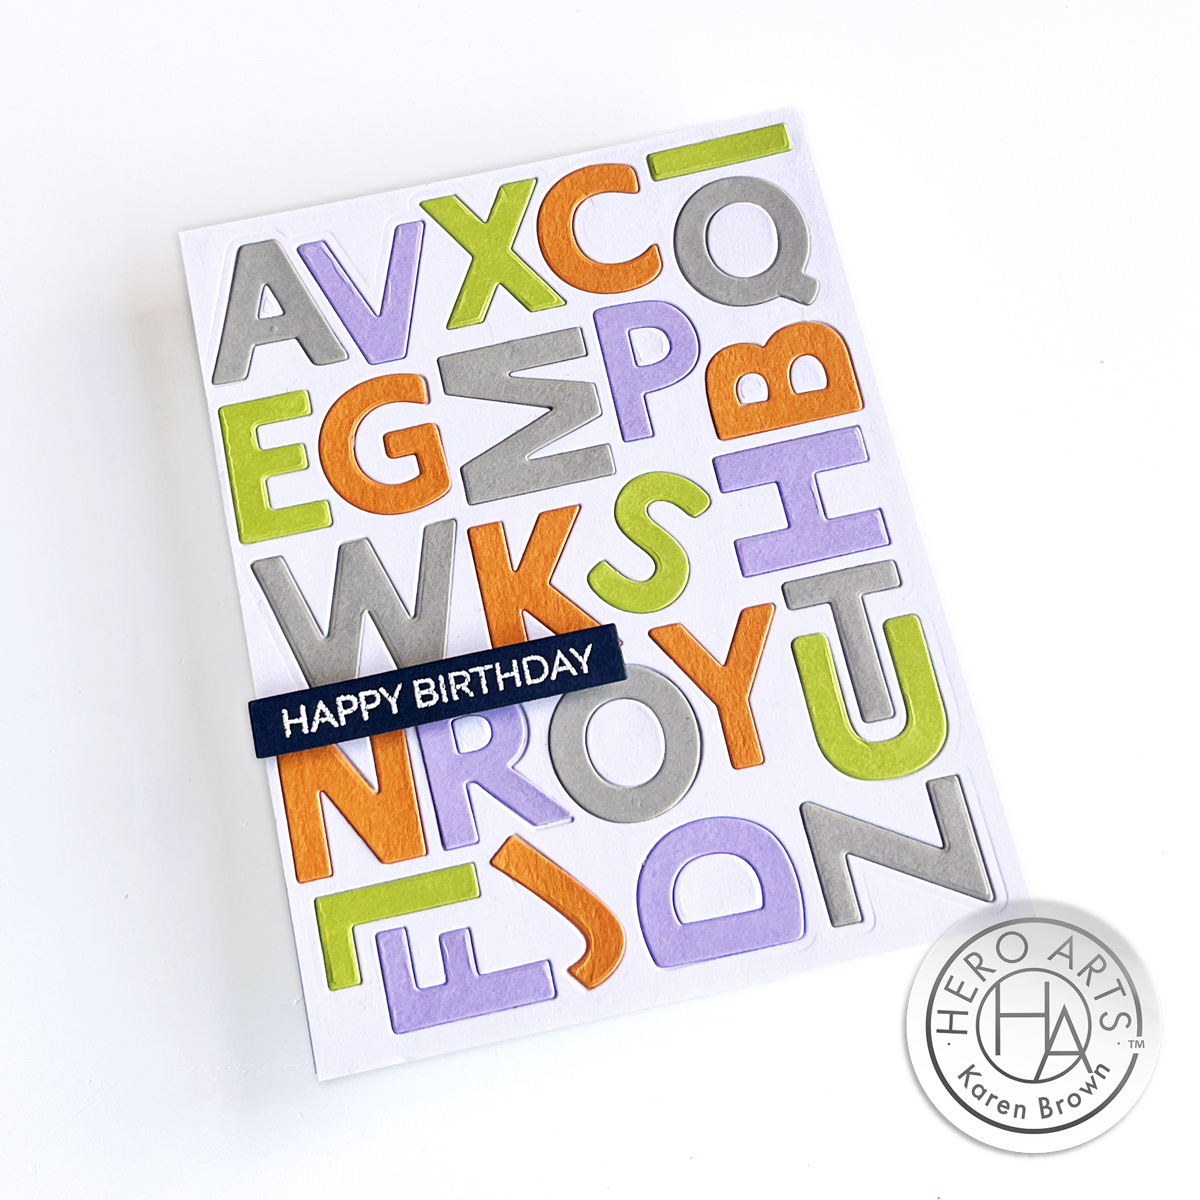
Inlay Diecutting with the Alphabet Plate Cover Die
This card might look difficult, but it all came together in one hour. I started by die cutting the alphabet 5 times from different colors of cardstock: Papaya, Kiwi, Passion Flower, Dove White and Granite. I saved the white die cuts to use on a future project, and then attached the white background to an A2 cardbase. Next, I laid out the letters until I had the colors where I wanted them. With the layout done, the gluing went very quickly. I added a simple heat embossed sentiment from Hero Art’s Message Strips Stamp and Cut XL (DC286). I love the bright simplicity of this card.
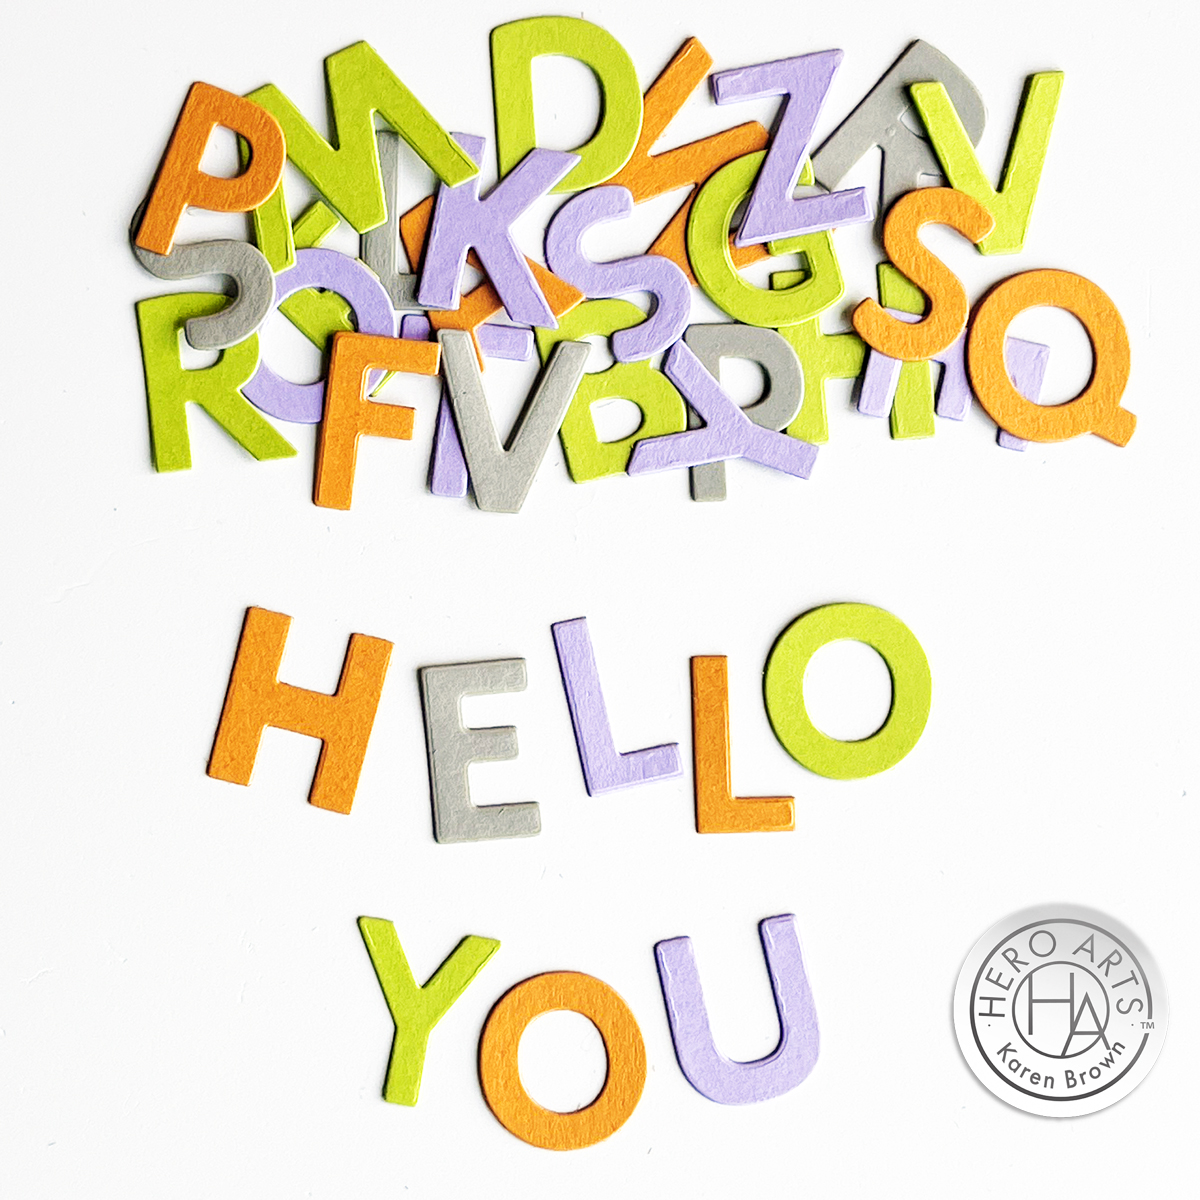
A bonus is that I have TONs of leftover die-cut letters to use on future projects! It is such a time saver to be able to cut 26 letters with one pass of the diecutting machine.
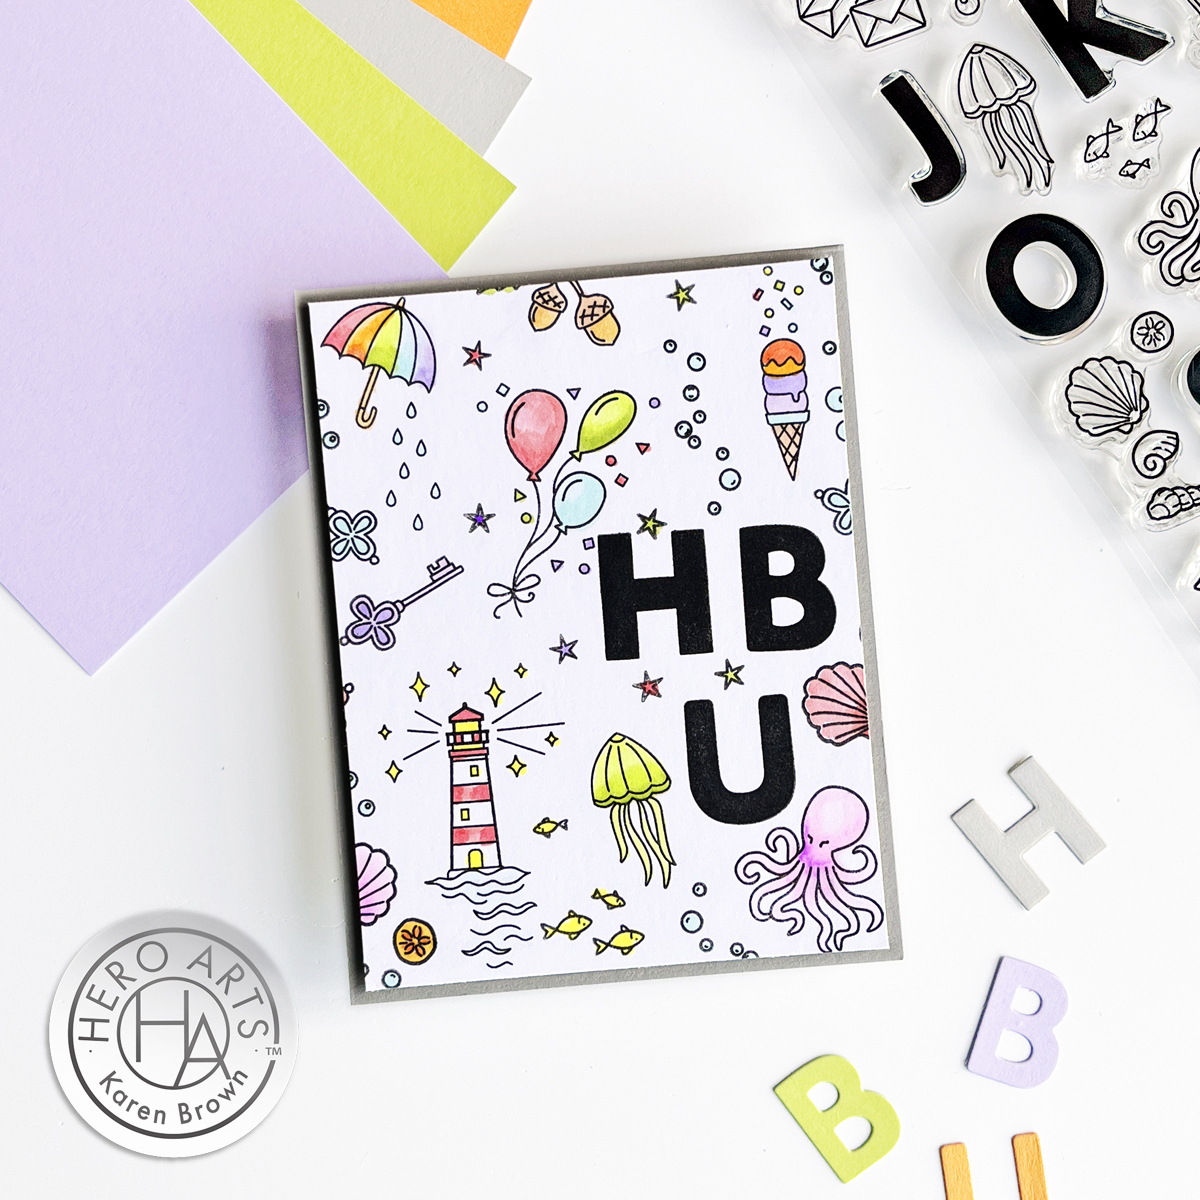
There is something so therapeutic about covering a card front with stamps and then coloring them in. My daughter was so captivated by the XL Alphabet Clear Stamps that she created two fun word signs with images for her office.
GIVEAWAY:
We will give away a $50 gift card, drawn from the comments left across the hop. Enter by Sunday, December 10th at 11:59pm Pacific, and the winner will be announced on the Hero Arts blog the following week.
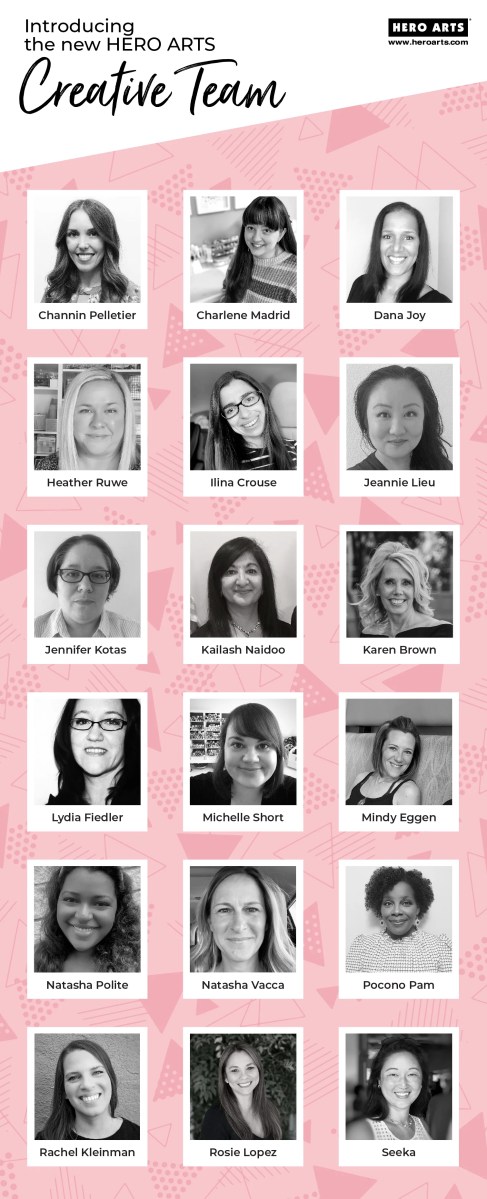
I am thrilled to announce that I have been selected to join the Hero Arts Creative Team! This incredible opportunity allows me to collaborate with a group of talented and passionate artists who share a love for crafting and creativity. I am beyond excited to explore new techniques, experiment with Hero Arts’ amazing range of products, and inspire others on their own artistic journeys. Together, we’ll embark on a creative adventure filled with endless possibilities, and I can’t wait to share the magic that unfolds along the way! Stay tuned for a whirlwind of innovative projects, tutorials, and inspiration that will surely ignite your own crafting passions. 🎨✨ #HeroArtsCreativeTeam
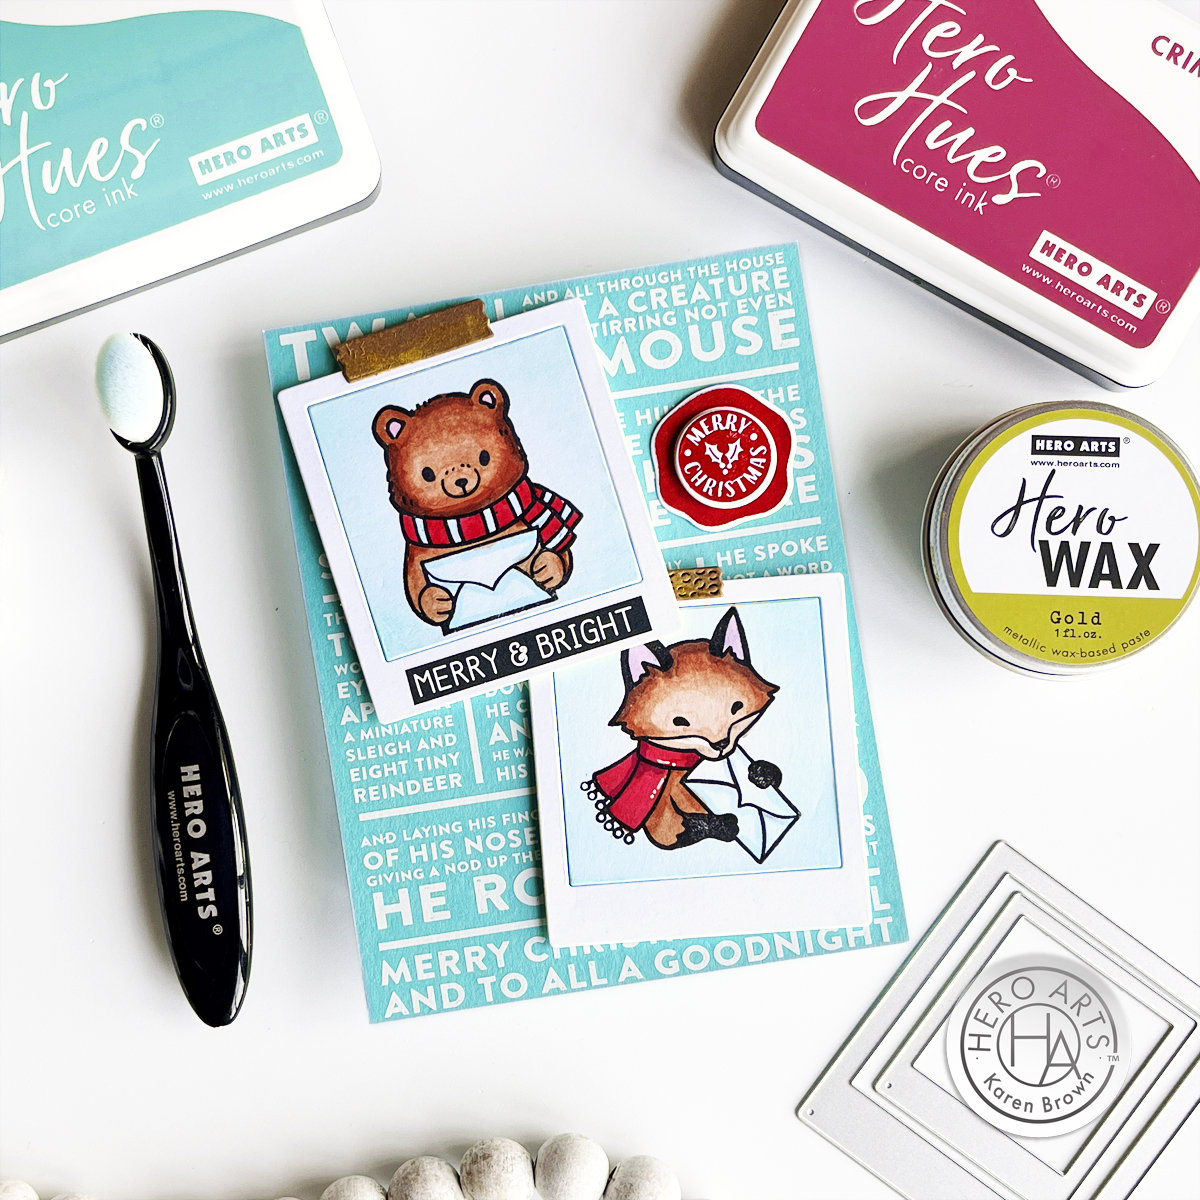
The background was so easy! I rubbed on the fun Twas the Night Before lettering from the White Holiday Collage Hero Transfers (RT121) with a bone folder and all the writing transfered to the paper perfectly on the first try. The card background is Paradise cardstock.
I wanted a pop of red, so I stamped and die cut a Merry Christmas Wax Seal using Crimson Core Ink. I also put a dab of Hero Wax Gold to add a little depth and shine to the “photo tape”
I assembled my card with foam tape and it is ready to send.
I love versatile supplies in my craft room and Spellbinders just released a lovely All Occasion Bow etched die kit that is perfect for so many occasions. The bow is part of the beautiful Merry & Bright Collection but I will also be using it on Birthday, Wedding/Shower and Graduation cards.
My Card Process:
My first step is usually color selection. I have a Christmas paper sampler pack (see note below) that I thought would work beautifully for this project so I chose aqua, teal, pinks and greens from this pad.
I divided the All Occasion Bow dies into two piles. The bottom layers were all cut from teal and the top “highlight” die cuts were from aqua. Once I organized my dies between bottom (teal) and “highlights”, I didn’t need to think about which color paper to use and the die-cutting went very quickly.
I assembled my bow with foam adhessive squares, and then decided I wanted to anchor the bow with a focal point label. Spellbinders/Simon Hurley have a beautiful Playful Poinsettia Embossing Folder that I embossed and then die cut using a retired Ornamental Labels Die. This nesting die set has an interesting shape and I love the subtle interest this step adds to my card. I glued this die cut and embossed label (using craft foam and Bearly Glue) to a white A2 Top Folding Card Base.
Now that the basics were done, I wanted to embellish my bow with floral elements and a tag sentiment. I used Spellbinders Petite Blooms and Sentiments, which is also from the Merry & Bright Collection. I especially love the “For You” etched tag die! I like to die cut lots of elements and then I sit down and play around with different layouts. I added some enamel dots for flower centers. For the bow, I wanted to add pops of color but the bow is so beautiful I didn’t want to cover too much either. Its always a balance, isn’t it?
Cute creatures + easy Copic coloring makes for an enjoyable afternoon! Spellbinders was kind enough to send me an advance copy of the new Fransformer Snowy Friends by Stupendous cling stamp set and I can’t remember the last time I enjoyed creating a card more. FransFormers are flexible clear stamps that you can squish, squeeze, shape and adjust plus they are just loads of fun!
My card is 5 1/2″ square which allowed me to add three snowmen. I used the same stamp for the left and right snowbabies, but you can see I was able to shape them so they each have their own personality. I did a little easy Copic coloring and I was done.
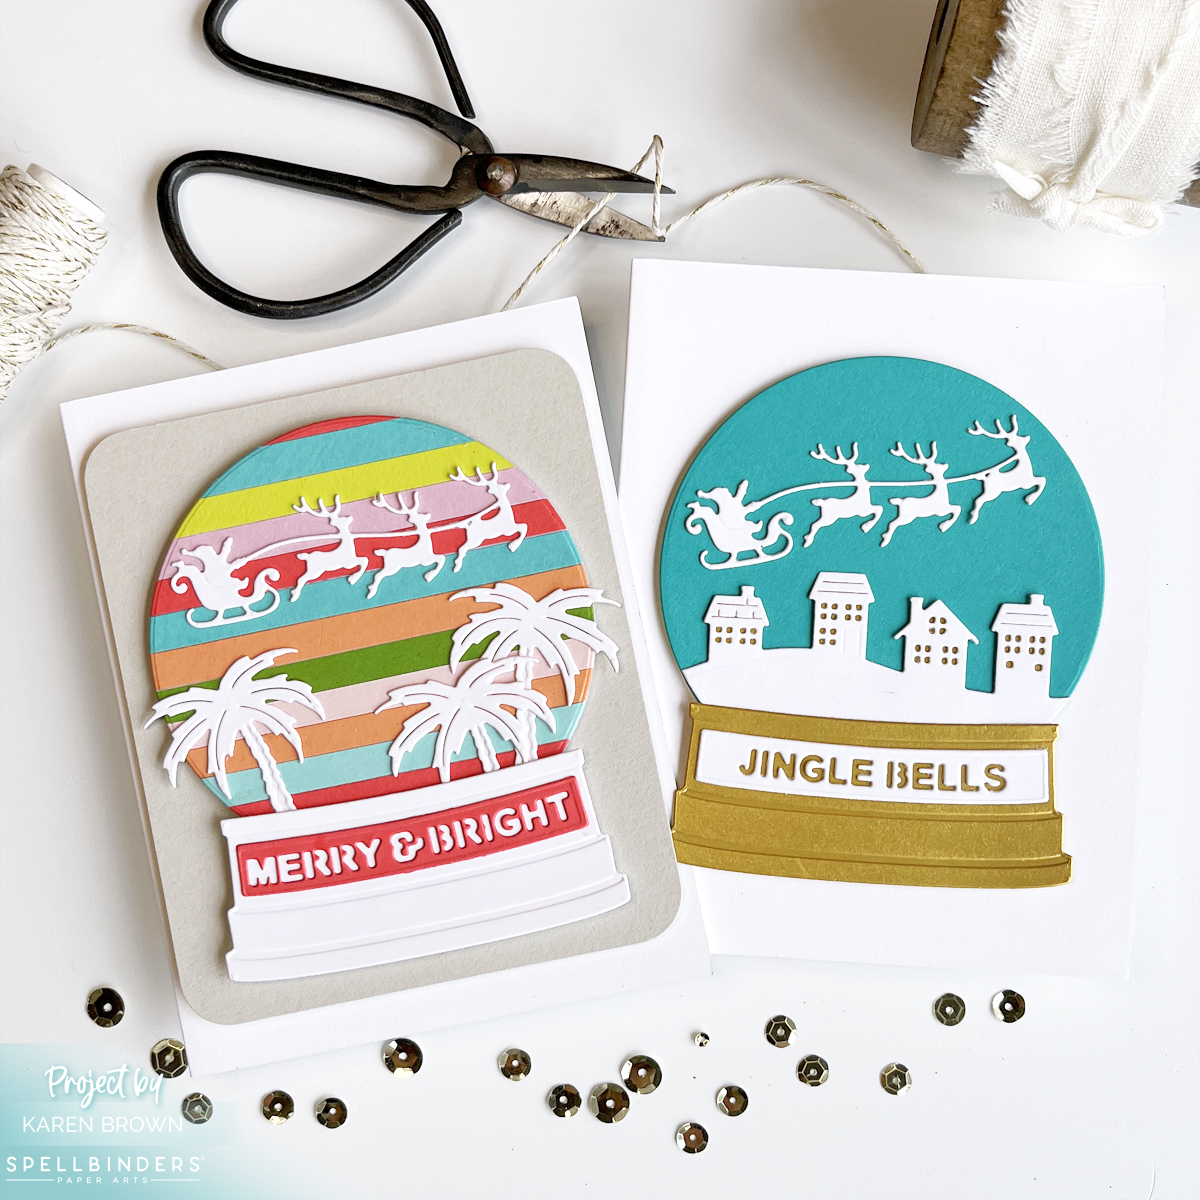
Christmas at the beach anyone? I am excited to share 2 cards featuring Simon Hurley’s new Snow Globe holiday collection from Spellbinders. I created 2 bright colorful little vignettes that I think are quite fun!
Bright Tropical Christmas Card
For my first card, I was simulating a tropical sunset (including palm trees!) with Santa and reindeer flying overhead. I used the Snow Globe etched dies and added the palm trees from the coordinating Nativity Scene. The entire die bundle is wonderful with snowmen, homes, deer and nativity….endless combinations
I love making backgrounds from colorful strips of paper. The background was so easy….I cut 1/4″ strips of colored paper and then adhered to a piece of cardstock. Funny story, I usually use a tape runner for this but halfway through, my tape runner ran out and I didn’t have a refill. No worries though, I just finished the panel with liquid glue, and you can’t tell a difference in the end result. If you’d like to see a quick video on how to create a rainbow striped background, click HERE. (I shot this as a reel for Instagram, but also posted it to YouTube, so the YouTube orientation is a little unusual.)
After my background was complete, I die cut all my components and then assembled my card with Bearly Glue and craft foam (for dimension).
PRO TIP: I like using a combination of liquid glue and craft foam as it allows me to micro-adjust the placement of my die-cuts. I slid the Globe around until it was centered, which is harder to do with Adhessive Foam Squares. I do use double-sided foam squares a lot when placing flowers.
CAS Die Cut Chritmas Card
For card #2, I did a more traditional wintry Christmas scene using Teal Topaz and Brushed GoldCardstocks. I love the contrast of the bright white against the teal sky. And, the gold adds a subtle elegance to the snow globe.
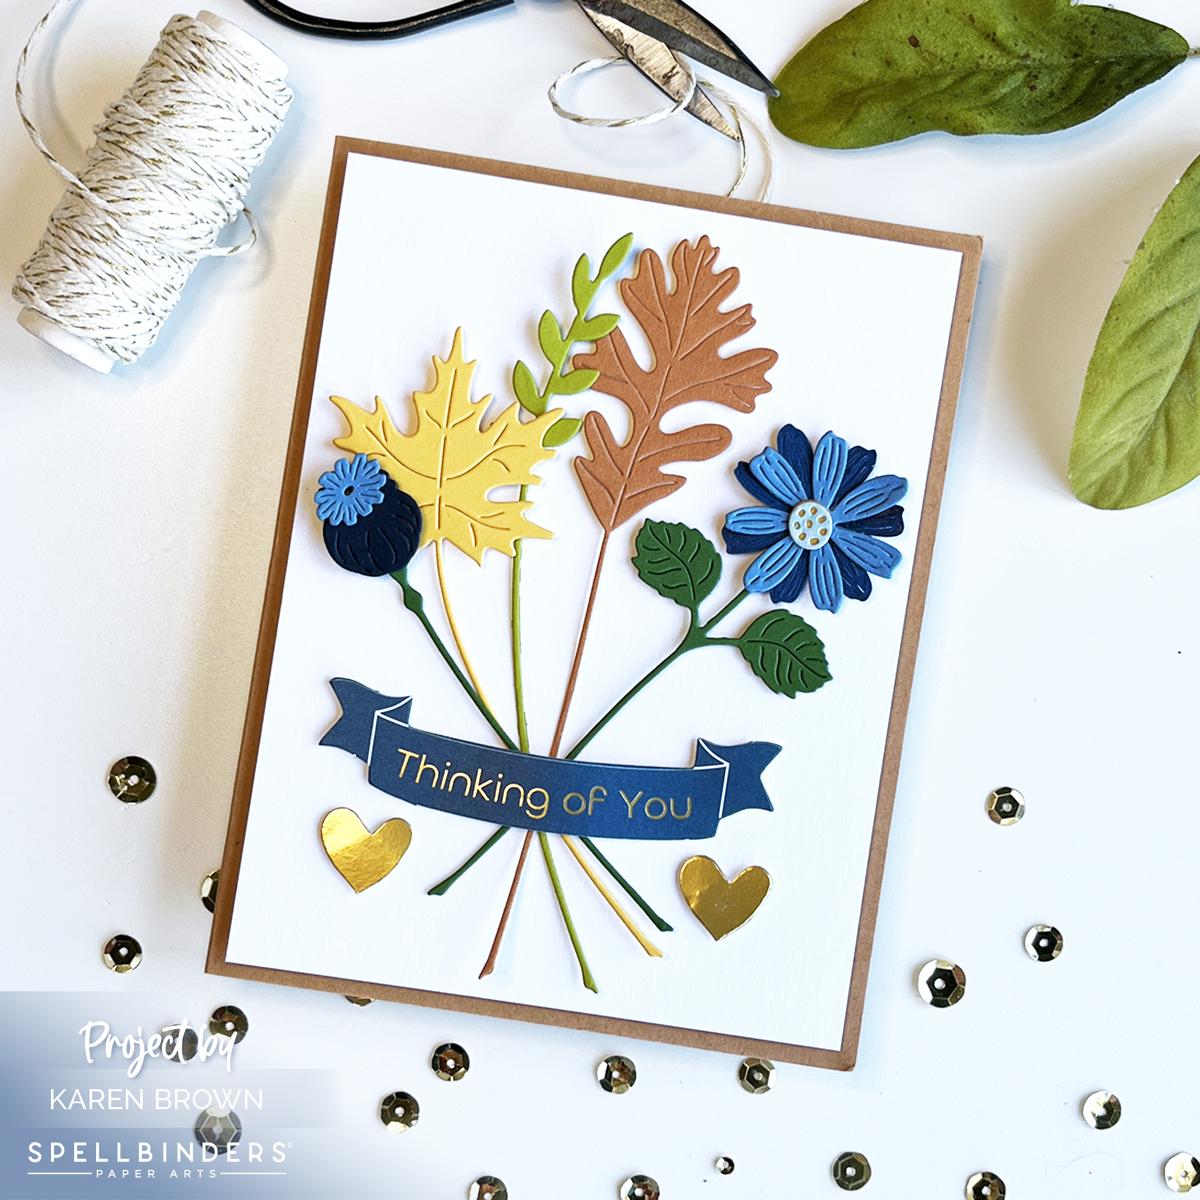
Hello papercrafters, I am back with some lovely seasonal die-cut cards for Fall! I chose some traditional autumn colors and then added beautiful pops of blue. Spellbinders just released this fun collection called Autumn Serenade and I used the Autumn Sealed Sprigs dies along with the coordinating Chipboard Stickers and pre-printed Die Cut Shapes for my cards. I found the stickers and shapes to be real time savers when assembling my cards.
I just got back from a trip to Colorado, and I found the changing folliage was so inspirational for these projects.
Using Pre-Printed Stickers and Die Cut Shapes for Quicker DIY Cards
For my first card I used the Sprigs die kit and then added a sentiment plus heart die-cuts to finish my card. This Die Cut Shapes Kit includes 138 pre-printed pieces with lots of sentiments, botanicals, pumpkins, butterflies etc.
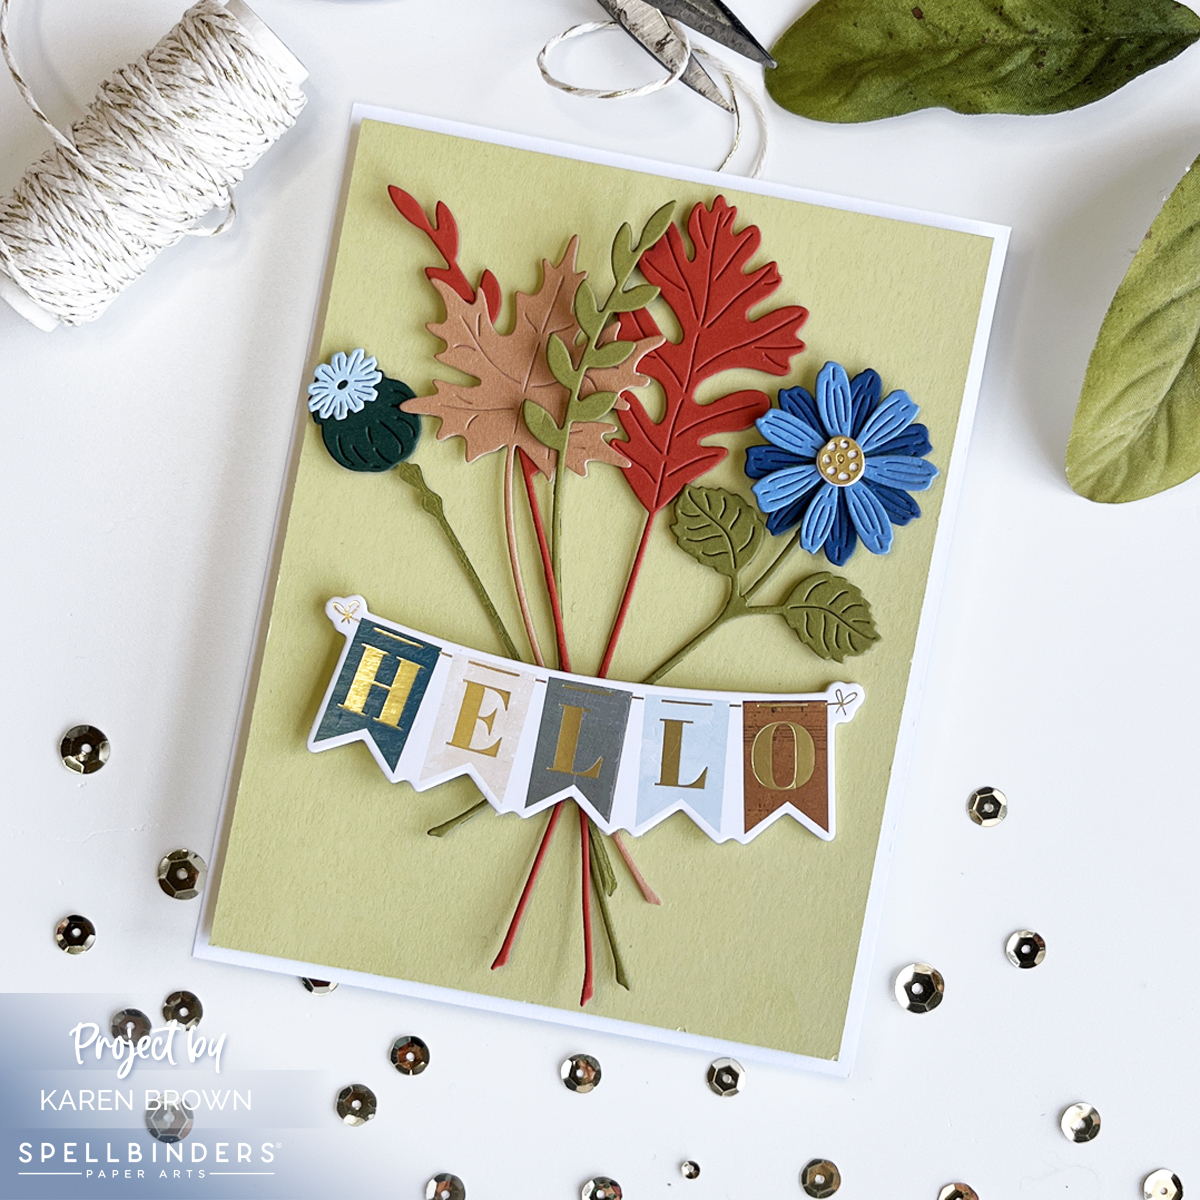
For card #2 I used this showy Chipboard Hello Banner Sticker to complete my fall bouquet. The Chipboard set includes 27 chipboard stickers pre-printed with a variety of sentiments, gold embellishments, butterflies, birds, pumpkins, leaves and flowers. I love this little package and will be using it on future projects.
This Sealed Sprigs Collection reminds me of one of my 2022 Favorite Die Sets called Floral Reflections and you can see that Blog Post HERE.
My Process:
I started by selecting colors for my two cards. I used colored paper from two different sampler packs (listed below).
Next, I die cut my leaves and botanicals. I played around with layouts and then used the Press and Seal Method to keep my arrangement in place as I flipped it over and added foam adhessive squares to the back.
I knew I wanted a banner across the “crossed stems” on each card. The HELLO is a lovely chipboard sticker and the “Thinking of You” is a preprinted die cut. The gold accents add a nice bit of shine to the cards.
Hello, I have a super quick post today sharing two fun collage birthday cards that I created by cutting wonky shapes from paper. So easy, anyone can make them and they require minimal supplies. I think they are so cheerful and happy.
I started by going through my acrylic gel press and scraped scraps but you could just as easily use ready made paper. I picked out some melon (just made these for my last post on covering journal covers: read HERE), green, blue and gray. After I was done sorting I decided to add some red to the mix too. I then cut out silly whimsical shapes and glued them onto an A2 notecard. I handlettered a quick sentiment to complete the card. Nothing precise or perfect here!
Now that I see card #2 finished, I think it has a real Eric Carle vibe.
Supplies:
Colored Paper or Mixed Media Scraps
Scissors
Glue (I used UHU stic glue)
Card Base
Black pen (for sentiment)
I found this cardmaking session very satisfying. What do you think? Would you try this?
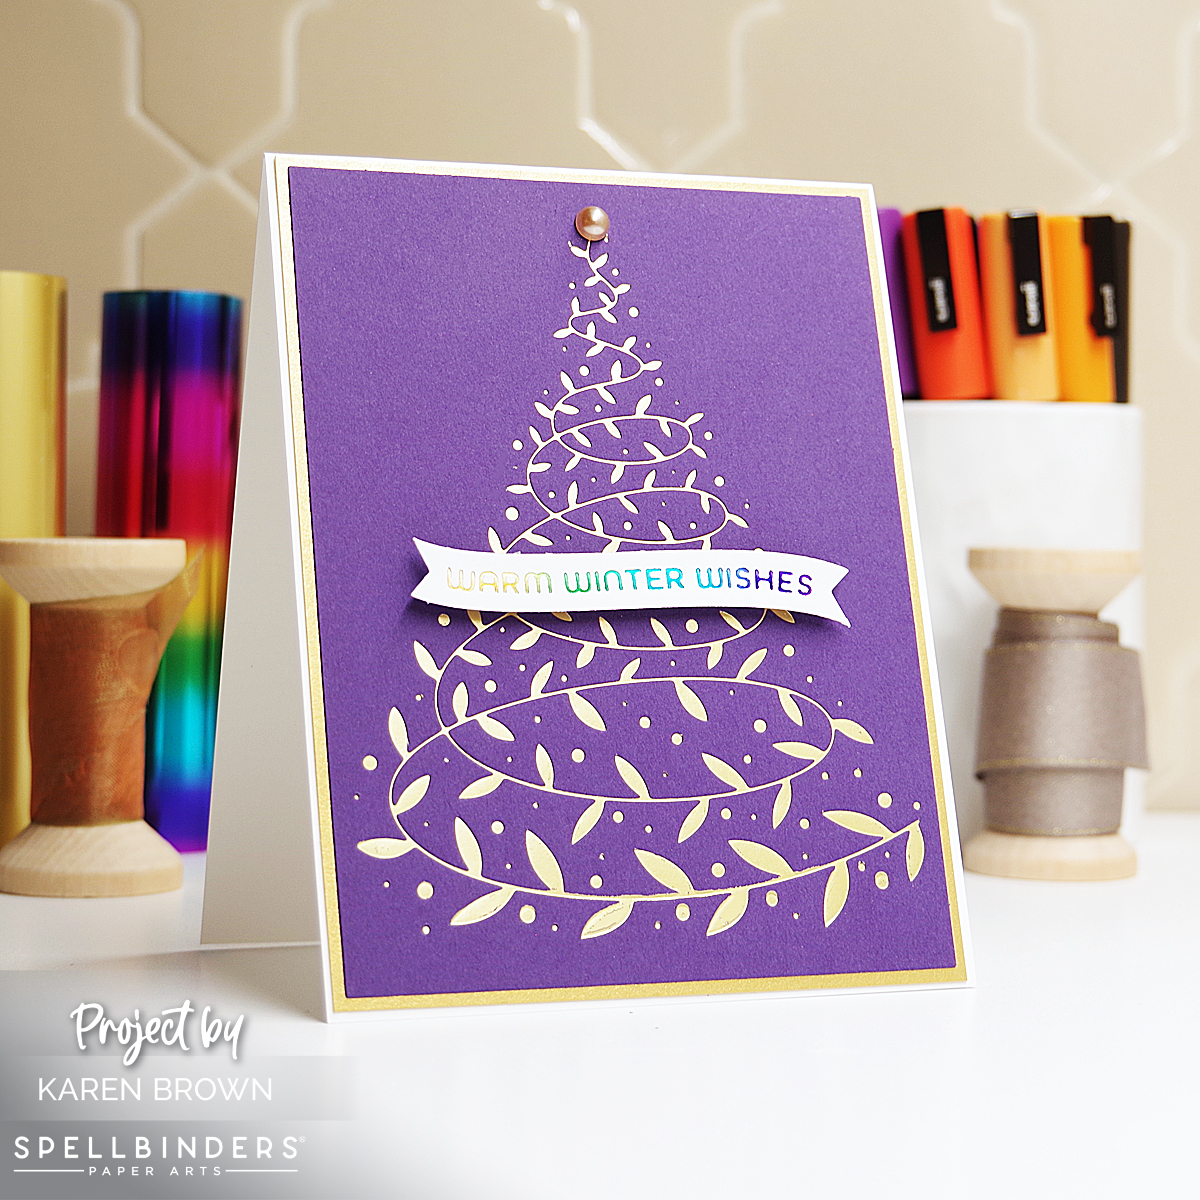
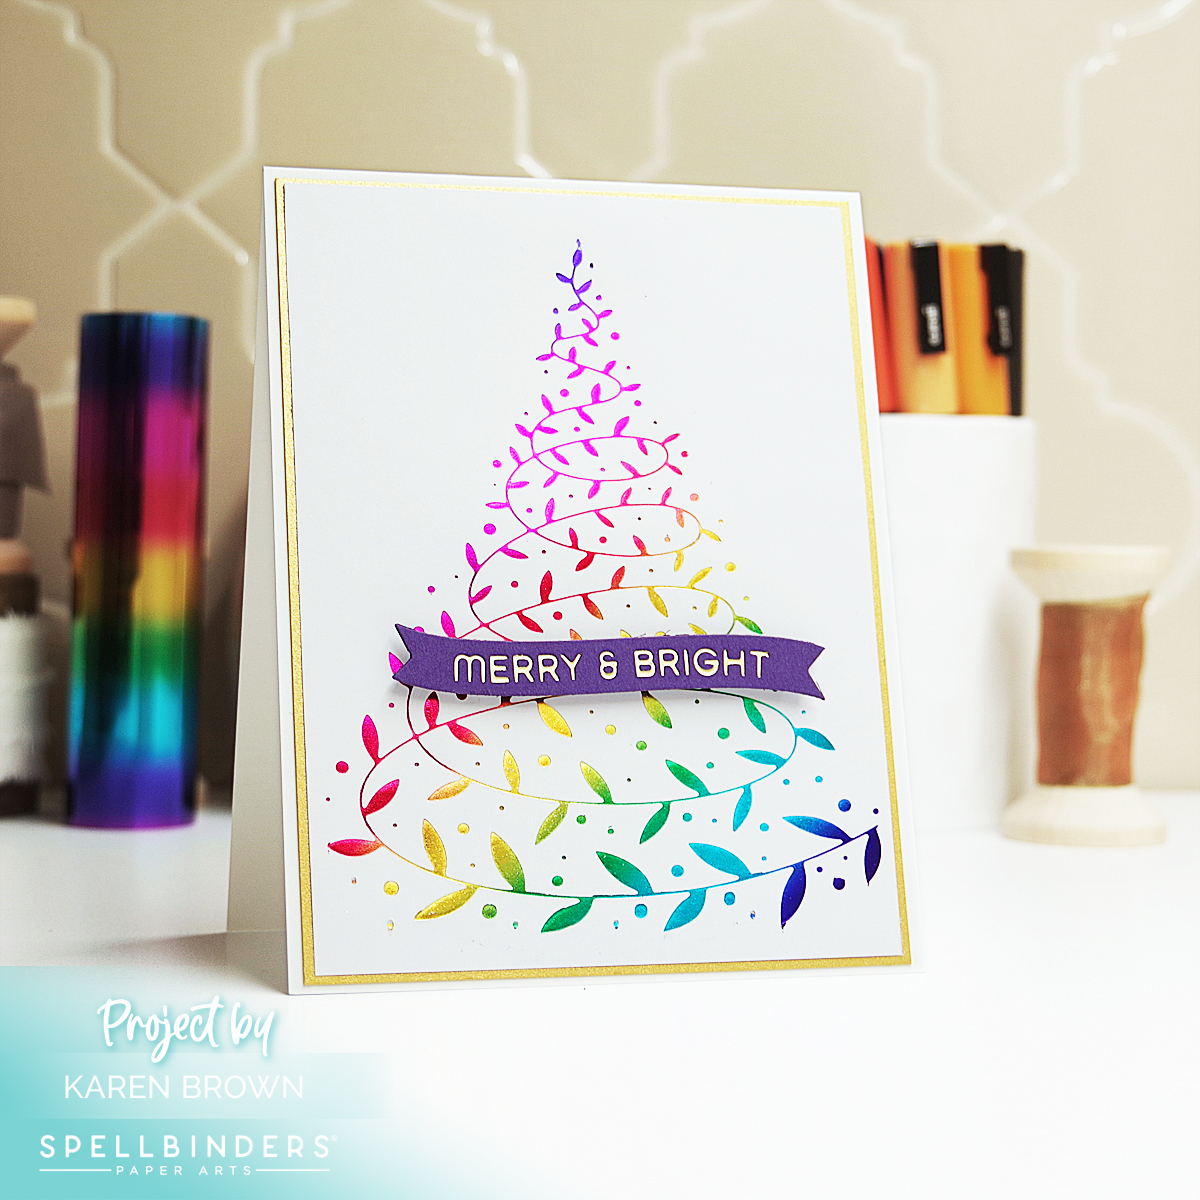
I did three versions, and I love them all. These glimmer plates would work so well for mass producing Christmas cards. And I love that I get 6 sentiments with every foil and die-cutting pass! I have tons leftover for future cards. Such a time-saver.
For the Rainbow tree I angled the rainbow foil and I really like the end result. I also used the rainbow foil for the sentiment on the blue and amythest cards.
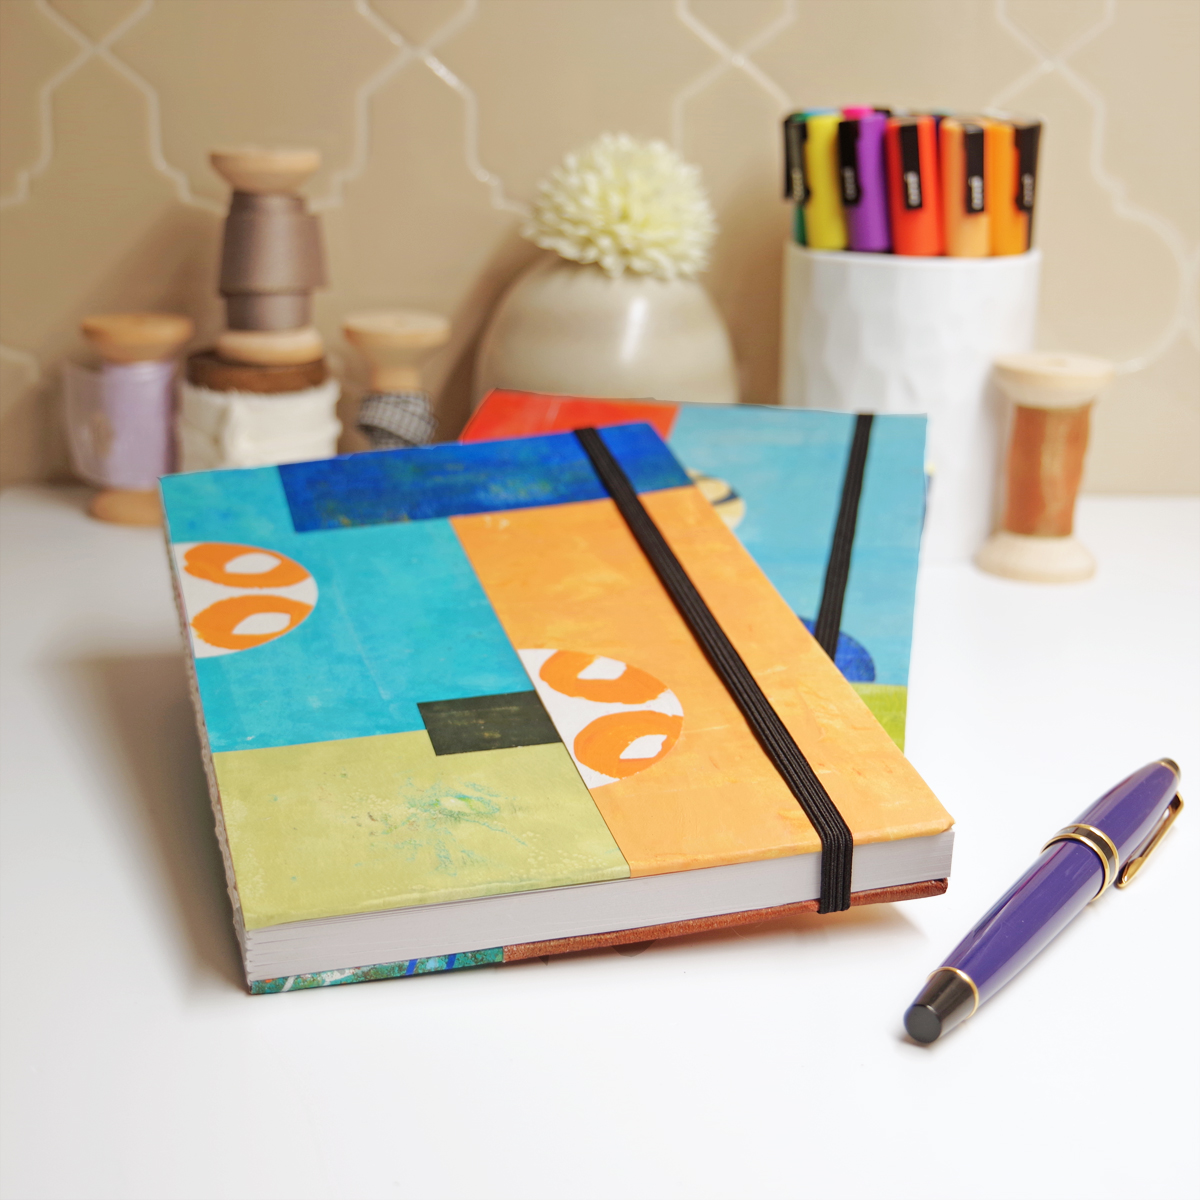
I recently signed up for Willa Wanders Fodder Challenge 2023 and I was so inspired by Instructor Barb Smucker and her Collaged Notebooks. I knew I wanted to try this technique and I am so glad that I did!
Collaged Mixed Media Notebook Covers
My “How To” Process:
I started by creating colorful papers for my cover. Instead of using a gelli plate, I put acrylic paint on my mixed media paper and then used a scraper to move the paint around. On a palette, I started with basic primary colors and then had loads of fun custom mixing my colors. I was going for coral but wound up with several really pretty melon colored pages. On some pages I smoothed out the paint and on others I left it a bit rough with slight ridges of acrylic. I also painted marks (circles, lines, Xs and doodles…) on additional pages.
I also went through my gelli prints and selected some more papers that I used. The dark blue and bright orange were both gelli prints.
Once I selected a bunch of papers that I liked, I started playing around with layouts. I was going for a contemporary color-block look. Using a metal ruler, paper trimmer and 1 1/2″ circle punch I trimmed the pages to the sizes and shapes I wanted.
I laid a piece of plain paper inside the cover to protect the journal pages from excess glue during my assembly process.
Next, it was time to start covering my journal. I started with the the papers that would go along the spine. This journal has a cool open spine that did not need to be covered so the paper edge went directly up to the edge of the spine, but I left a 1/2″-1″ overhang for the other side. To get a nice smooth cover I dipped the paper in a pan of water for 2 seconds, blotted off the excess water, and on the back, brushed on a 50% mixture of Matte Modge Podge and Matte Medium with a flat brush. Then, I carefully put the paper up against the spine, leaving the overhang off the edge. Next, I put a piece of wax paper over the glued piece and brayered over the area to remove air bubbles and excess glue. Finally, I dabbed up the excess glue that seeped out.
I repeated this process until the front and back covers were complete. This journal has a nice black elastic band, but it was a little trickier to cover the back because of the grommets. For my next journals, I ordered notebooks without the elastic band. I will report back which style I like better.
To finish the notebooks, I folded the overhung edges (starting at the corners) toward the inner face pages and then glued securely with the glue mix I used above.
Last step was to glue a facing page to the front and back inside covers. I again used my mixed media painted pages for this.
I let my journals dry and then placed books on top overnight to keep the notebook nice and flat.
These two journals are gifts and I plan to make more for Christmas. I hope to have another post about them this fall.
I bought all my own supplies, but I am including links to the products used in case you’d like to give it a try.