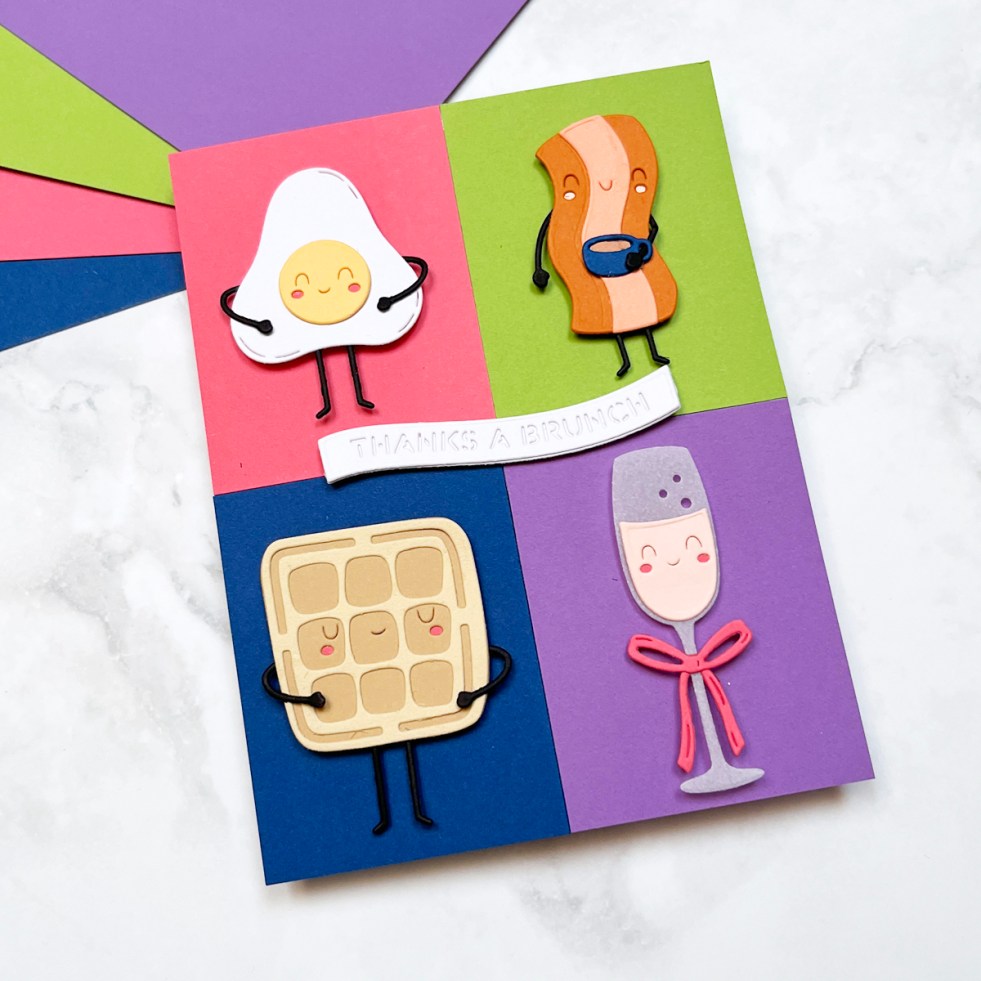
If you love mixed media, adorable woodland critters, and any excuse to use your Gel Press prints, the December 2025 Spellbinders Small Die of the Month – Better Together is going to make your crafty heart flutter. This month’s kit includes two owls and two otters, but for today’s project, I kept things simple with a single sweet owl—perfect for a Valentine’s Day card for my daughter.
How to Use Gel Press Prints in Cardmaking
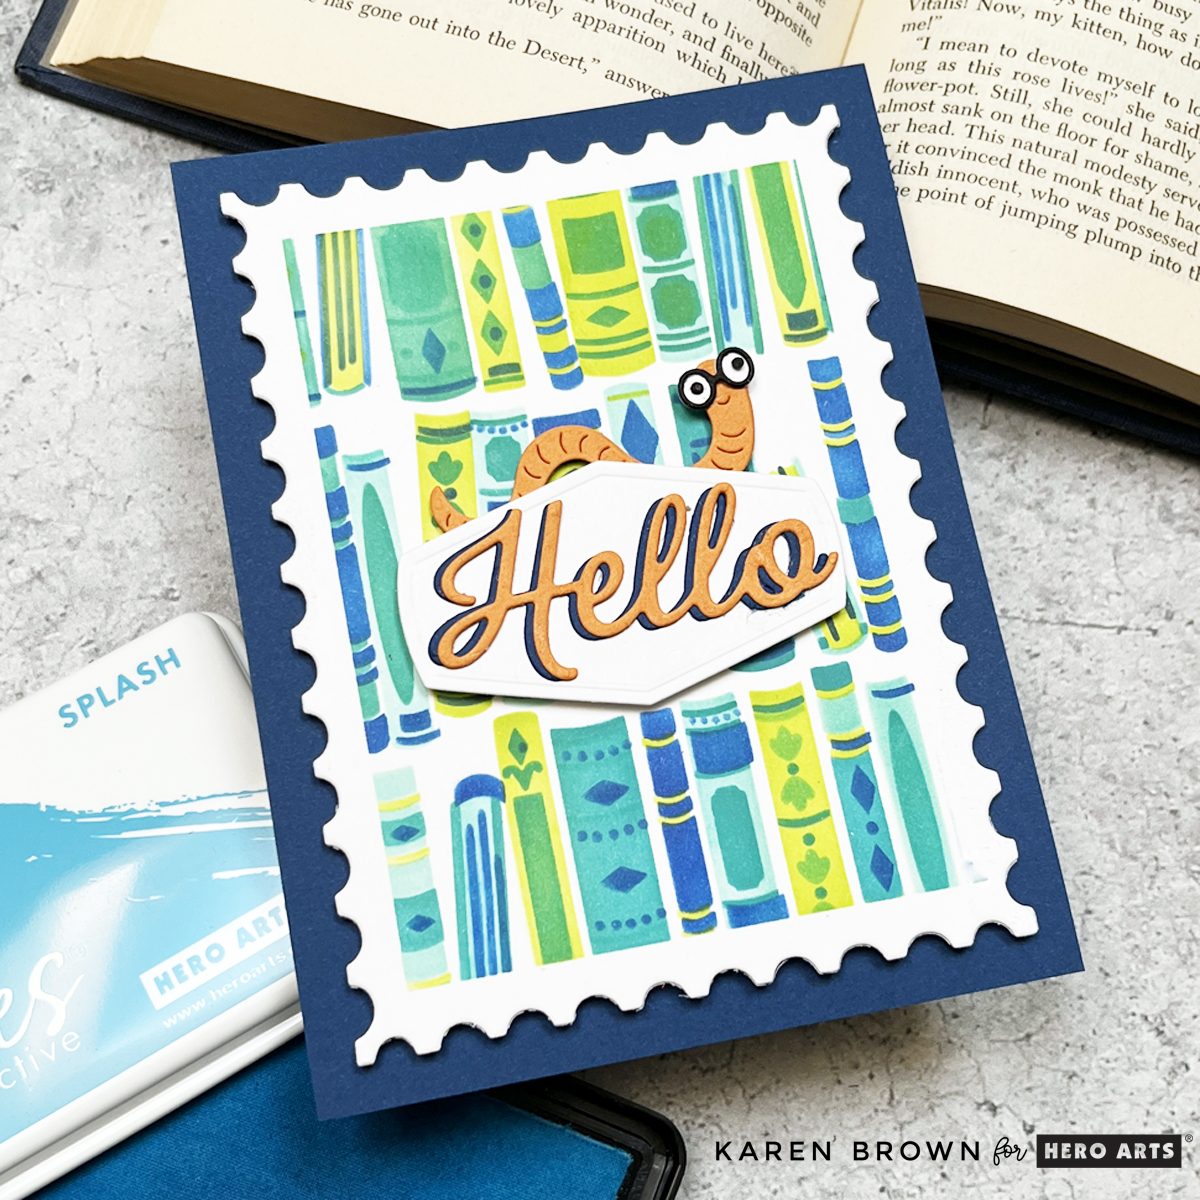
I reached into my stash of Gel Press prints (one of my favorite studio habits!) and created a simple but visually rich design. The card base is a greenish-yellow pulled print, while the Polaroid-style frame background uses a print with layers of tan, brick red, green, and white. The organic textures and imperfect blends from the prints give this card a soft art journal meets Valentine vibe.
For the focal point, I die cut the owl and assembled her with a tiny flower crown, then perched her on the included die cut branch. She’s framed inside a Polaroid-style photo using the Hero Arts Nesting Journaling Photo Frames, which provide the perfect amount of white space.
A single rub-on sentiment—“love” from the Hero Arts Ornate Frames Transfer Sheet (RT127)—sits on the bottom right of the Polaroid border for an easy, minimal look. Because the background is so full of visual interest thanks to the Gel Press print, the clean sentiment balances everything beautifully.

Key Products Used
✨ Spellbinder Small Die of the Month
✨ Hero Arts Nesting Journaling Photo Frames
✨ Hero Arts RT127 Ornate Frames Rub-On Transfers
✨ Gel Press Prints (my favorite kind of stash!)
Why I Love This Project
This card is:
- beginner-friendly
- fabulous for using your stash of Gel Press backgrounds
- perfect for mixed media fans and Valentine’s Day
- totally customizable (the kit includes two owls and two otters!)
I also included a process photo showing stacks of my finished Gel Press prints. The print used for the Polaroid background is the top middle print in that photo. I love Gel Press play days, and it feels great putting those prints to use in my cardmaking.

This simple mixed media Valentine is going to my daughter—and I think she’ll love the sweet little owl with the tiny flower crown.