Hello My Monthly Hero lovers and welcome to the December 2023 Release Hop and Giveaway! I am excited about this month’s kit….so much wonderfulness! December’s theme is the Alphabet (Classic) and Numbers (Premium).
Classic Kit Contents ($81 Value for $36.99)
• XL Alphabet Clear Stamp Set, 8″ x 10″
• Alphabet Cover Plate Die
• 10 Pack of Watercolor Pencils
• 6 Sheets of Luxe White Watercolor Paper, 8.5″ x 11″
• Water Flow Brush
Premium Kit Contents: ($112 Value for $49.99)
• XL Alphabet Clear Stamp Set, 8″ x 10″
• Numbers Clear Stamp Set, 4″ x 6″
• Alphabet Cover Plate Die
• 10 Pack of Watercolor Pencils
• 6 Sheets of Luxe White Watercolor Paper, 8.5″ x 11″
• Water Flow Brush
• Fineline Applicator
• Sea Salt Reactive Ink Reinker
• Gold Glimmer Metallic Ink
You can see the entire December Collection HERE.
I love them both, but this post is about the Classic Kit plus a very fun Add-On product. I am sharing three different cards with three very different looks today.
Inlay Diecutting with the Alphabet Plate Cover Die
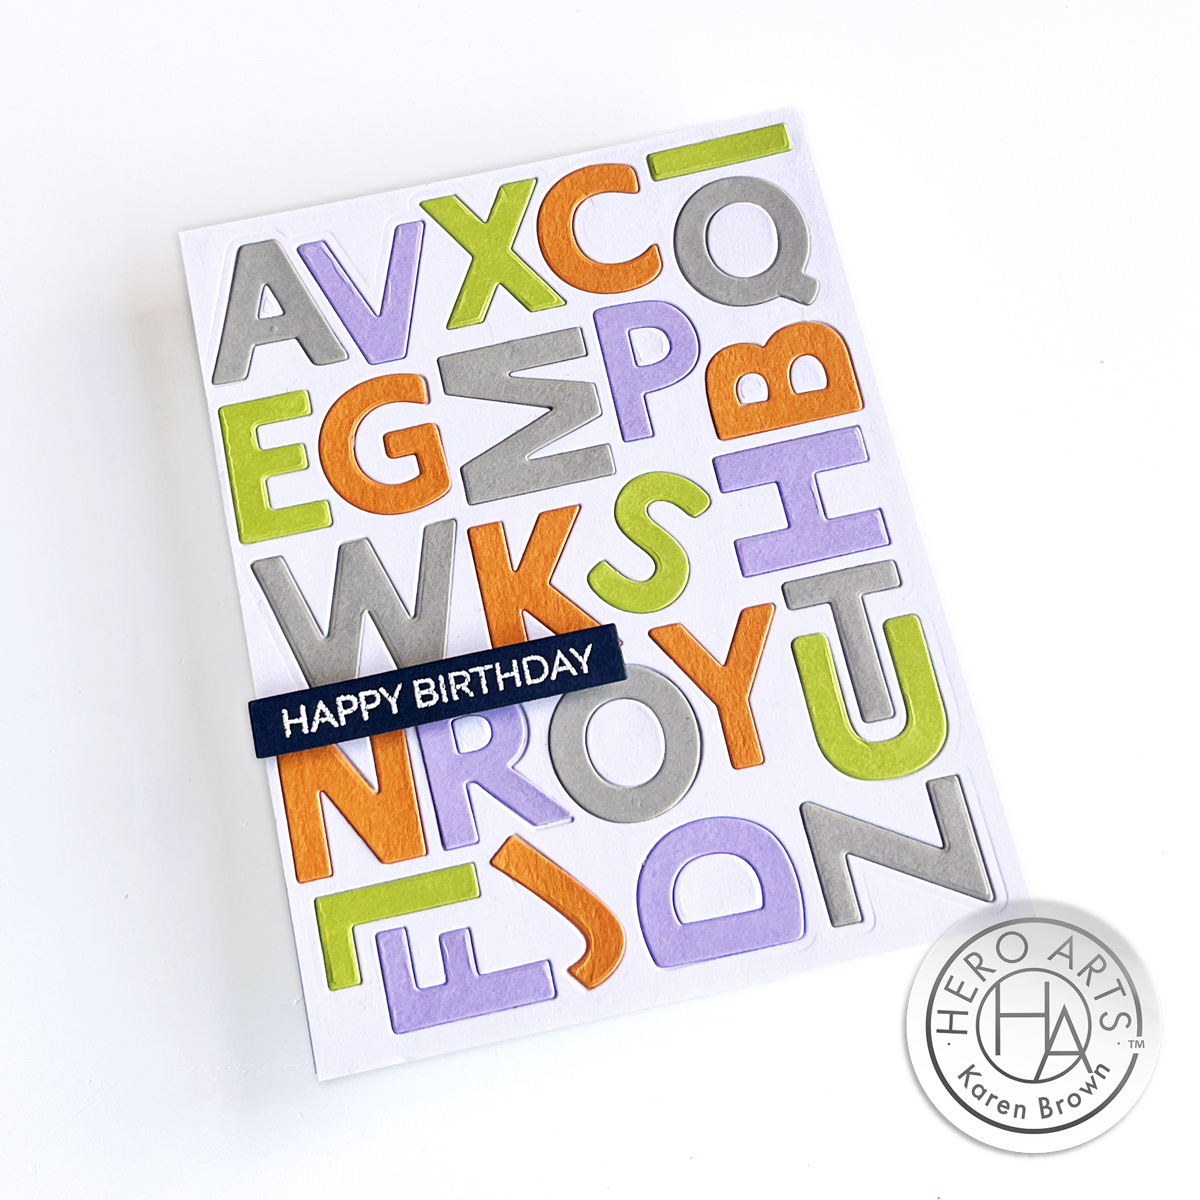
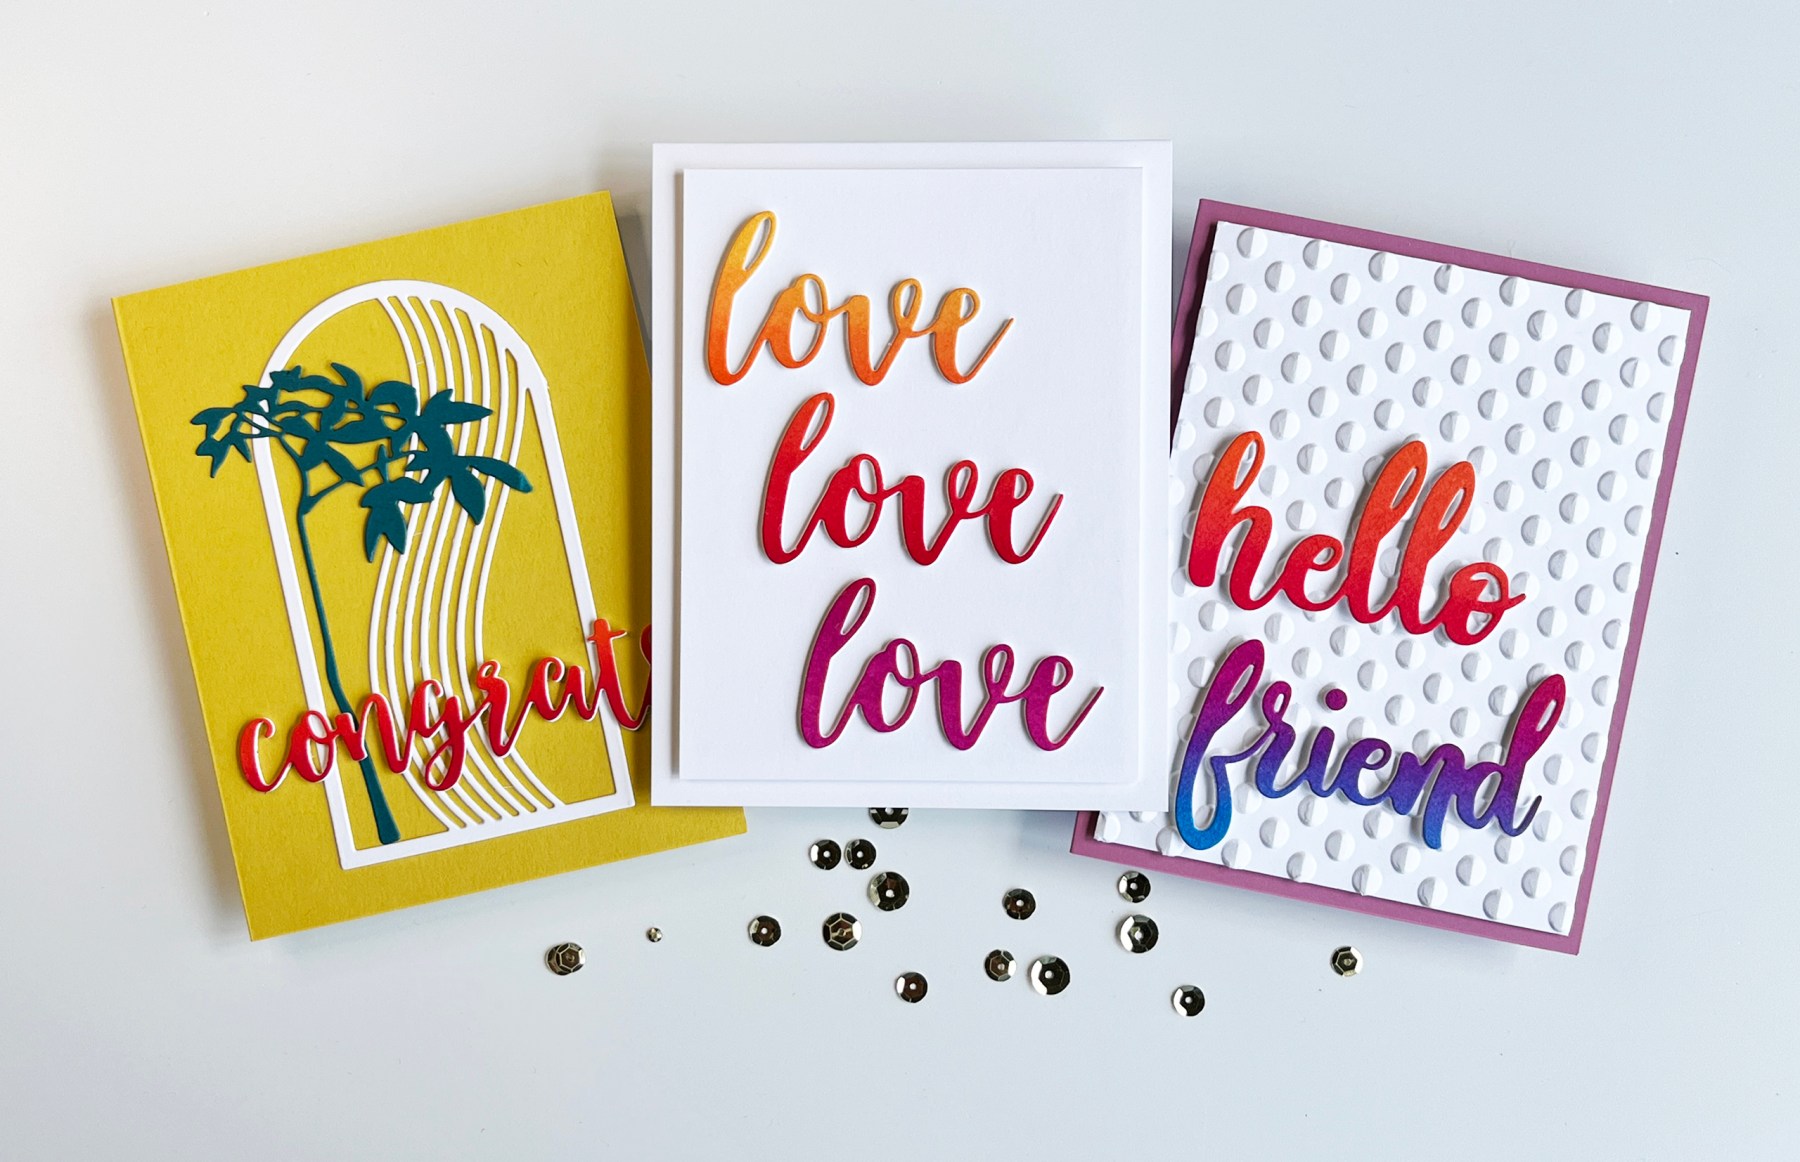
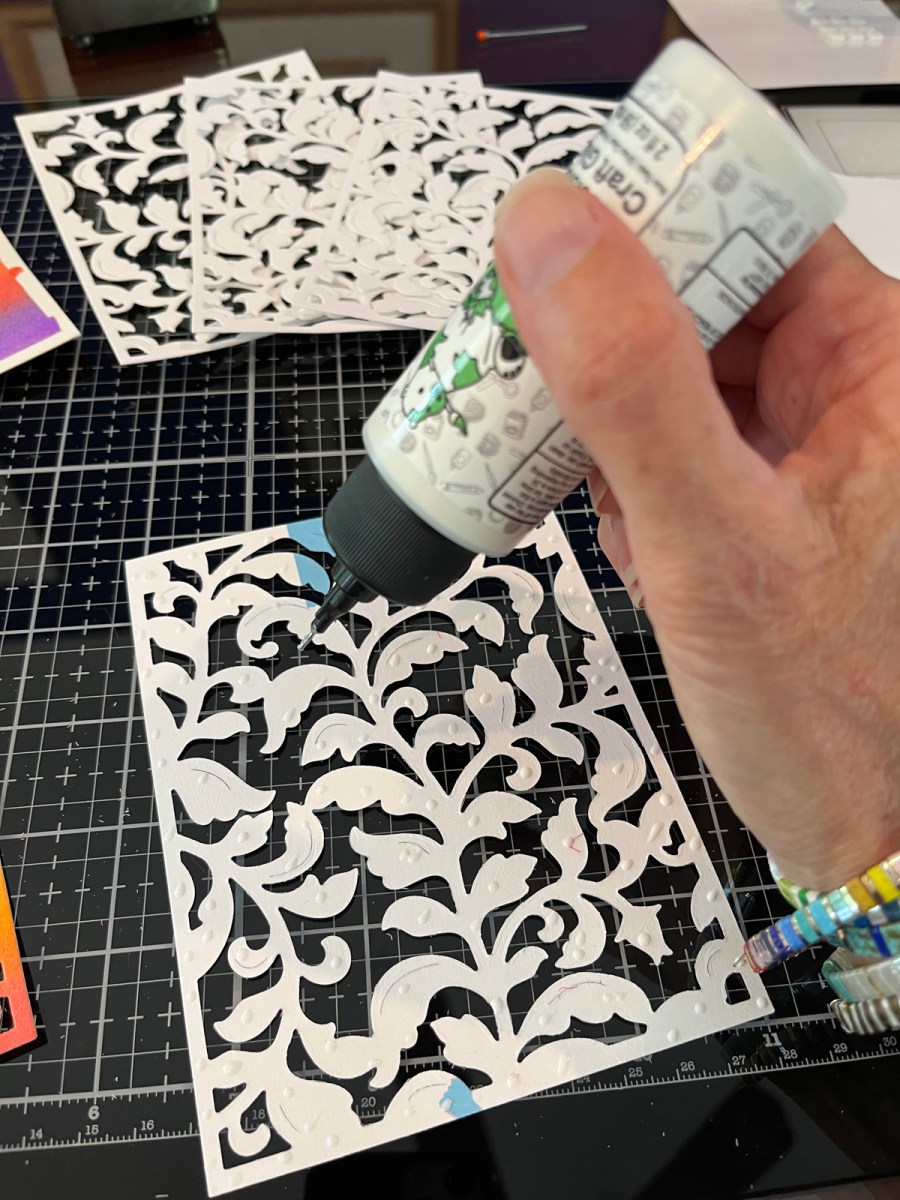
This card might look difficult, but it all came together in one hour. I started by die cutting the alphabet 5 times from different colors of cardstock: Papaya, Kiwi, Passion Flower, Dove White and Granite. I saved the white die cuts to use on a future project, and then attached the white background to an A2 cardbase. Next, I laid out the letters until I had the colors where I wanted them. With the layout done, the gluing went very quickly. I added a simple heat embossed sentiment from Hero Art’s Message Strips Stamp and Cut XL (DC286). I love the bright simplicity of this card.
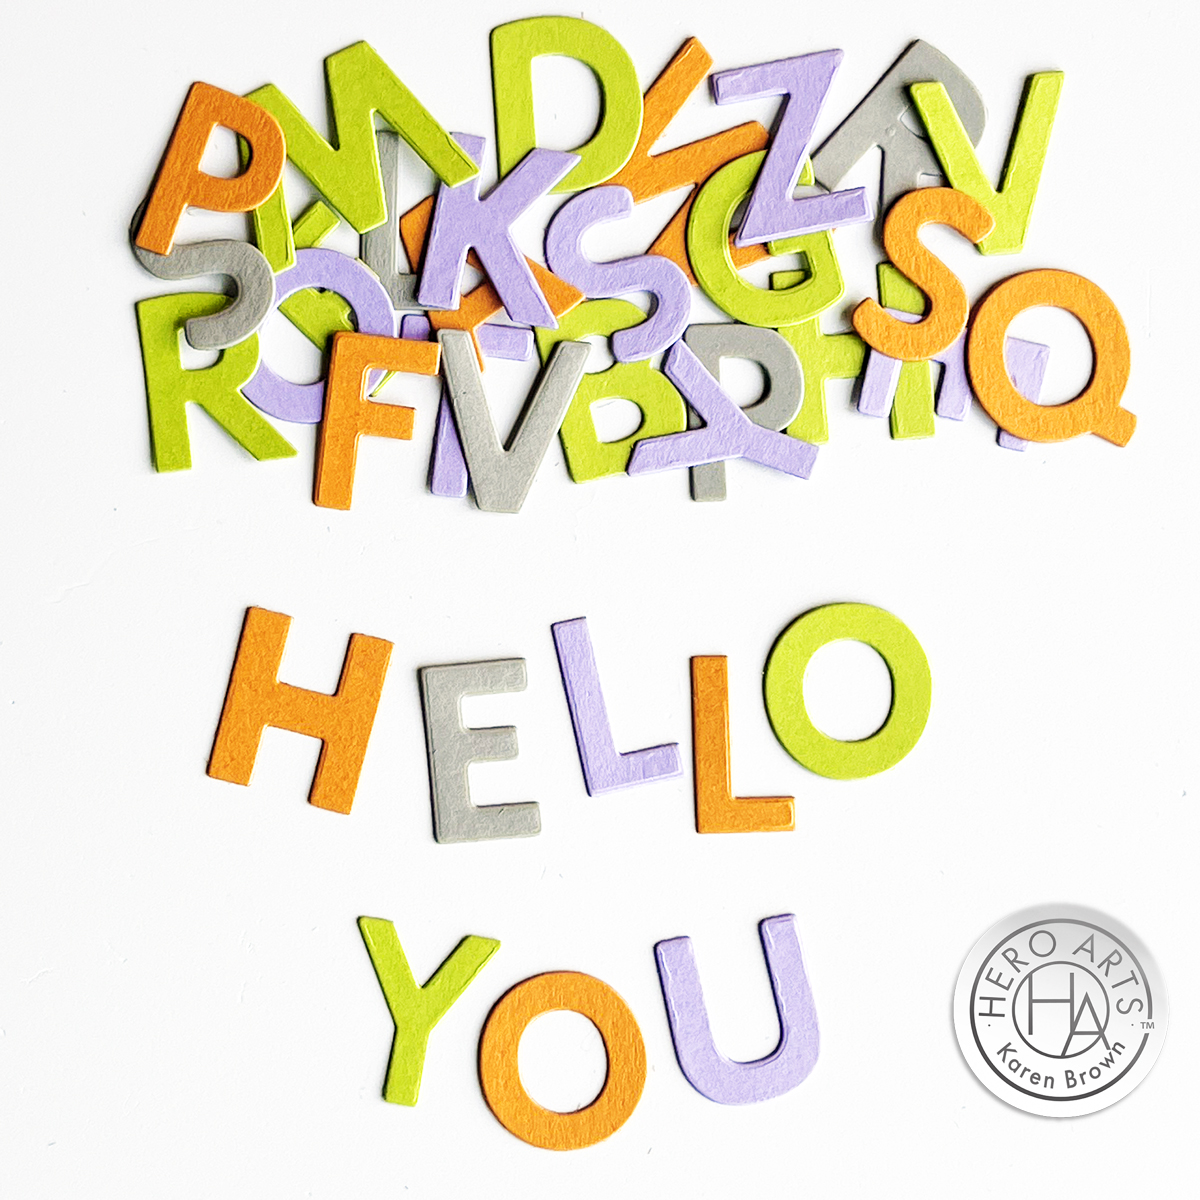
A bonus is that I have TONs of leftover die-cut letters to use on future projects! It is such a time saver to be able to cut 26 letters with one pass of the diecutting machine.
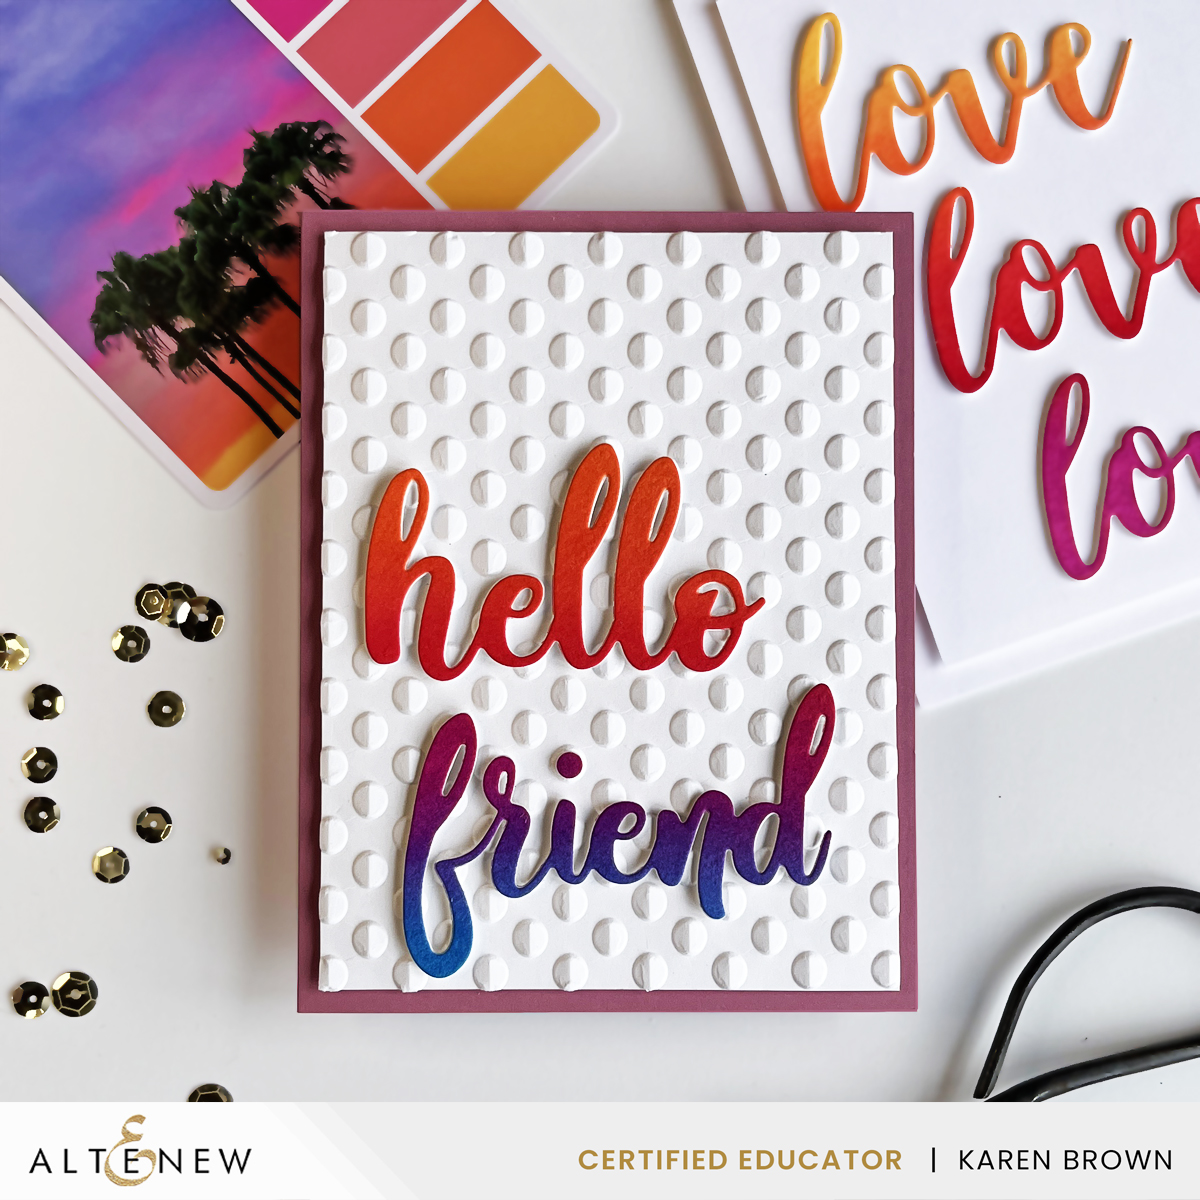
Add-On: Sparkling Fireworks Bold Prints (CG925)

When I saw this background stamp, I immediately thought “CELEBRATION” and decided it would be so fun for a graduation card. I went with a festive vintage vibe. After using a bit of anti-static powder, I stamped the Sparkling Fireworks Bold Prints with Clear Embossing and Watermark Ink onto a panel of Paradise Cardstock. I sprinkled on Iridescent Copper Embossing Powder and heat set. Next, I blended some Paradise Core Ink onto the panel with a blending brush. The sentiment is from Message Basics and Message Strips Stamp and Cut XL (DC286). I wanted to add a bit more grunge so I added Clear Embossing and Watermark Ink to the edges of the background and sentiments, drug them through Copper Embossing Powder and heat set. I added the background to an A2 cardbase and used foam adhessive for the sentiment.

Easy Stamped & Copic Colored Card
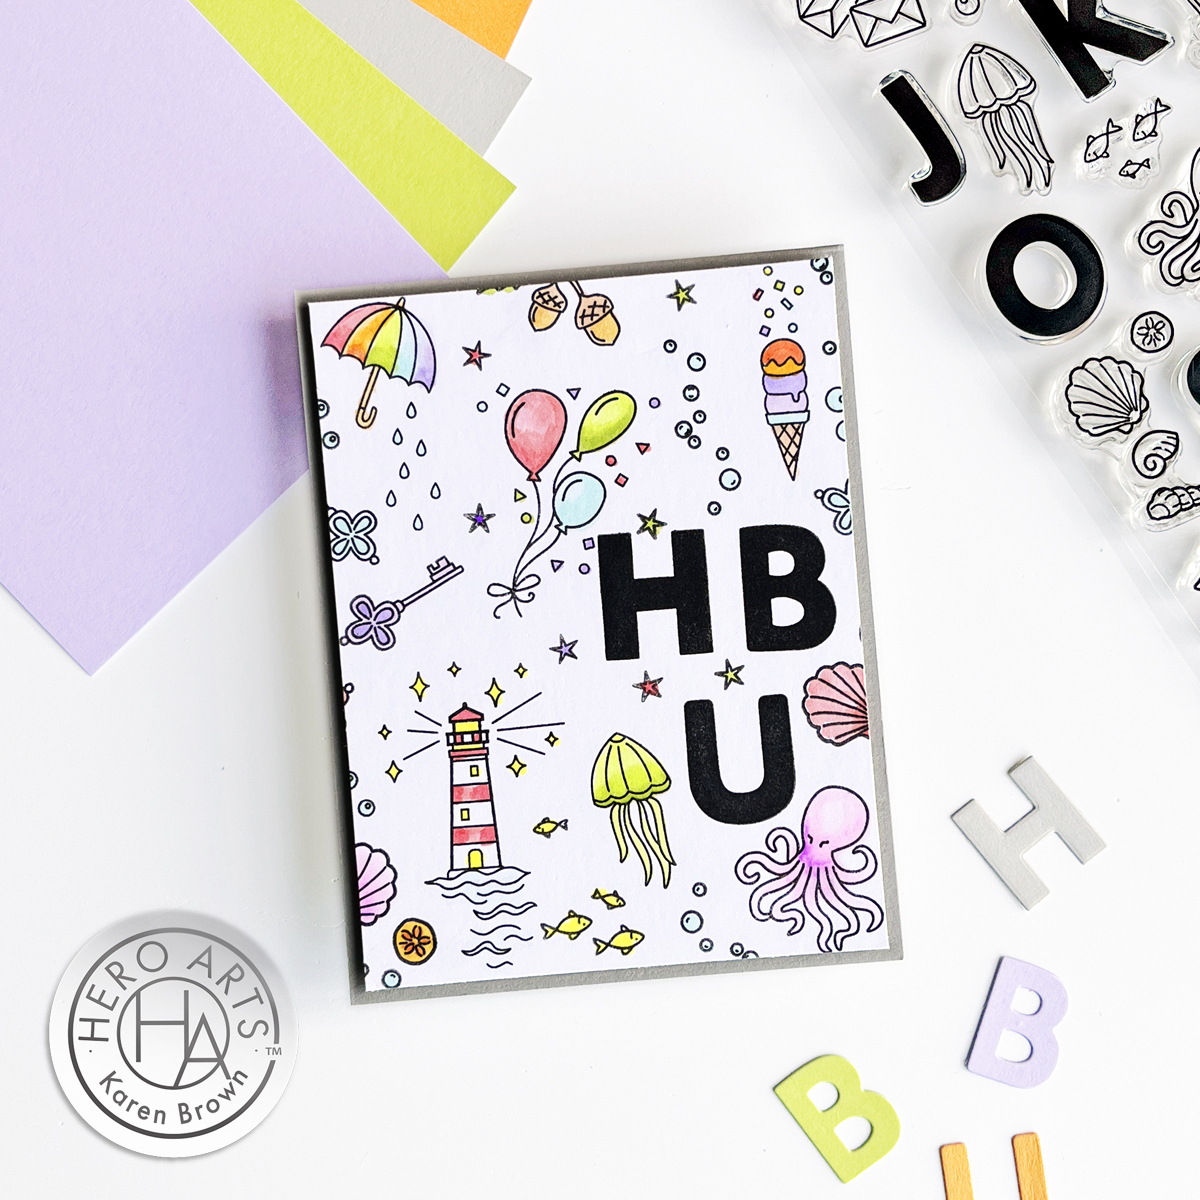
There is something so therapeutic about covering a card front with stamps and then coloring them in. My daughter was so captivated by the XL Alphabet Clear Stamps that she created two fun word signs with images for her office.
GIVEAWAY:
We will give away a $50 gift card, drawn from the comments left across the hop. Enter by Sunday, December 10th at 11:59pm Pacific, and the winner will be announced on the Hero Arts blog the following week.
BLOG HOP:
The Hop starts at Hero Arts!
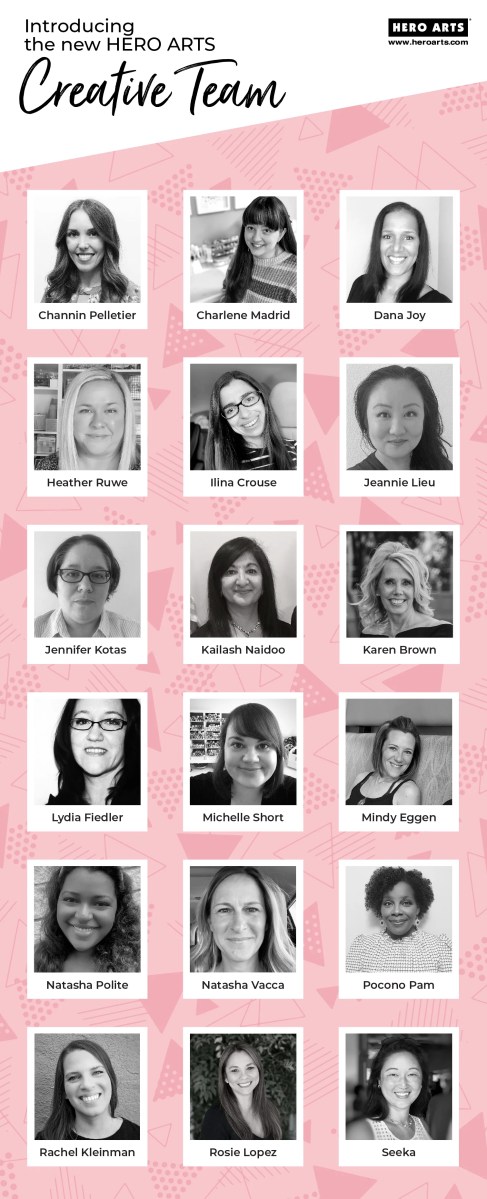
You likely arrived from Jennifer Kotas.
Your next stop is Pocono Pam.
Here is a list of the entire Hop:
EssieKelly Taylor
Emily Midgett
I am so glad you could join us for this hop