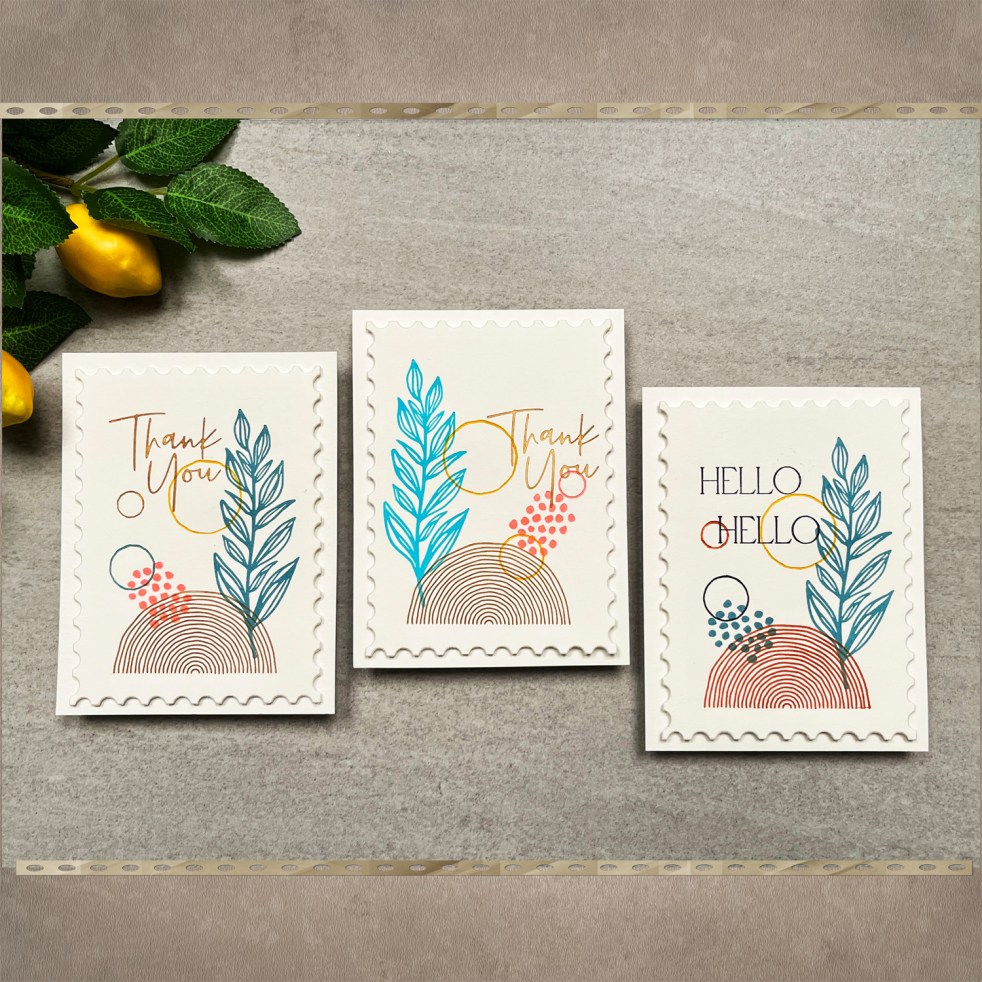
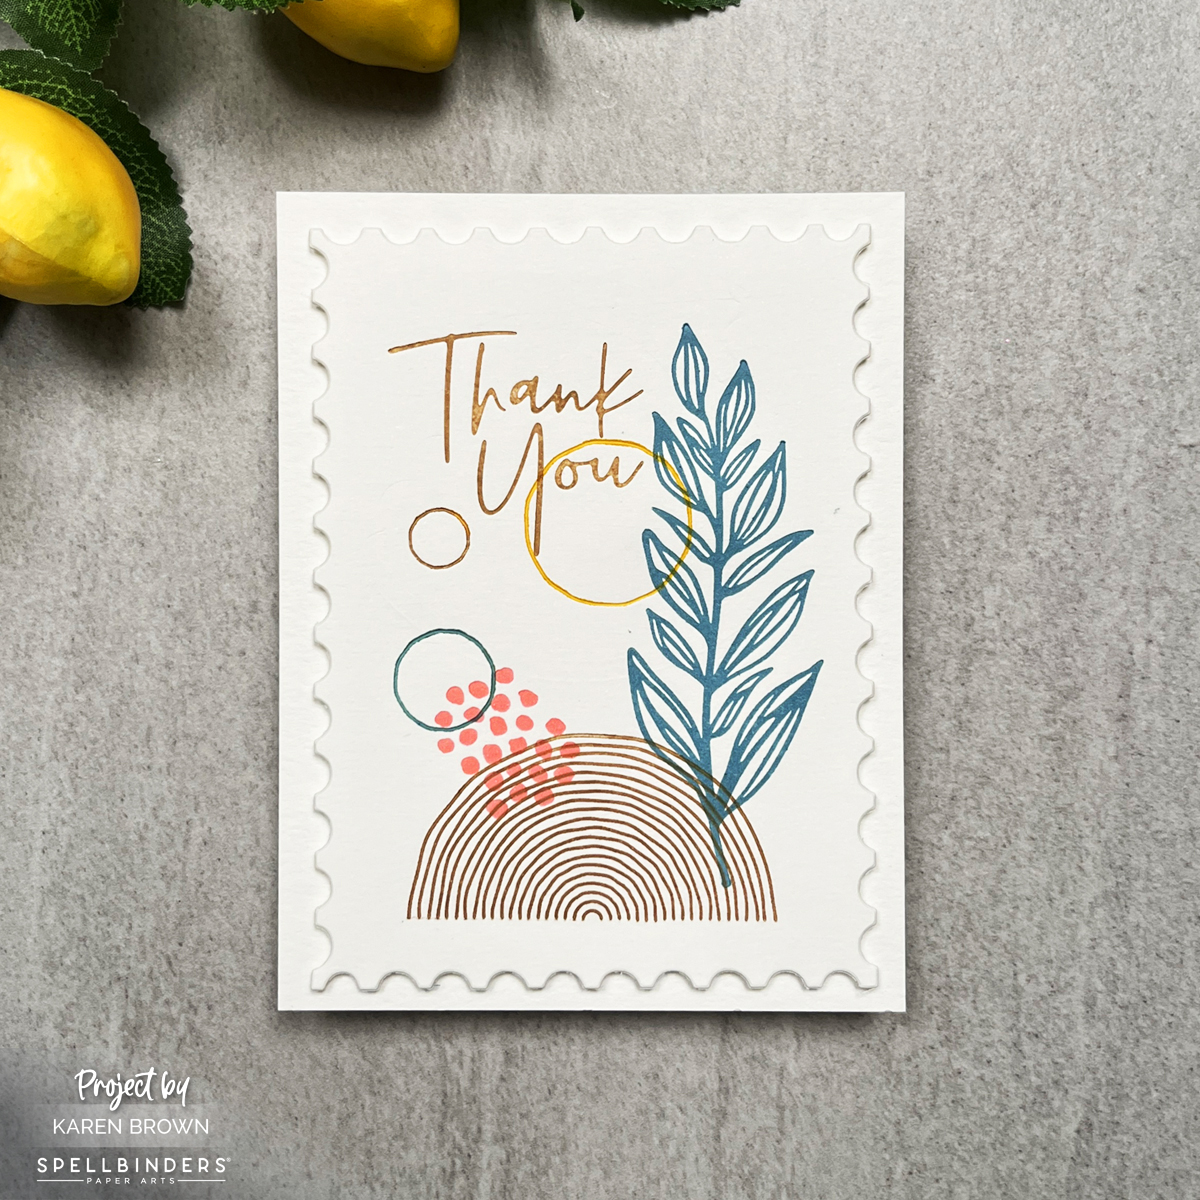
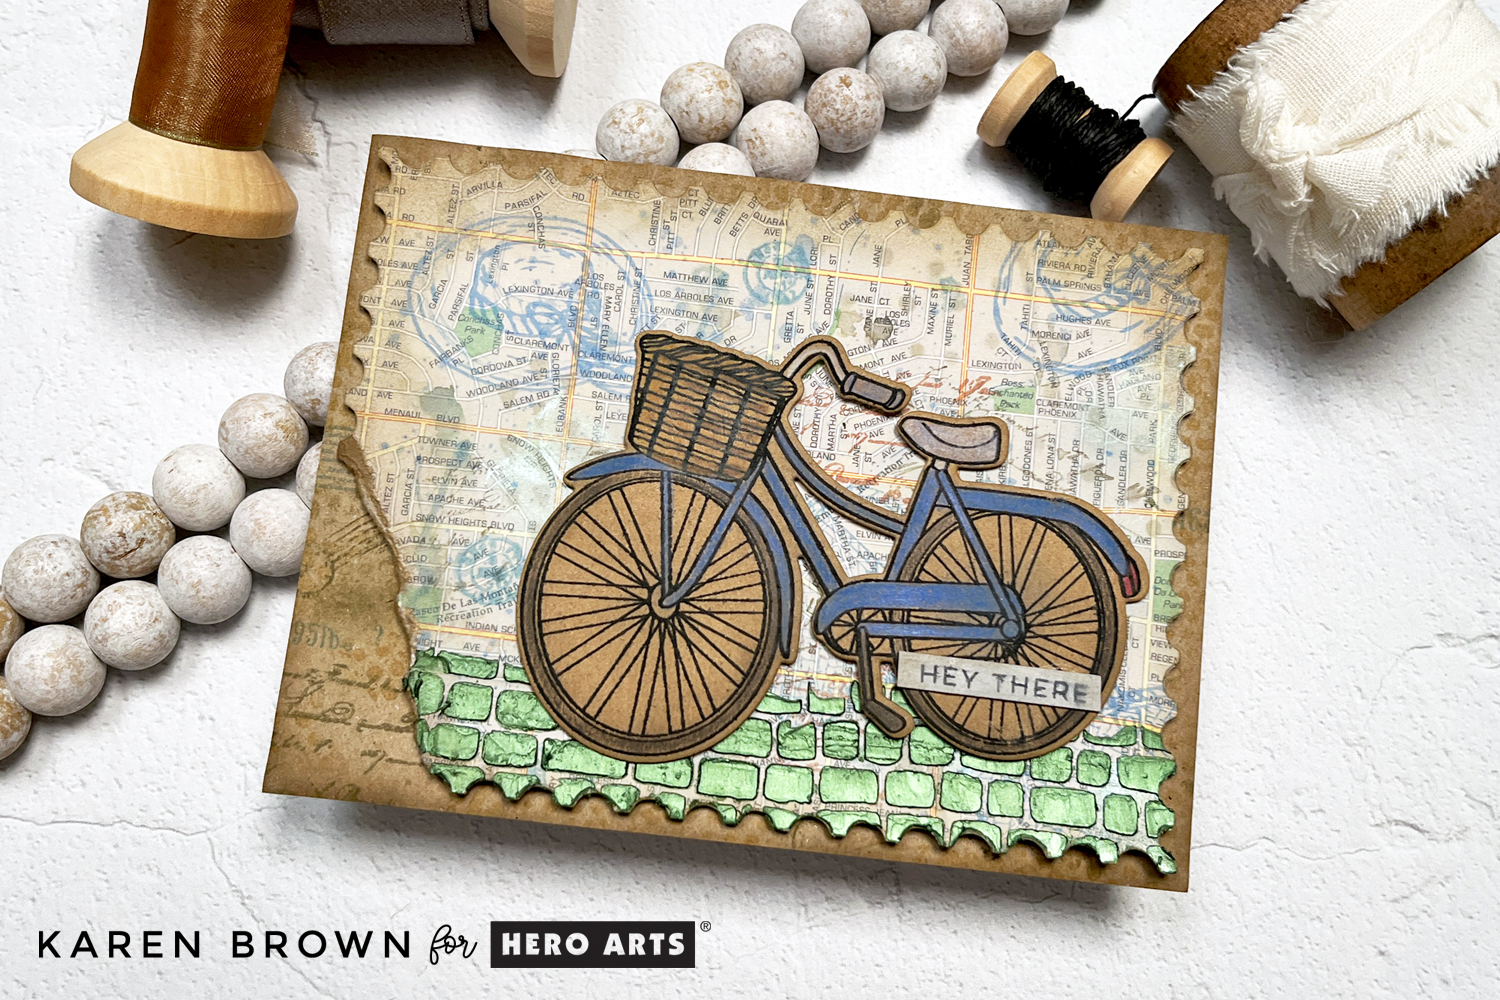
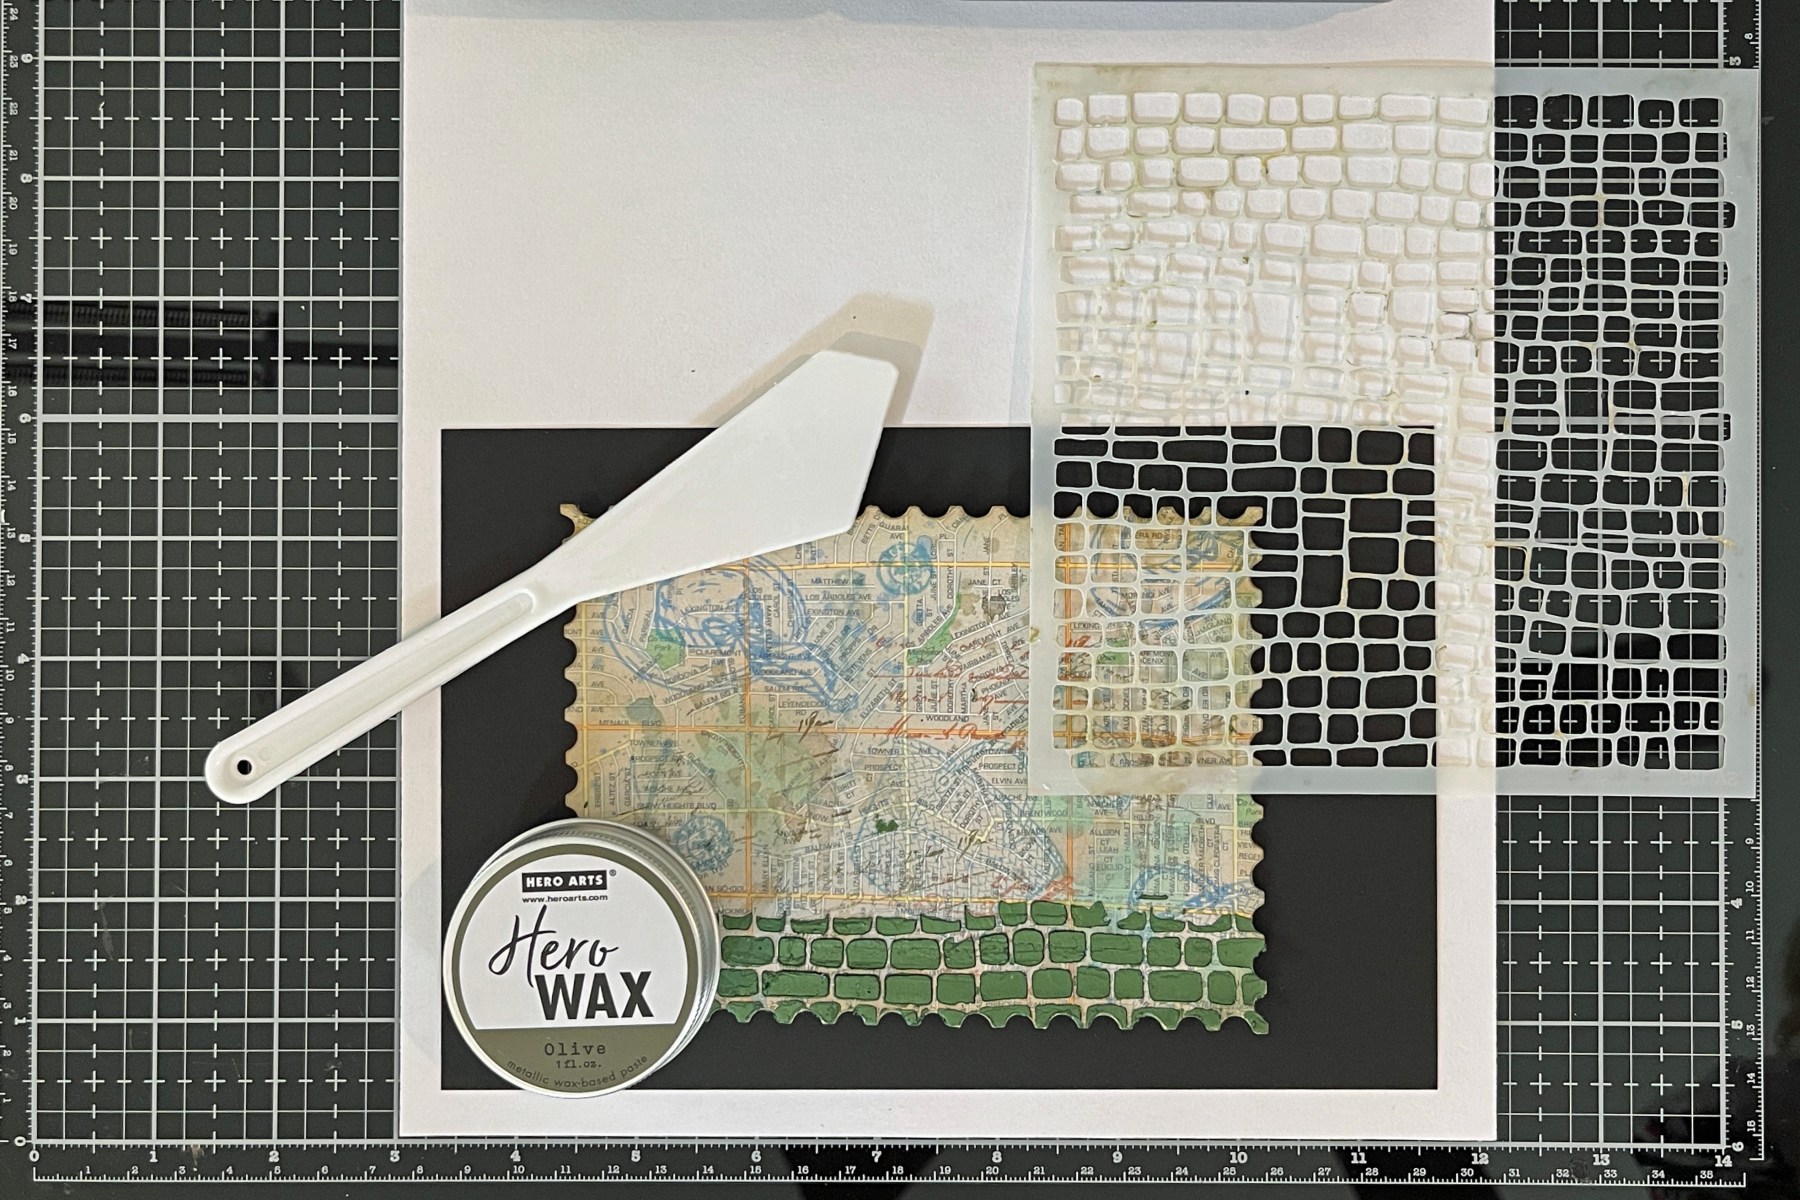
This month’s Hero Arts July Release is full of that easy, breezy summer energy—think sandy toes, sunshine, and salty air. I had so much fun creating with the Summer by the Sea collection, and I’m sharing five cards that show off the versatility of these beautiful new products.
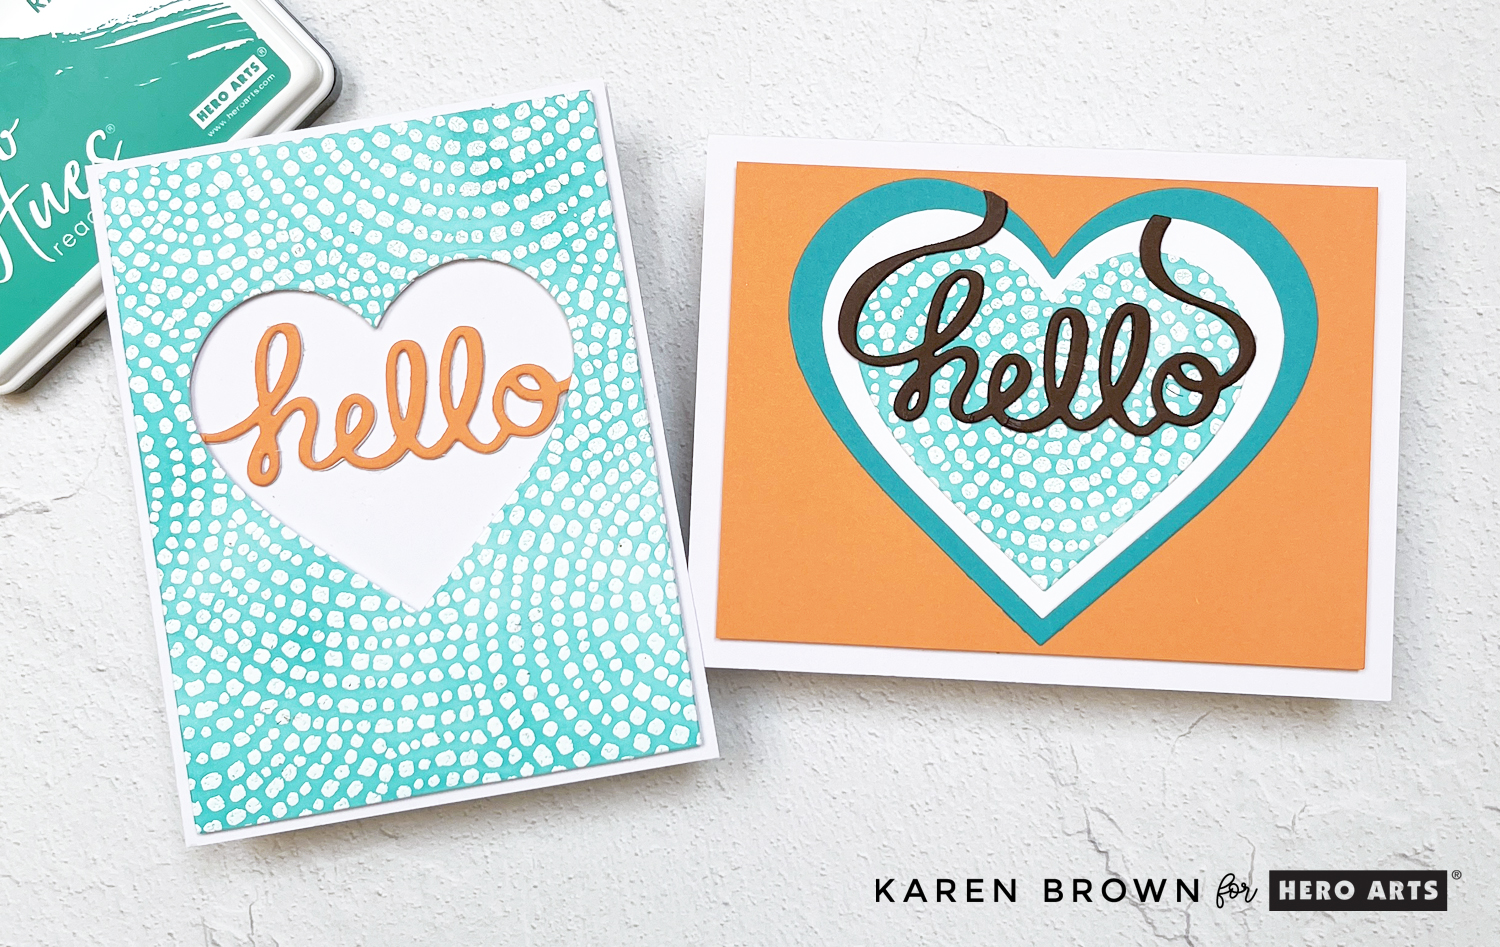
One Plate, Two Looks

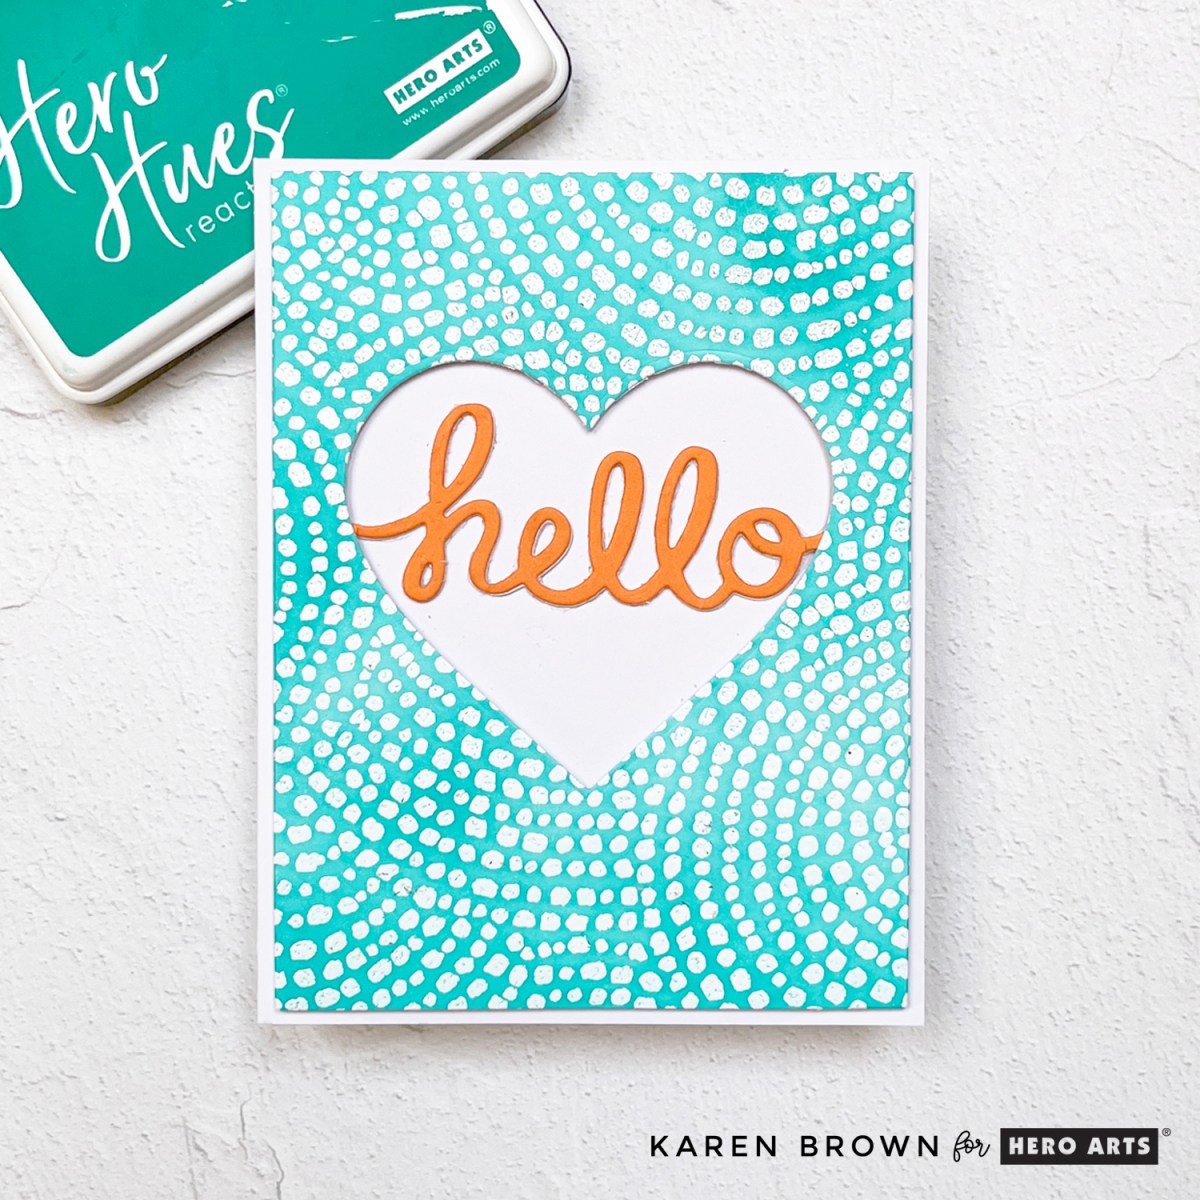
Card One: Hot Foiled Glimmer Glow
The first two cards are part of a Hero Arts Instagram Hop that you can find HERE.
I hot foiled the Scattered Shells LetterPress + Foil Plate in matte gold using my Spellbinders Glimmer System, over a gorgeous aqua cardstock. The result is luxe and luminous—it truly glows in person!
I added a layered sentiment using the scripty “hello” from the July Hero Studio Die of the Month Kit—die cut from matte gold cardstock with a slightly offset teal shadow for contrast. Everything is mounted on teal cardstock for a rich, beachy vibe.
You might also be interested in a recent Glimmer Hot Foil Butterfly Post.
Card Two: LetterPress Charm

For a softer feel, I used the same plate with Hydrangea ink in my BetterPress system. The result is crisp and coastal.
I paired it with a cheeky sentiment—“Better Than A Text”—from the new Banner Days Stamp & Cut set. It’s a fun reminder that handmade is always more heartfelt!
These two cards came together quickly and really showcase the range you can get from one plate—hot foil elegance or classic letterpress charm.
You might also enjoy my popular post: 9 Tips, Tricks and Insights for Spellbinders BetterPress Machine.

🐚 Beach Shell Wreath Card
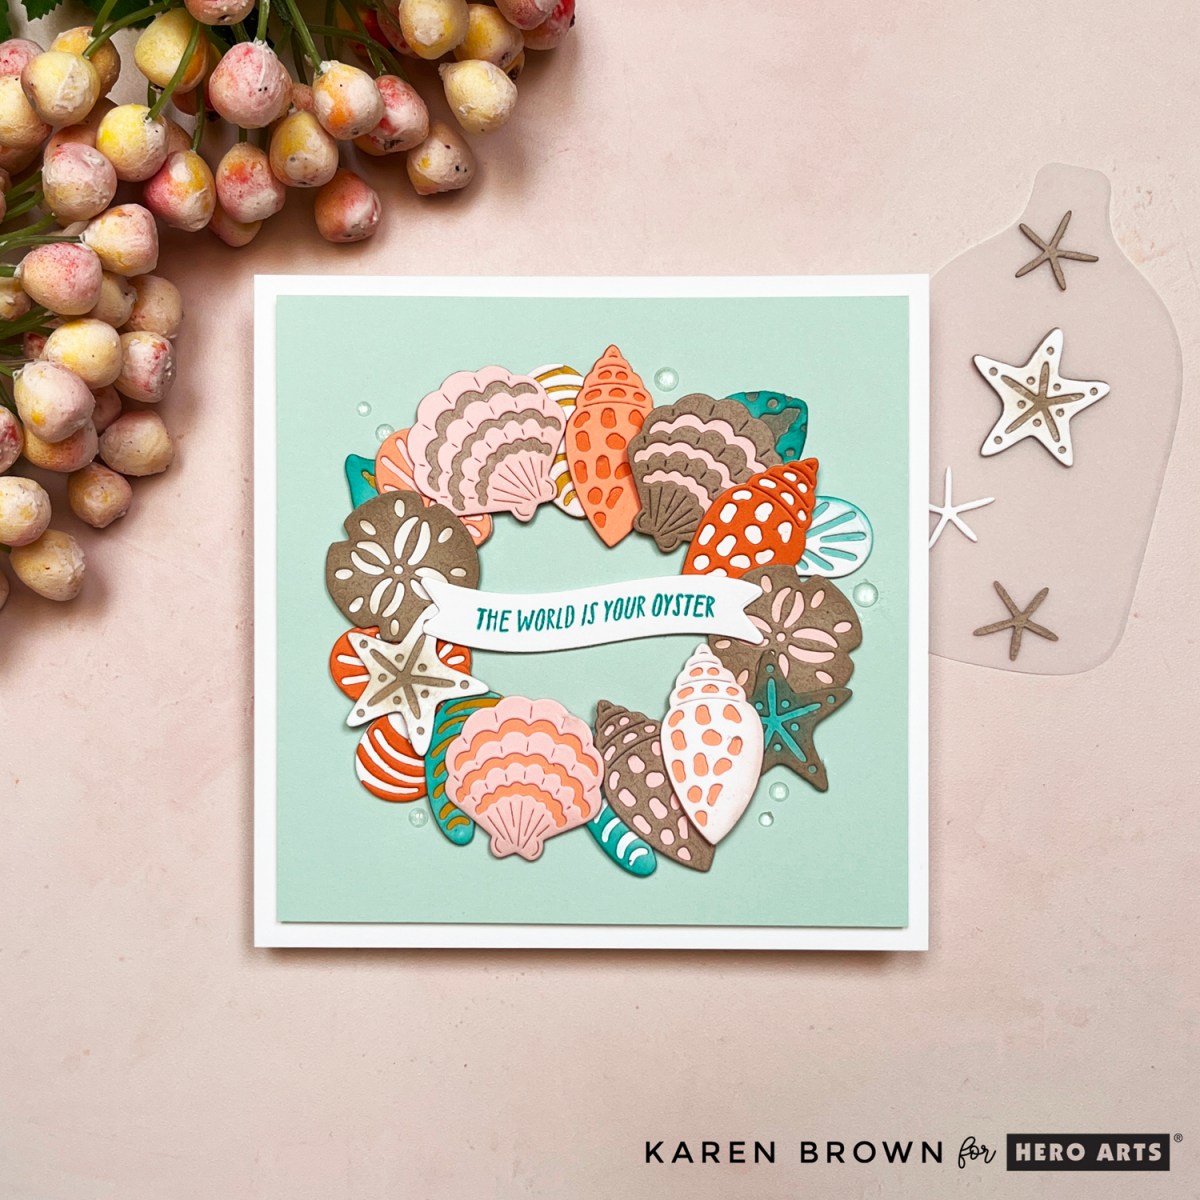
Next up is a square card that centers around a gorgeous die cut Summer Shell Wreath using the Sophisticated Shells Dies. I used ColorWheel Cardstock in:
- Mint, Waterfall, Blush, Tuscan, Carrot, Coral, White, and Kraft.
I added just a touch of ink blending to the die cuts to give some depth and dimension, then finished it off with a sweet sentiment from Banner Days and a few clear dot embellishments to mimic bubbles or sea glass. The soft coastal tones and wreath shape feel fresh and modern.

🗣️ Sentiment-Focused Cards
Finally, I created two additional cards using the Banner Days Stamp & Cut set. These sentiments are fun, cheeky, and so versatile—they really bring the “message” to the forefront of your design.

You’ll find phrases like:
- “Better Than a Text”
- “You’re a Treasure”
- “Some Friendships are Timeless ”
…perfect for summer hello cards, pen pal notes, or lighthearted designs.

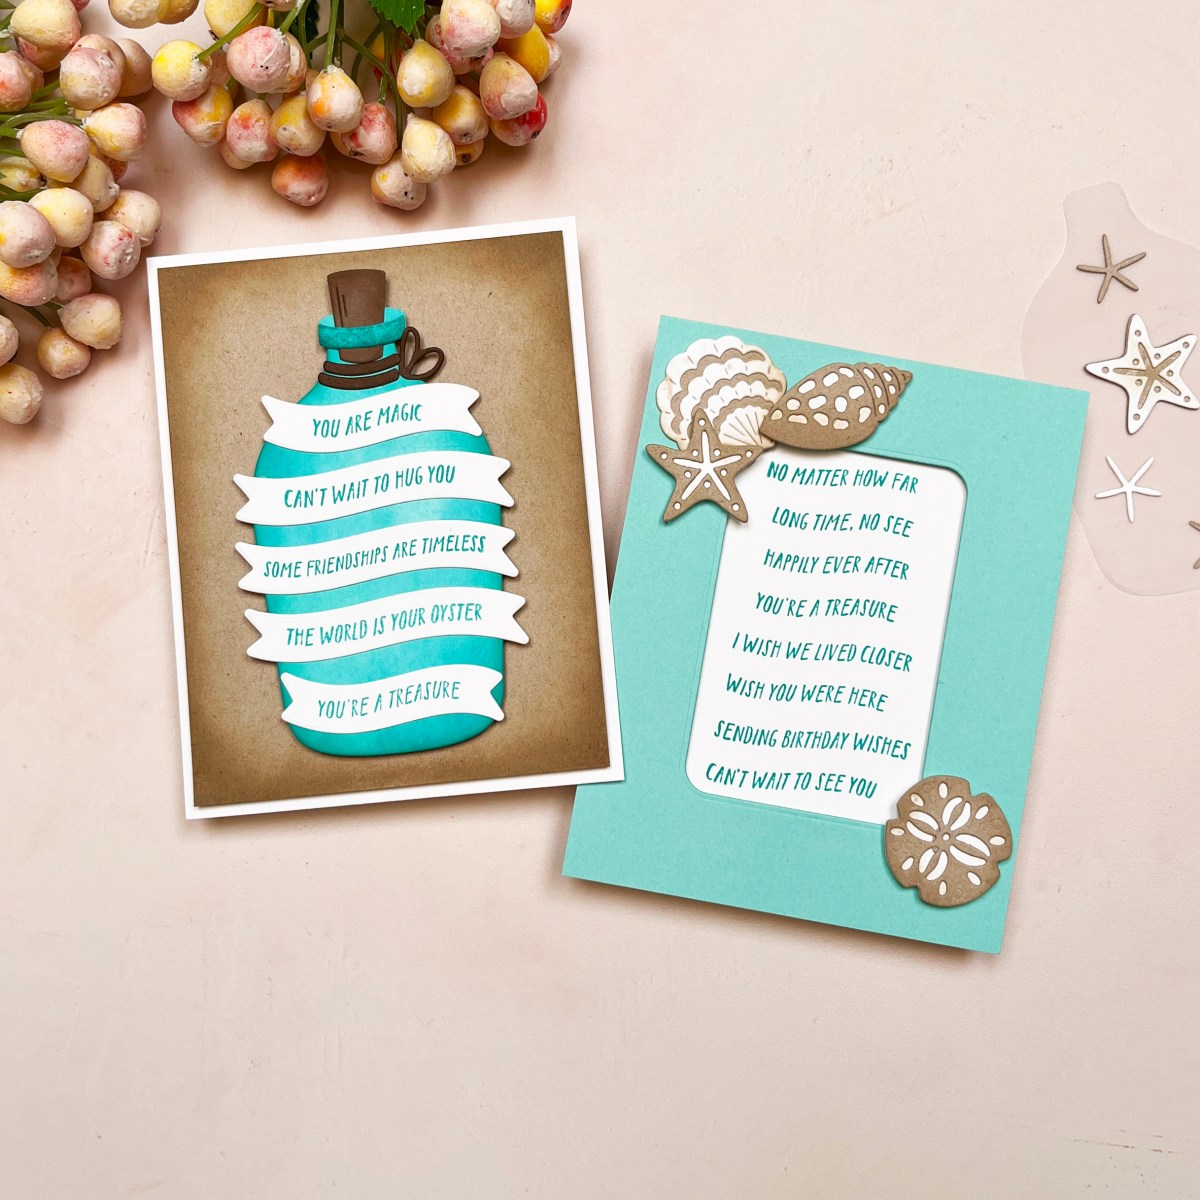
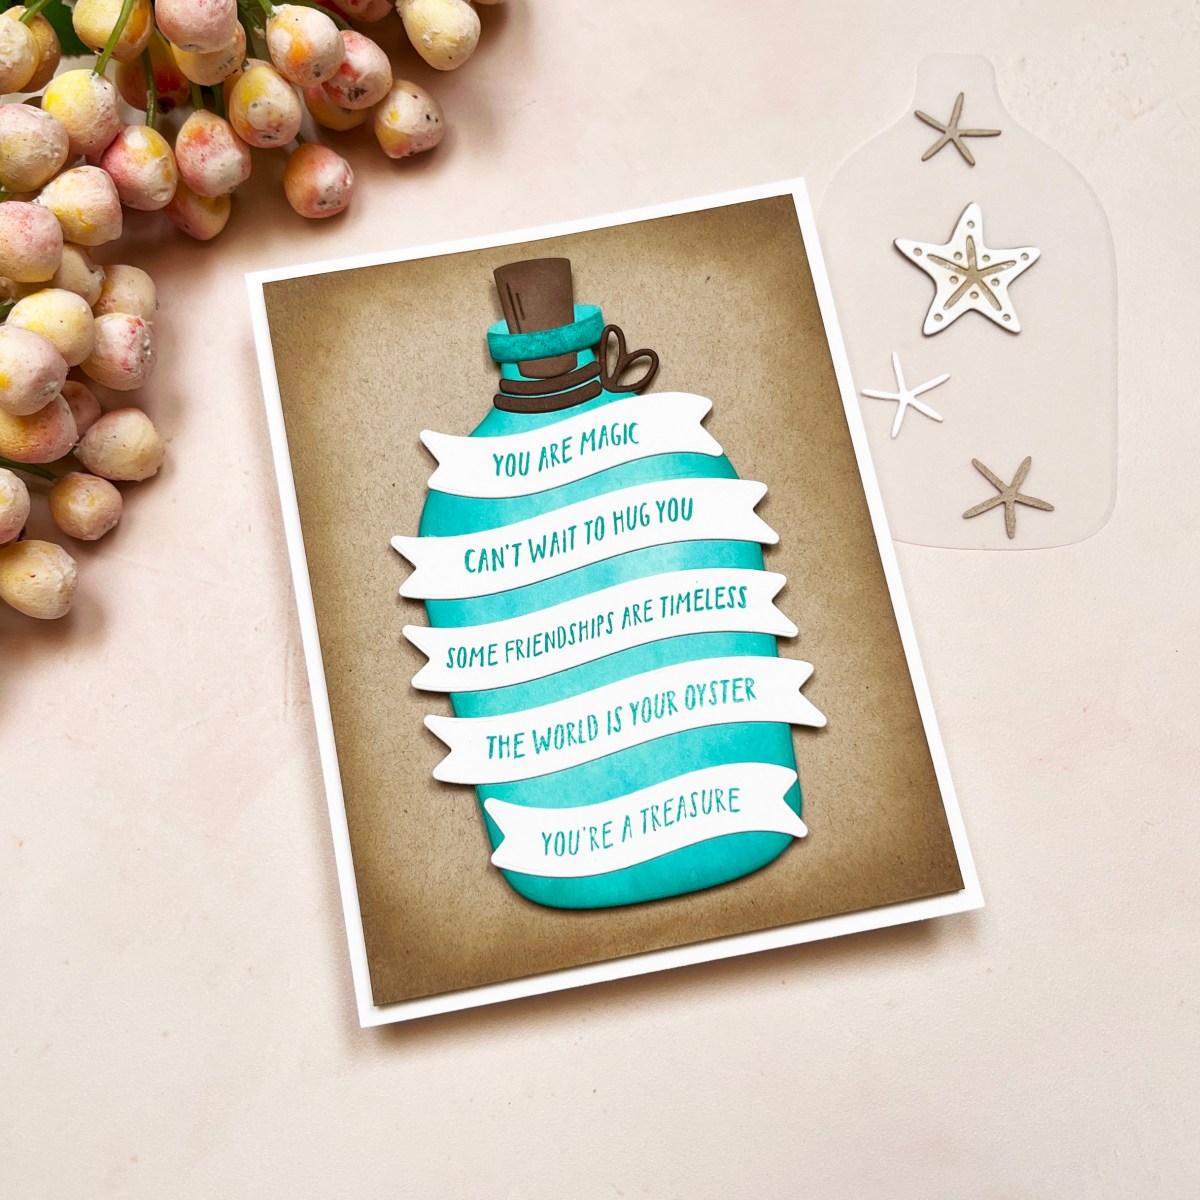
And our final card features 5 die cut sentiments that could be “messages in a bottle”.
This collection has such a relaxed, summery vibe—whether you’re foiling, pressing, or layering die cuts, there’s something here for every cardmaker. Stay tuned to Instagram for even more ideas from the Hop!
Thanks for stopping by!