Christmas at the beach anyone? I am excited to share 2 cards featuring Simon Hurley’s new Snow Globe holiday collection from Spellbinders. I created 2 bright colorful little vignettes that I think are quite fun!
Bright Tropical Christmas Card

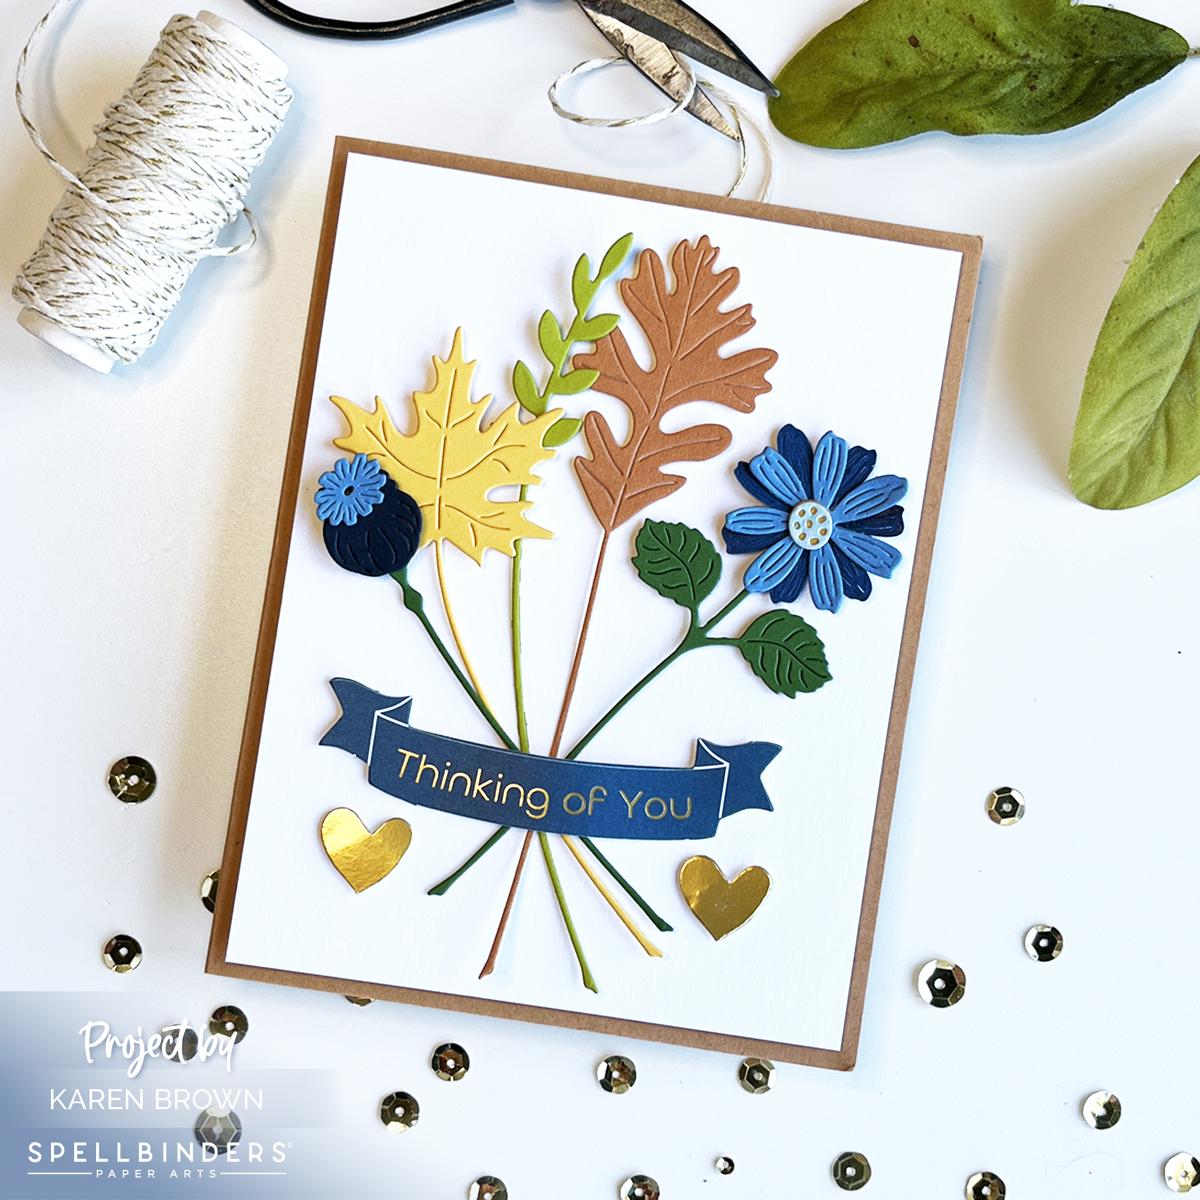
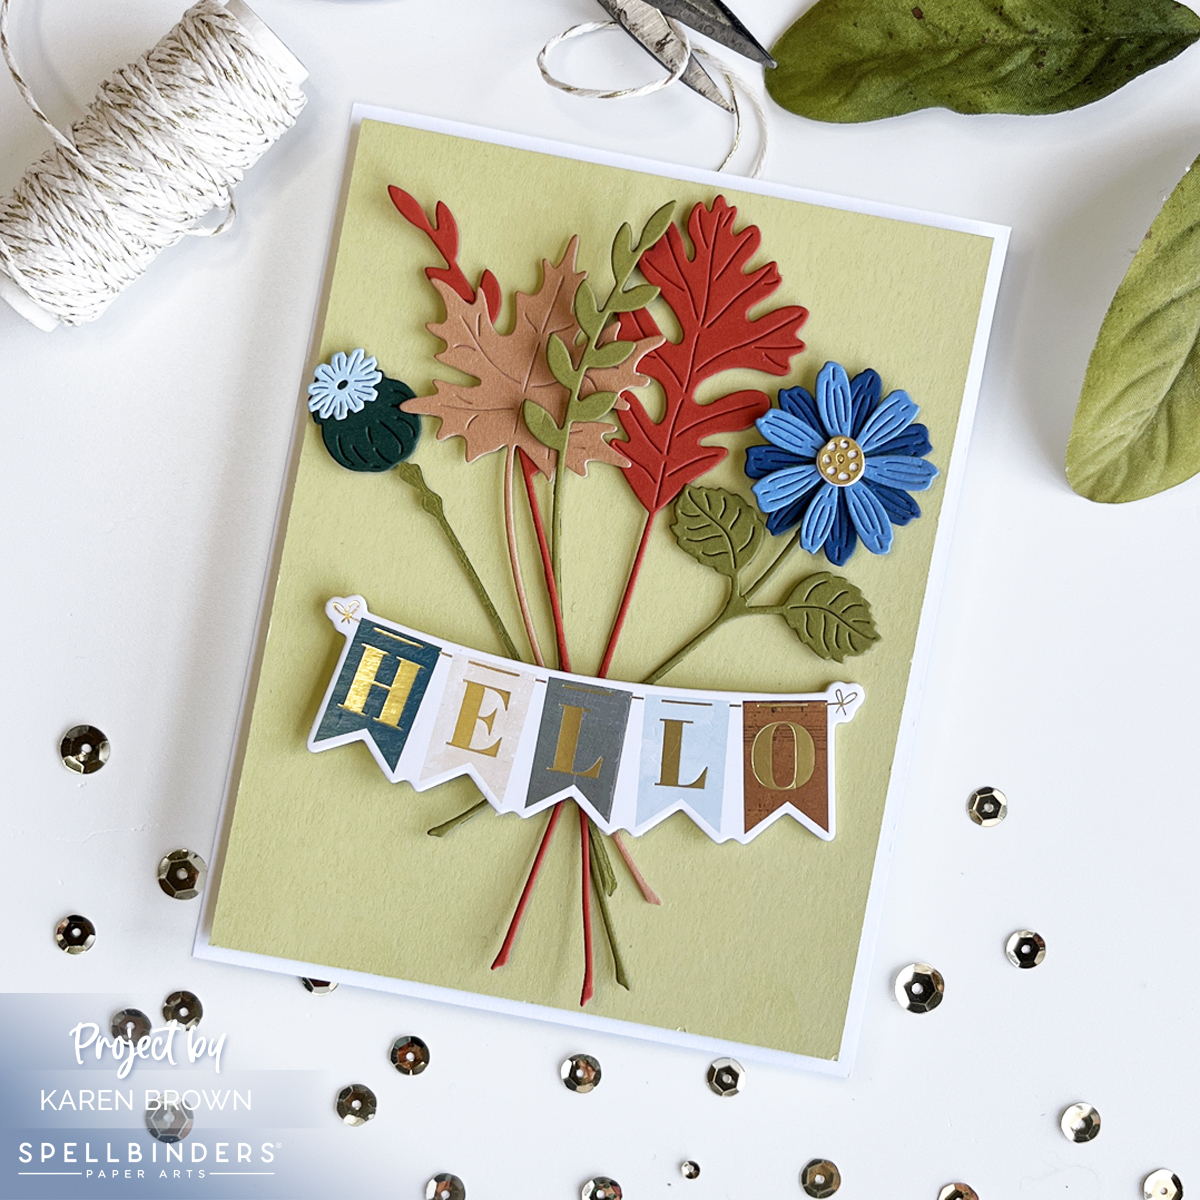
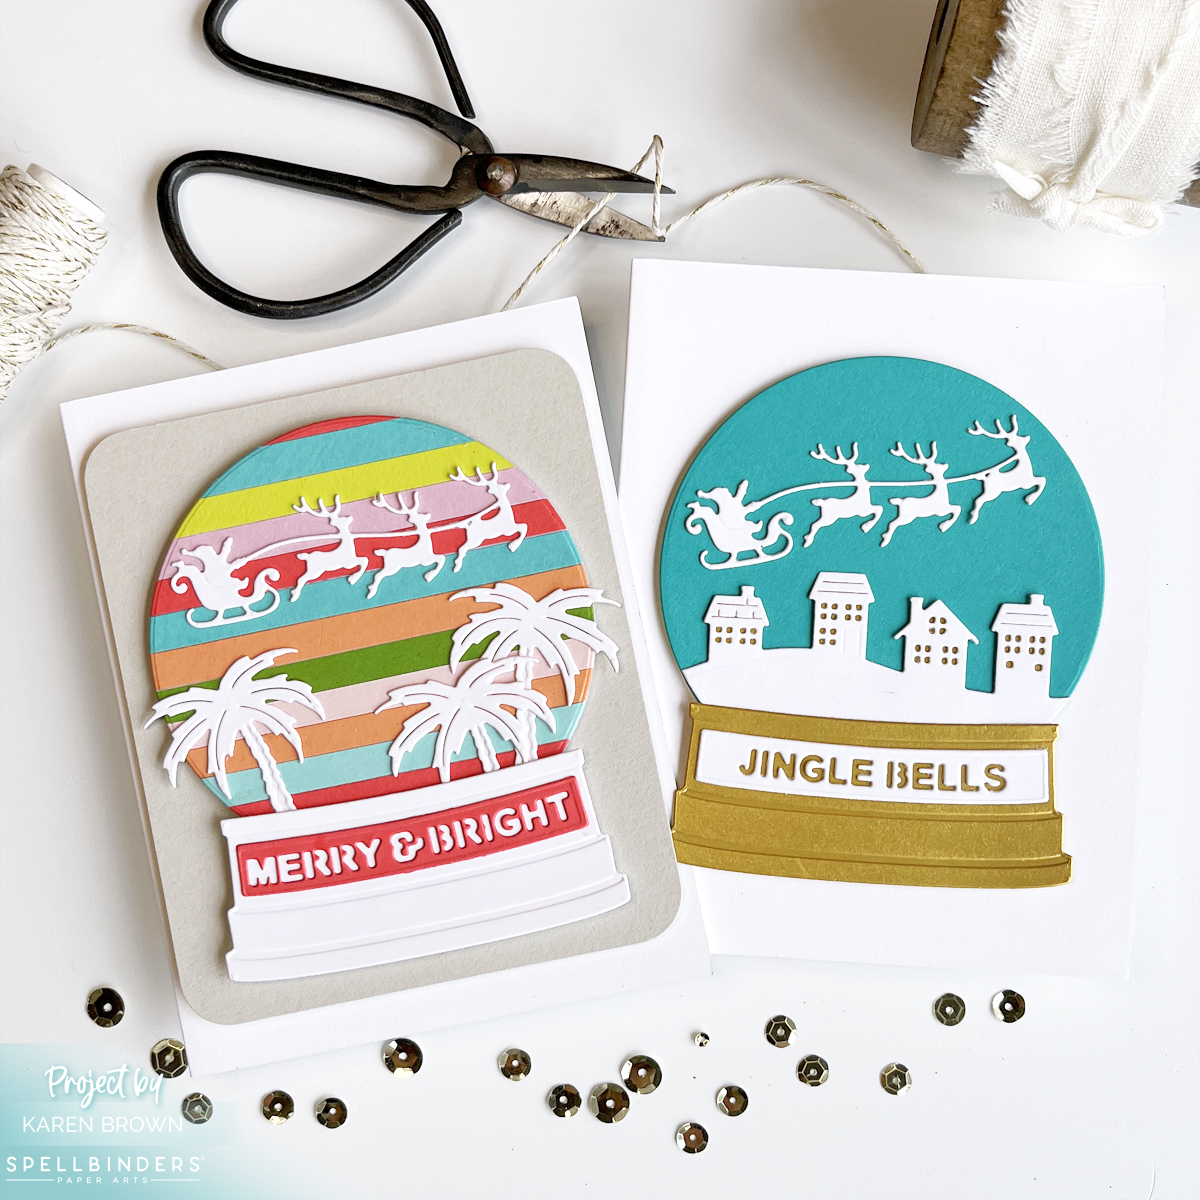
For my first card, I was simulating a tropical sunset (including palm trees!) with Santa and reindeer flying overhead. I used the Snow Globe etched dies and added the palm trees from the coordinating Nativity Scene. The entire die bundle is wonderful with snowmen, homes, deer and nativity….endless combinations
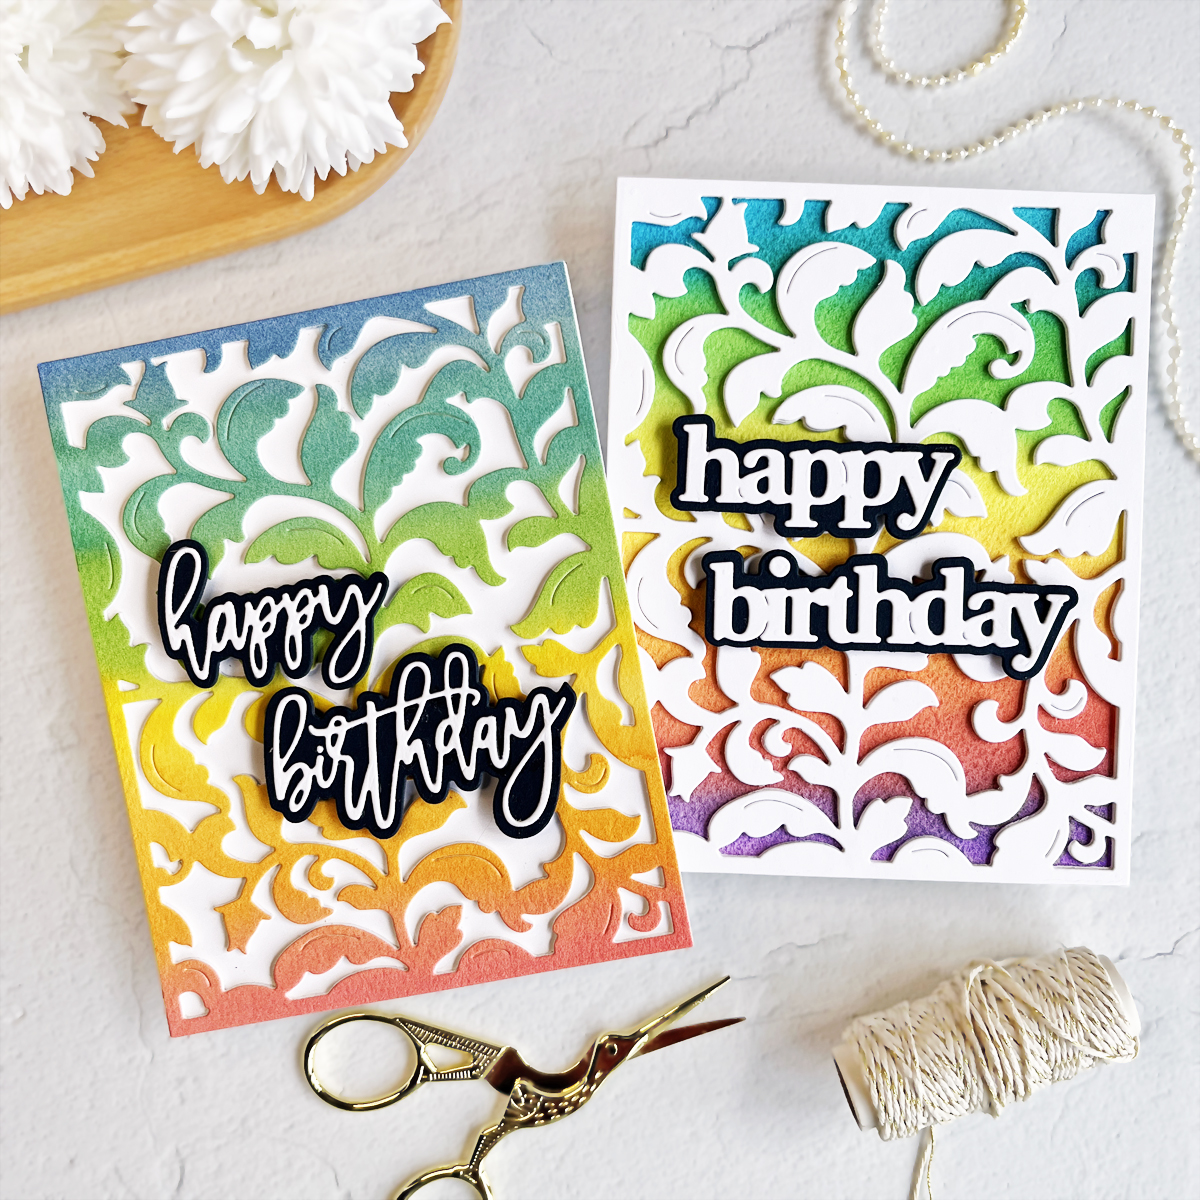
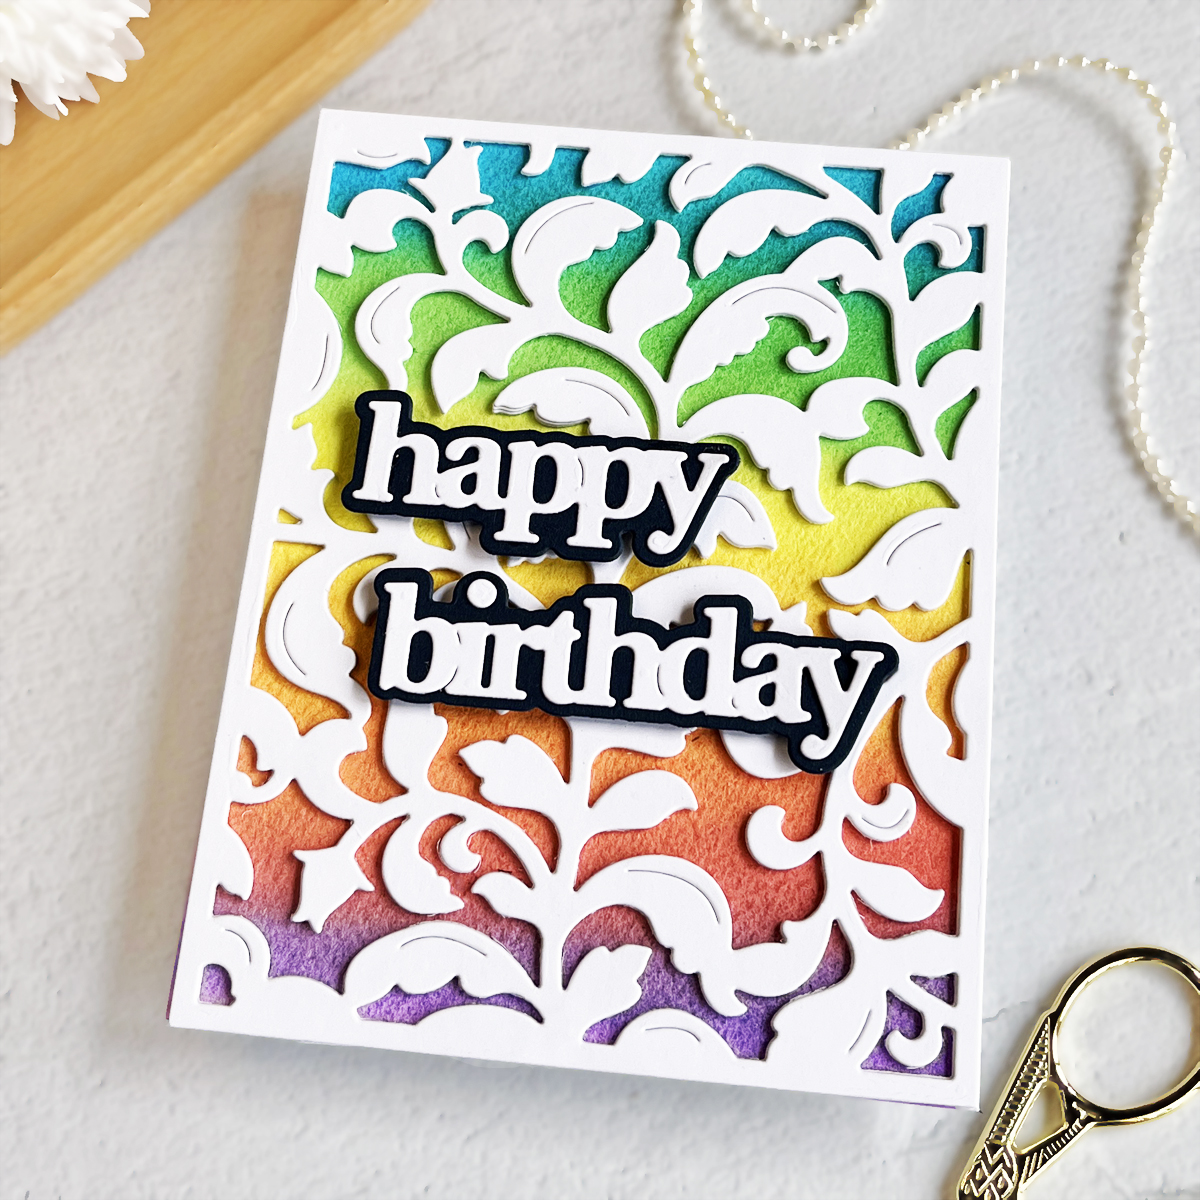
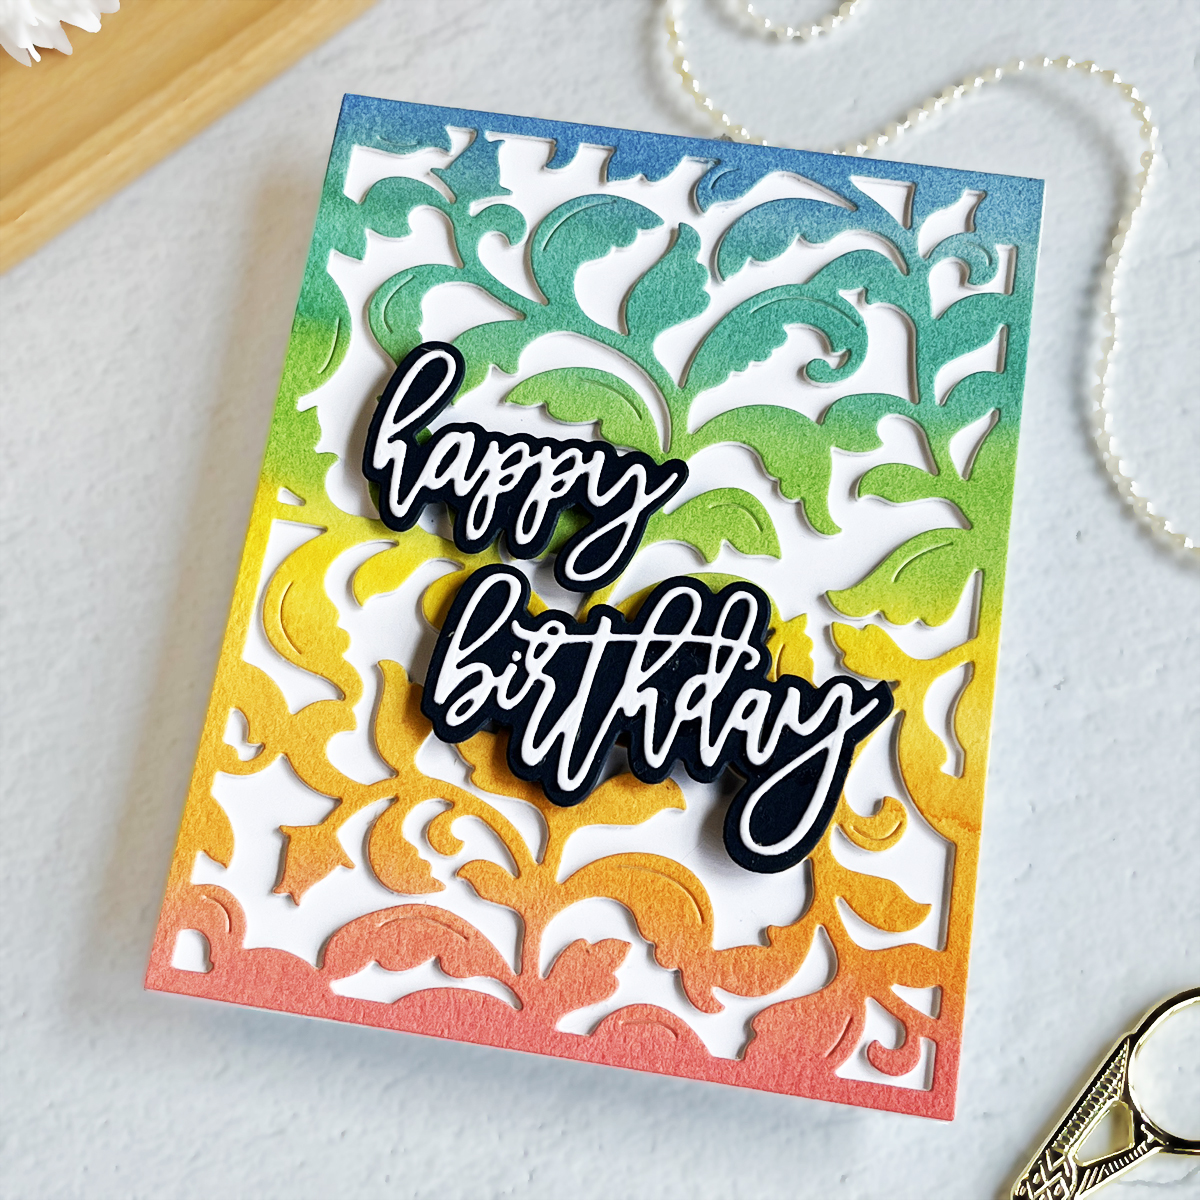
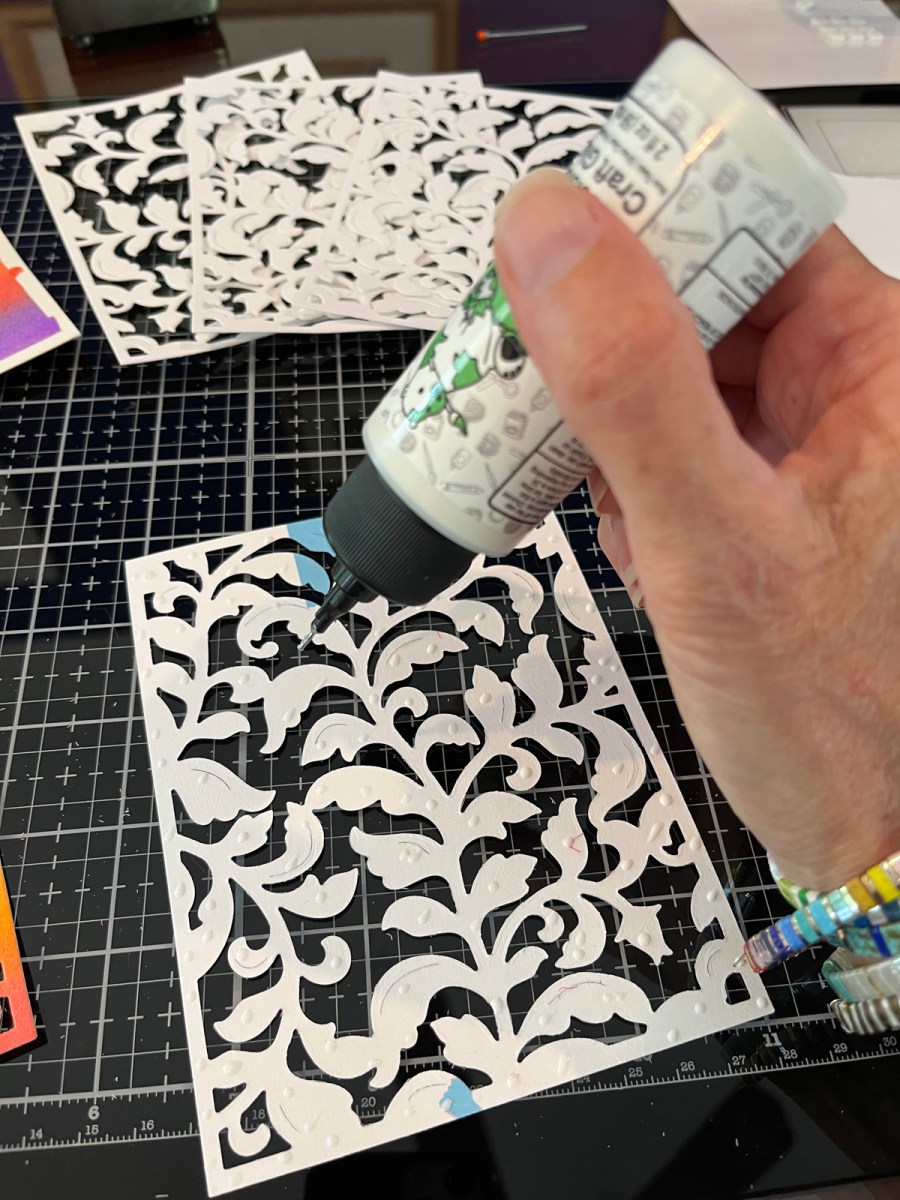
I love making backgrounds from colorful strips of paper. The background was so easy….I cut 1/4″ strips of colored paper and then adhered to a piece of cardstock. Funny story, I usually use a tape runner for this but halfway through, my tape runner ran out and I didn’t have a refill. No worries though, I just finished the panel with liquid glue, and you can’t tell a difference in the end result. If you’d like to see a quick video on how to create a rainbow striped background, click HERE. (I shot this as a reel for Instagram, but also posted it to YouTube, so the YouTube orientation is a little unusual.)
After my background was complete, I die cut all my components and then assembled my card with Bearly Glue and craft foam (for dimension).
PRO TIP: I like using a combination of liquid glue and craft foam as it allows me to micro-adjust the placement of my die-cuts. I slid the Globe around until it was centered, which is harder to do with Adhessive Foam Squares. I do use double-sided foam squares a lot when placing flowers.
CAS Die Cut Chritmas Card

For card #2, I did a more traditional wintry Christmas scene using Teal Topaz and Brushed Gold Cardstocks. I love the contrast of the bright white against the teal sky. And, the gold adds a subtle elegance to the snow globe.
Products Used:
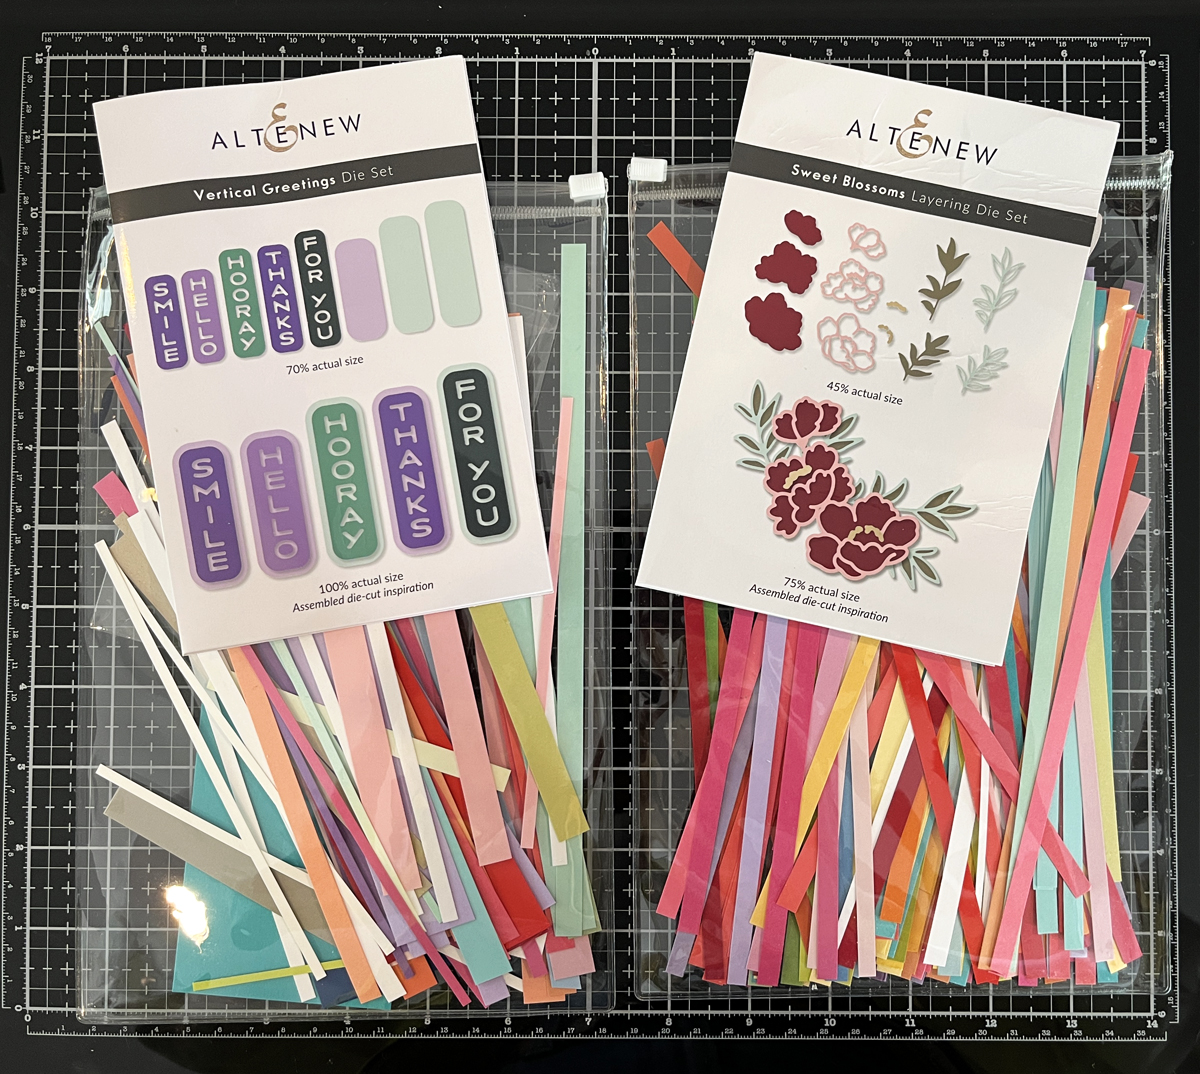
- Nativity Scene Etched Dies (Palm Trees) S4-1323
- Simon’s Snow Globe Die Bundle
- Teal Topz Cardstock
- Brushed Gold Cardstock
- Bearly Glue
- Craft Foam
So there you have two bright colorful snow globes. As always, I am so pleased you stopped by!
Karen
Interested in more…You can also find me at these spots too: