If you’re already dreaming of decking your craft room with fresh supplies, Hero Arts December Release is about to paint your world with inspiration! This month’s theme is color, and it’s bursting with playful possibilities. Imagine stamps that bring your designs to life, a fancy circle-shaped die perfect for creating a BOLD striking focal point, and a die-cut box of crayons that’s as whimsical as it is nostalgic. And let’s not forget the butterflies—because no colorful creation is complete without a touch of fluttery elegance. It’s everything you need to make your cards shine brighter.
A Kaleidoscope of Creativity: December’s Theme is “Color”!
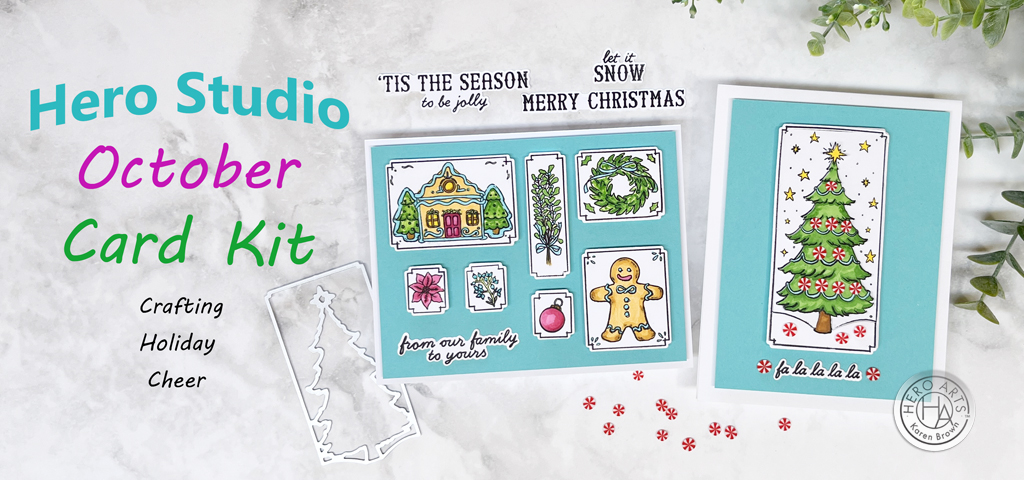
A Colorful Recipe for Success: Hero Studio December Card Kit of the Month
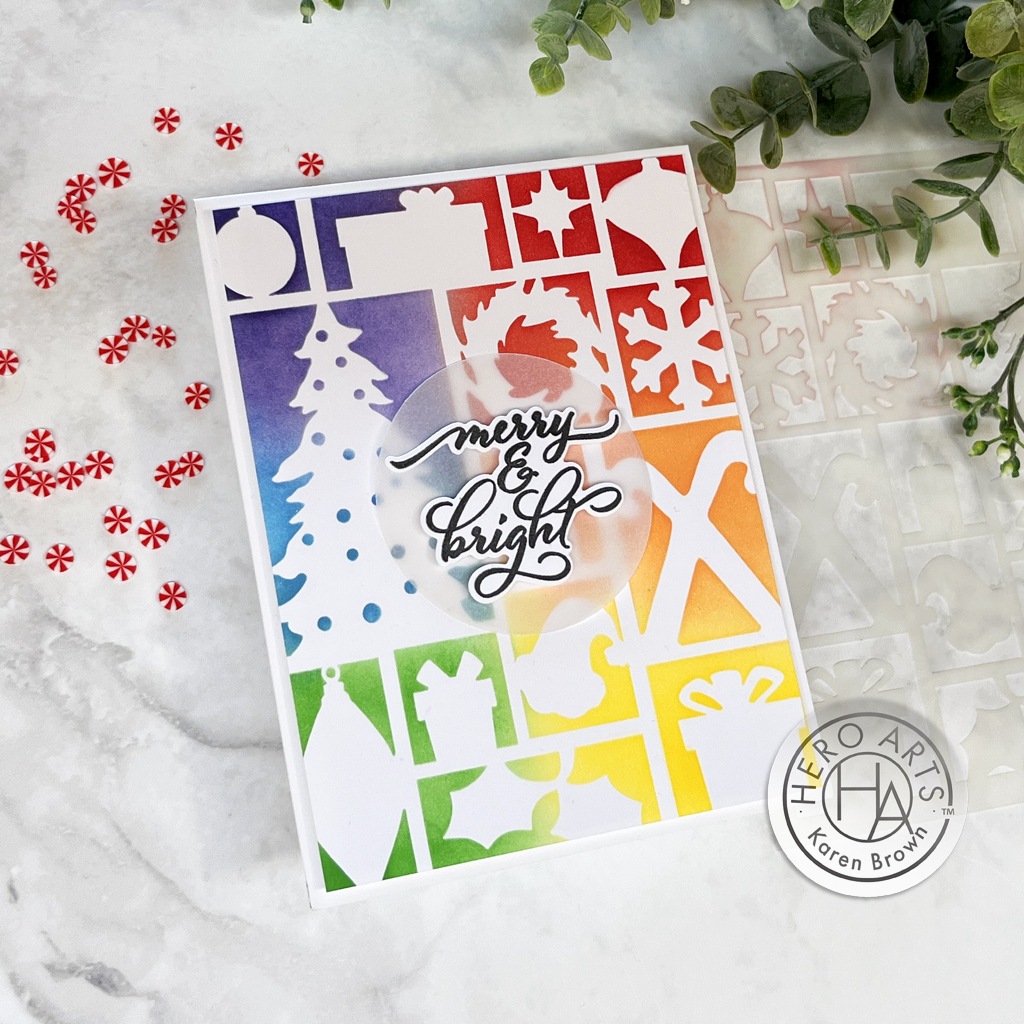
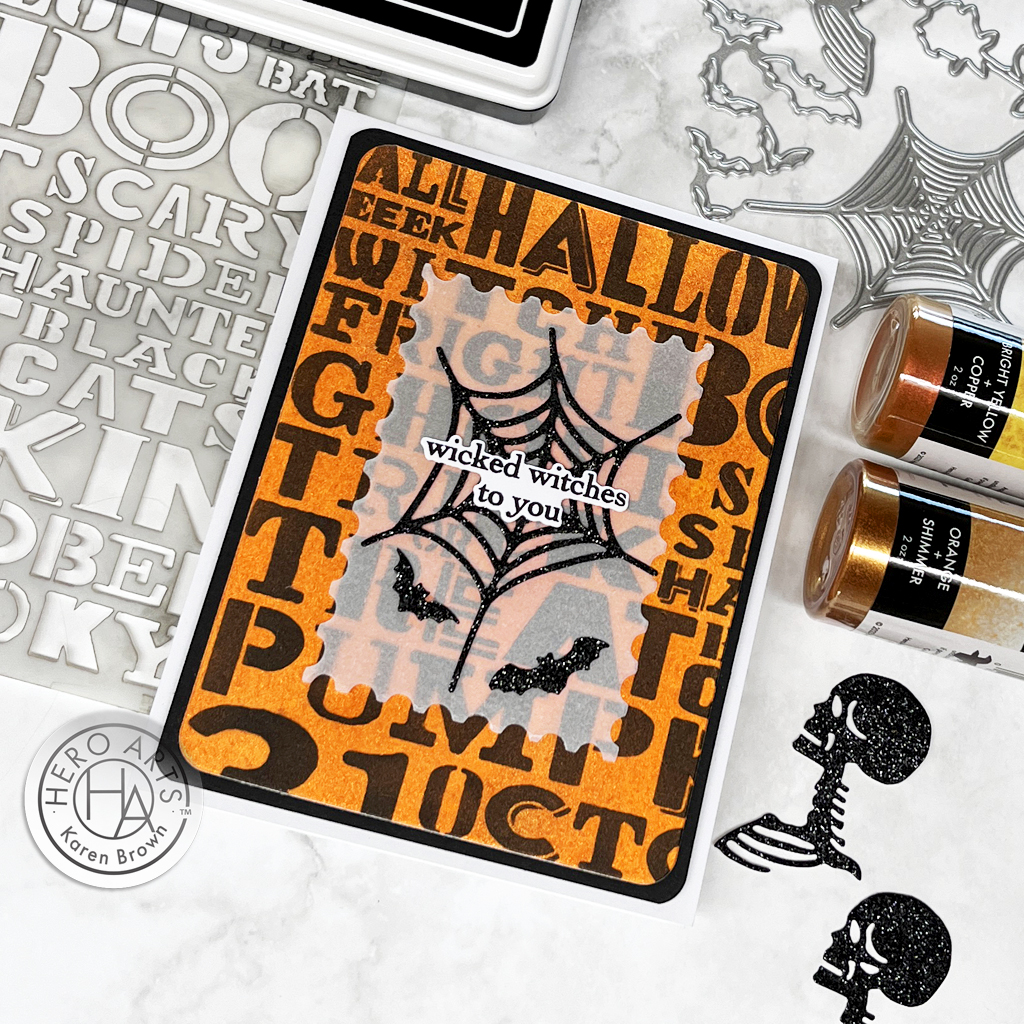
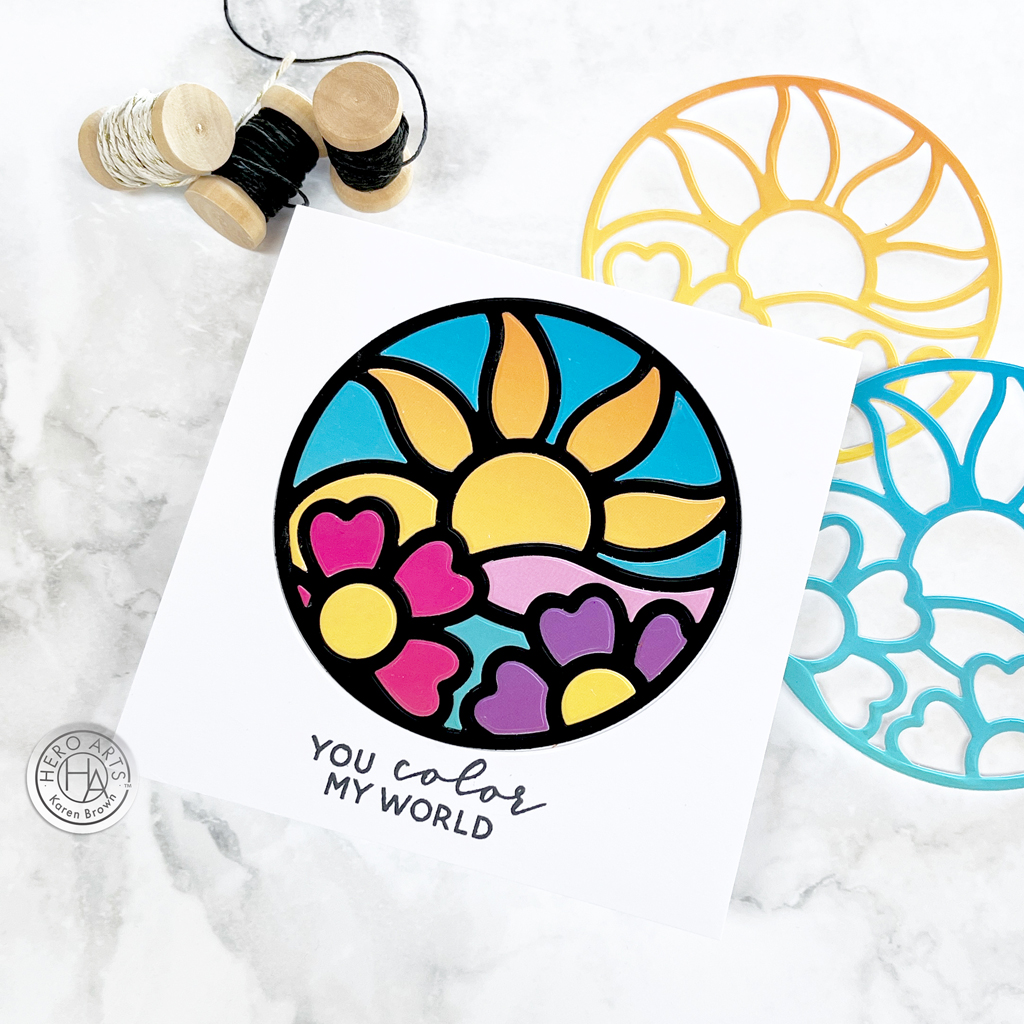
I wanted a bold color palette with variations in shade so I grabbed the new Sky Ombres Hero Transfers for die cutting my Floral Circle Fancy Die (part of the December Card Kit). I used the Inlay Die Cutting Technique which produces a beautiful “stained glass window” look.
- Cut the circle frame from Pitch Black Cardstock
- Select the colors you want from the Sky Ombres Hero Transfers and rub on white cardstock. I enjoy using Rub-On Transfers and I love the beautiful gradients in this sampler.
- With the Floral Circle Fancy Die, cut a circle in a 5″ x 5″ white cardstock panel and stamp the sentiment (included in the kit).
- Glue the white panel created in step 3 to a second 5″ x 5″ panel of white cardstock.
- Insert your black frame in the round window.
- Die cut your colors using the panels you created in step 2. Inset these into the black frame. I kept all the die cut pieces in a small bowl until I was sure I had all the pieces I needed to create my stained glass. I placed each piece prior to gluing to make sure they were all in the correct spot. Once I was happy with my placement, I put glue in the “well” and then placed and glued the die cut components.
- This techinque is great for mass-producing cards. You can see two of the leftovoer frames in the top right corner of the photo. These would be beautiful just glued to a card for a bright clean and simple look.

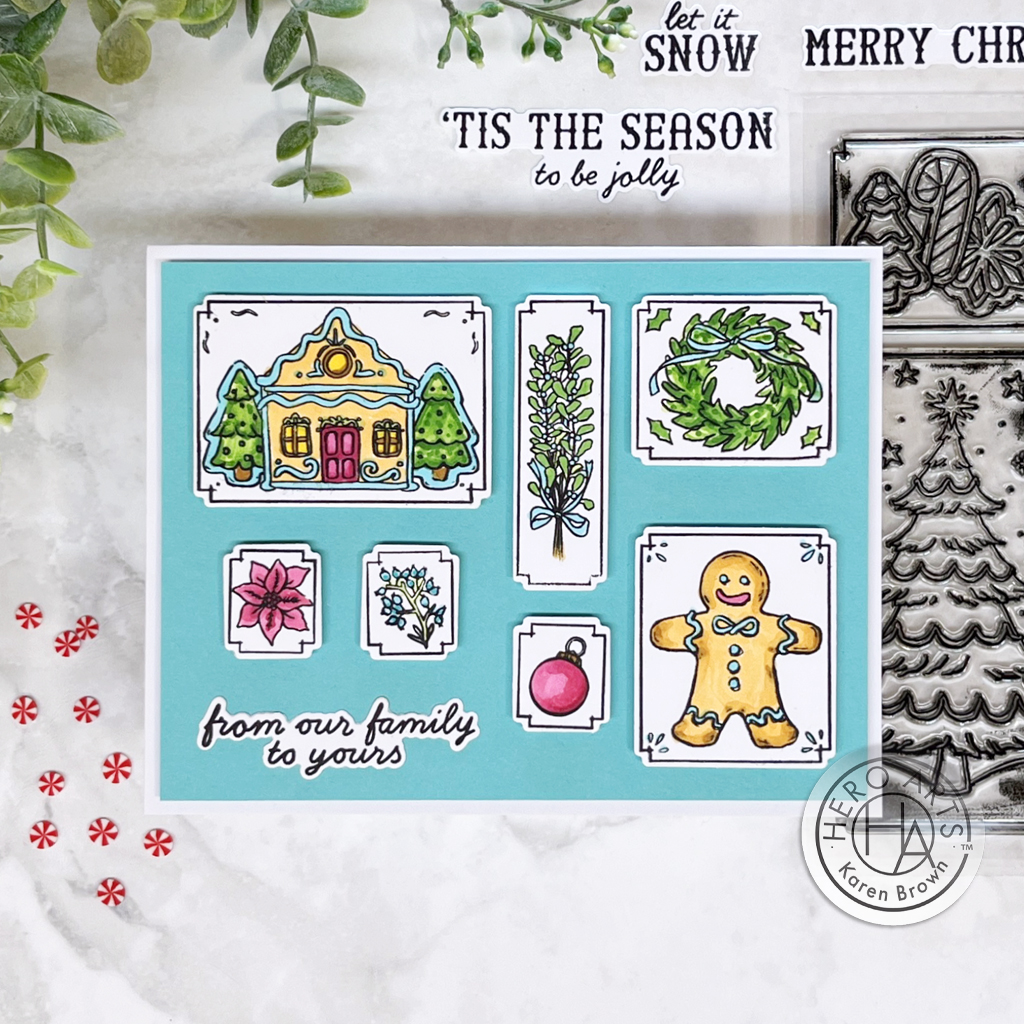
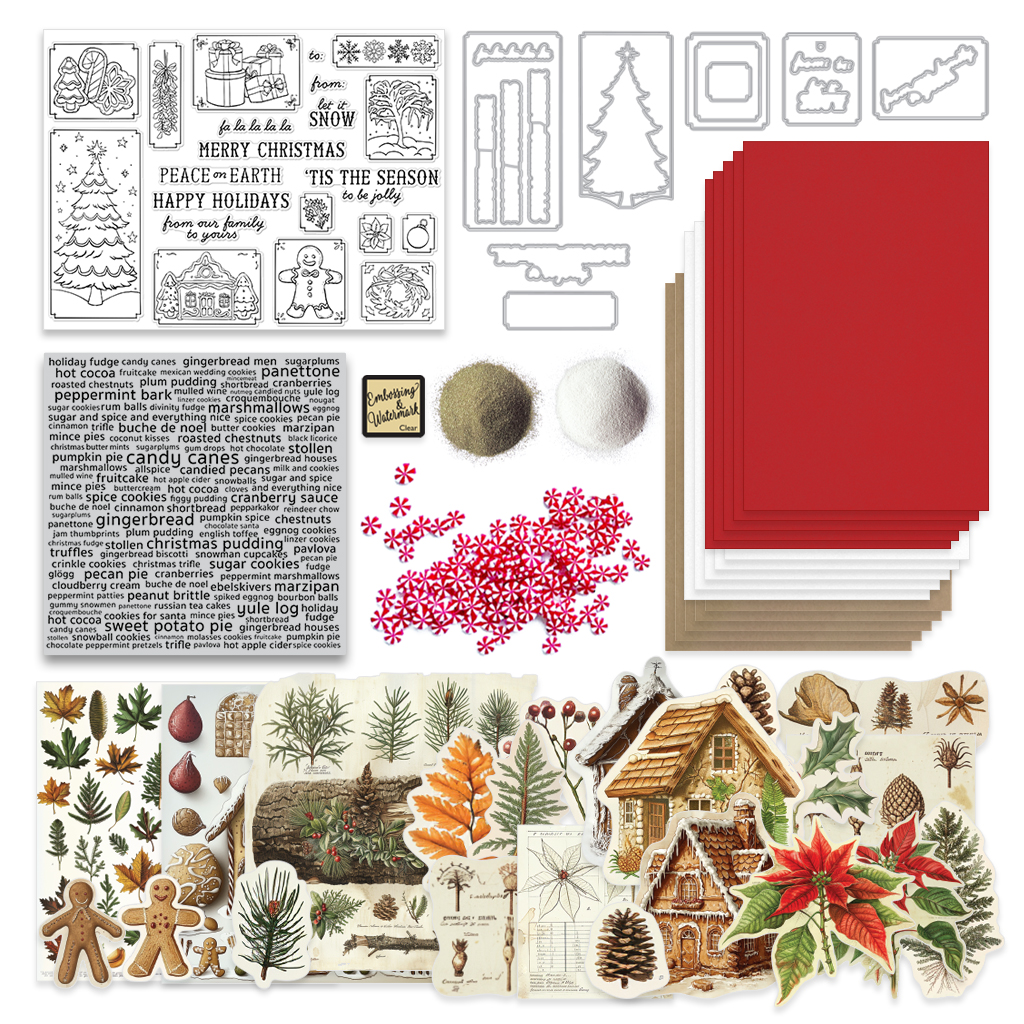
What’s Inside the Kit?
Curious about this month’s kit? Let’s take a peek inside the December Kit:
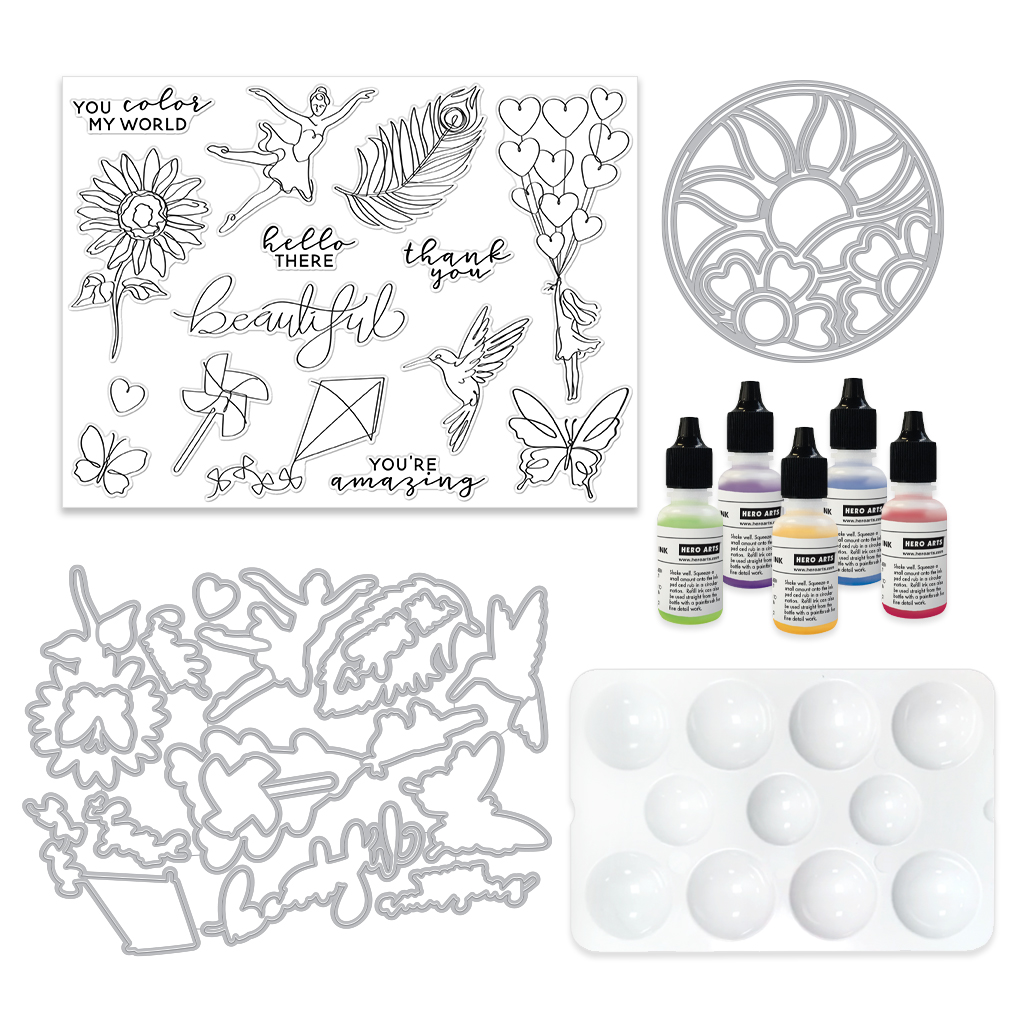
• Clear Stamp Set, 6” x 8” • 15 Coordinating Dies • Floral Circle Fancy Die • 5 Reinkers, 1/2 oz. (Purple Galaxy, Blue Hawaii, Green Apple, Lemon Drop, Fruit Punch) • Plastic Watercolor Palette
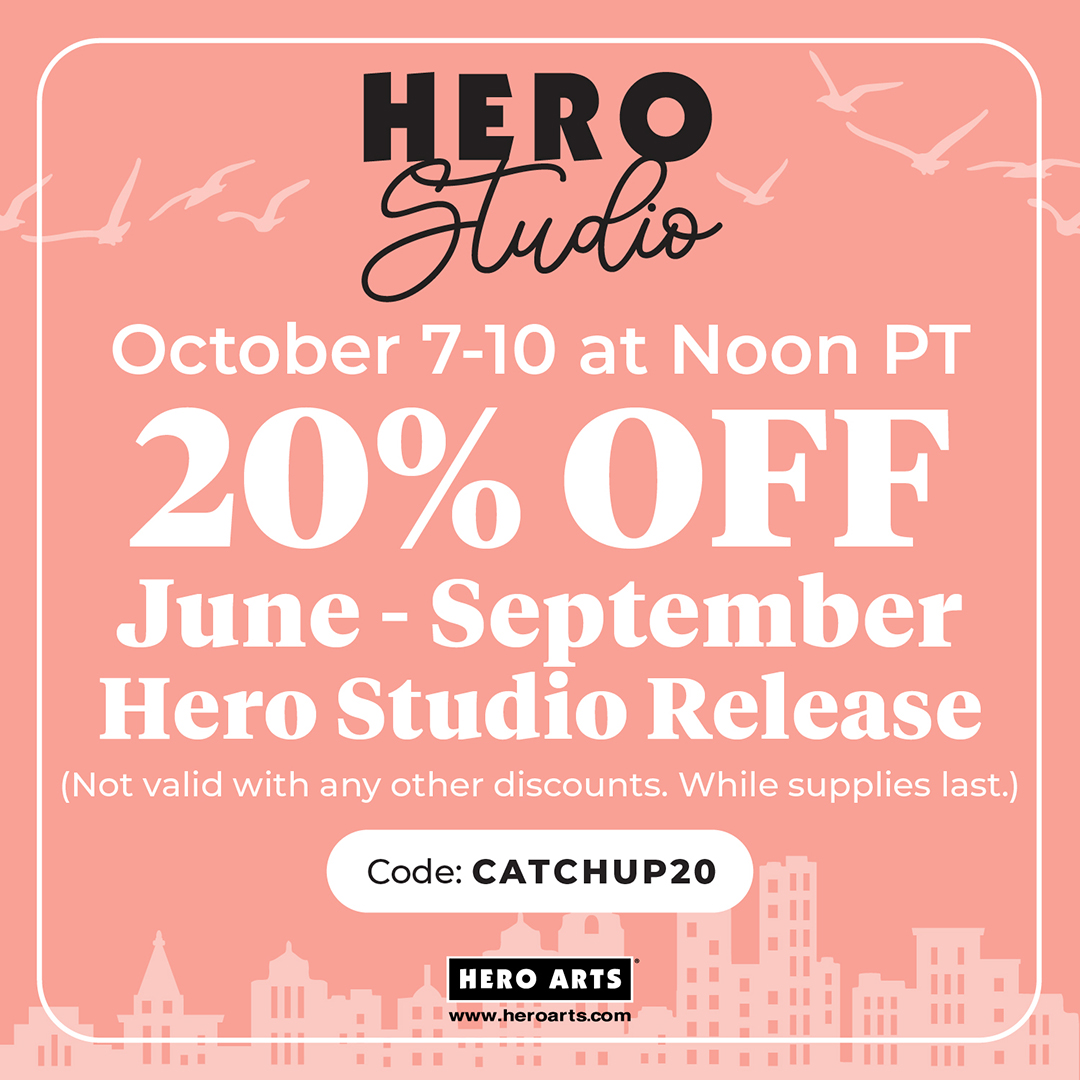
5 Wonderful Kit Options:
For this blog post, I created with the December Kit, The Clear Stamp and Dies Kit and two Extraordinary Extras, but there are 5 kits plus 6 Extras available. You can also buy the Whole Studio, which includes all 5 kits at a wonderful savings.
Hero Arts has many different Monthly Kits that you can subscribe to including:
- The WHOLE Studio – All 5 Kits ($120 subscription + Free Shipping)
- Card Kit of the Month ($46 Subscription + Free Shipping)
- Clear Stamp and Die of the Month ($27.50 Subscription + Free Shipping)
- Cling Stamp of the Month ($15 Subscription + Free Shipping)
- Fancy Studio Dies of the Month ($25 Subscription + Free Shipping)
- Layering Stencil of the Month ($15 Subscription + Free Shipping)
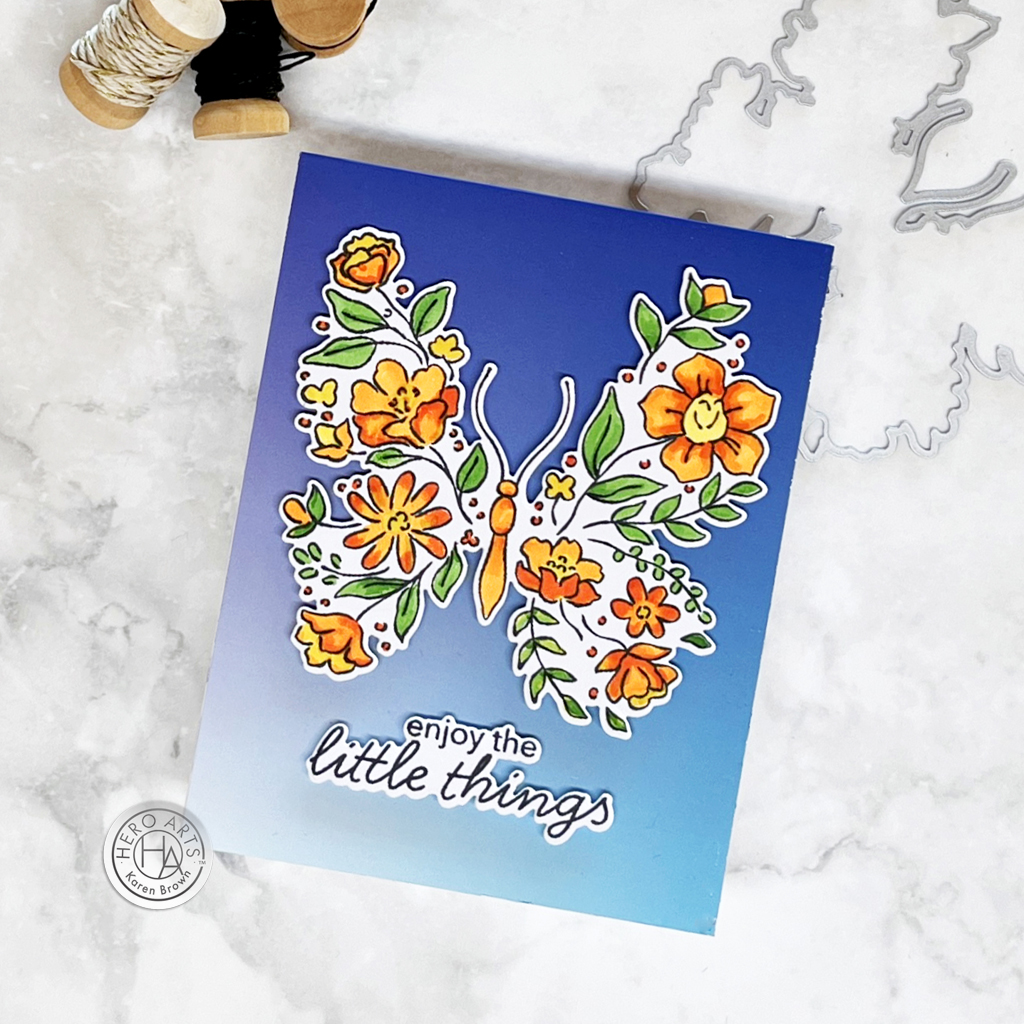
Clear Stamp and Die of the Month: Floral Butterfly
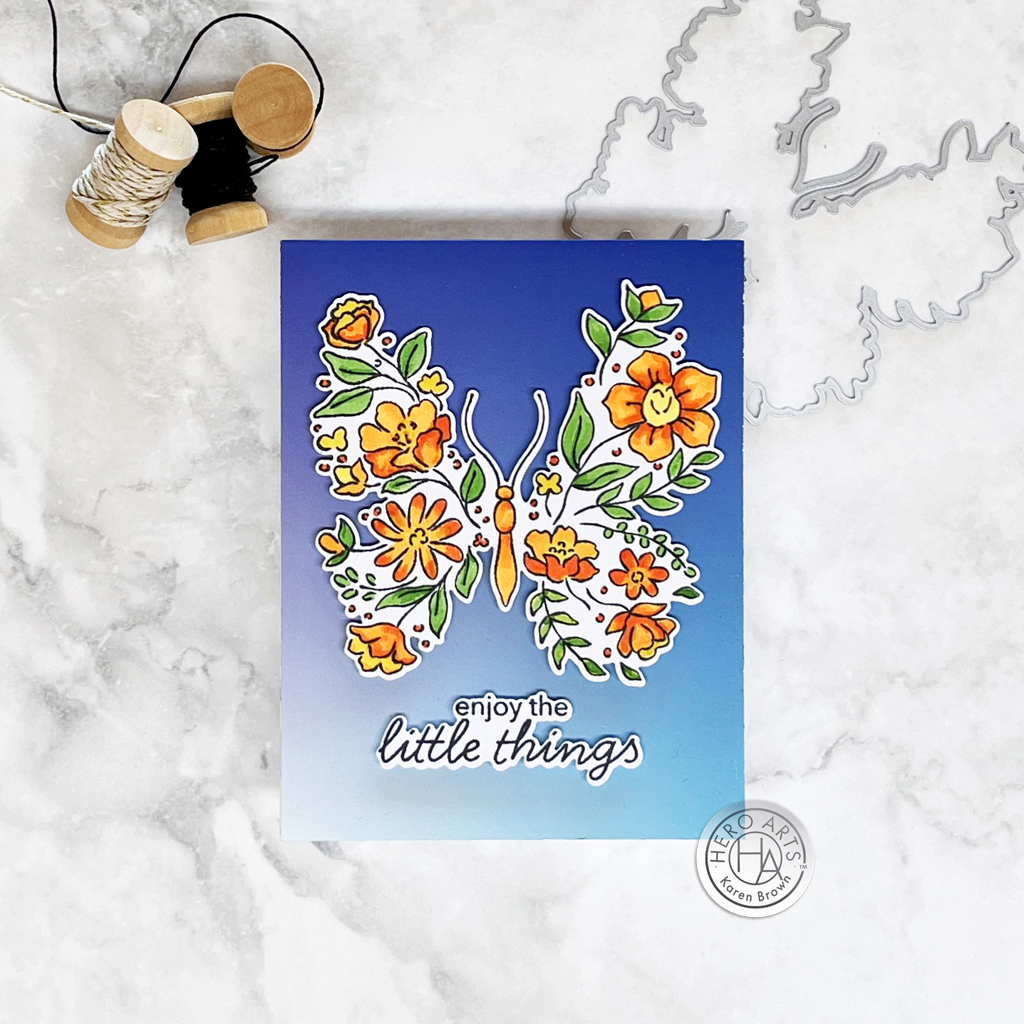
For a card that truly takes flight, try stamping the gorgeous Floral Butterfly as your centerpiece. Use alcohol markers to bring it to life with vibrant shades—blend rich oranges, sunny yellows, and lush greens to make those petals pop. Once your butterfly is a kaleidoscope of color, grab your coordinating die and cut it out. Adhere it to an ombre blue sky background, fading from light to dark, for a dreamy effect. I created my background panel by “rubbing” on the Sky Ombres Hero Transfer onto cardstock. So easy and beautiful! It’s like sending a little piece of summer to your favorite person, no sunscreen required! 🦋✨
Key Products Used:
- December Cling Stamp and Die of the Month: Floral Butterfly (CD1224)
- Sky Ombres Hero Transfers (RT138)
Box of Crayons Fancy Dies

Make their birthday extra colorful with a slimline card that’s all about the crayons! I used Box of Crayons Fancy Dies and started by die-cutting a cheerful box of crayons and filling it with every shade imaginable—this is your chance to go full rainbow mode. Hero Arts recently introduced a limited edition sampler of Rainbow Cardstock that is perfect for your favorite colorful die cutting.
I die cut each crayon in two shades of each color and then trimmed the top of the lighter toned “label” with scissors to make for a more realistic crayon look.
Key Products Used:

Blog Hop:
| Hero Arts will give away a $50 gift card, drawn from the comments left across the hop. Enter by Sunday, December 8 at 11:59pm PST, and the winner will be announced on the Hero Arts blog the following week. |
Hero Arts Creative Team:
Channin Pelletier
Charlene Madrid
Ilina Crouse
Jeannie Lieu
Jennifer Kotas
Kailash Naidoo
Karen Brown You Are Here!
Lydia Fiedler
Michelle Short
Natasha Polite
Natasha Vacca
Rachel Kleinman
Rosie Lopez
Seeka
Special Guests:
Mindy Eggen
Nichol Spohr
Kelly Taylor

Happy Crafting! And be sure to let your creativity shine bright and colorful.