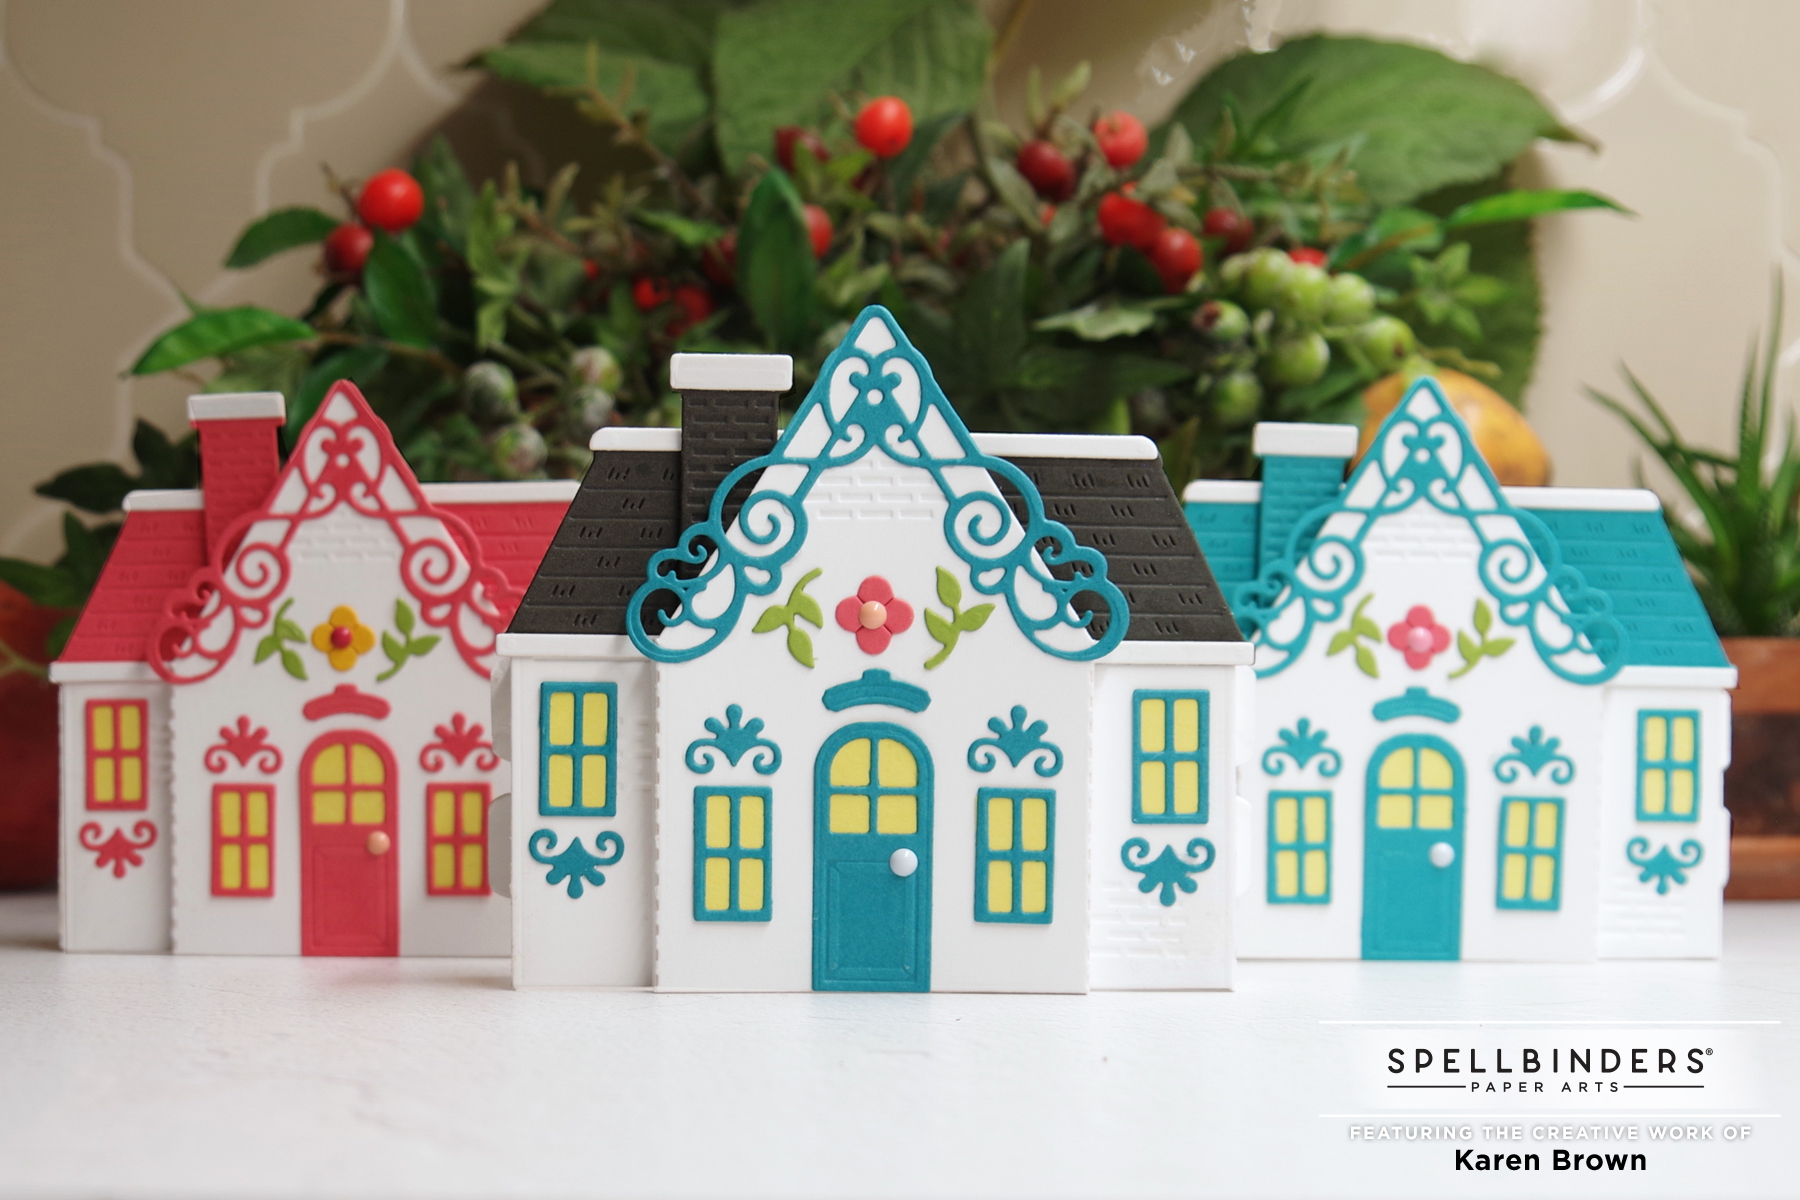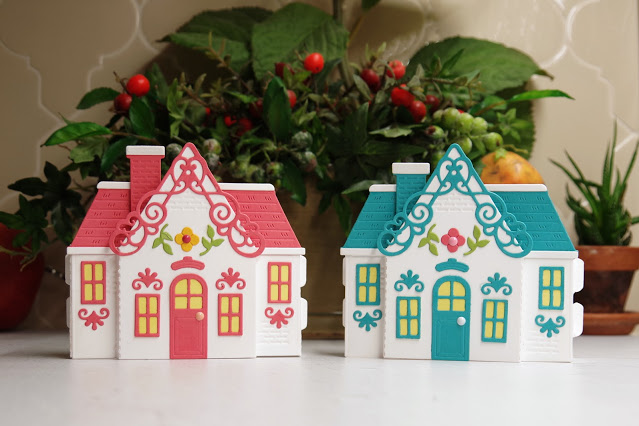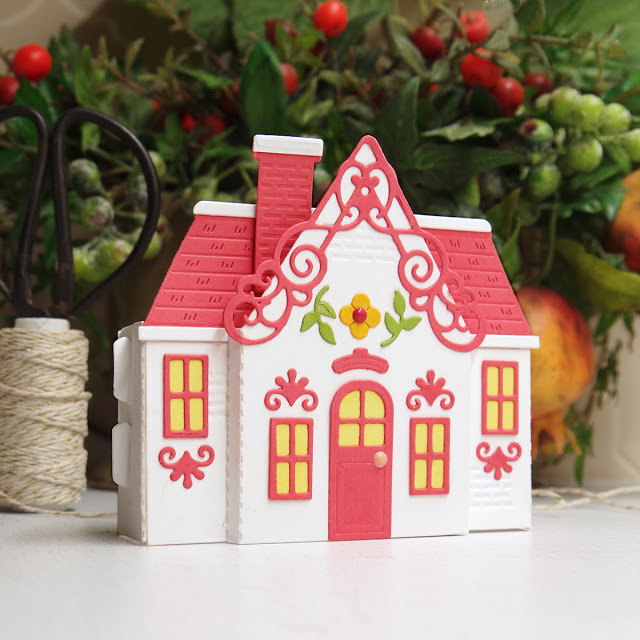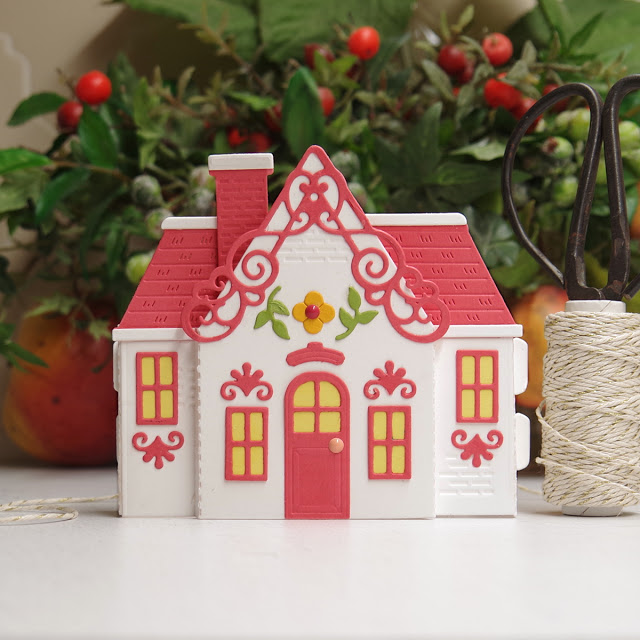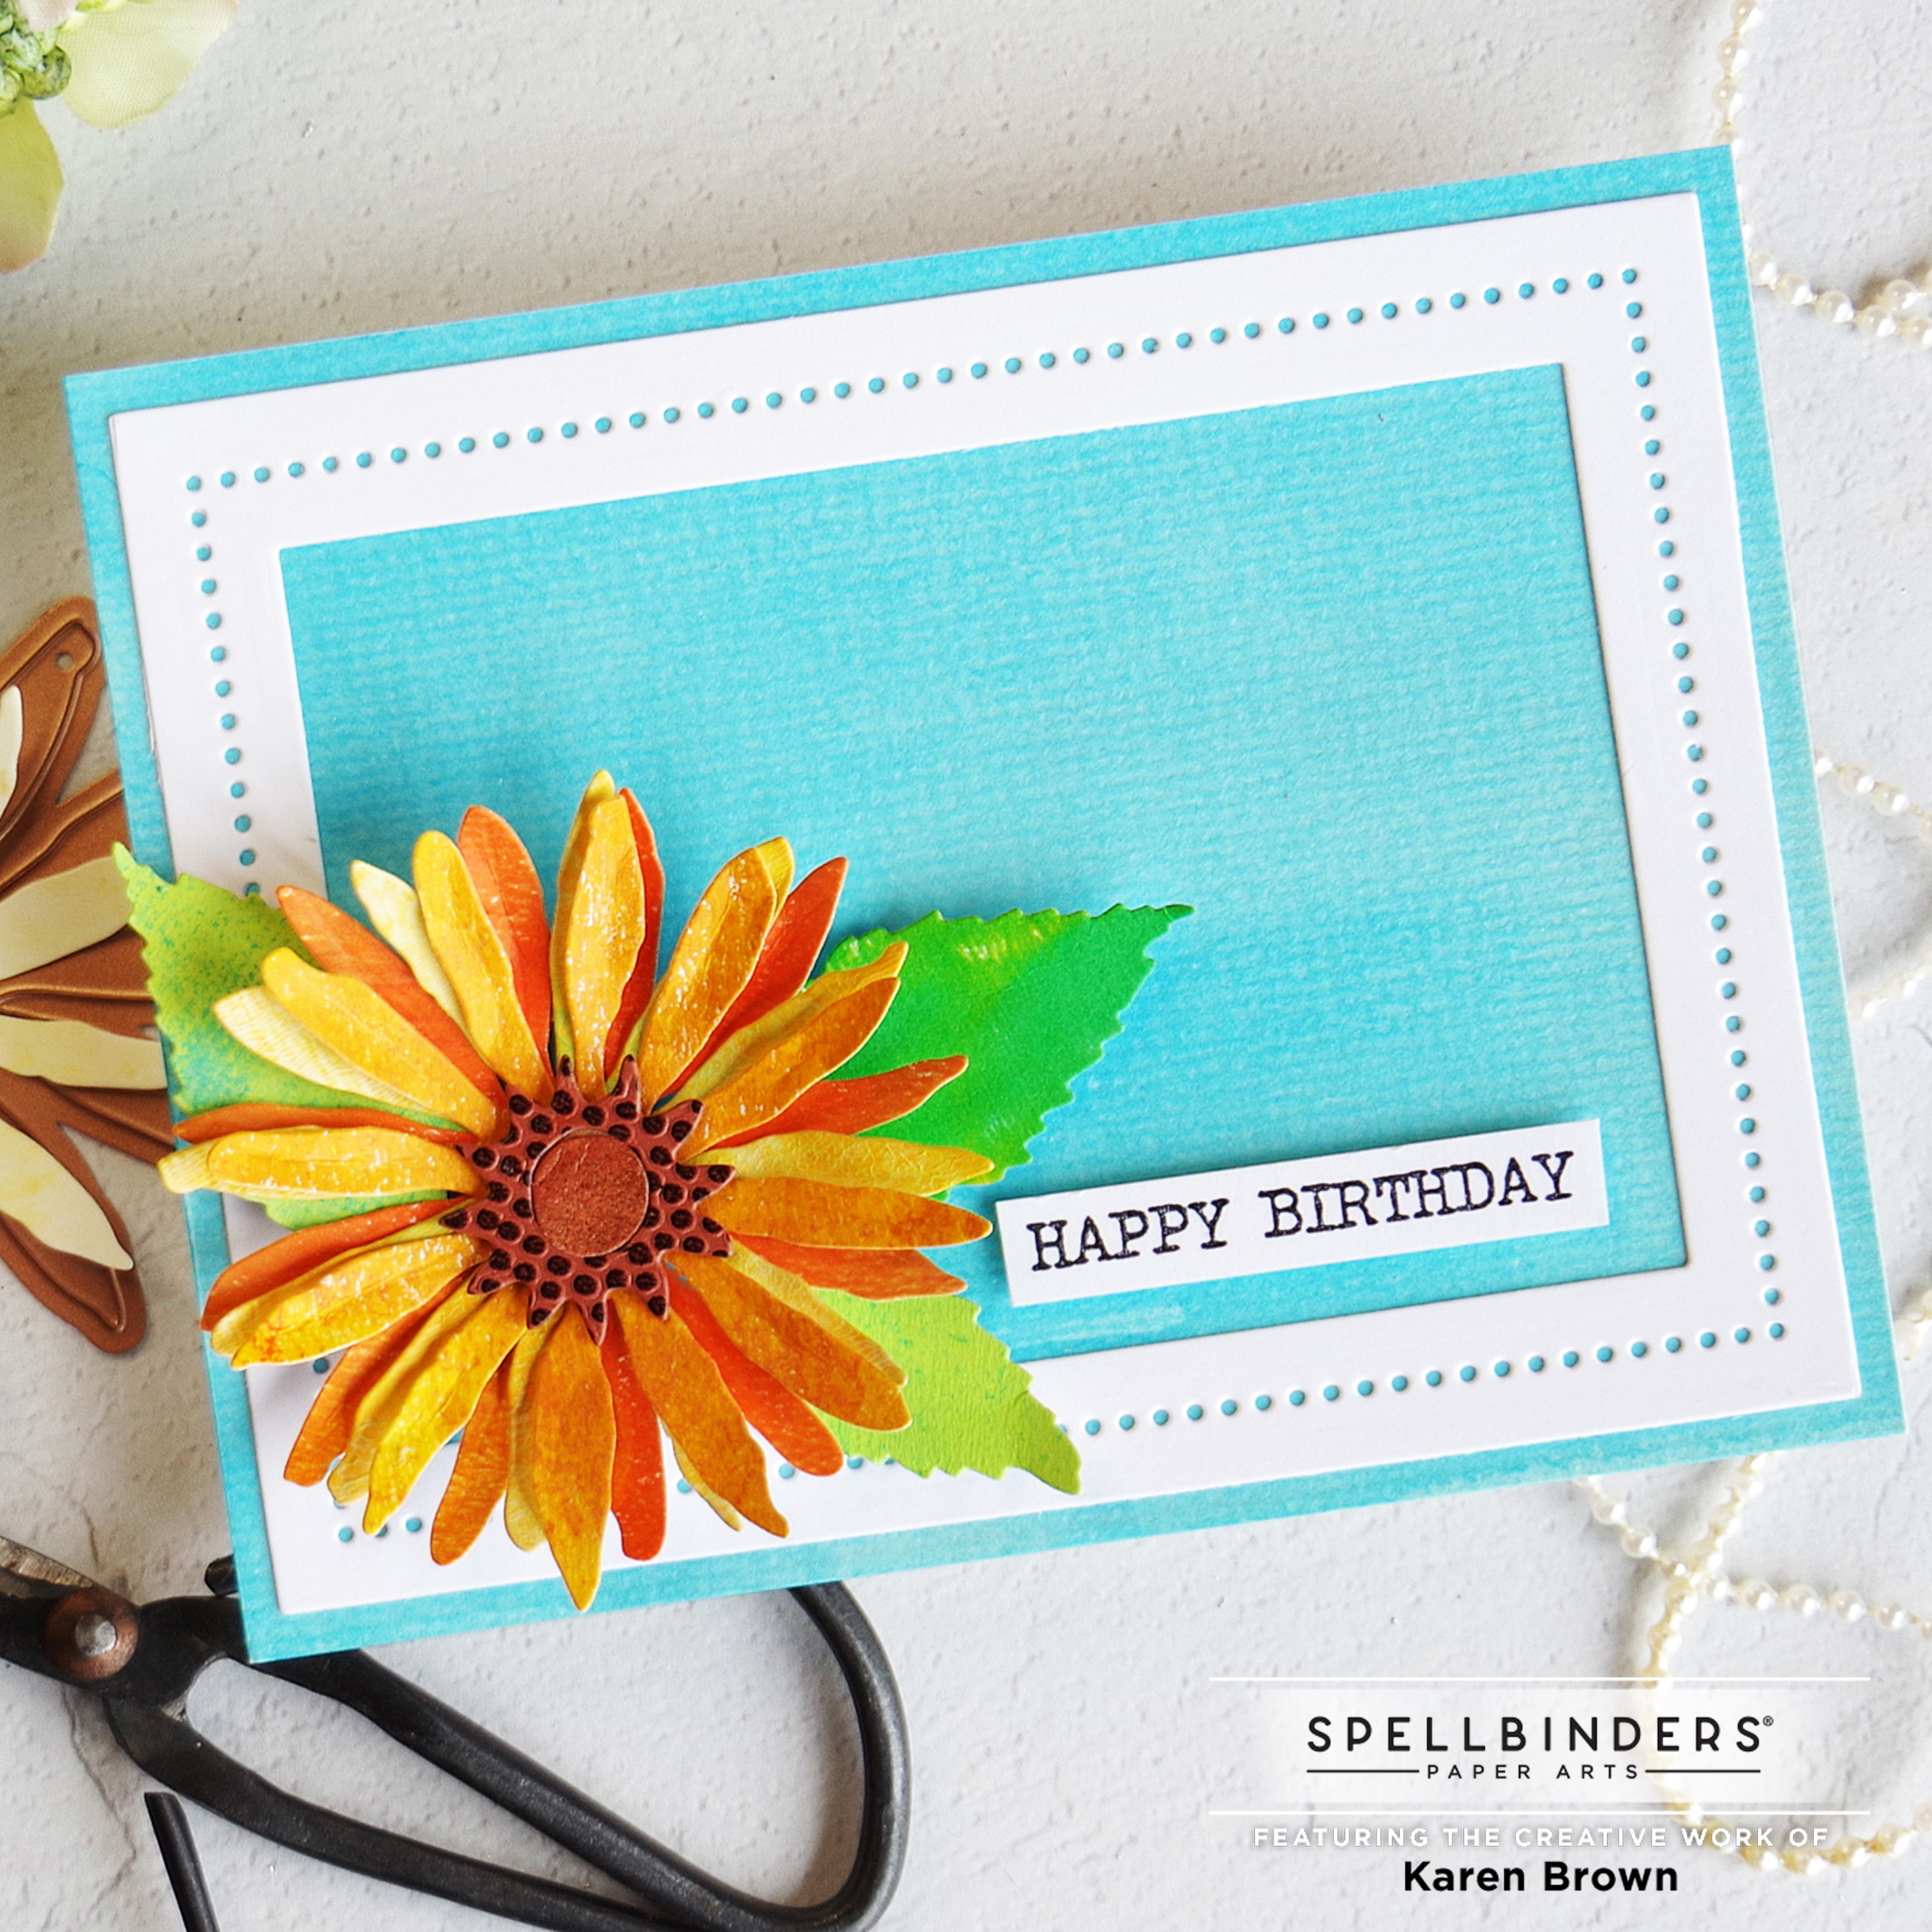
Who is ready for spring? I’ve been working on some bright sunny birthday cards featuring Spellbinders Susan’s Garden Favorites Collection. Today I chose the beautiful Sunflower and Ladybug die set for my two cards.
My Process:
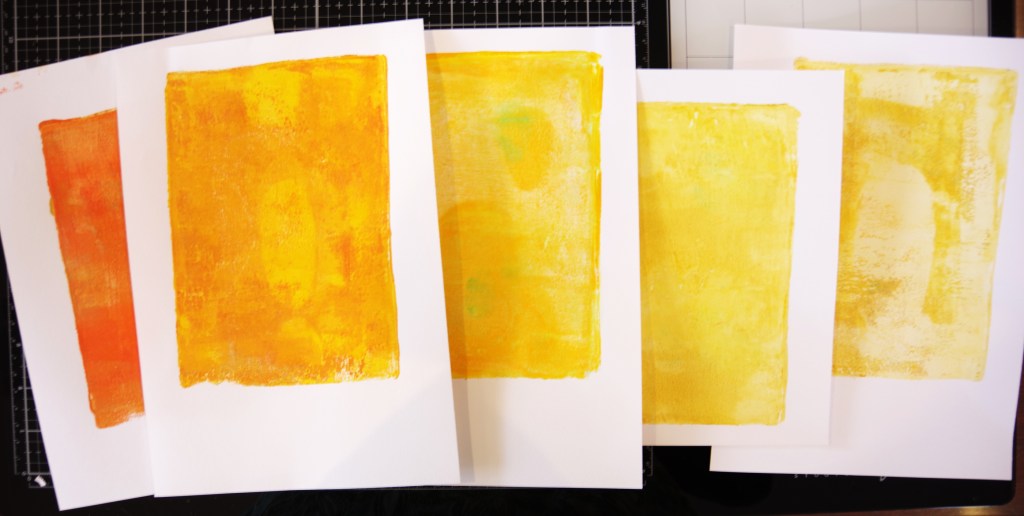
- I started by making a bunch of yellow and green Gel Press prints for my flower and leaves. I’ve inlcuded a photo of some of my prints below.
- I also wanted a bright fun background so I taped some watercolor paper to a hard board and brushed water over the surface. Then I mixed Salty Ocean and Mermaid Lagoon Distress Inks with Shimmer Spray (no water was added) and I painted it on the watercolor paper. I wanted an intense color so I applied three layers but I didn’t bother to let it dry in between. The background is so pretty in person but its hard to see the sparkle in the photos.
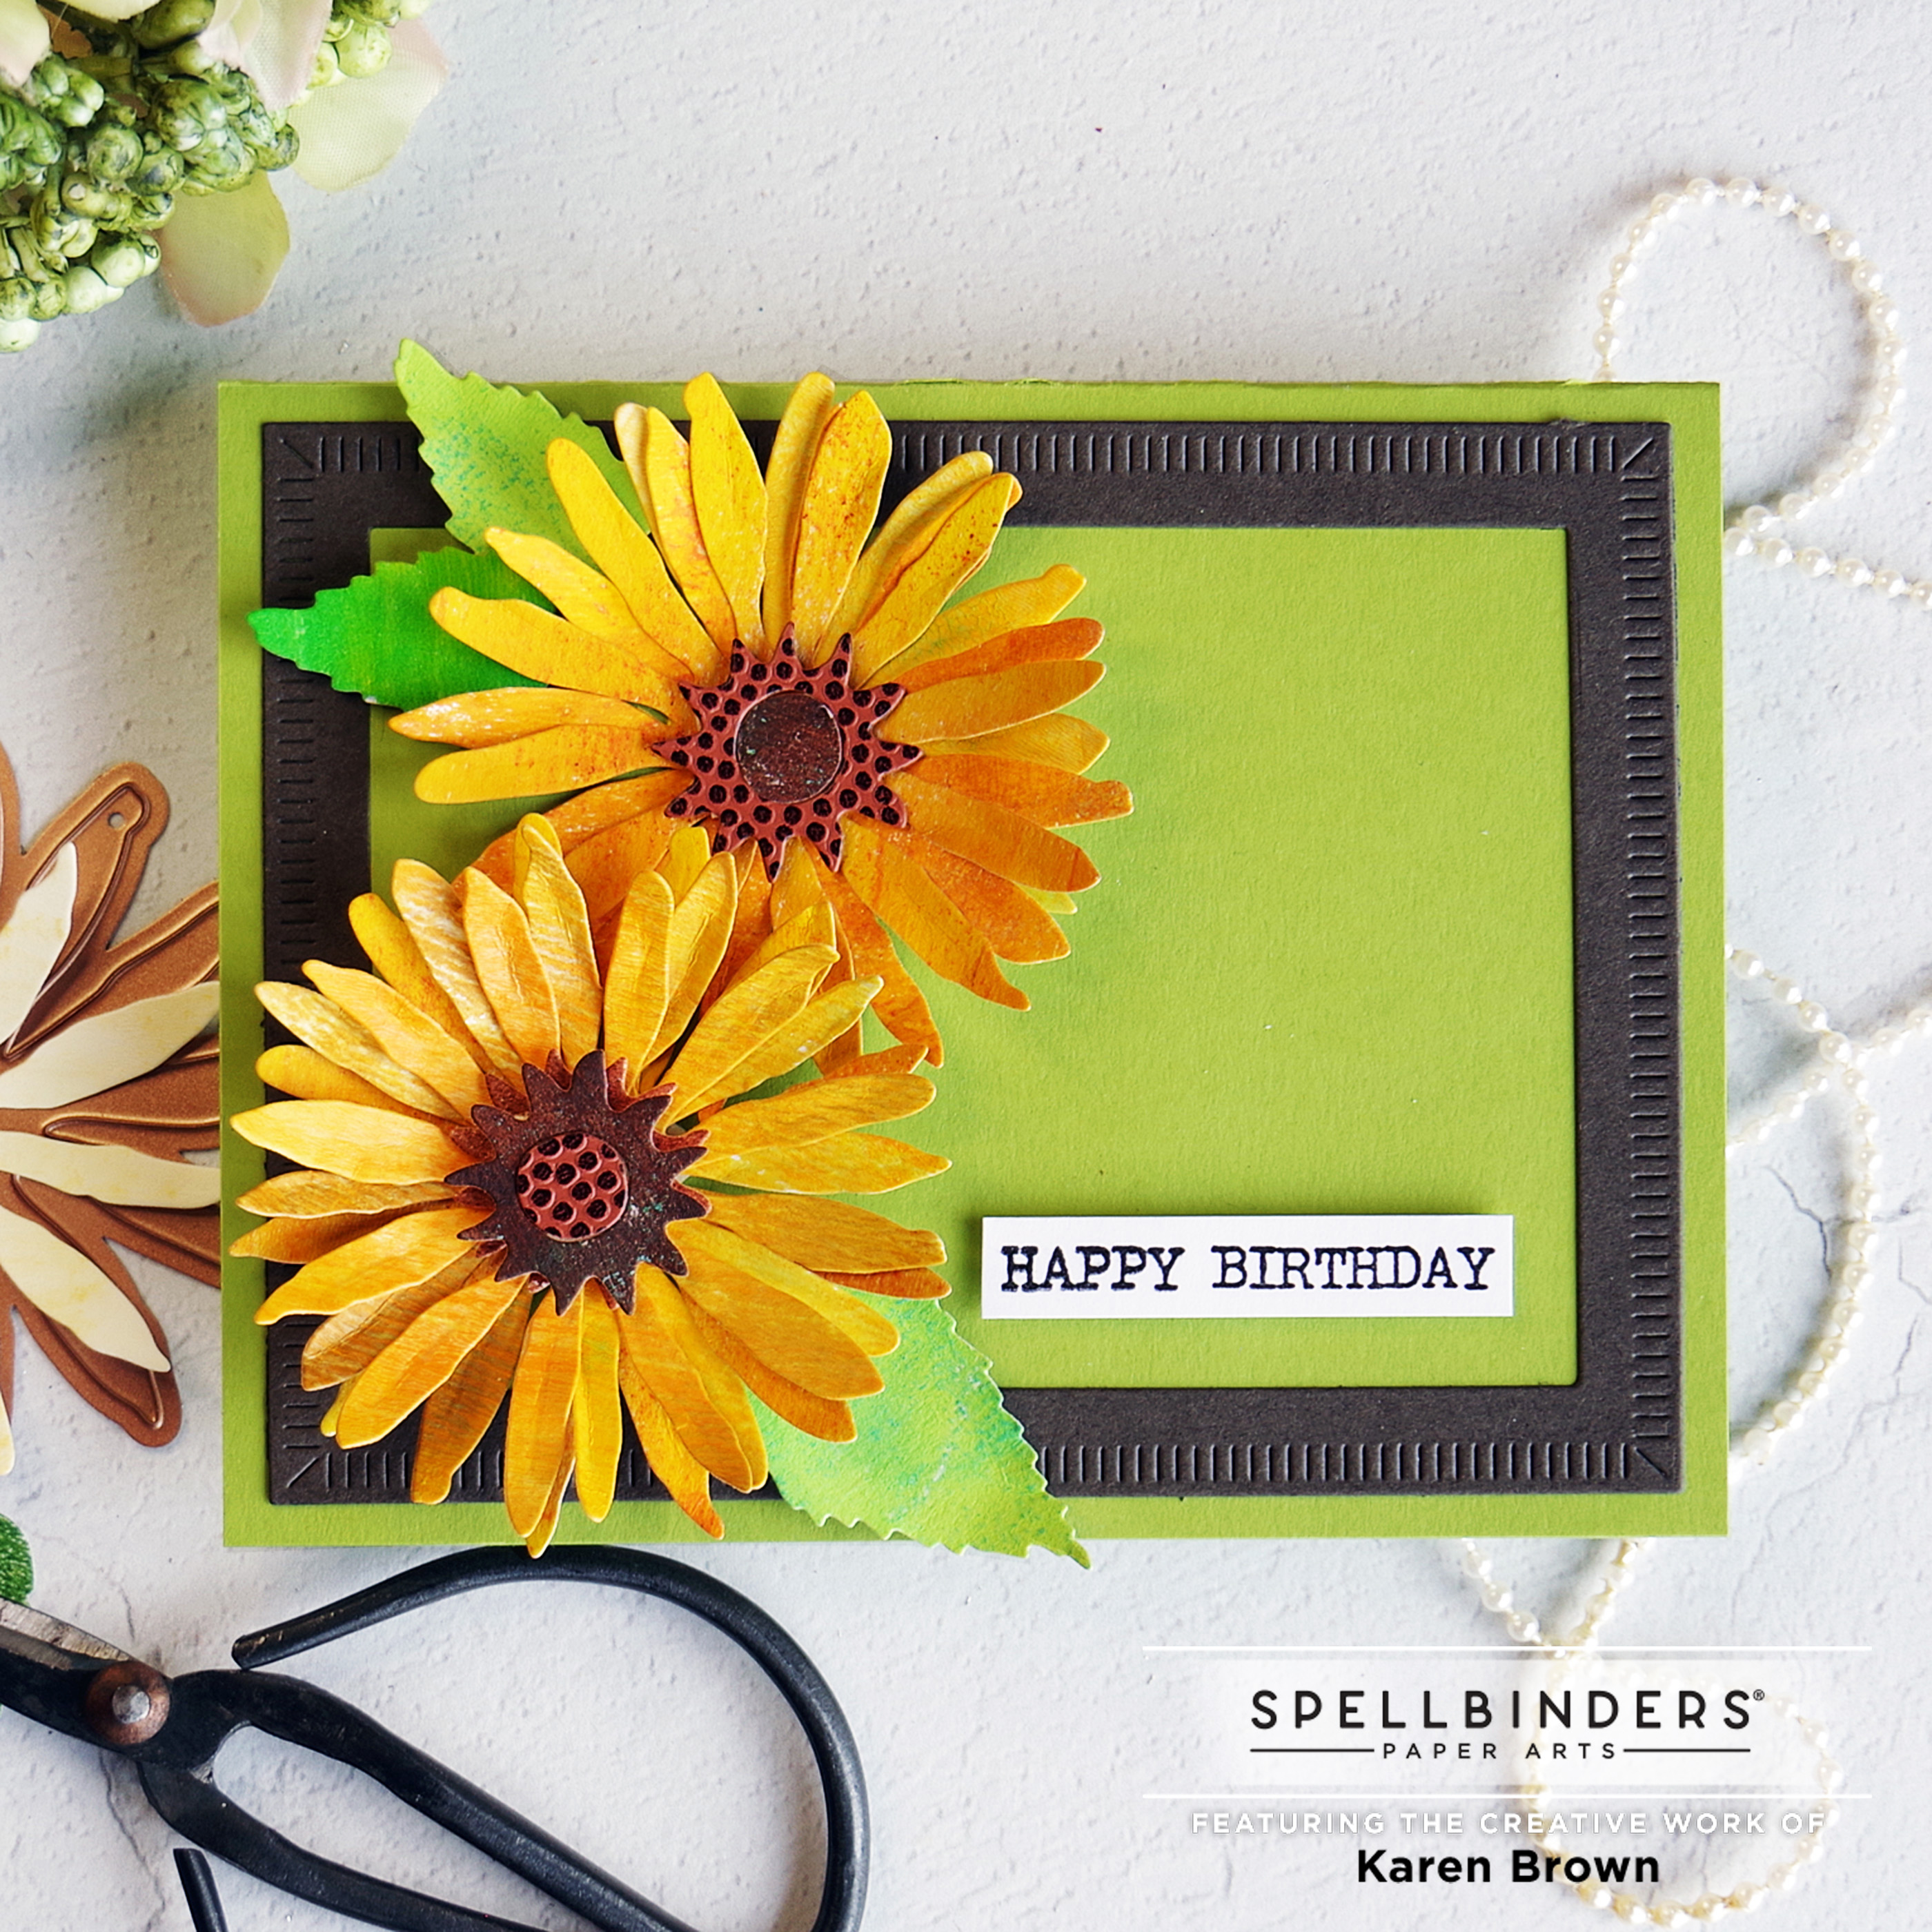
- I die cut the bloom three times for each sunflower. Using a bone folder I shaped the blooms and leaves.
- The flower center is die cut from and a brown gel press print and a specialty “football” paper that has the texture of a football
- I wanted to anchor the background so I die cut a frame using Spellbinders Essential Rectangles from 80 lb. cardstock.
- I assembled the card with liquid glue (frame) and foam tape for the leaves, blooms and sentiment.
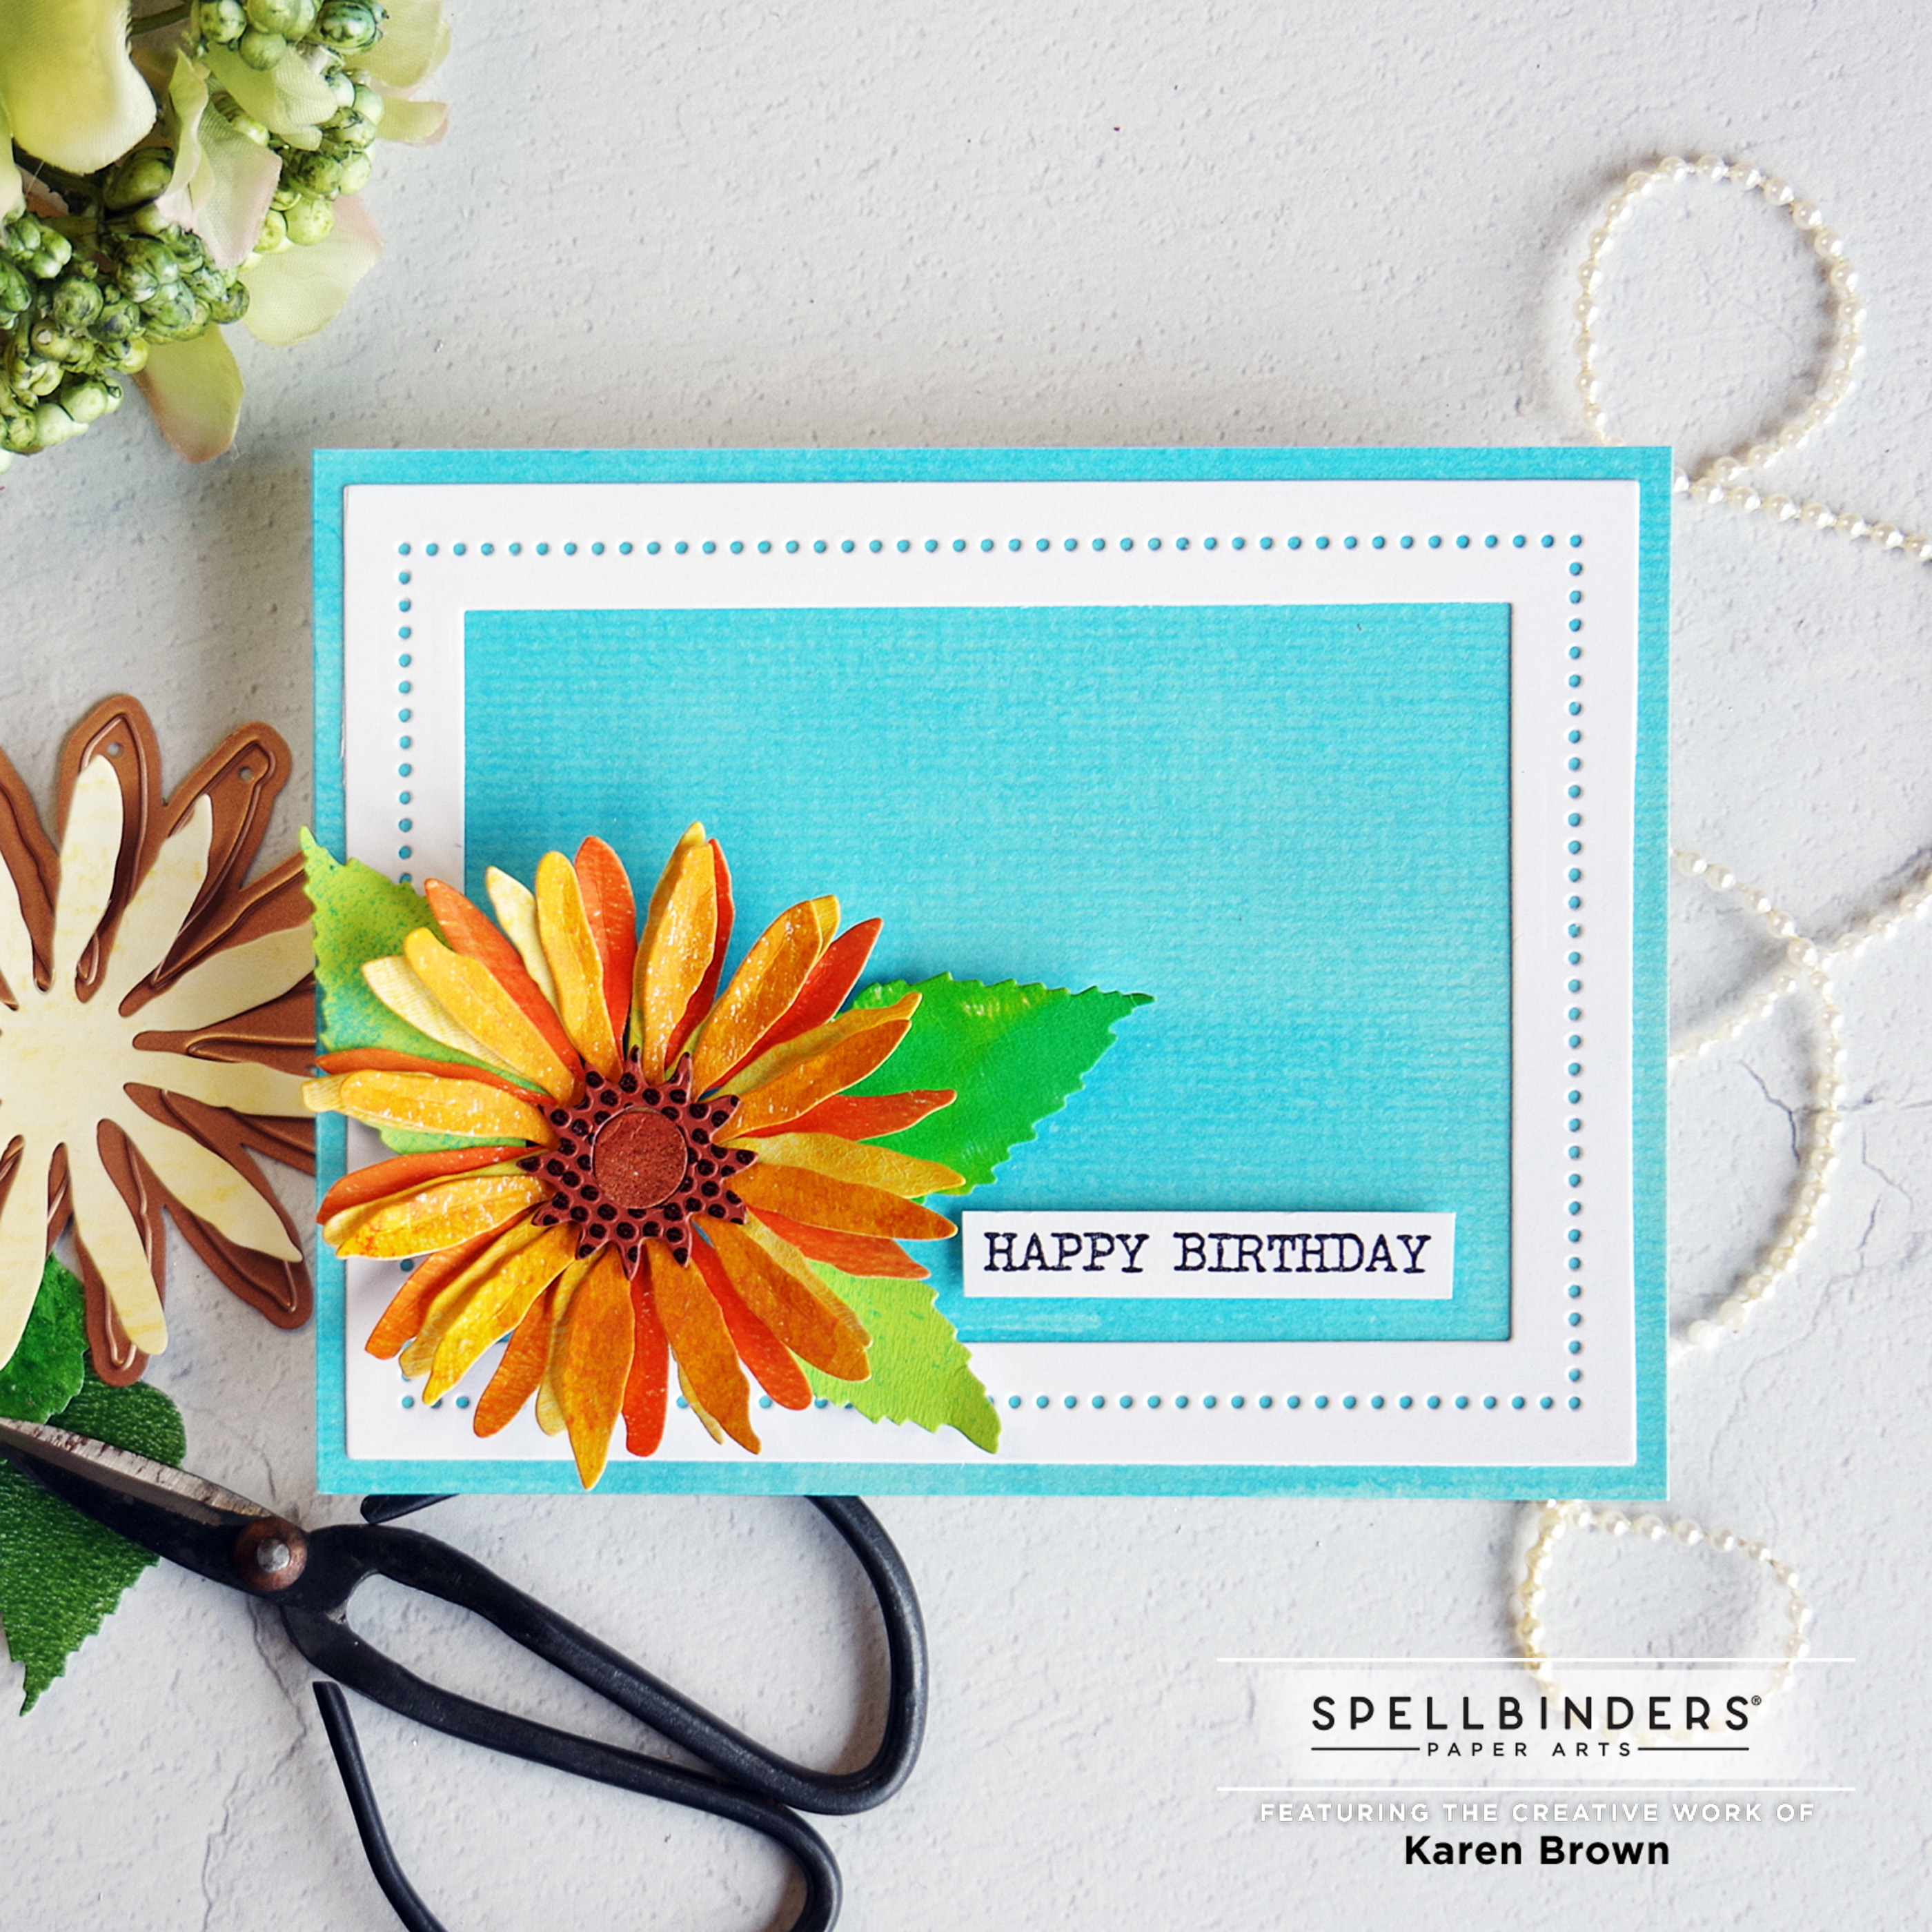
I think the result is a bright happy card!
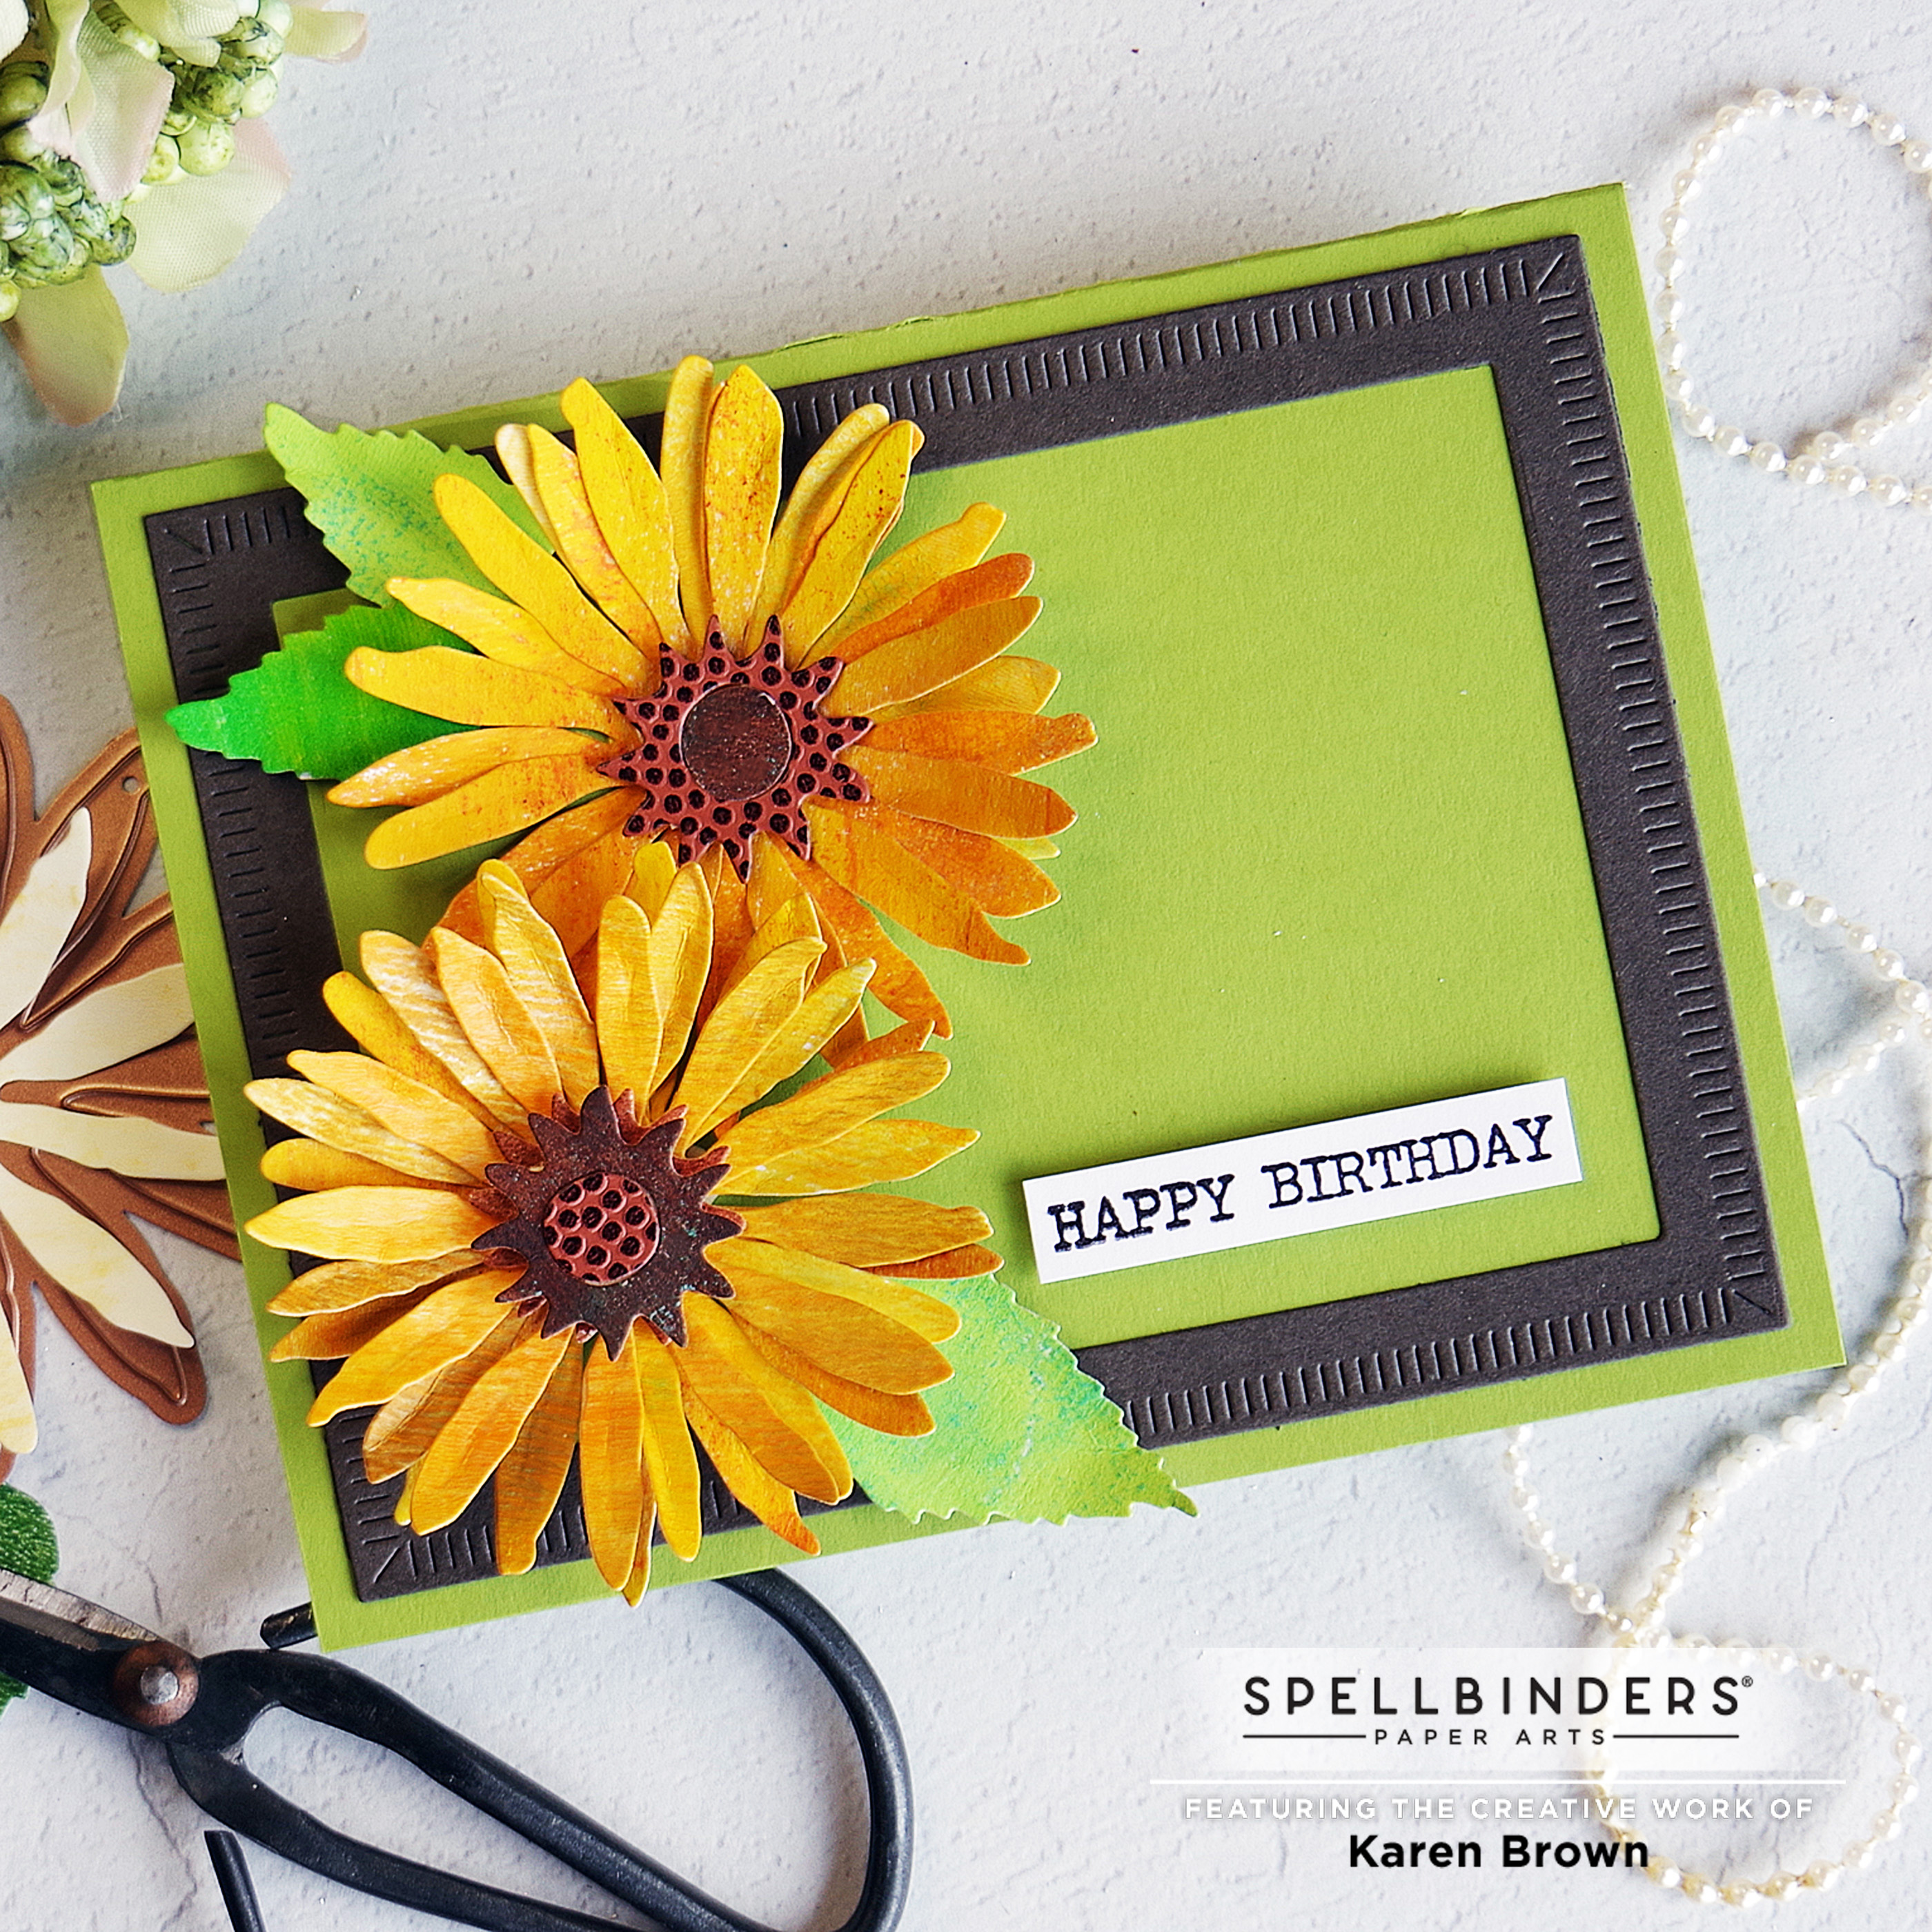
I love these sunflowers so I made a second card with a few modifications:
- I made an A2 card from yellow green cardstock.
- The frame was die cut from brown cardstock.
I am so pleased you stopped by! I always love to read your comments, so if you have a moment, let me know what you think.
Karen