Hello, fellow crafting enthusiasts! Let’s explore one of the most versatile and exciting elements of the craft: printed paper. Whether you’re a seasoned cardmaker or just starting out on your creative journey, printed paper can add depth, texture, and personality to your handmade cards.
>>> You may also be interested in my most recent Printed Paper Blog Post: Fast, Fun & Fabulous: Cardmaking with Printed Paper & Stickers
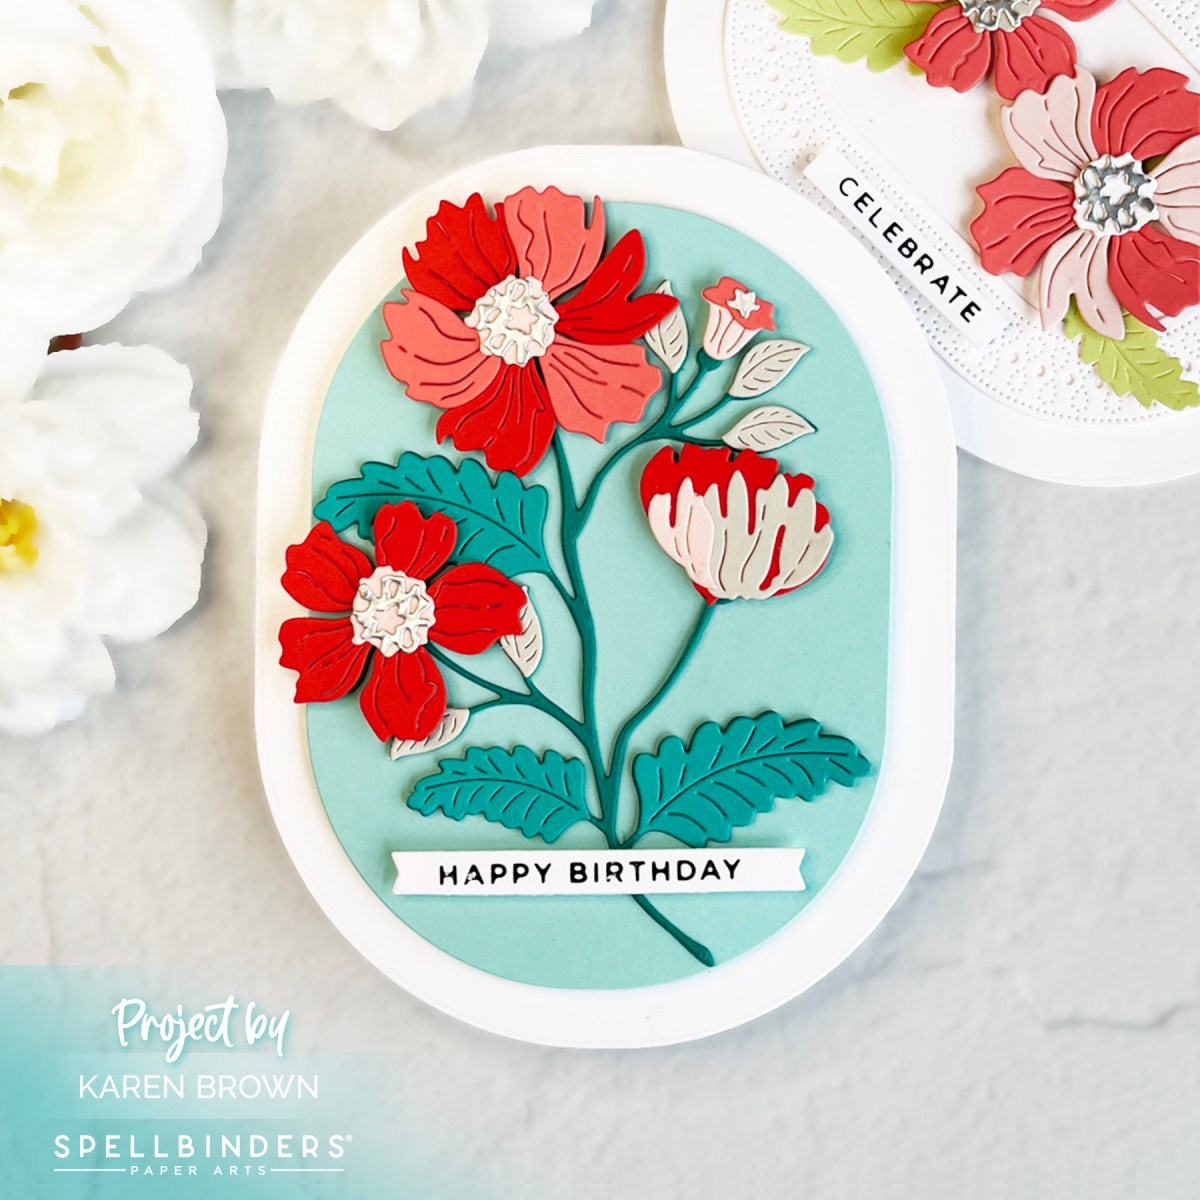
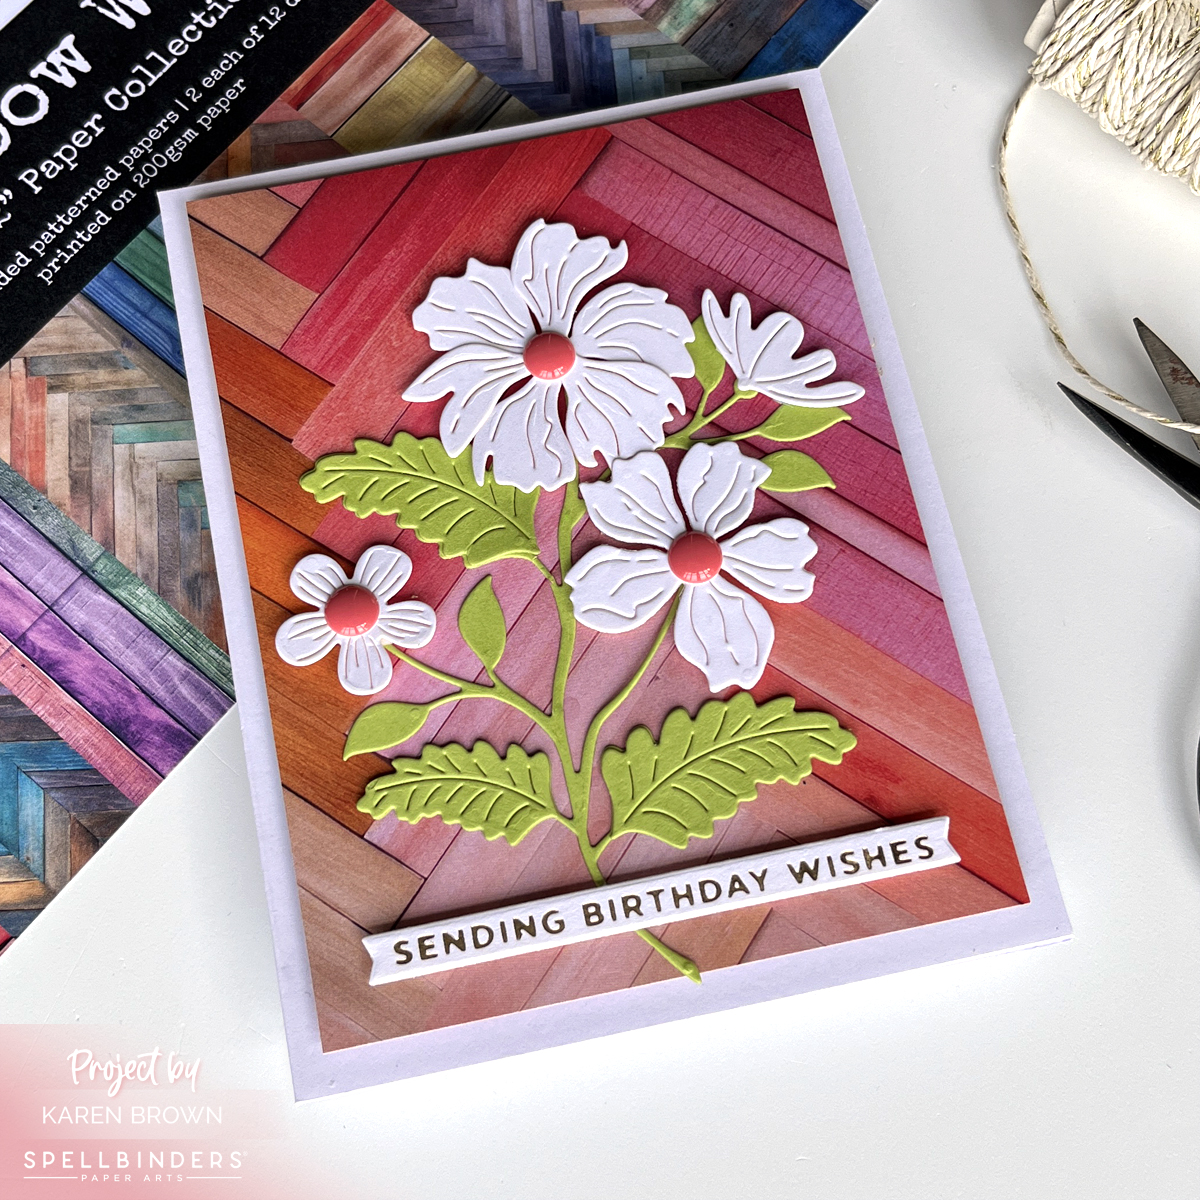
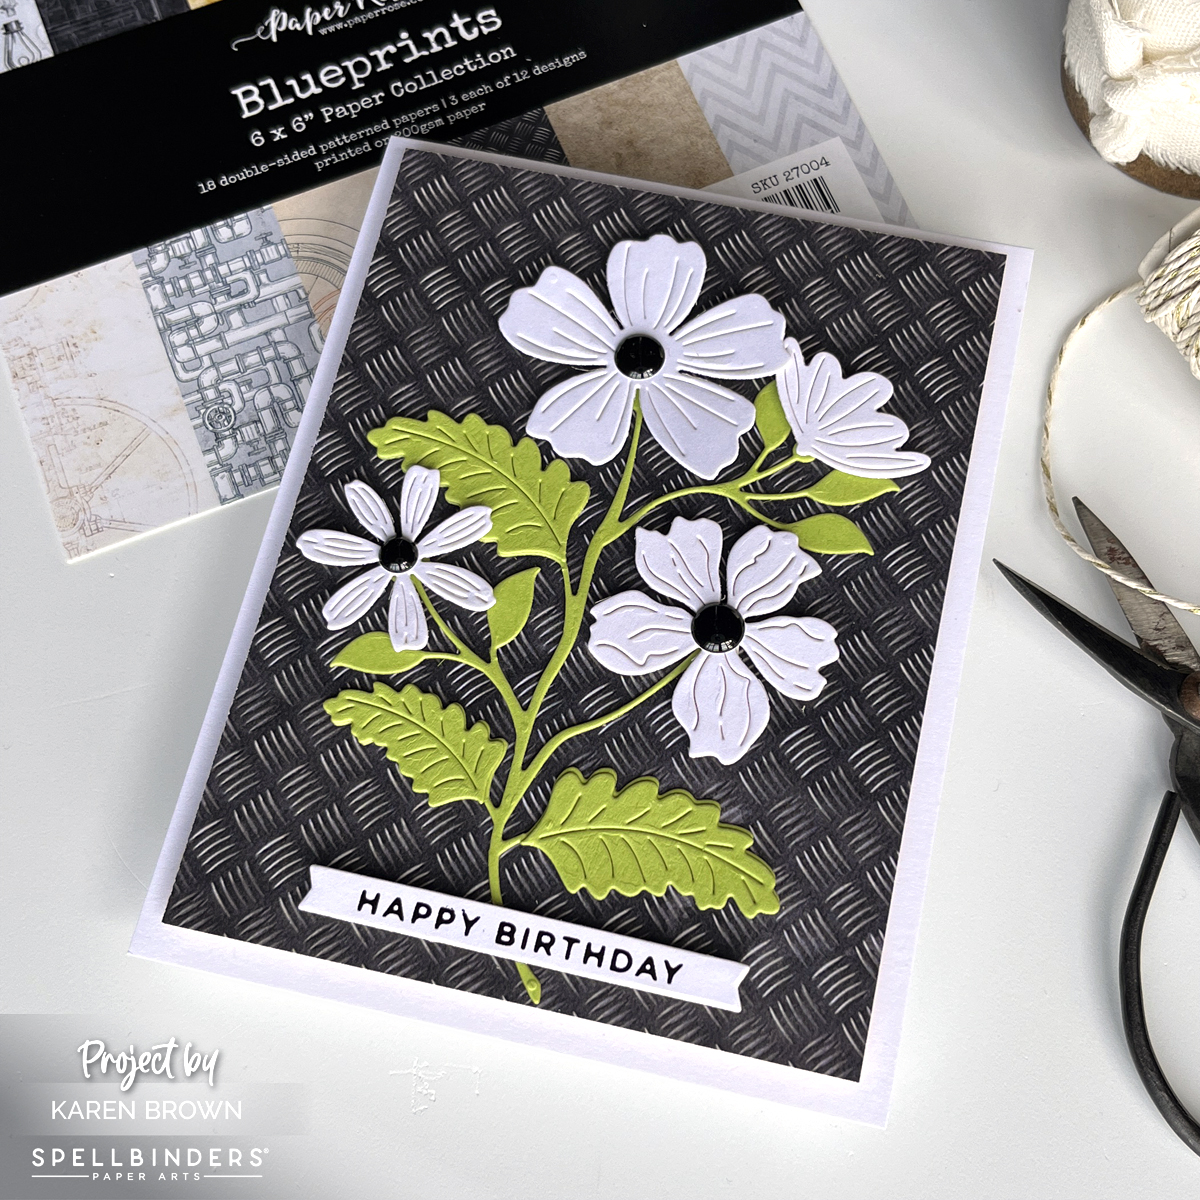
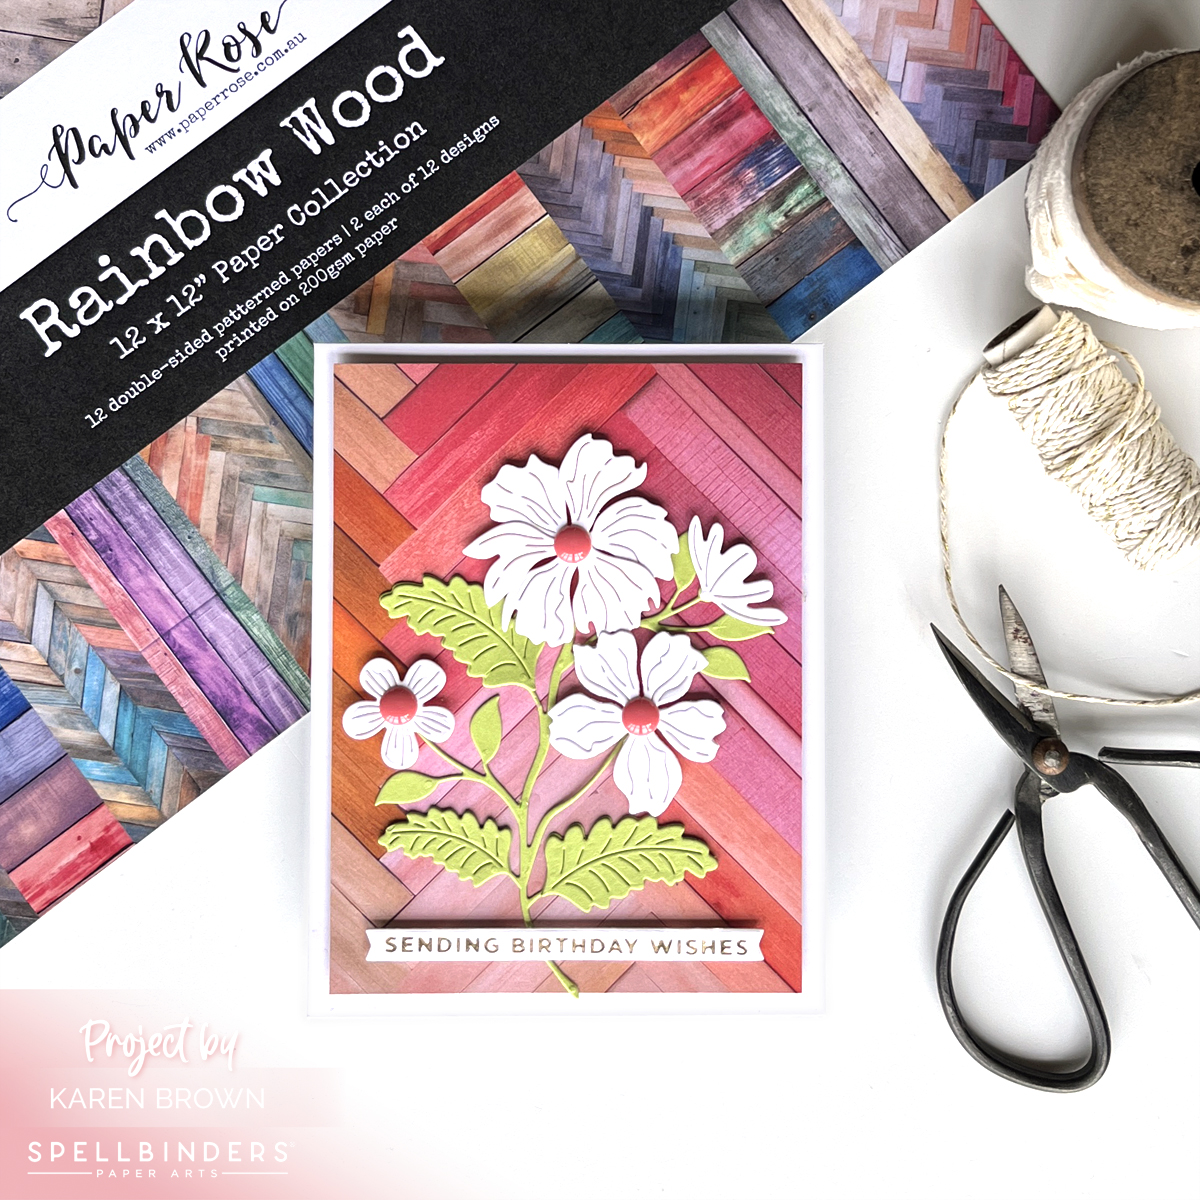
Today, I am using two beautiful Paper Collections from Paper Rose that Spellbinders recently started offering on their website. The Rainbow Wood pack is colorful and vibrant and the Blueprints collection is funky, interesting and adds an edgy vibe. I used similar die cut focal points for each card but changed the background to illustrate how easy it is to alter the tone of your card.
Products Used:
- Paper Rose Rainbow Wood 12 x 12″ paper collection
- Paper Rose Rainbow Wood 6×6″ paper collection
- Paper Rose 6 x 6″ Blueprints paper collection
- Be Bold Blooms Die Kit
- Stylish Ovals Hello You Floral Die Kit
Unleash Your Creativity: The Art of Using Printed Paper in Cardmaking
Printed paper, also known as patterned paper or designer paper, comes in a vast array of colors, patterns, and themes. From elegant florals to whimsical polka dots, there’s a printed paper to suit every style and occasion. But why incorporate printed paper into your cardmaking projects?
- Instant Visual Appeal: Printed paper instantly adds visual interest to your cards, making them stand out and catch the eye.
- Time-Saving: Using printed paper as a background or focal point can save you time compared to stamping or hand-coloring intricate designs.
- Endless Variety: With so many designs to choose from, you can easily find printed paper to match any theme or mood, whether it’s a birthday, wedding, holiday, or just because.
- Versatility: Printed paper can be used in a variety of ways, from backgrounds and borders to die-cut shapes and embellishments, giving you endless creative possibilities.
Now that we’ve covered why printed paper is a must-have in your cardmaking stash, let’s explore some fun and creative ways to incorporate it into your projects.
How to Use Pattern Paper
1. Background Bliss
One of the simplest yet most effective ways to use printed paper in cardmaking is as a background element. Choose a pattern that complements your card design, trim it to size, and adhere it to your card base for an instant burst of color and pattern. Whether you opt for bold stripes, delicate florals, or playful geometrics, a patterned background adds depth and dimension to your cards without overwhelming the overall design.
2. Focal Point Fun
Additionally, you can die-cut or fussy-cut designs from your favorite patterned paper and use them as the centerpiece of your card. Whether it’s a stunning floral cluster, a charming critter, or a bold sentiment, a printed paper focal point adds visual interest and personality to your handmade creations.
3. Layering Love
Layering printed paper is a great way to add depth and dimension to your cards. Mix and match coordinating patterns and colors to create eye-catching backgrounds, borders, or mats for your focal elements. Experiment with different combinations until you find the perfect balance of prints and solids to make your designs pop.
4. Embellishment Extravaganza
Printed paper isn’t just for backgrounds and layers—it also makes fabulous embellishments! Use punches, dies, or scissors to cut out shapes, borders, or accents from your favorite patterned paper and use them to embellish your cards. From flowers and leaves to banners and borders, printed paper embellishments add charm and whimsy to your handmade creations.
5. Theme Time
Take your cardmaking to the next level by choosing printed paper that fits a specific theme or occasion. Whether it’s a holiday, a season, or a special event, themed patterned paper sets the tone for your cards and ties your design together beautifully. From spooky Halloween motifs to festive Christmas patterns, themed printed paper adds instant flair and personality to your handmade creations.

In conclusion, printed paper is a cardmaker’s best friend, offering endless possibilities for creativity and expression. Whether you’re looking to add color, pattern, or texture to your cards, printed paper is sure to inspire and delight. So next time you sit down to create, don’t forget to reach for your favorite patterned paper and let your creativity soar!
Happy cardmaking!
Karen