BetterPress · papercrafting

Ranch-Themed BetterPress Art Projects: Meet Clover and Cotton Ball

Create your own BetterPress framed  and watercolored art pieces of Clover the Cow and Cotton Ball the lamb.

There’s something special about bringing a little piece of the ranch indoors—especially when it comes in the form of charming letterpressed art. Today, I’m excited to share two BetterPress projects straight from my little hacienda, featuring Clover the cow and Cotton Ball the lamb from Spellbinders.

New To BetterPress?

If you’re new to BetterPress or want to refine your skills, check out my previous blog post, “9 Tips, Tricks and Insights for Spellbinders BetterPress Machine,” for helpful advice on how to achieve perfect impressions every time.

Key Products Used in This Post:

Meet Clover the Cow

Spellbinders Clover the Cow watercolored BetterPress Animal Art piece framed to display in home.

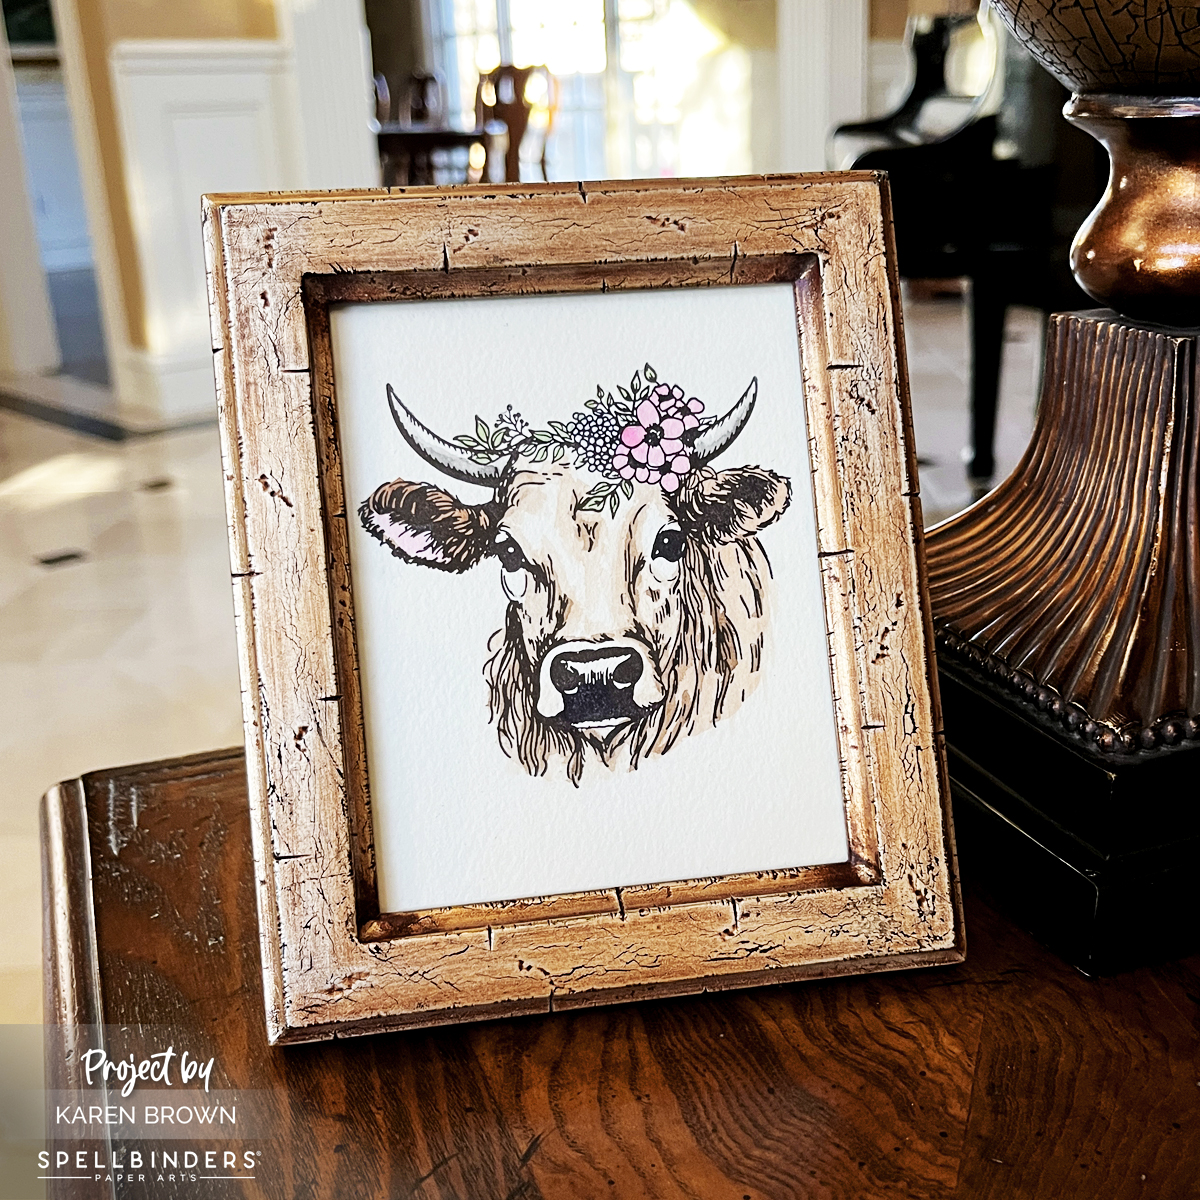
Clover isn’t just any cow—she’s inspired by a real-life, flower-munching culprit from my own yard. And yes, she was eating flowers from my garden!

The BetterPress version of Clover captures her mischievous spirit, complete with a whimsical flower wreath perched atop her head.

Inspiration photo for my Cow BetterPress framed art piece.

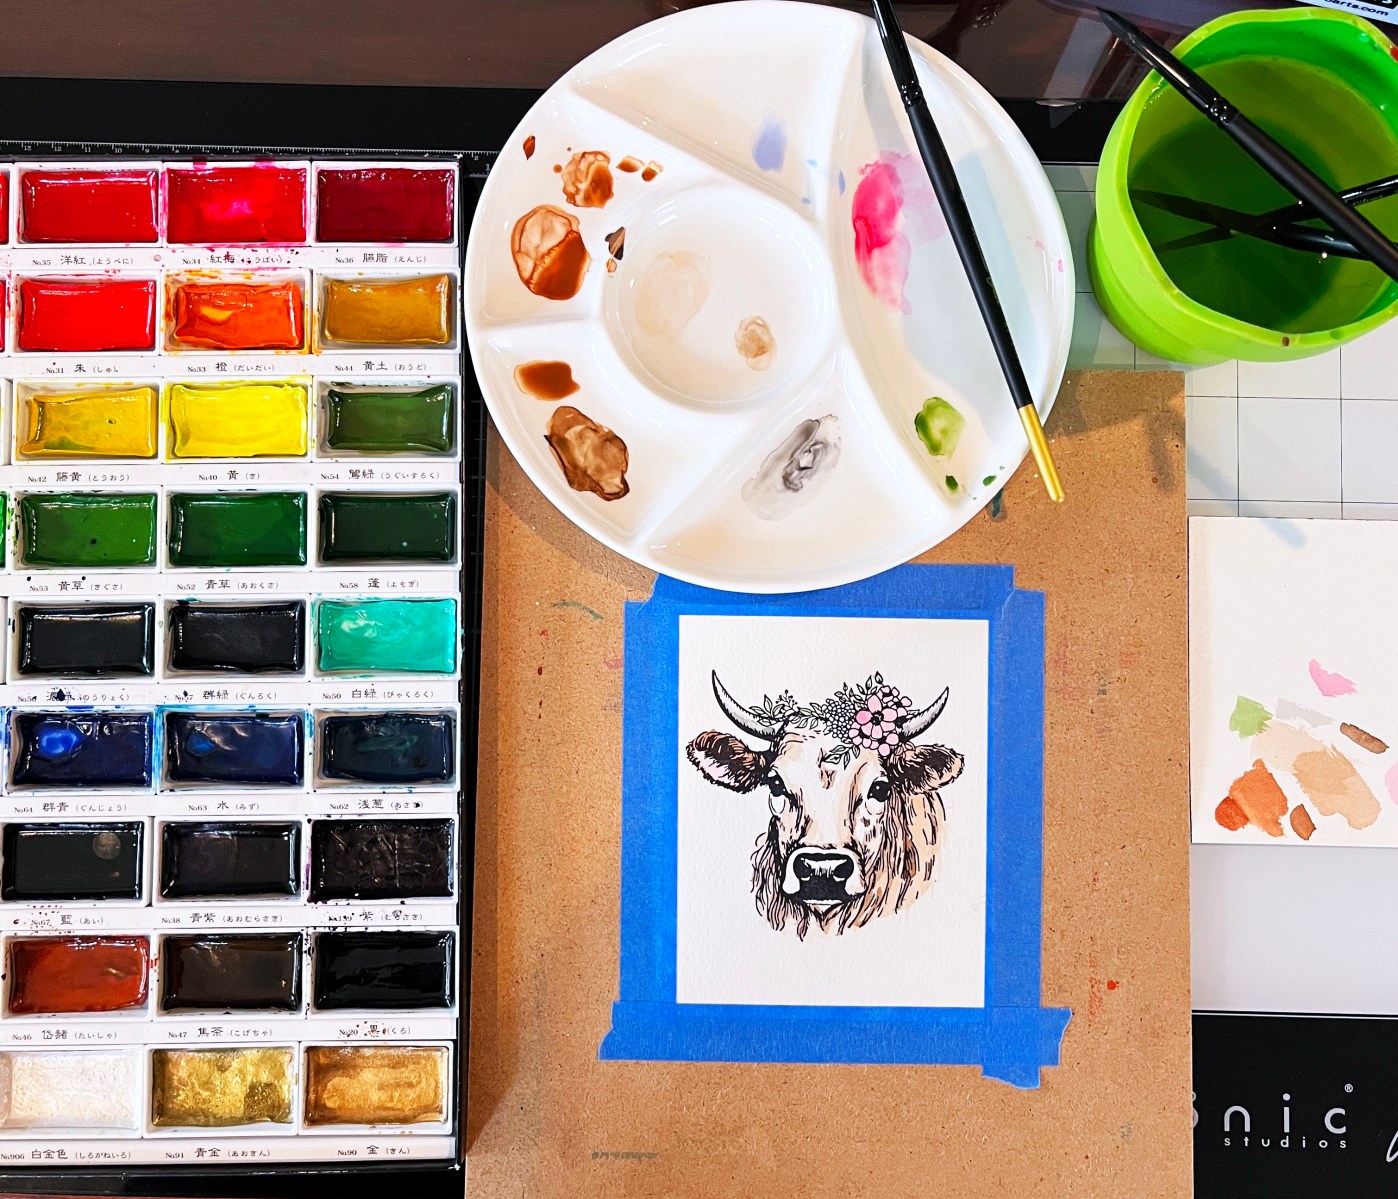
After BetterPressing Clover, I added soft watercolor washes that brought her to life, highlighting her gentle eyes and the delicate petals in her floral crown. What’s more, the print looks stunning even without the watercolor—just the crisp, tactile impression of the press is beautiful on its own.

Process photo showing my watercoloring technique for colorizing my Spellbinders BetterPress Cow print.

Introducing Cotton Ball the Lamb

Spellbinders Cotton Ball the lamb BetterPress watercolored and framed animal art piece.

Not to be outdone by Clover, Cotton Ball the lamb is equally charming with her own flower wreath. She’s the picture of pastoral sweetness, and the BetterPress captured every curl and detail of her woolly coat. Watercoloring Cotton Ball was a joy, blending soft pastels to match her gentle personality.

Framed with Love

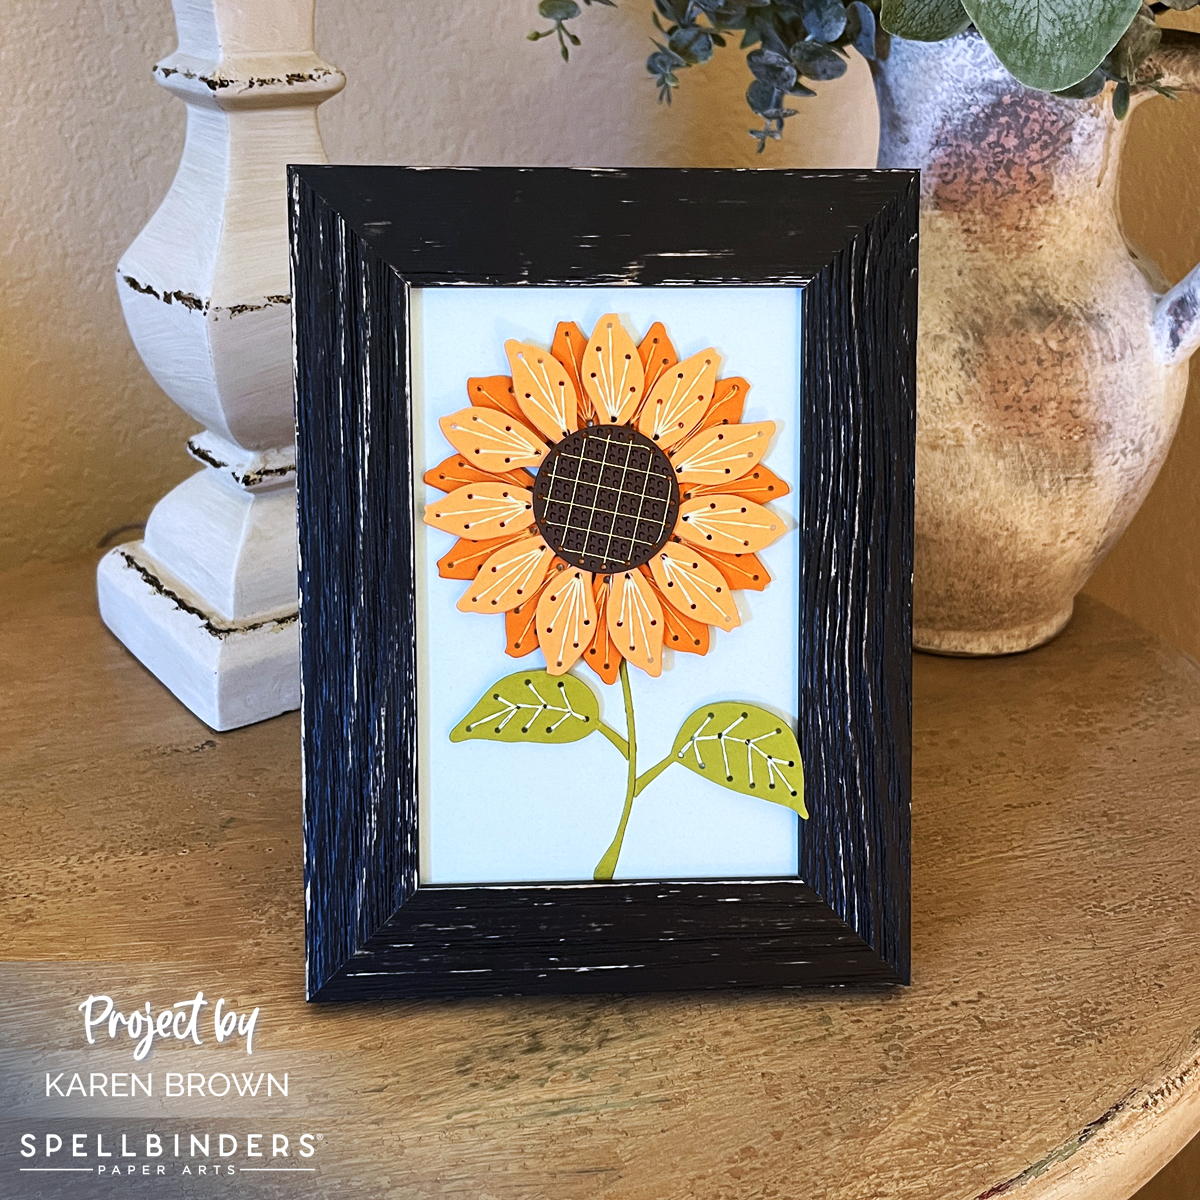
Both prints sit in 4″ x 5″ easel frames that add a touch of ranch-inspired warmth to my home. The textures from the letterpress, the soft watercolor hues, and the rustic frames create an inviting, homey feel that reflects life on my little hacienda.

Try It Yourself

Whether you’re inspired by ranch life or just love the charm of whimsical animal art, BetterPress projects like Clover and Cotton Ball are a joy to create. The prints are beautiful whether you choose to watercolor them or leave them as crisp, letterpressed pieces.

Cardmaking Kit · stitching

Frameable Art | Spellbinders September 2024 Stitching Club

Beautiful  die cut and handstitched sunflower in a 4" x 6" frame.  Spellbinders September 2024 "Stitched Flower" papercrafting kit.

WOW, WOW, WOW! I LOVE Spellbinder’s September Stitching Die of the Month Kit! This sunflower is so gorgeous that I decided to make a 4 x 6″ framed art piece for my guest bedroom. I have all the details below.

Stitched Sunflower Art | Tips and Tricks

  • I started by die cutting my Stitching Kit pieces with my Platinum 6 die cutting machine. This month’s kit has 15 dies. I die cut the flower petals and brown center twice and glued them together for easier stitching.
  • Spellbinders has a nice selection of stitching accessories in their shop that you can find HERE. Today, I used metallic gold floss on the center and 3 shades of DMC floss for the flower. I have been buying and collecting floss for decades, so some of these are vintage.
  • When I started stitching, I took two strands of floss, separated them one at a time, brought them together and then stroked and lengthened them until they seemed tame and ready to use.
  • I usually stitch with size 22 Tapestry needles.
  • I used thin double sided tape to secure my floss to the die cuts. I like that this tape is easy to hide behind the die cuts and I don’t even bother to take the top release paper off the tape.
  • Remember to keep your floss taught as you stitch.
  • When I move from one area to the next, I run the floss through the just finished stitched area to keep the thread secure. This gives a nice look on the finished project.
  • Don’t stitch with threads that are too long or they are likely to knot. 
  • When I was done, I added a bit of Bearly Glue to the ends so that they would stay in place.
  • I assembled my piece with Bearly Glue and foam squares.
  • Last, I popped my sunflower in a 4″ x 6″ frame and set it on the bedside table.
Spellbinders September Stitching Club Kit of the Month:  Stitched Sunflower.

Helpful Links:

Spellbinders Club Info:

  • Clubs Preview on the 1st of each month.
  • Club members can cancel, upgrade or change clubs from the 1st-5th of each month. Popular Clubs frequently sell out during this period so club members get first dibs on everything.
  • NEW for 2024: Club Members get EARLY access to new releases on the 6th!
  • On the 6th, Clubs become available to non-members.
  • On the 27th, Club registration closes for the current month.
  • If a club did not sell out, you can buy under “Shop Past Clubs”. Past kits are available on the 10th of the FOLLOWING month.

Thanks for stopping by!

Karen