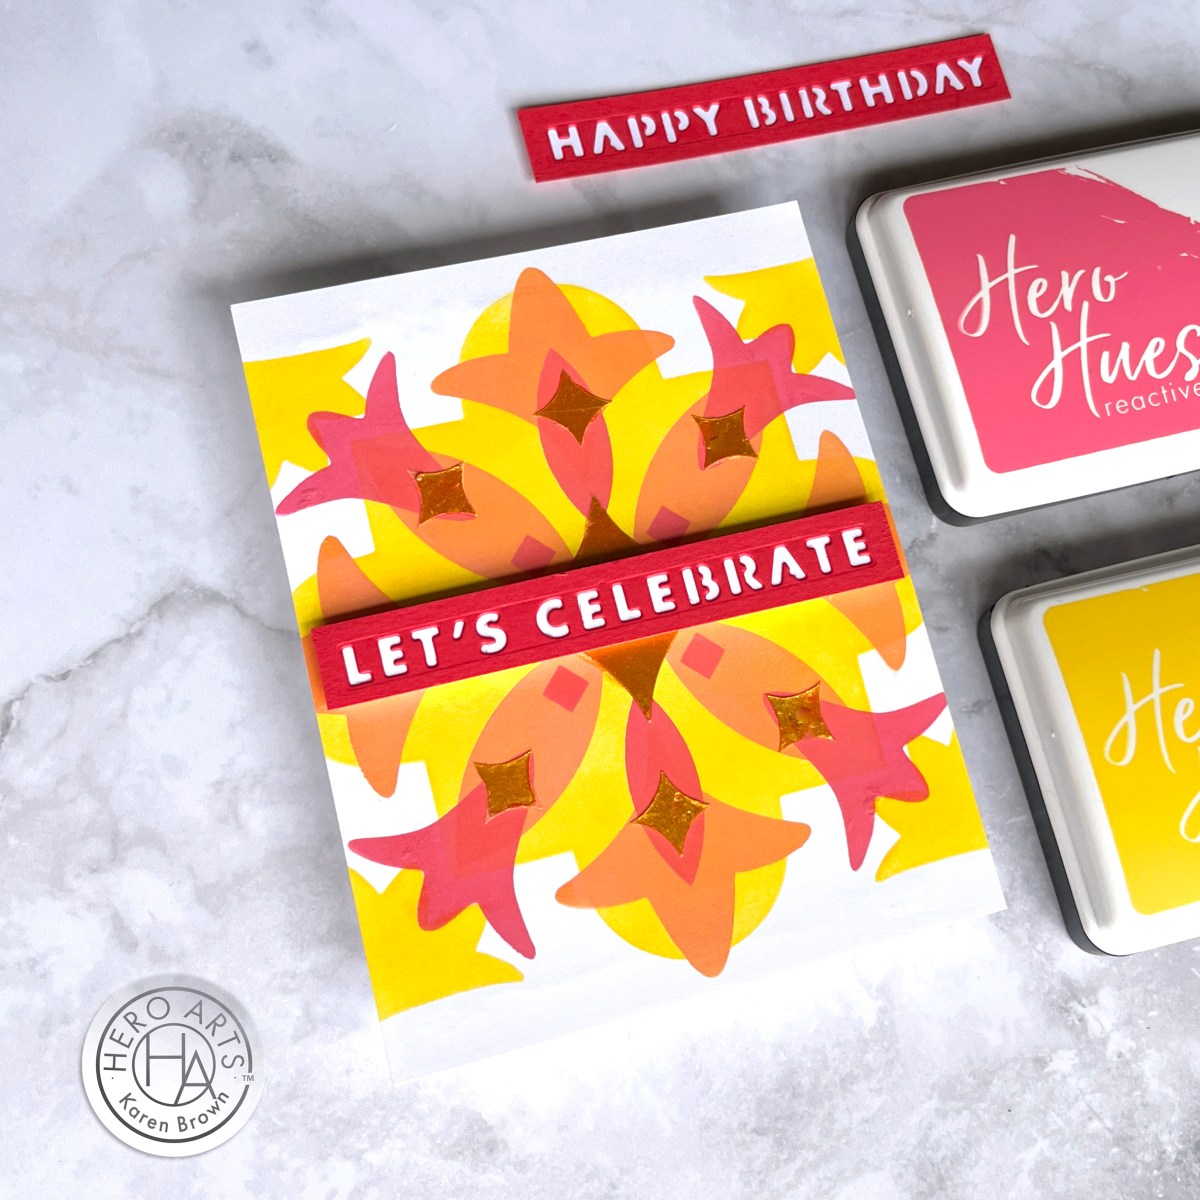
Can you ever have too many birthday cards? I think not! Today, I’m sharing a fun, modern, and eye-catching birthday card featuring the Hero Arts Celebrate Stamp & Stencil Set—perfect for anyone on your list!
Click link to see the Hero Arts Spring Collection.
You can watch the video above, or you can click the link HERE to watch on YouTube.
Plus, this video is part of a Video Hop, so be sure to check out the other fabulous creators linked below.

Bold Colors & Easy Techniques
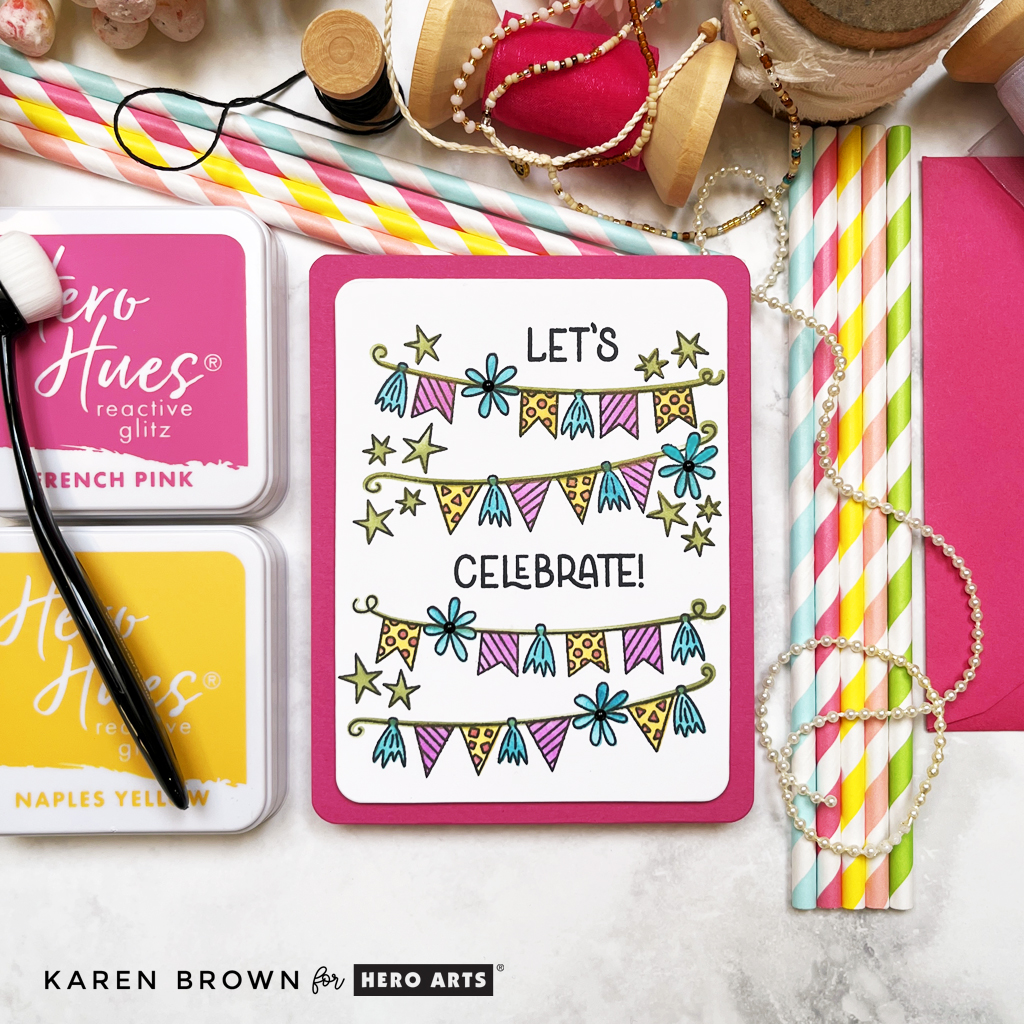
For this card, I started with a large focal stamp of four birthday banners—such a fun and festive design! Instead of traditional coloring, I brought in Glitz Inks and Color Layering Stencils to add French Pink, Naples Yellow, Byzantine Green and Egyptian Blue to the banners. These inks add beautiful shimmer that makes the design pop without needing extra embellishments (but you know I couldn’t resist a few black enamel dots in the flower centers!). This is totally optional, but I used my Rounded Rectangle Infinity Dies to round the corners and trim down my panel.
Pro Tip: Glitz Inks are not only stunning, but they’re also super easy to clean up! A quick rinse, and your brushes are good as new.
Organizing My Stamps & Dies
I also wanted to share a quick tip on storing stamps and dies. I use Hero Arts Magnetic Sheets and Storage Sleeves, which help keep my dies neat, tidy, and easy to find. No more hunting for that one missing die—it’s all in one place and ready for my next crafting session! I also love their Stamp Storage Sleeves. More details in the video.
Key Products Used:
- Hero Arts Spring Collection
- Celebrate Stamp Set
- Celebrate Color Layering Stencil
- Hero Arts Glitz Inks: French Pink, Naples Yellow, Byzantine Green, Egyptian Blue
- Rounded Rectangle Infinity Dies
- Mini Misti Grip Mat
- Waffle Flowers 7.5″ x 11″ Grip Mat
- Magnetic Sheets and Storage Sleeves – Large
- Magnetic Sheets and Storage Sleeves – Small
- Small Stamp Storage Sleeves
- 5 x 7″ Stamp Storage Sleeves
- Large Stamp Storage Sleeves
- Neutral Enamel Dots
- Blending Brushes
- The Ink Stand Collection (to hold my ink pads in place)
Join the Celebration! Blog Hop Order:
- Charlene Madrid
- Karen Brown >>> You Are Here!
- Lisa Tilson
- Mindy Eggen
- Natasha Polite
This card was a joy to make, and I hope it inspires you to break out your Glitz Inks and stencils! Be sure to check out the Video Hop and leave a comment on my video—I’d love to hear what you think! And tell me… do you think it’s possible to have too many birthday cards? (Spoiler: I don’t!) 🎉