cardmaking · Video

VIDEO: 3 Creative Ways to Stencil Butterfly Cards

Video tutorial with step-by-step instructions on how to make 3 creative cards using layering stencils.

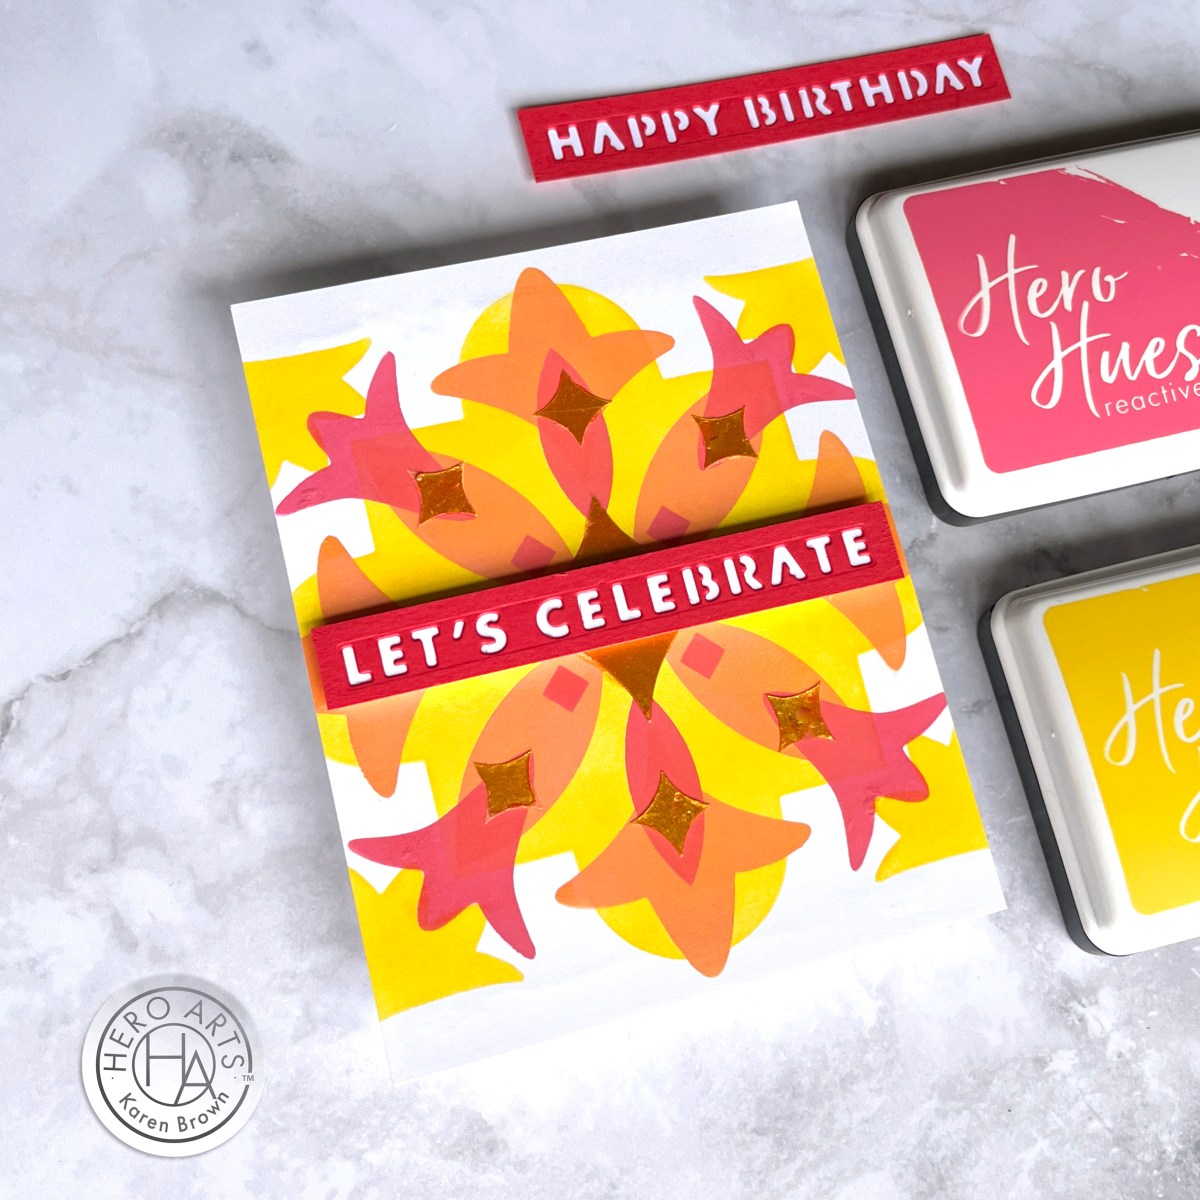
Hello friends, Karen Brown here with a colorful new video. Butterflies and stencils—can you name a more dynamic duo? The December (Butterfly) Layering Stencil of the Month is SO much fun!

Or you can click HERE to watch the video.

Textured Flights of Fancy

In this post/video, we’re spreading our creative wings and sharing three unique ways to stencil butterflies that’ll make your cards flutter with charm. From bold and dramatic to soft and dreamy, these techniques will have your projects soaring to new heights! 🦋✨

The butterfly outline is layer one and then there are 3 additional detail layers to add on top to customize your projects. I show you how to use all three top layers in the video.

Beautiful butterfly cards created with layering stencils + Hero Wax and Hero Paste.

I thought it would be fun to make some non-traditional Christmas cards featuring butterflies AND pastel colors. I always love to stretch my supplies beyond the predictable!

For my first two cards, I stenciled a panel of Deluxe Smooth Cardstock with a gradient of 3 colors and then added White Hero Wax (card on the left) and Hero Glitter Paste (card on the right). I used Thistle, Taffy and Creamsicle for the card on the left. For the card on the right, I wanted a frosty, icy, wintry blend so I used Amethyst, Thistle and Splash.

The mats are Amethyst with a Granite base.

I also think the duo pictured above would make great Get Well, Thinking of You or Sympathy cards.

Let Your Creativity Soar

Stenciled and Ink blended non-traditional butterfly Christmas card.

And, I had to make at least one traditional green and red Christmas butterfly card. I stenciled with Fresh Lawn and Cherry Ink, matted with Crimson cardstock and added a sentiment from the Swirly Christmas Tree Bundle.

Other Supplies Used in the Video:

Hero Studio December Layering Stencil of the Month - 3 handmade butterfly cards.

The Final Flutter

With just a stencil and a splash of creativity, you can bring butterflies to life in endless, colorful ways. So, go ahead—spread your crafting wings, experiment with colors, and let your cards shine as bright and beautiful as a butterfly in full flight. Happy stenciling! 🦋✨

cardmaking · Video

Video: Crafting with Color | Selecting Fabulous Color Combinations for Ink Blending

Hero Arts Color Layering Tile Stencil handmade cards in 2 Analogous color palettes (yellow, orange and coral) and (aquas, blues and greens).

Hello fellow crafters, Karen Brown here with a new How-To Video!  I am excited to dive into the world of layering stencils, specifically focusing on how to select analogous colors that will bring harmony to your designs.  Do you struggle selecting colors?  Taking a quick peek at your color wheel can assist in making cardmaking projects that are both visually pleasing and polished.  So let’s get started!

If you are having trouble viewing the video, please click HERE.

Today we will be using Hero Arts beautiful new Color Layering Tile Stencils.  This set comes with 4 stencils that are extremely easy to line up.  I thought it would be fun to use two different analogous color palettes and I added in some Hero Paste for added interest.  

Layering stencil tutorial with Hero Arts new Color Layering Tile Stencils + Gold Hero Paste.

I started with a 5 1/2″ x 5 1/2″ panel of Deluxe Smooth Cardstock.  For Card #1 I used Lemon Drop, Creamsicle and Taffy inks. For my top layer, I applied Hero Gold Paste for a pop of shine and shimmer. 

Handmade birthday layering stencil card in aquas, blues and greens + a custom blended Hero Paste accent layer.

On Card #2, I selected Pool Party, Splash and Blue Hawaii. For my top layer, I custom blended White Hero Paste with a combination of Blue Hawaii and Pool Party.

Both cards are perfect for summer!  Card 1 is bright and festive and Card 2 is calm and serene. It’s interesting how color selection can change the tone of your cards.  To see all my tips and process details, please watch the video.

My sentiments were die cut using two sentiment strips from the Hooray Birthday Cover Plate.  I used Nautical and Coral cardstock.

Other helpful supplies were my Palette Knife, Blending Brushes, Compact Cutter, Precision Glue  and Magnetic Storage Envelops

Happy crafting everyone!