Elevate Your Crafting Experience
Calling all crafters and cardmaking enthusiasts! Welcome to the June release, where we are bringing the boldness of urban textures in the signature Hero Arts style and quality! Get ready to ignite your creativity and elevate your crafting experience with the brand new lineup of Hero Studio cardmaking kits. Whether you’re a seasoned pro or just starting your crafting journey, these 5 new kits offer something for everyone. Let’s dive in!
Studio Card Kit of the Month

I started by creating with the new Hero Studio Card Kit, which is full of wonderfulness! This month’s theme is Urban Skyline.
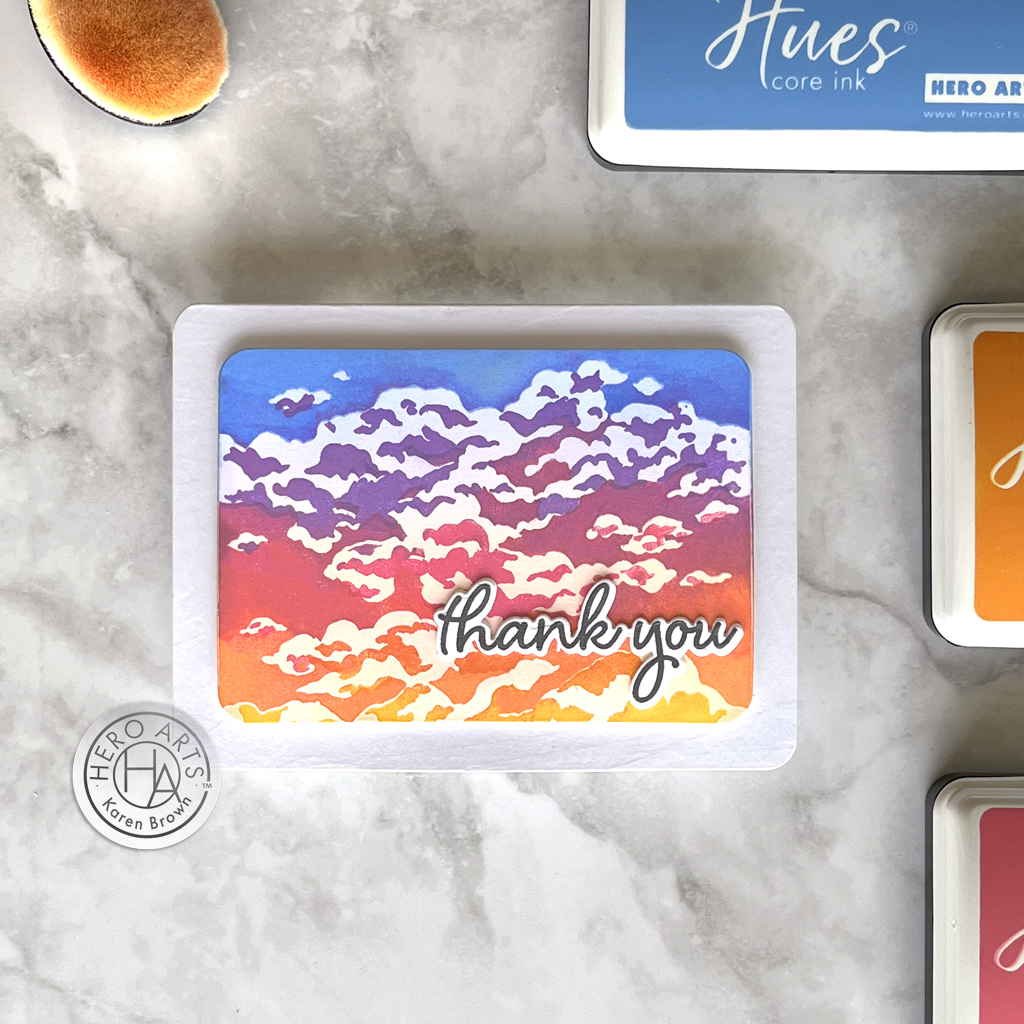
For my first card, I used the HeroScape layering cloud stamps to create a dramatic sunrise. I laid down and blended LOTS of ink for a really saturated look. I love color and thought the cloud layering stamps would make a stunning, almost abstract background.
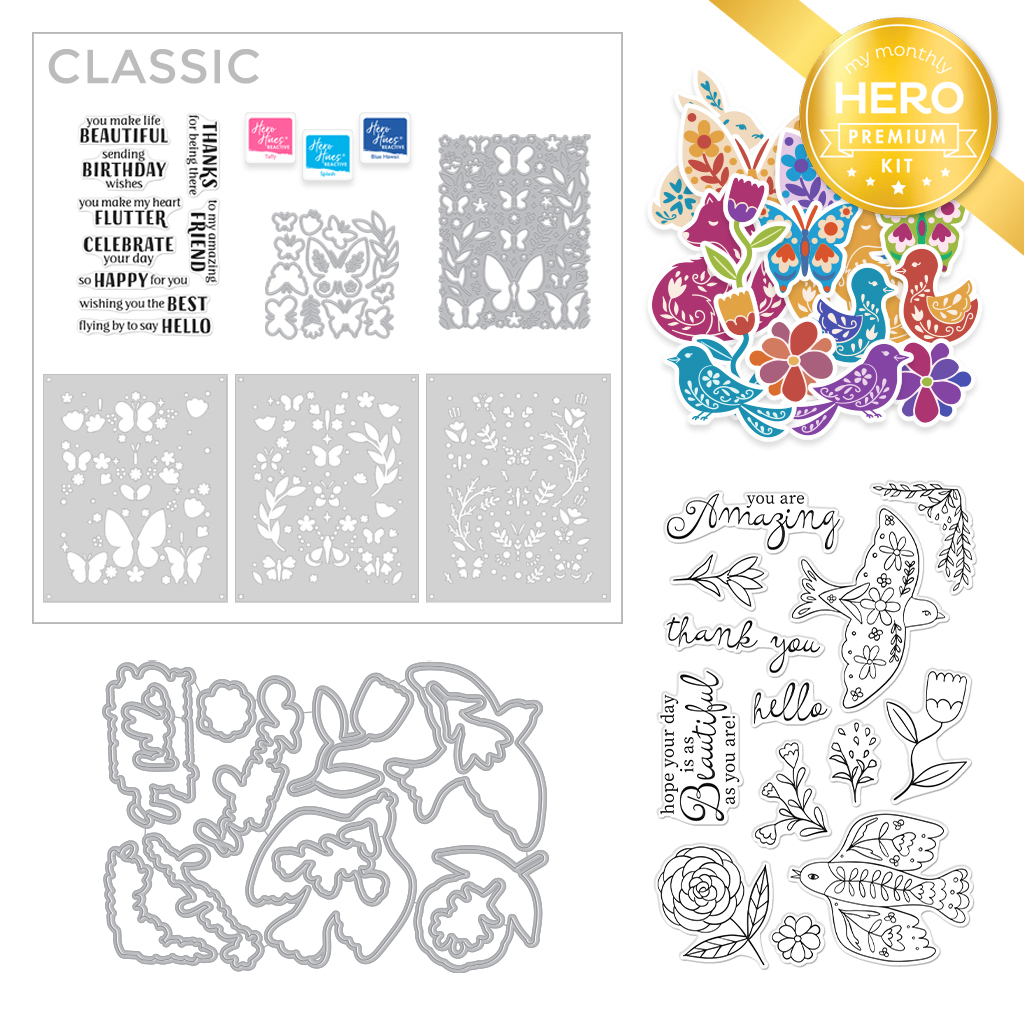
What’s Inside the Kit?
Curious to know what treasuries await you in this cardmaking kit? Let’s take a peek inside The Hero Studio Card Kit:

KIT INCLUDES:
Urban Sky HeroScape Clear Stamp Set, 6” x 8”
Neighborhood Message Clear Stamp Set, 4″ x 6″
Coordinating Dies
City Stencil, 6×6 (with 3 Fall-Out City Skylines)
5 Ink Cubes (Peony, Pitch Black, Dusty Blue, Stonewash, Amethyst)
2 Sheets each of Silver Foil, Silver Glitter, Silver Cube & Pitch Black Cardstock, 5.5″ x 8.5″
2 Sheets City Textures Hero Transfers
Kit Cost and Value:
$46 with Subscription, $95 Value (Cancel Anytime)
$49.99 One-Time Purchase (While Supplies Last)
How I Created This Urban Sunrise Card:
- I selected the HeroScape stamp from the Hero Studio Card Kit.
- My first step was to lightly blend bands ink on my background (Deluxe Smooth Cardstock) so that the cloud highlights would be slightly tinted. For my base, before I used my layering stamps, I used Lemon Drop, Taffy, Thistle and Cornflower inks.
- I then used the following colors for Stamp 1: Cornflower, Thistle, Taffy and Creamsicle, overlapping each color a bit. I also used a blending brush on the stamp to soften the color changes. I put down a lot of ink for a vibrant effect and I used my Misti stamp positioner so I could restamp my layers. I found a photograph of a beautiful sunrise and used it as my color inspiration.
- For Stamp 2, I used Thistle, Taffy and Lemon Drop inks.
- I trimmed my A2 card base and sunrise panel with my Rounded Rectangles Infinity Dies.
- The kit has LOTS of sentiments and I stamped and die cut my thank you.
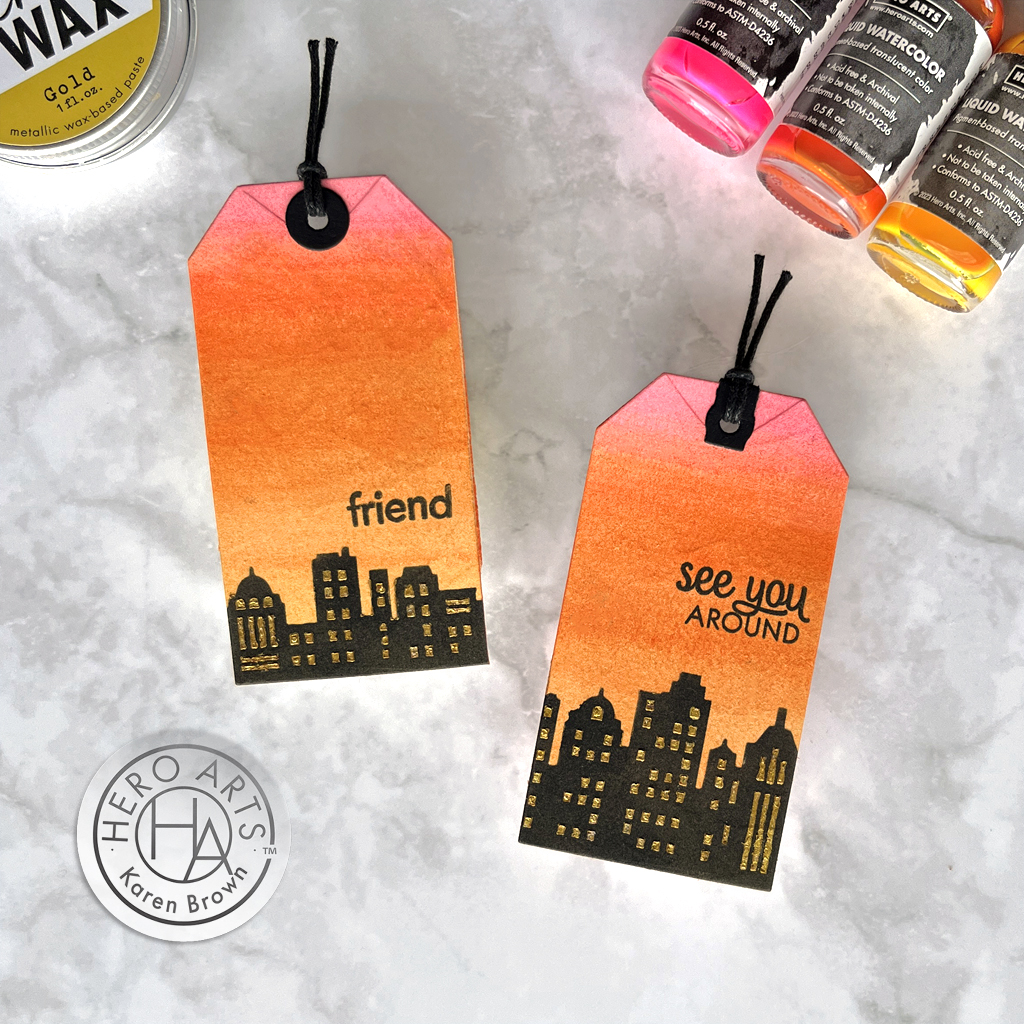
Colorful Sunset Cityscape Tags
I also created two tags with the Hero Studio Card Kit stencils. These tags were featured in Hero Arts Countdown Hop and you can read more about my process HERE.
Hero Studio Fancy Dies
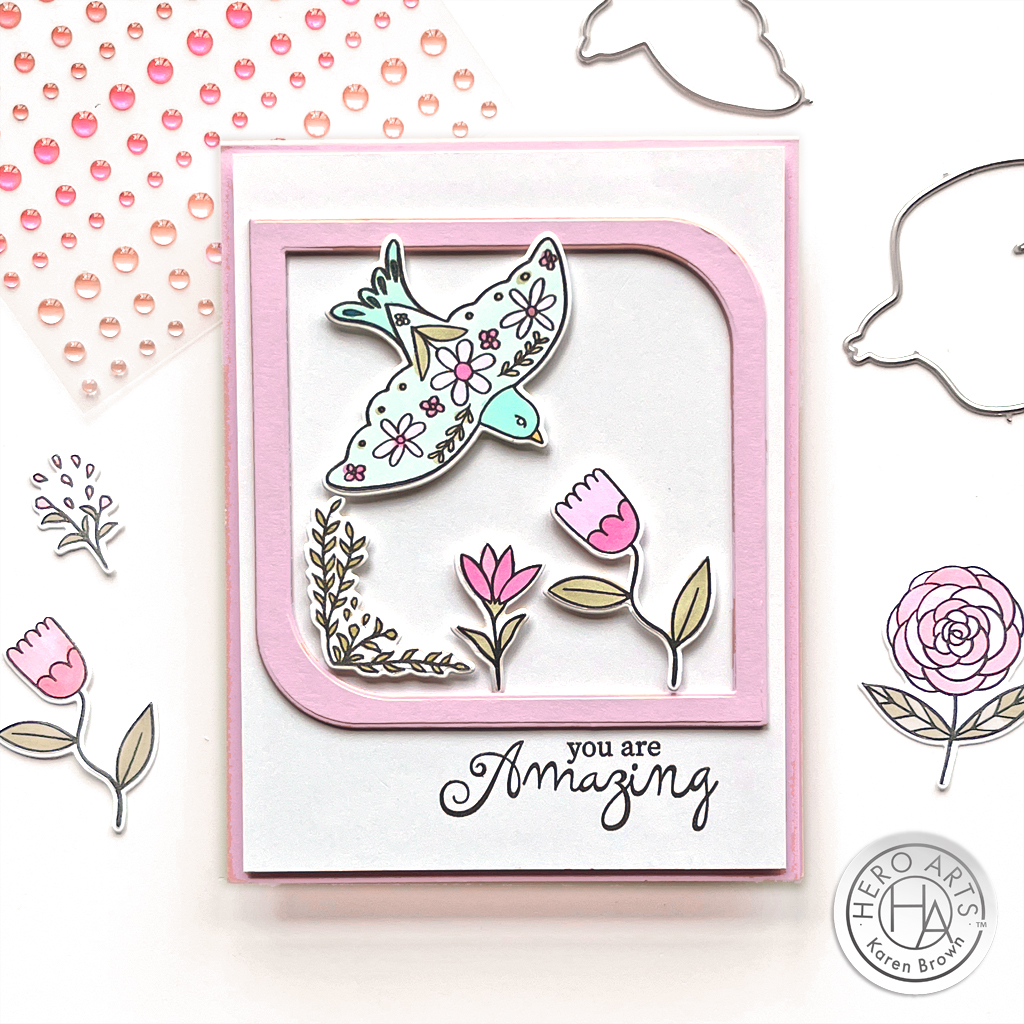
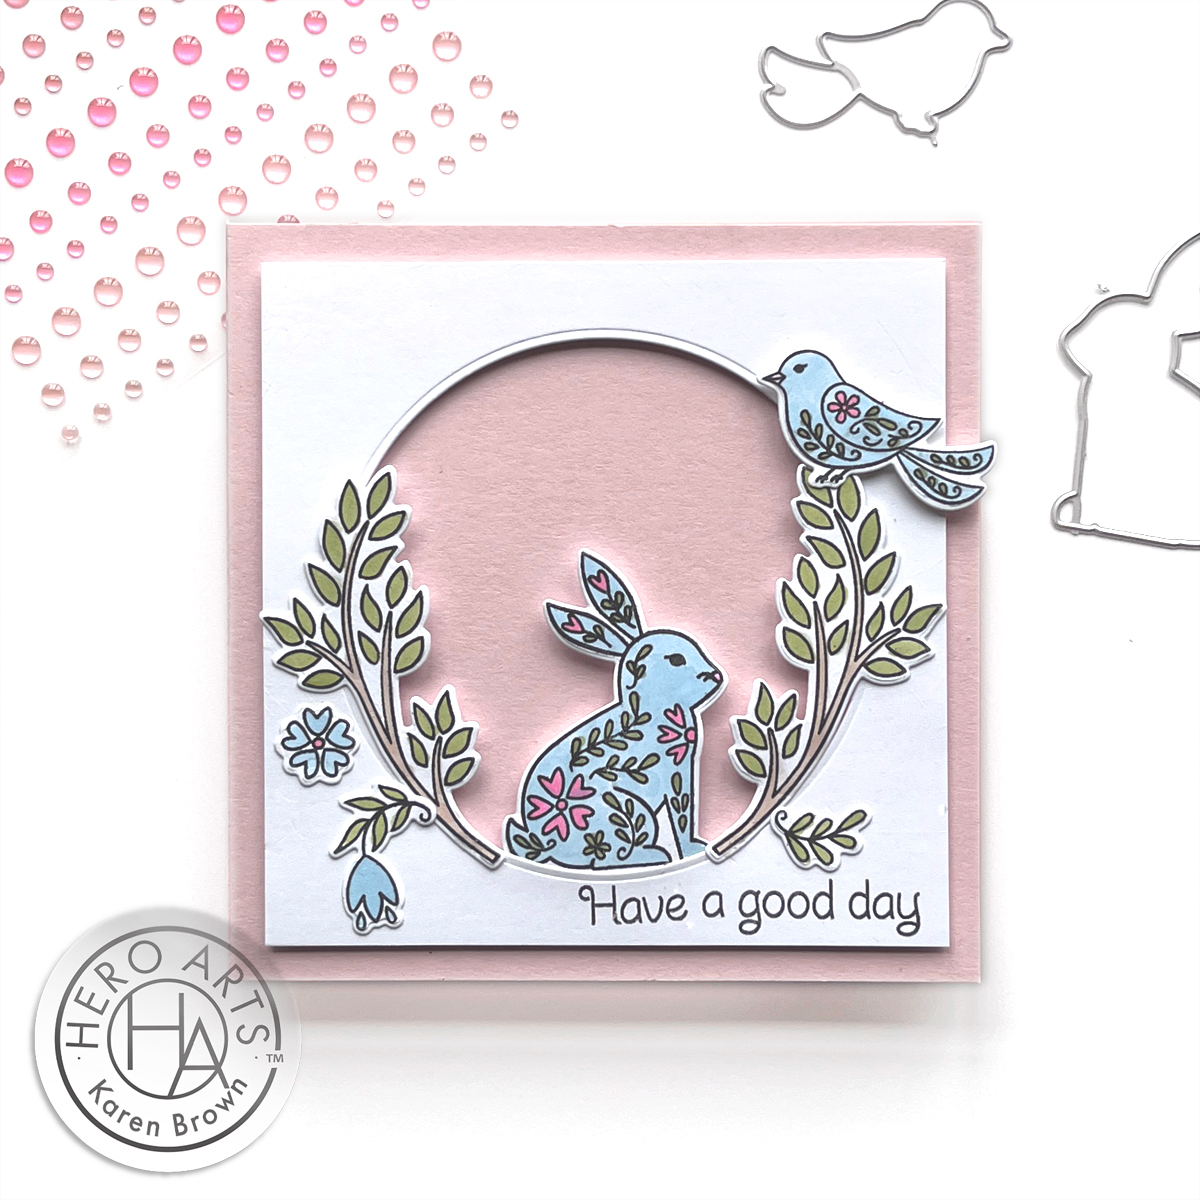
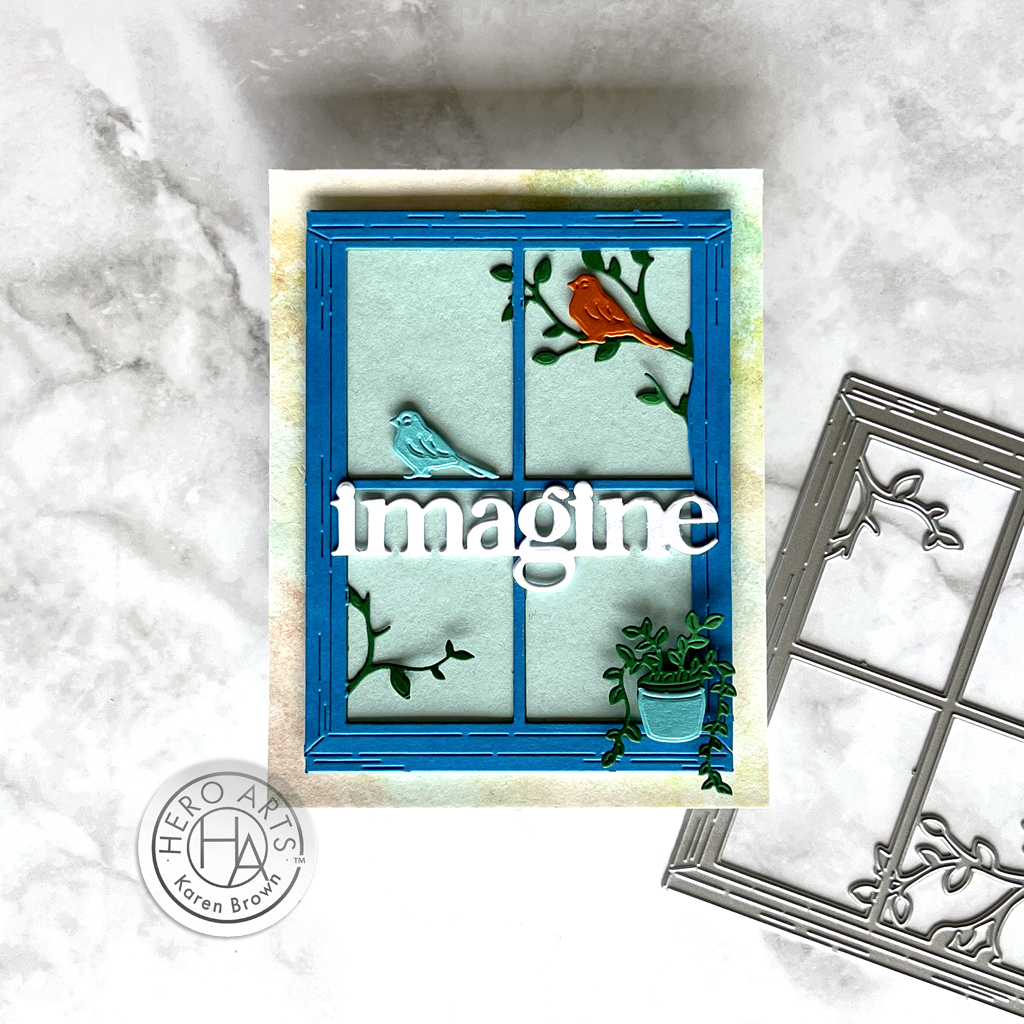
I love die cutting, so I had tons of fun creating my window scene card with the new Hero Studio Fancy Dies. This month’s background die is called Urban Window and I think there are endless design options. I love creating scenes, so I know I will be using this die again!
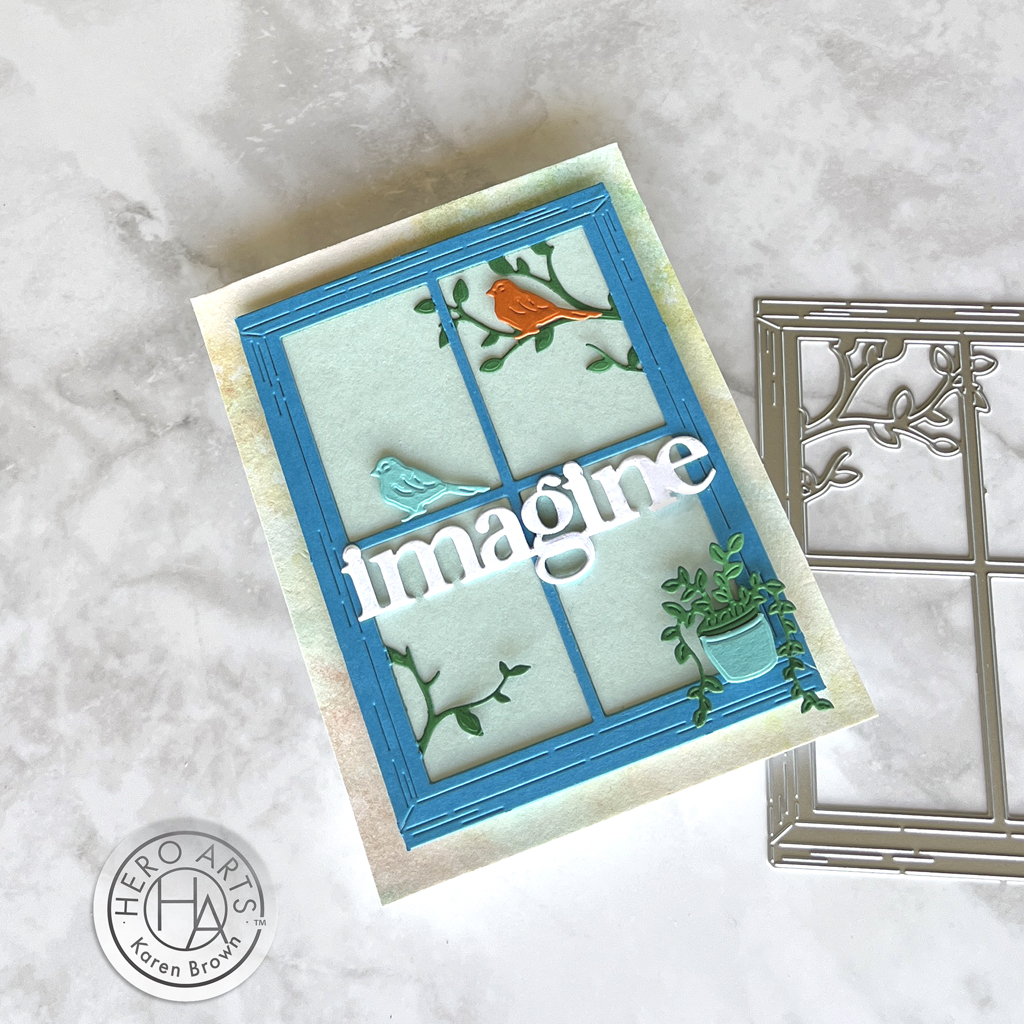
- I began by selecting colored cardstock: Peacock, Papaya, Mist, Arctic and Meadow.
- My base is a leftover piece of background from a project you can read about HERE.
- I die cut my window frame from Peacock cardstock and trimmed off the greenery. I die cut the window frame a second time from Meadow cardstock and layered it behind the Peacock frame, so that my branches would be green. The sky is Arctic.
- I added two birds, a potted plant and a die cut sentiment to finish my scene.
FD0624 Fancy Dies of the Month (Urban Window) $25 with Subscription, $26.99 One-Time Purchase, While Supplies Last.
I have a quick reel for the Fancy Die of the Month Kit:
I created with two Hero Studio kits in this blog post, but there are 5 kits altogether. You can also buy The Whole Studio!
- The Whole Studio (Includes all 5 kits! $120 with Subscription. $180+ value.$138.95 One-Time Purchase, While Supplies Last)
- Hero Studio Subscription Options
- Hero Studio Card Kit of the Month
- Clear Stamp and Die of the Month
- Cling Stamp of the Month
- Fancy Studio Dies of the Month
- Layering Stencil of the Month
Blog Hop and Giveaway:
Hero Arts will give away a $50 gift card, drawn from the comments left across the hop. Enter by Sunday, June 9th at 11:59pm Pacific, and the winner will be announced on the Hero Arts blog the following week.
Hero Arts
Hero Arts Creative Team:
Channin Pelletier
Charlene Madrid
Dana Joy
Heather Ruwe
Ilina Crouse
Jennifer Kotas
Kailash Naidoo
Karen Brown
Lydia Fiedler
Michelle Short
Natasha Polite
Natasha Vacca
Pocono Pam
Rachel Kleinman
Rosie Lopez
Seeka
Special Guests:
Nichol Spohr
Kelly Taylor