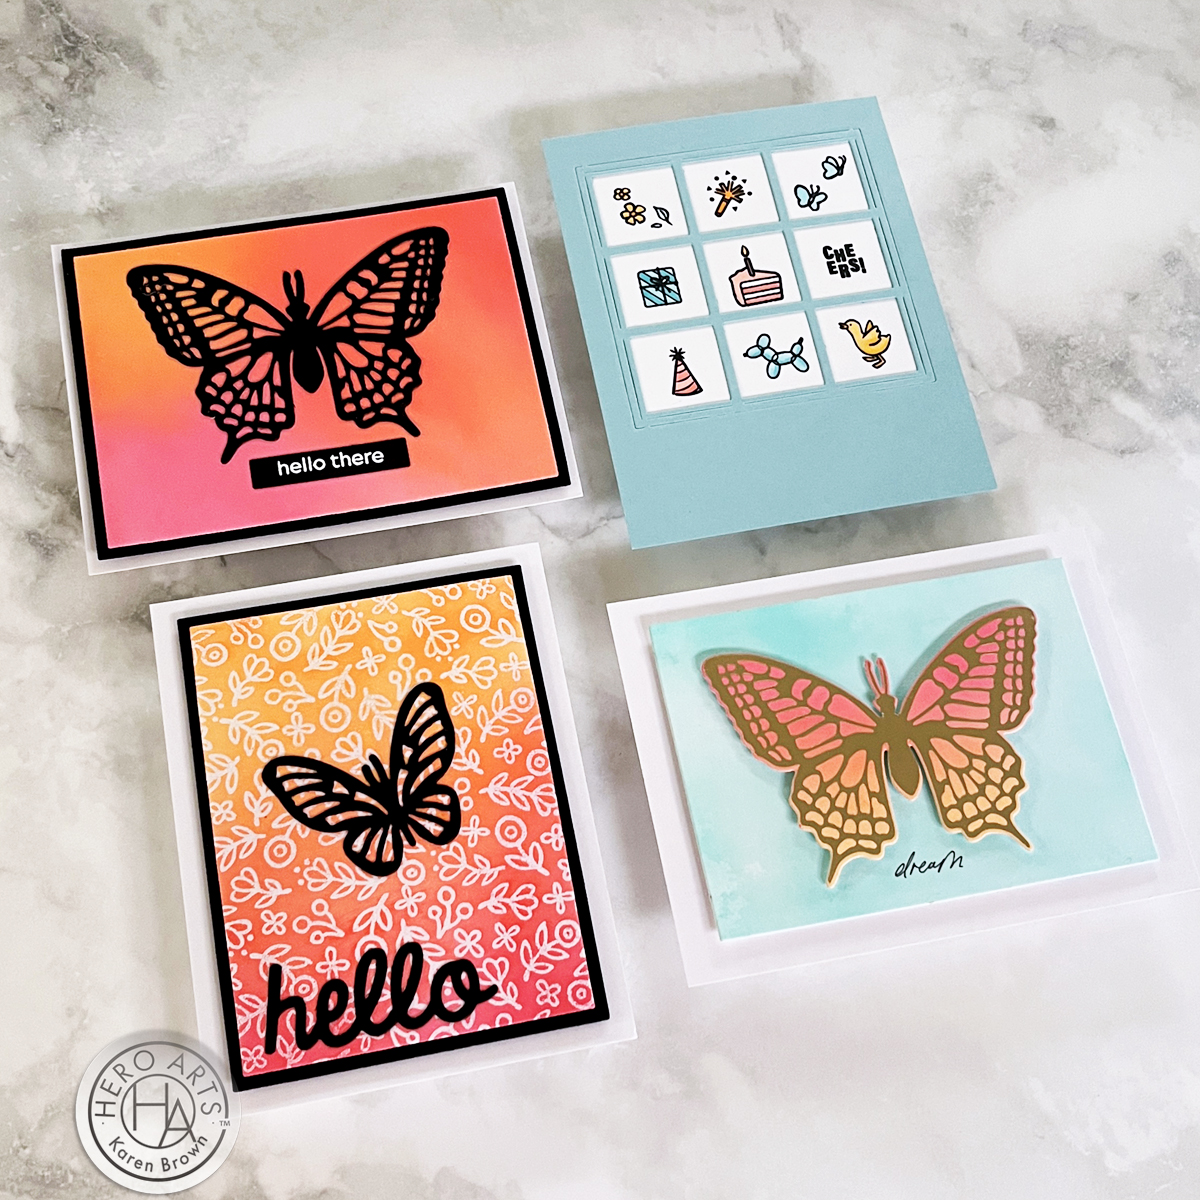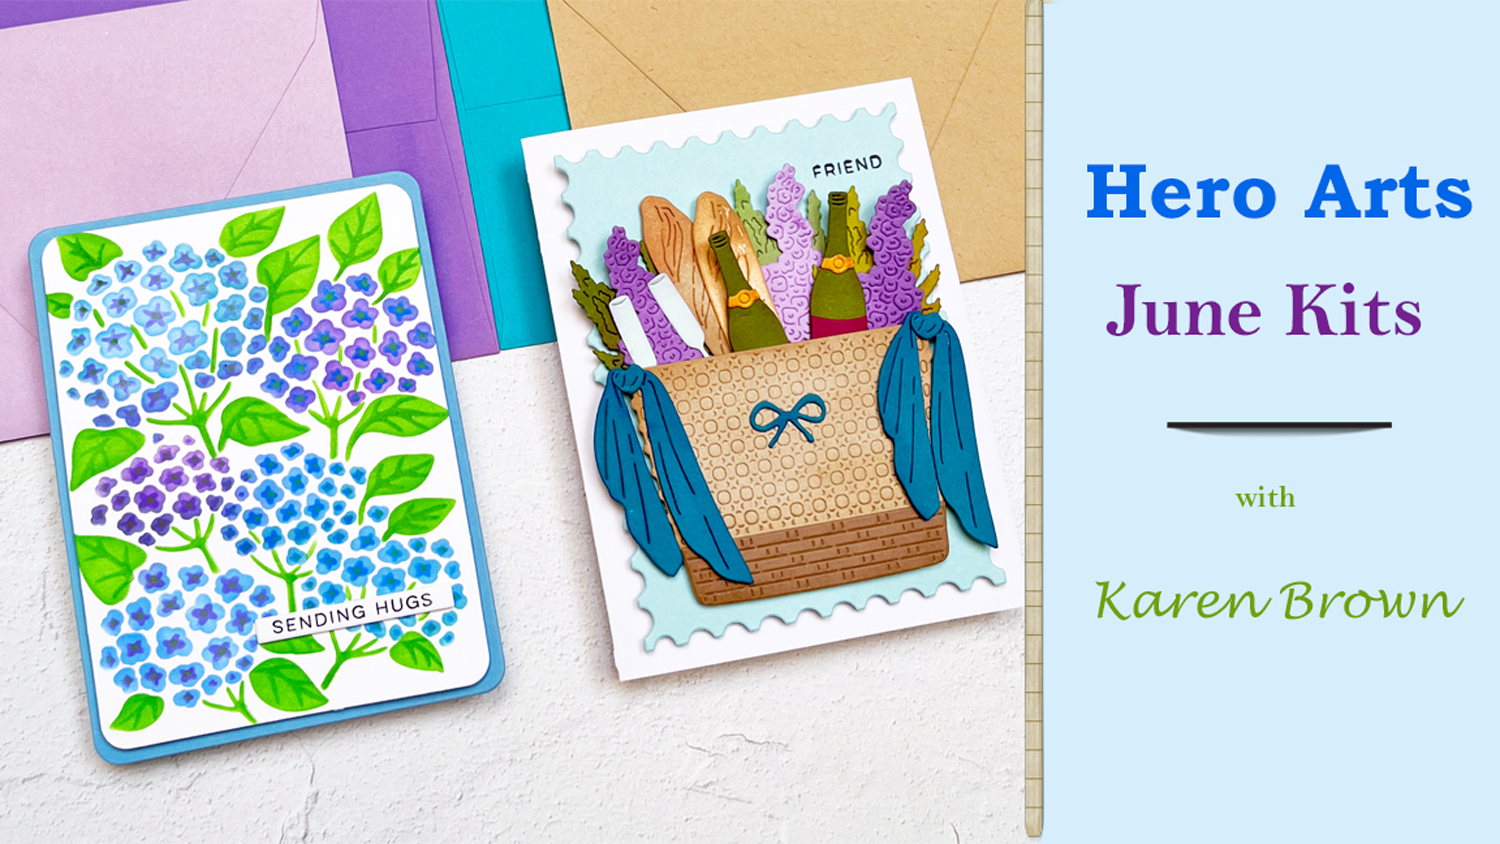
The Hero Arts June 2025 Club Kits are here, and the theme is everything I love about summer: Coastal Vibes! Think breezy afternoons, soft ocean light, and all the charm of an elegant seaside picnic. The kits this month are overflowing with creative possibilities—from charming die cuts to gorgeous stencils. I had so much fun turning these kits into two cards that I’m excited to share with you!
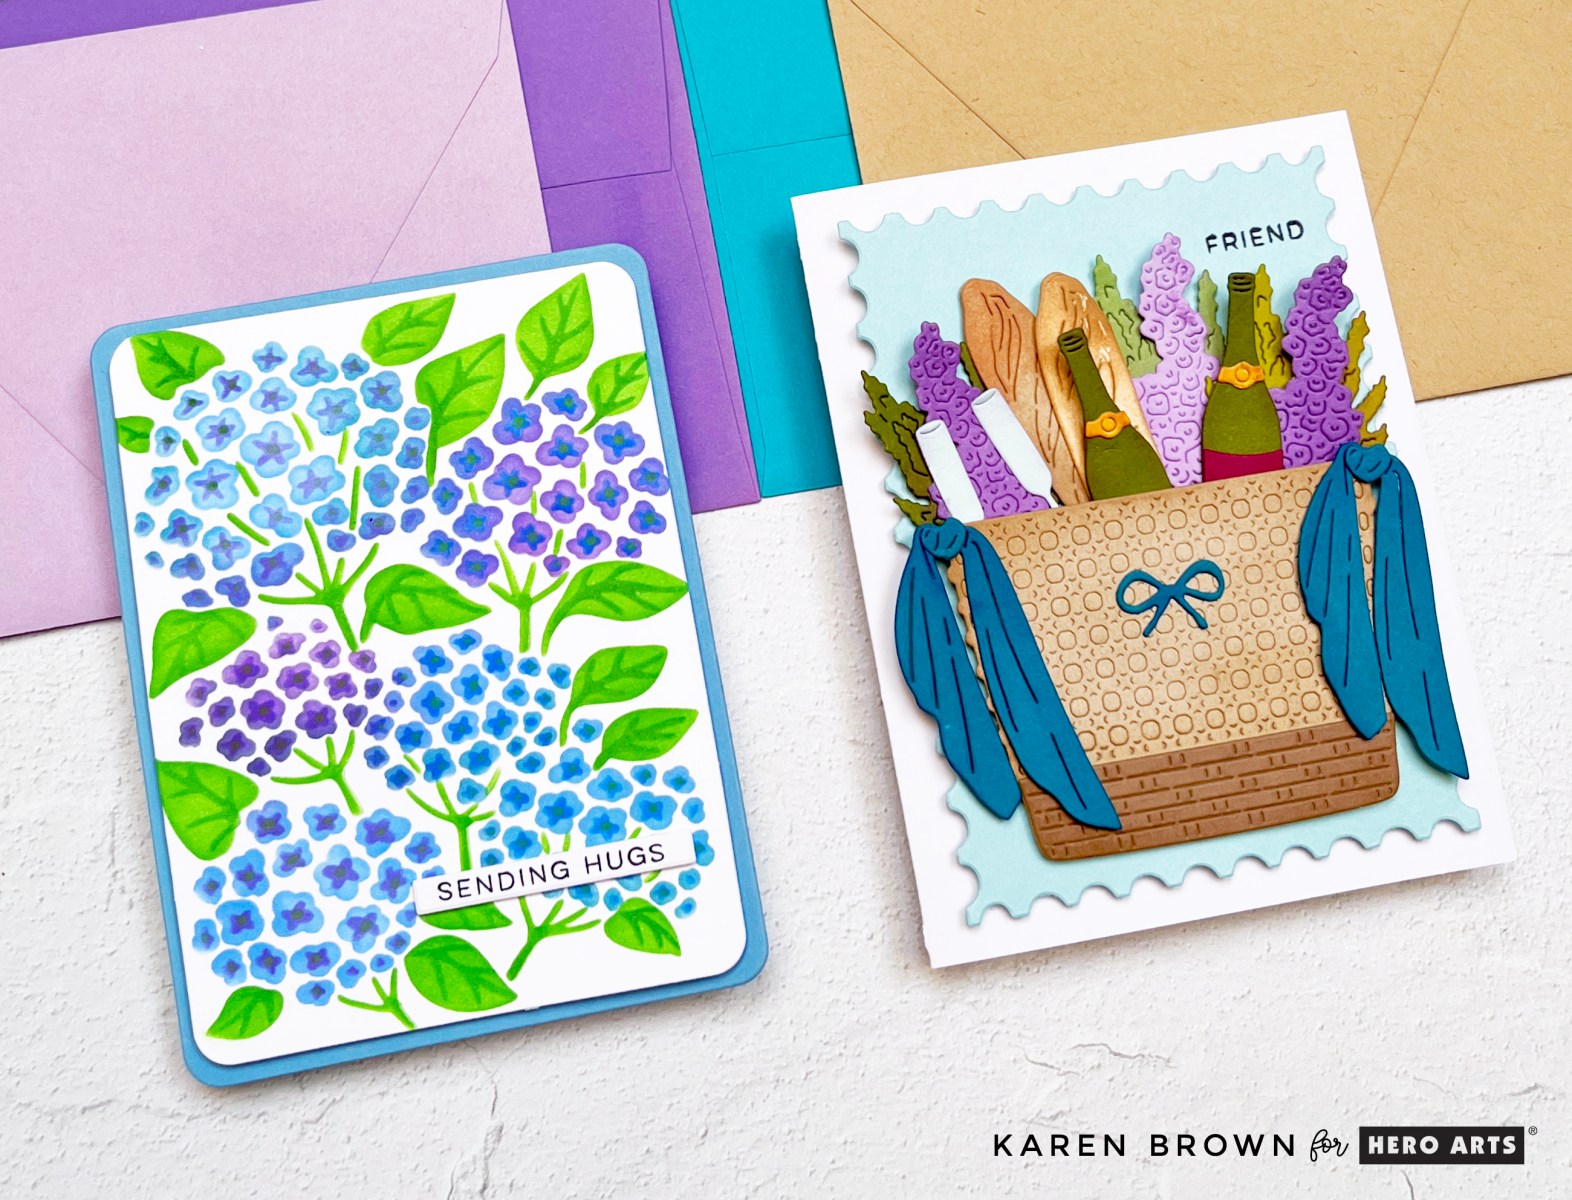
Card 1: A Coastal Picnic Basket

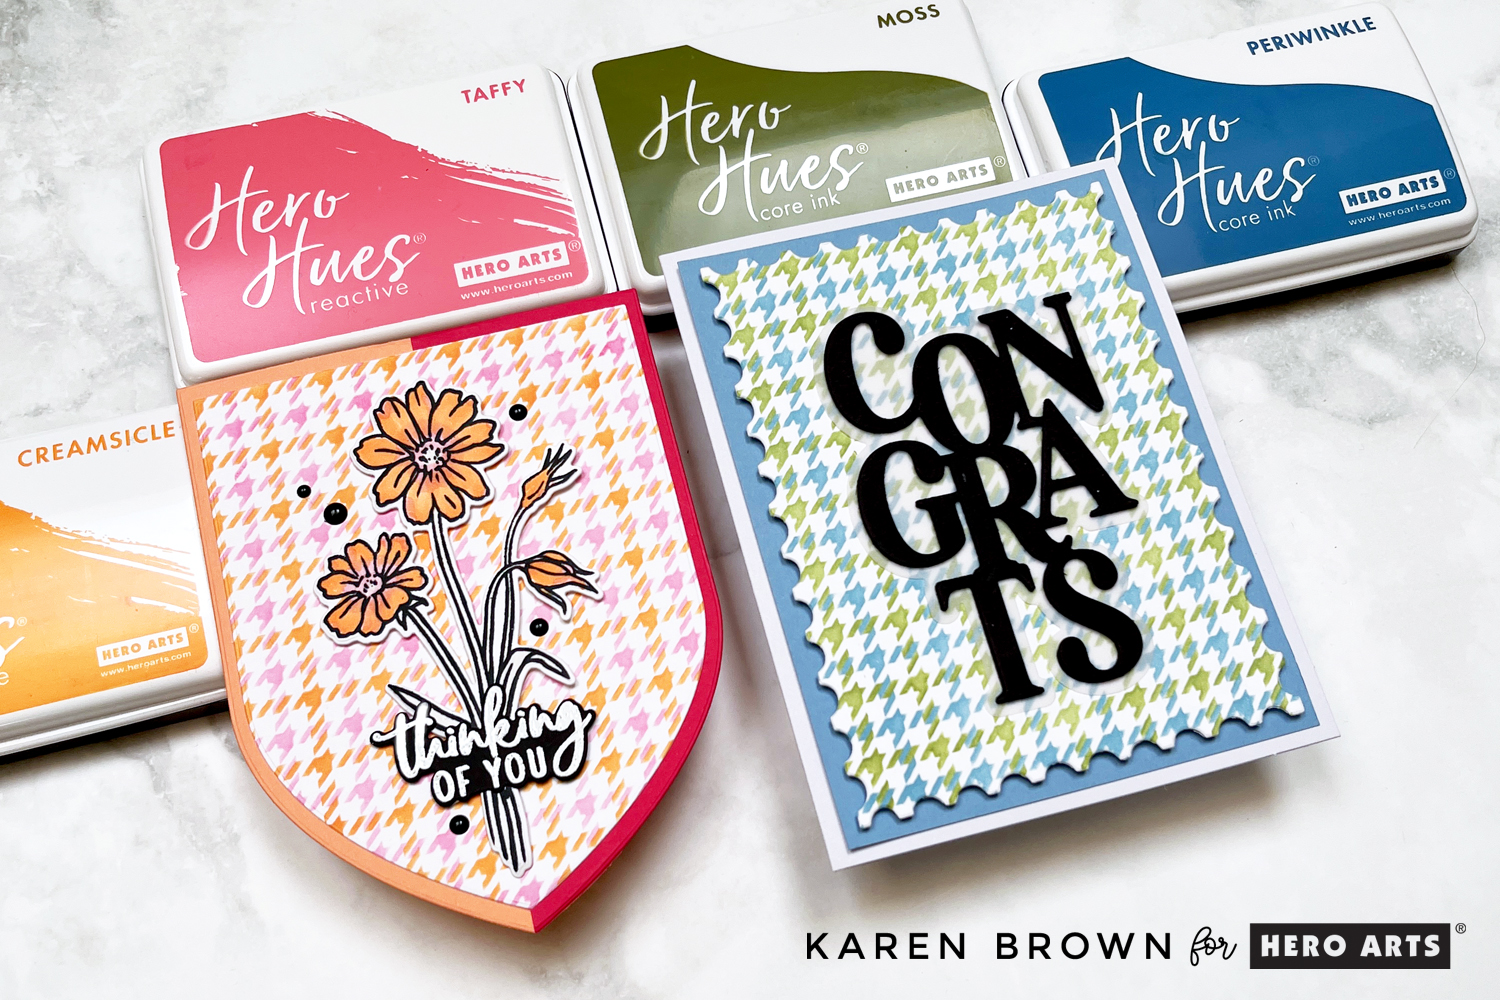
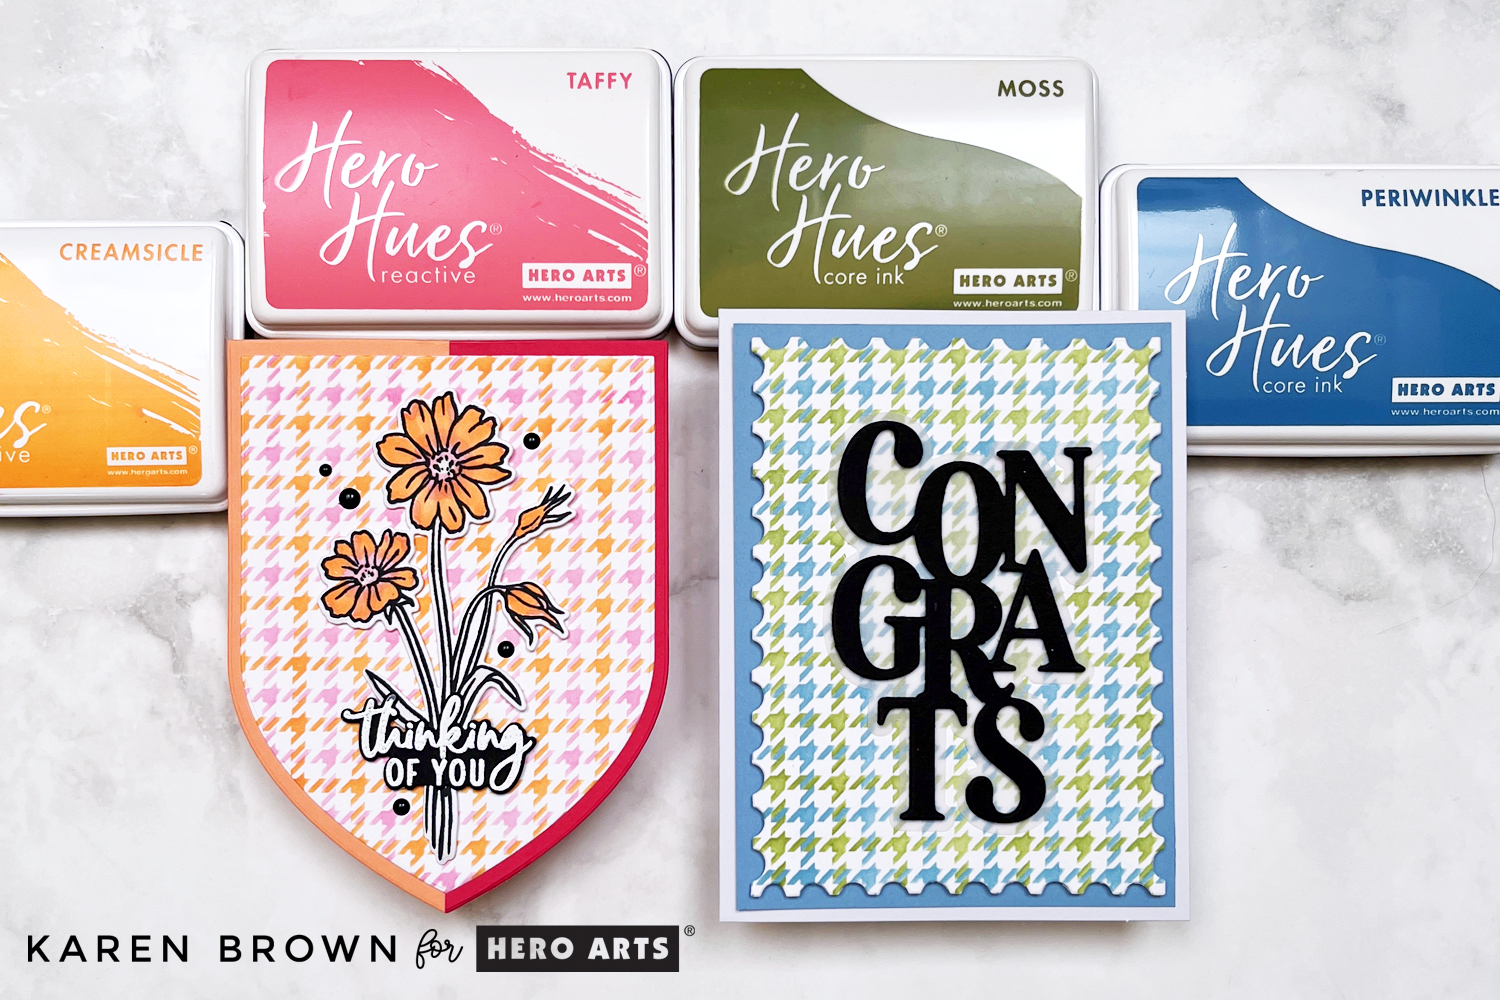
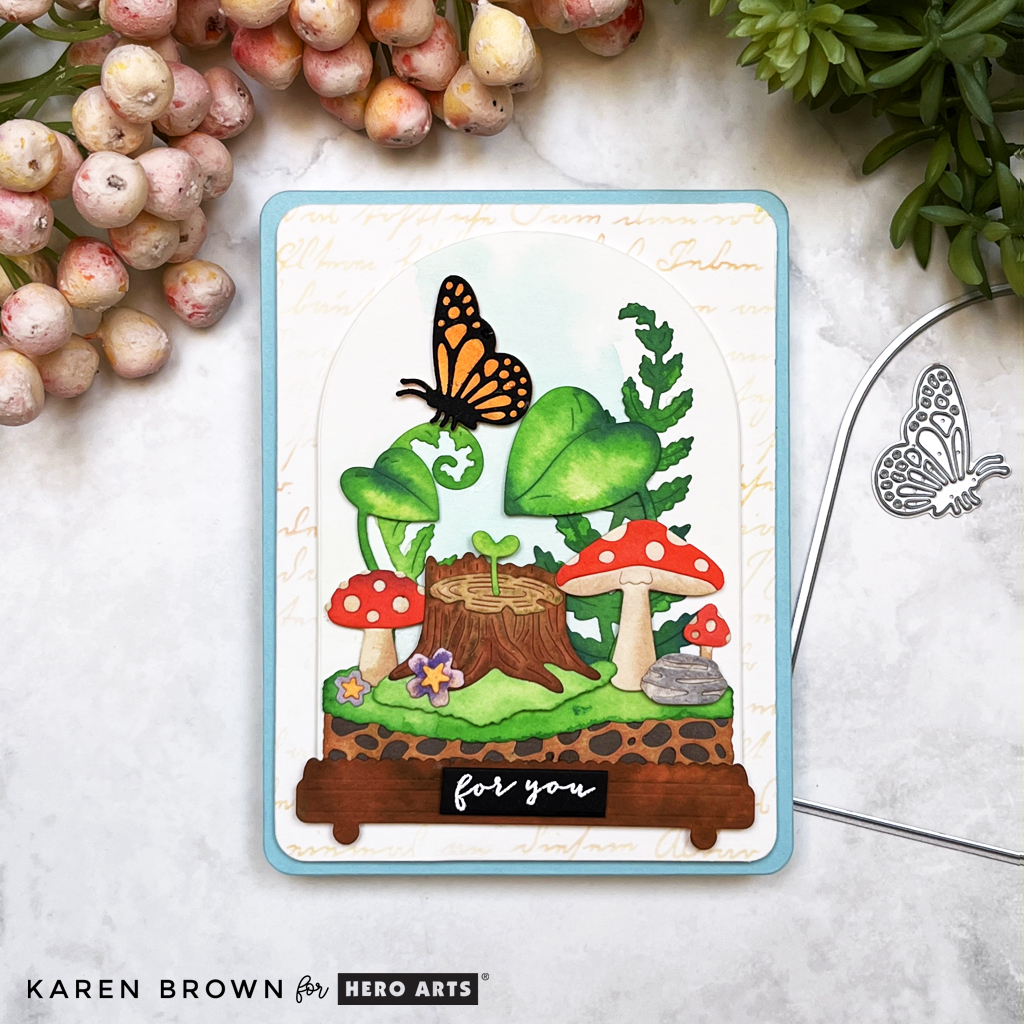
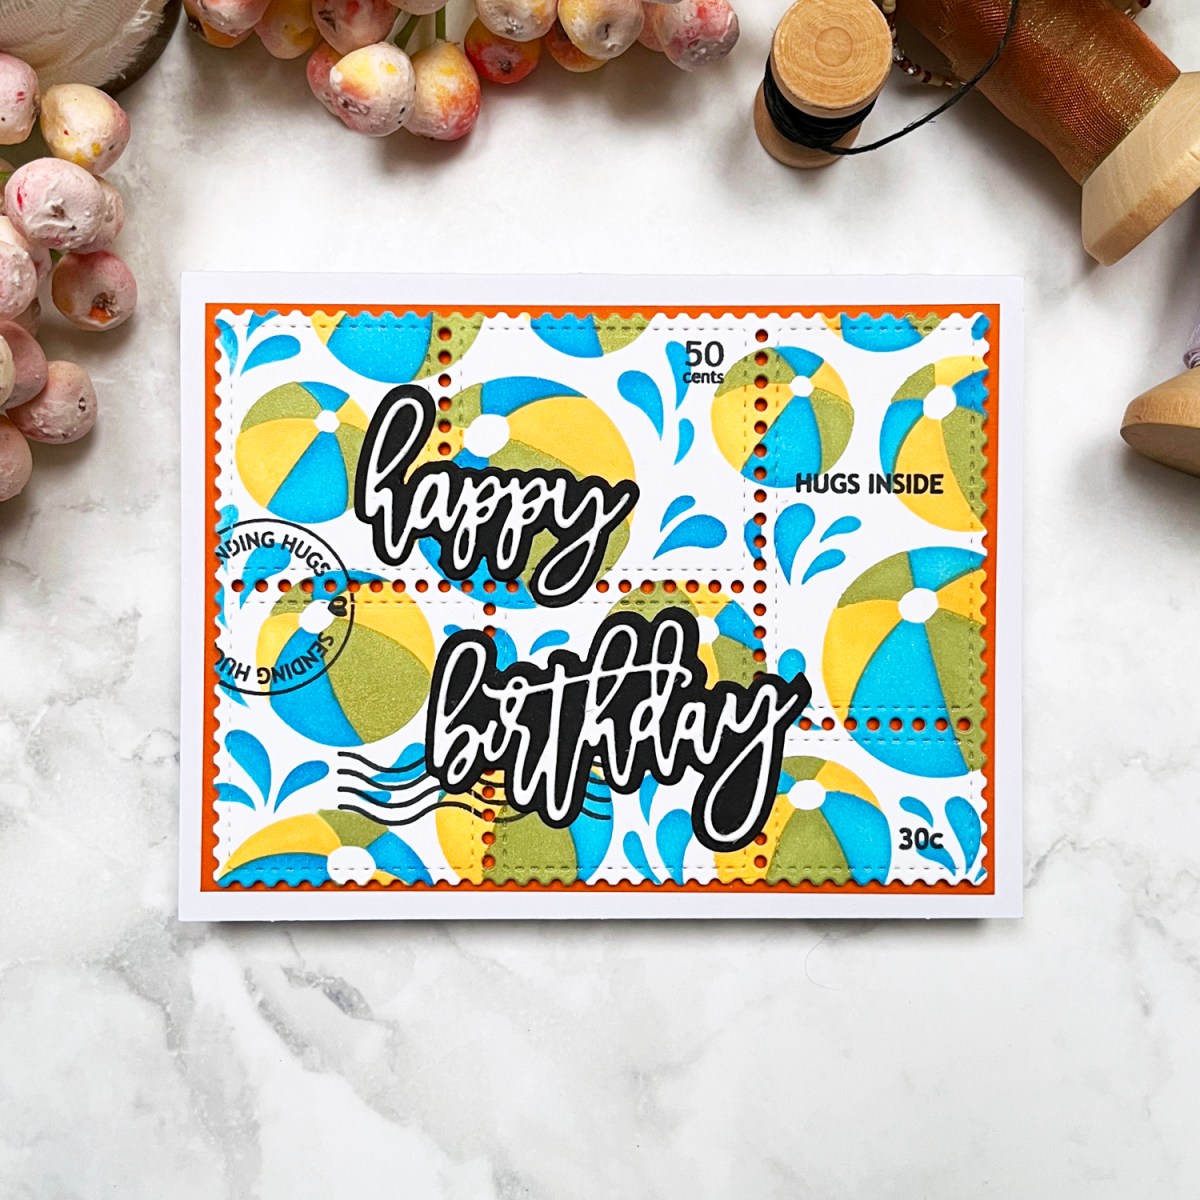
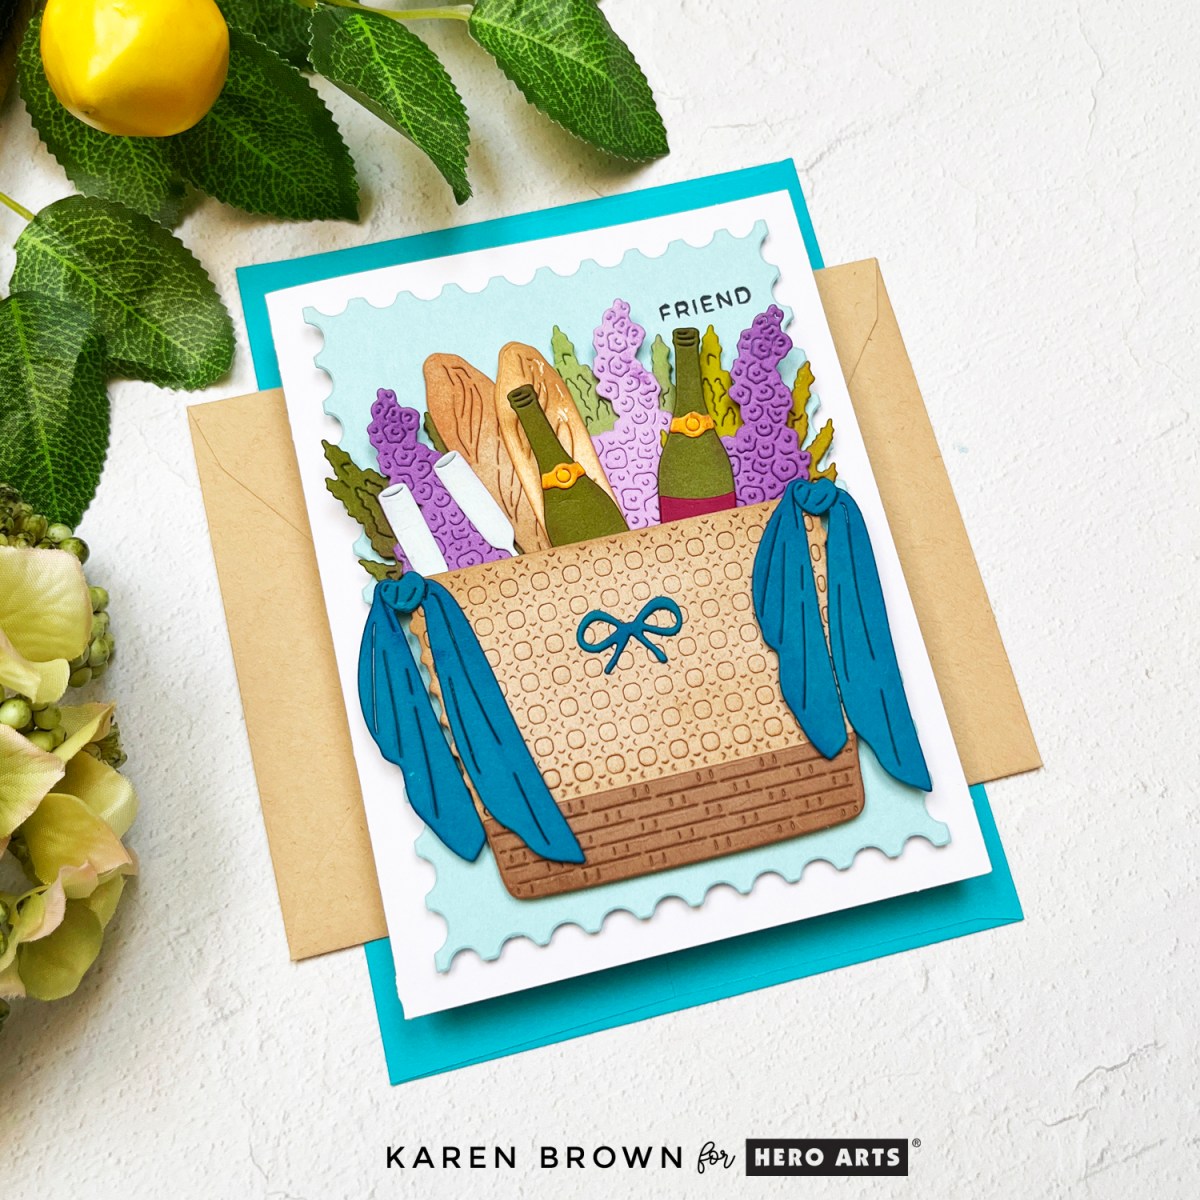
For my first card, I used the June 2025 Card Kit featuring the Beach Bag die set—but instead of a beach bag, I turned mine into a coastal picnic basket bursting with summer goodies!
Inside the basket:
🥖 Baguette-style bread
🍷 Wine bottles and glasses
🌸 Gorgeous Wisteria flowers
To add a bit of flair, I included two flowing scarves draping down the sides of the basket in rich jewel tones, which contrast beautifully with the tan base of the basket. A little light ink blending on all the die cuts added subtle dimension and warmth to the scene. I used the Nesting Postage Stamp Infinity Dies to create my background panel. This die kit is perfect for the foodie in your life or for anyone who enjoys the simple joy of a summer picnic!
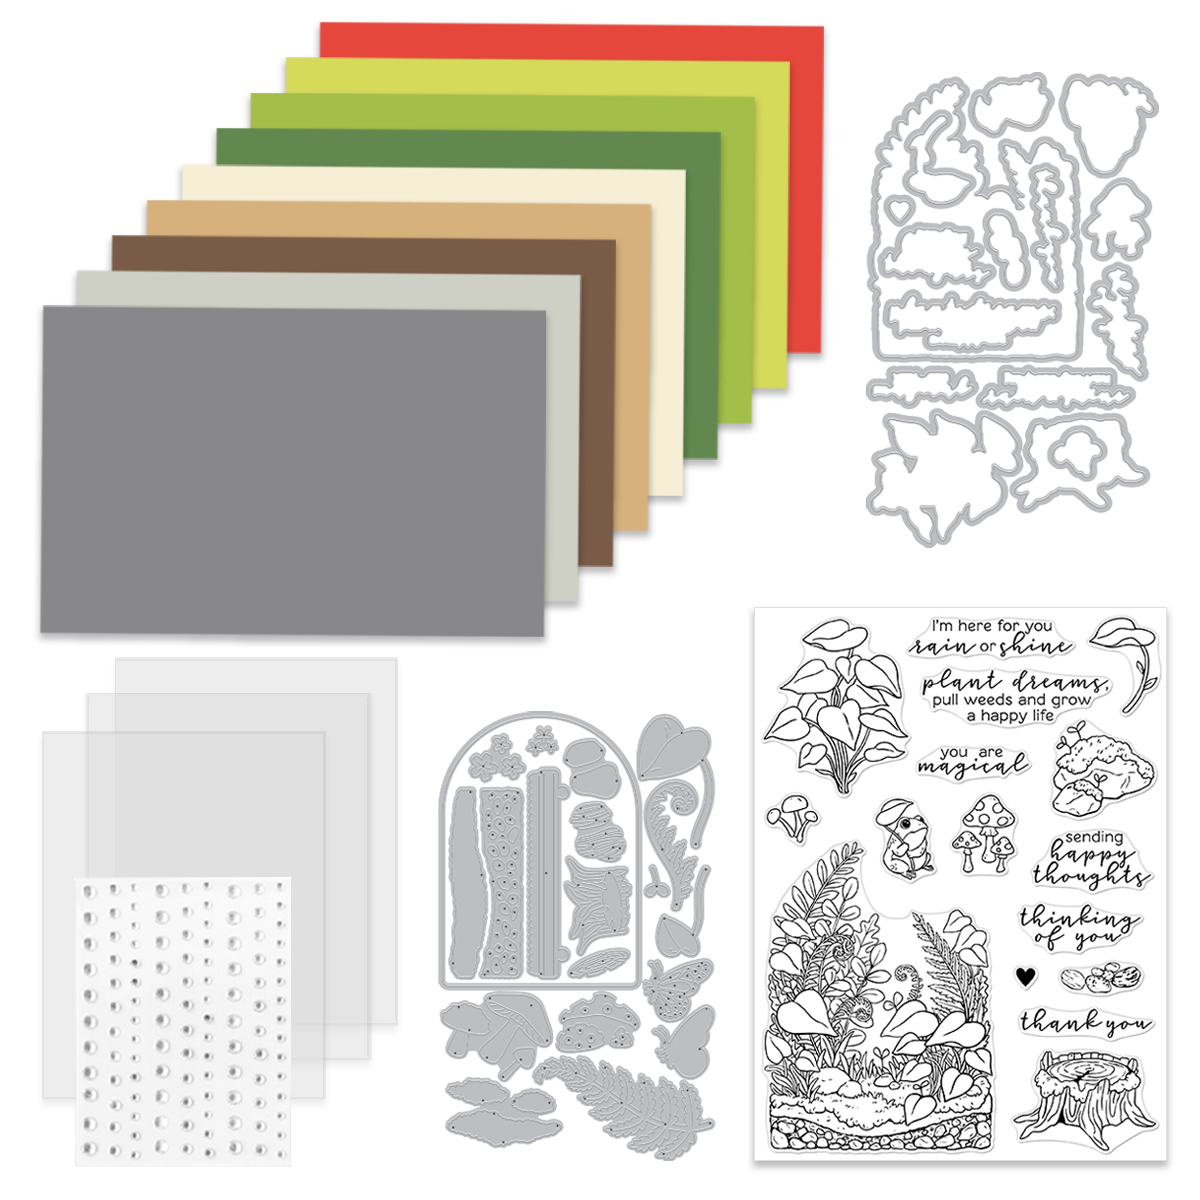
What’s Inside the June 2025 Hero Studio Card Kit?

• Summer State of Mind 6×8 Clear Stamp Set
• Summer State of Mind Coordinating Dies
• Beach Bag Die set
• Sand Embossing Powder, 0.5oz
• 10 Sheets of Cardstock- 2 of each color, 5.5″ x 8.5″ (Fawn, Coral, Seaside, Waterfall, Blue Spruce)
The Whole Studio includes ALL 5 of the monthly subscriptions in one discounted bundle. Cling of the Month, Stamp & Cut of the Month (new name for the subscription!), Layering Stencil of the Month, Fancy Dies of the Month, and the Card Kit of the Month.
Receive a FREE Hiya Friend Sentiment stamp & die set when you purchase The Whole Studio!
Hero Arts has many different Monthly Kits that you can subscribe to including:
- The WHOLE Studio – All 5 Kits ($130 subscription + Free Shipping)
- Card Kit of the Month ($60 Subscription + Free Shipping)
- Stamp and Cut of the Month ($27.50 Subscription + Free Shipping)
- Fancy Studio Dies of the Month ($25 Subscription + Free Shipping)
- Cling Stamp of the Month ($20 Subscription + Free Shipping)
- Layering Stencil of the Month ($17.50 Subscription + Free Shipping)

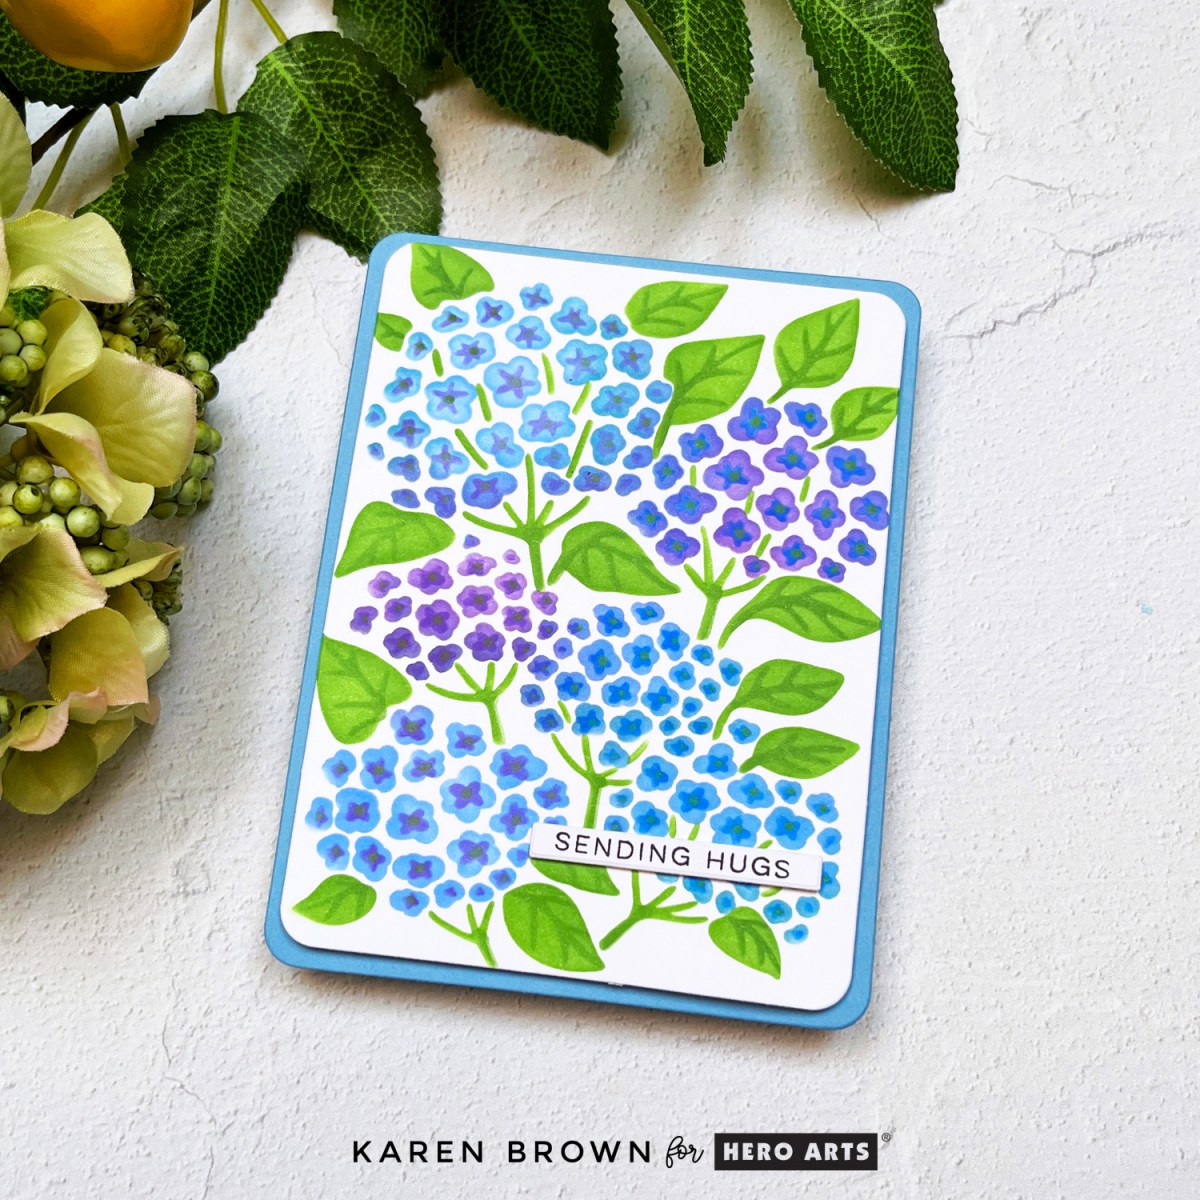
Card 2: Stenciled Hydrangea in Blue & Purple

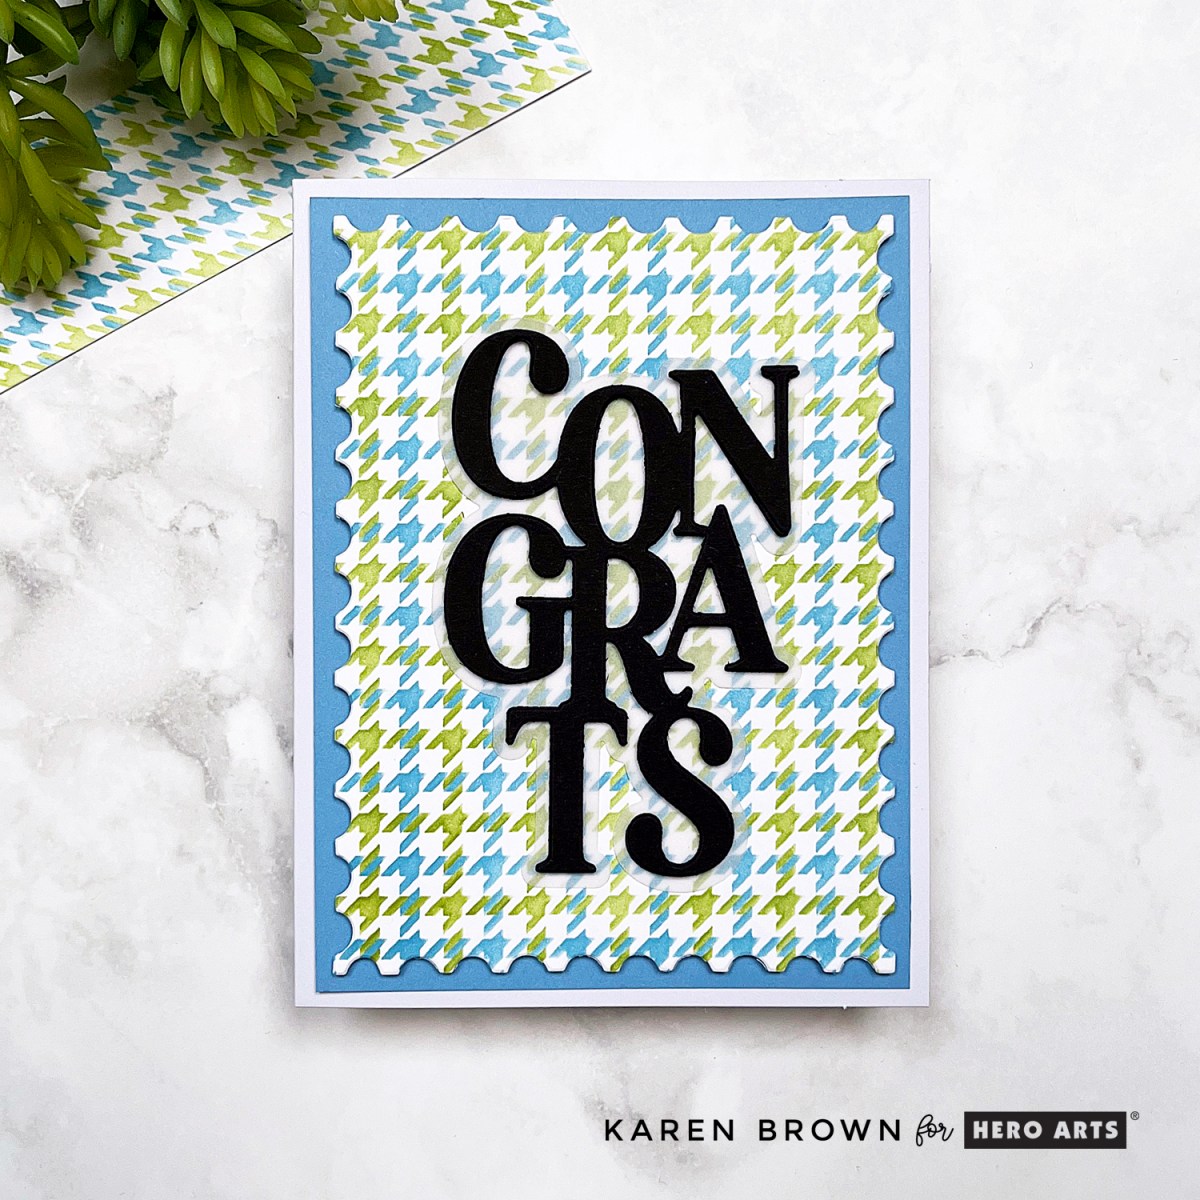
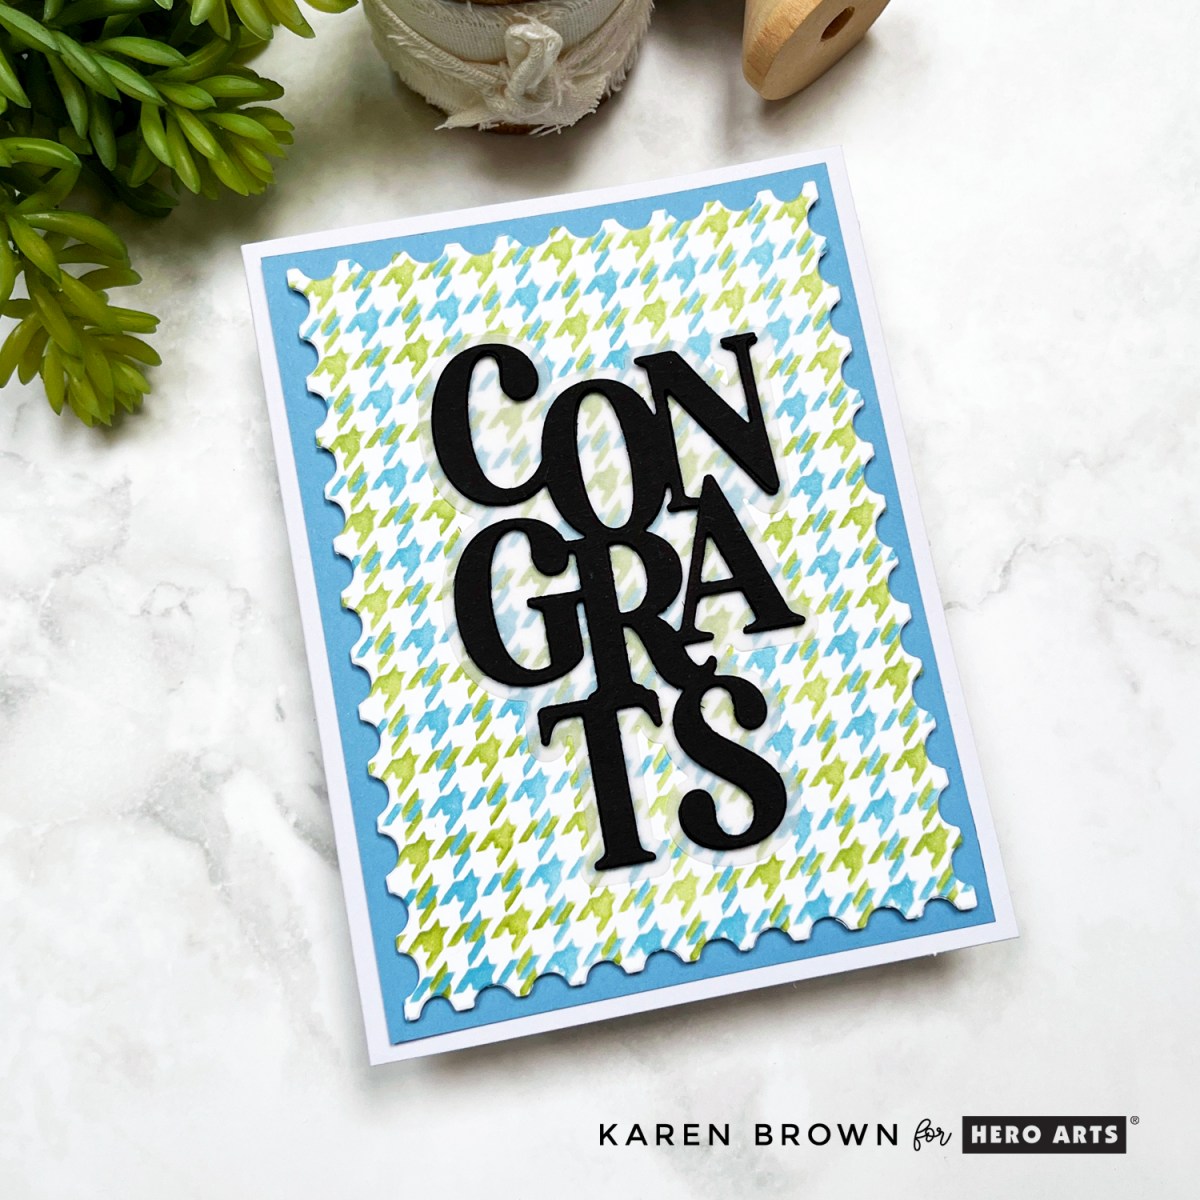
For my second card, I turned to the stunning new June 2025 Layering Stencils – Hydrangea. I blended blue and purple Hero Arts Inks to create a lush hydrangea bloom that nearly steals the show.
After stenciling, I used my Rounded Rectangle Infinity Dies to trim the panel neatly, and mounted it on a lovely Periwinkle card base. The sentiment is a clean and simple “sending hugs”—just enough to send a warm message without distracting from the florals.
This layering stencil set is so versatile—you could use it for a Get Well, Sympathy, Birthday, Thank You, or even a Mother’s Day card. It’s a floral design that truly fits any occasion.
This post is part of the Hero Arts June Release Blog Hop, so be sure to check out the inspiration from other designers and leave comments for a chance to win a $50 gift card!
Hero Arts
Hero Arts Creative Team:
Michelle Short
Rachel Kleinman
Jeannie Lieu
Anna Mahtani
Natasha Polite
Seeka
Channin Pelletier
Rosie Lopez
Charlene Madrid
Jennifer Kotas
Mindy Eggen
Lisa Tilson
Michelle Lupton
Karen Brown <<< You Are Here!
Special Guests:
Nichol Spohr
Jenn Shurkus
Happy crafting and happy summer!
🧺🌸💙