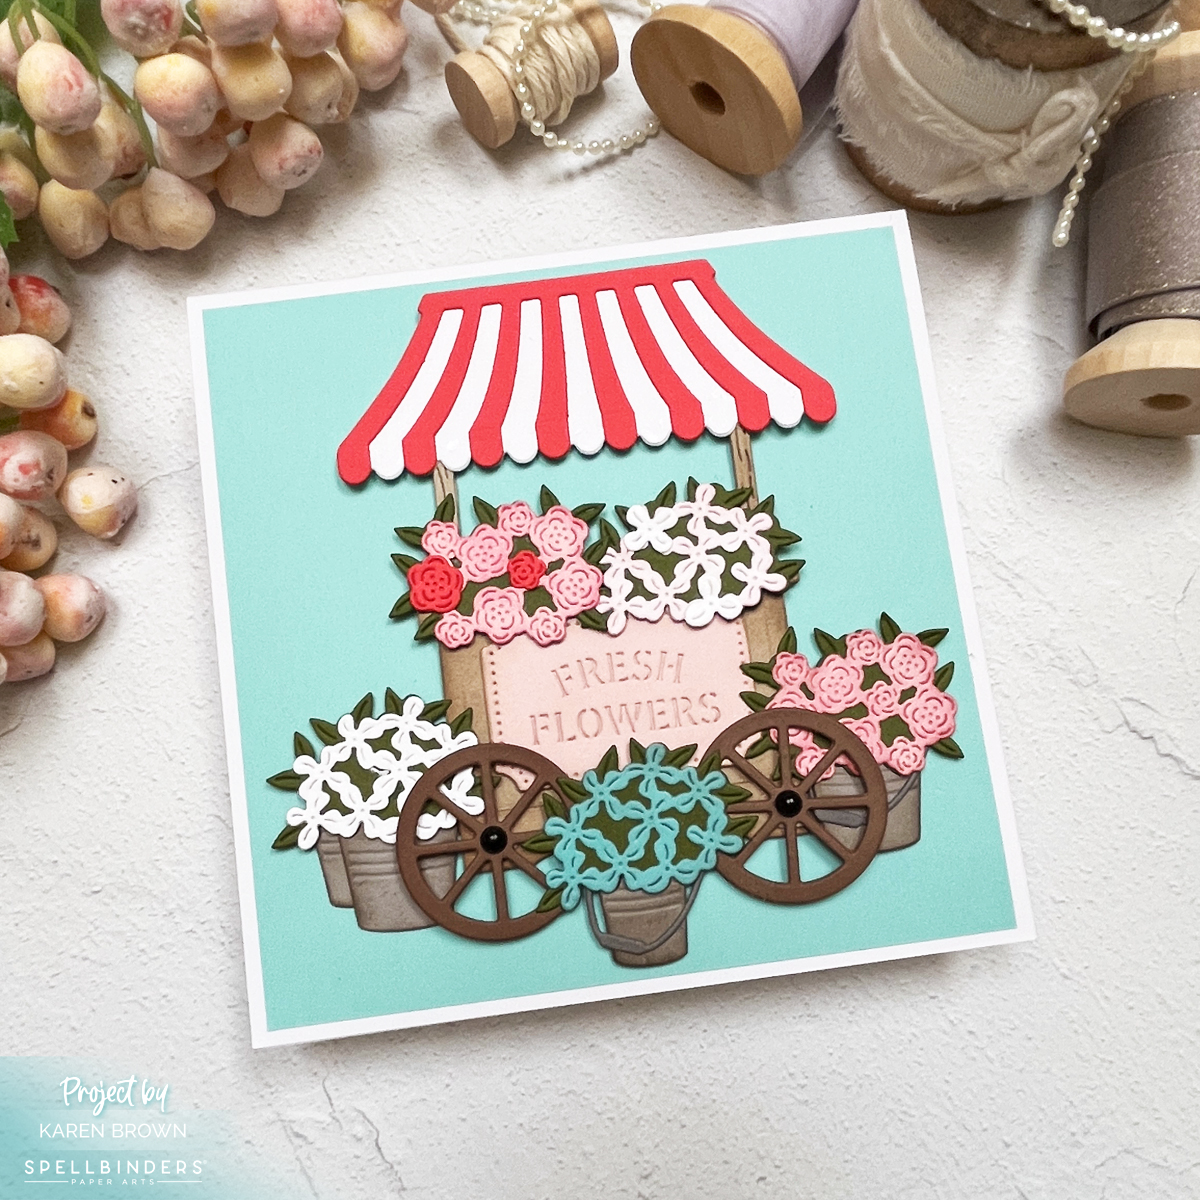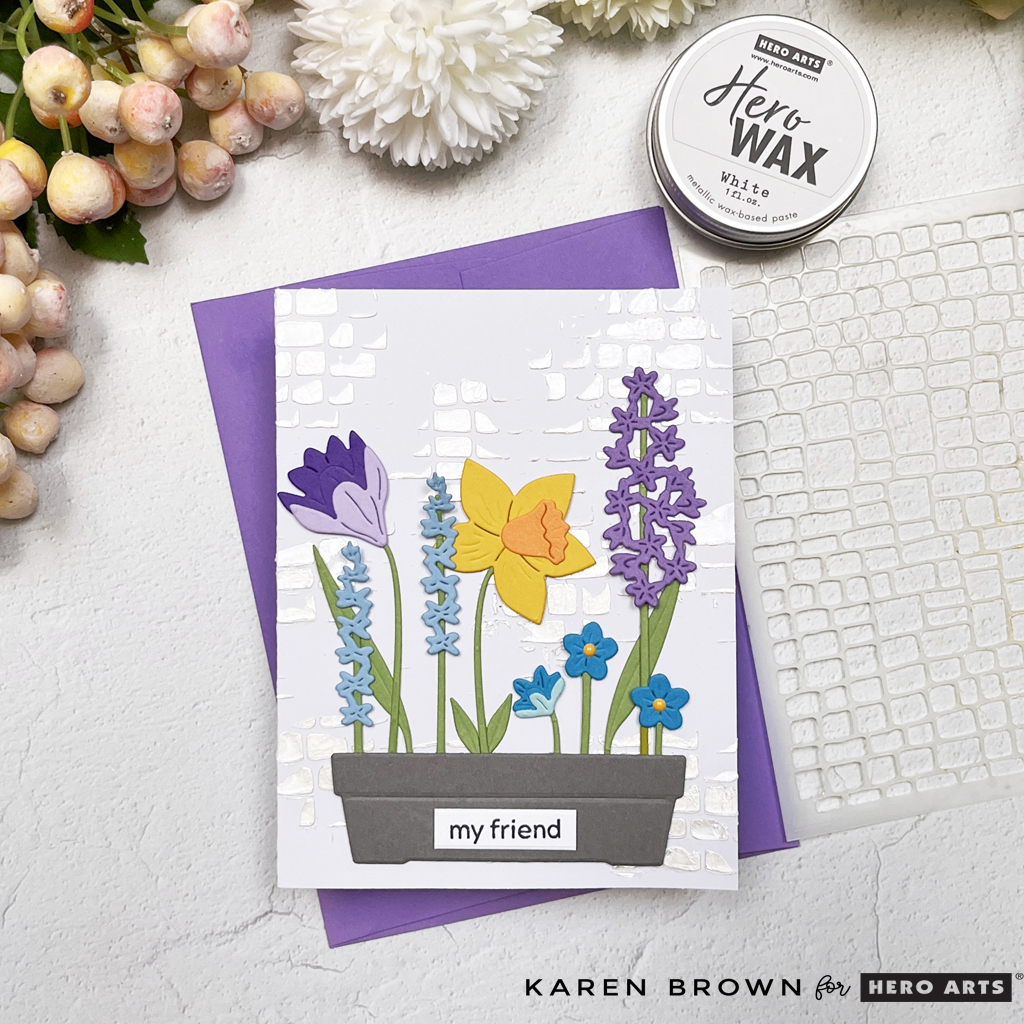
Welcome to a burst of bold color and creative inspiration! In my latest video, Bold Floral Die Cutting, I’m excited to share how I created a vibrant, layered floral card that’s both eye-catching and easy to make. This post is part of a fun Video Hop, so be sure to check out the other amazing creators linked below.
You can watch the video below or HERE on my YouTube Channel.
The Supplies That Make It All Happen
- Hero Arts Small Floral Layering Fancy Dies
- Hero Arts Large Floral Layering Fancy Dies
- Hero Arts Friendship Blooms Collection
- Hero Arts Cardstock (Meadow, Coral, Nautical, Peony, Papaya, Dove White)
- Hero Arts Lovely Flowers Stamp and Die Set: February 2025 (Sentiment)
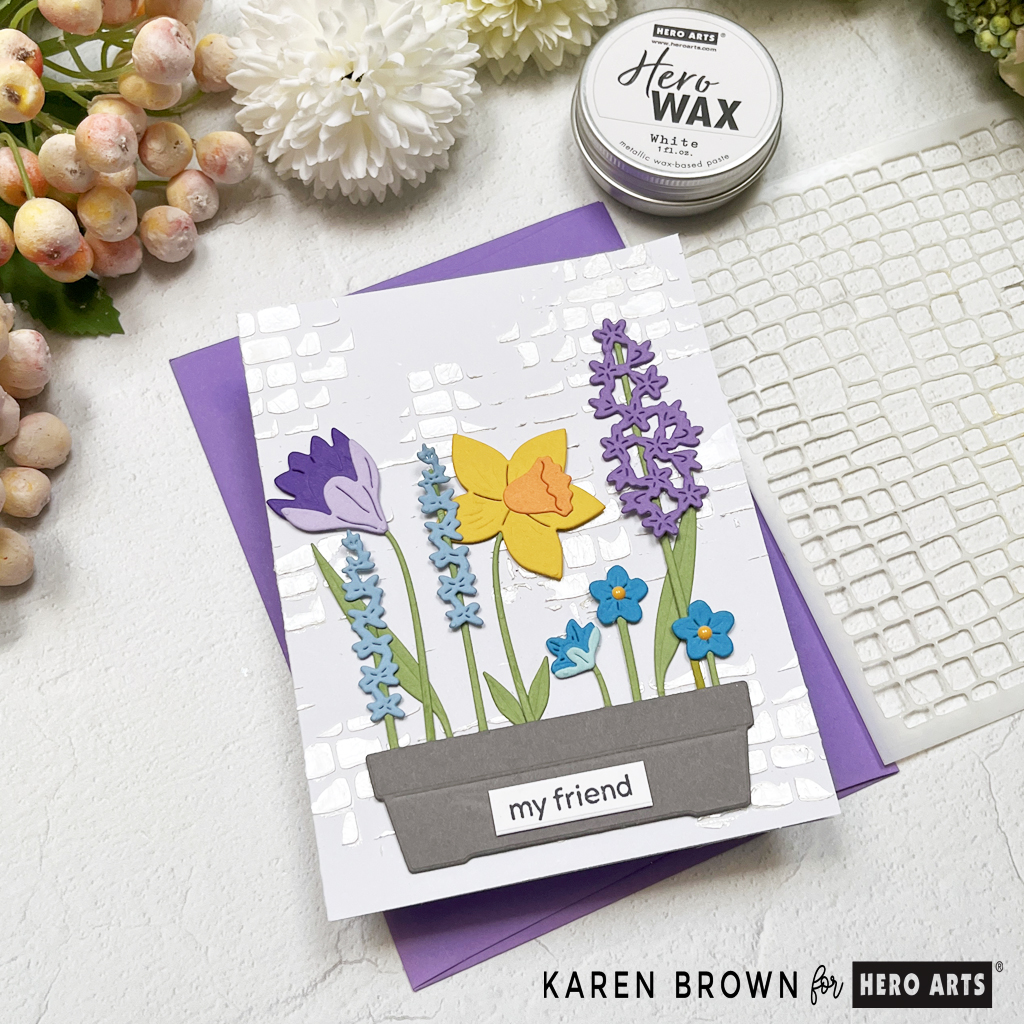
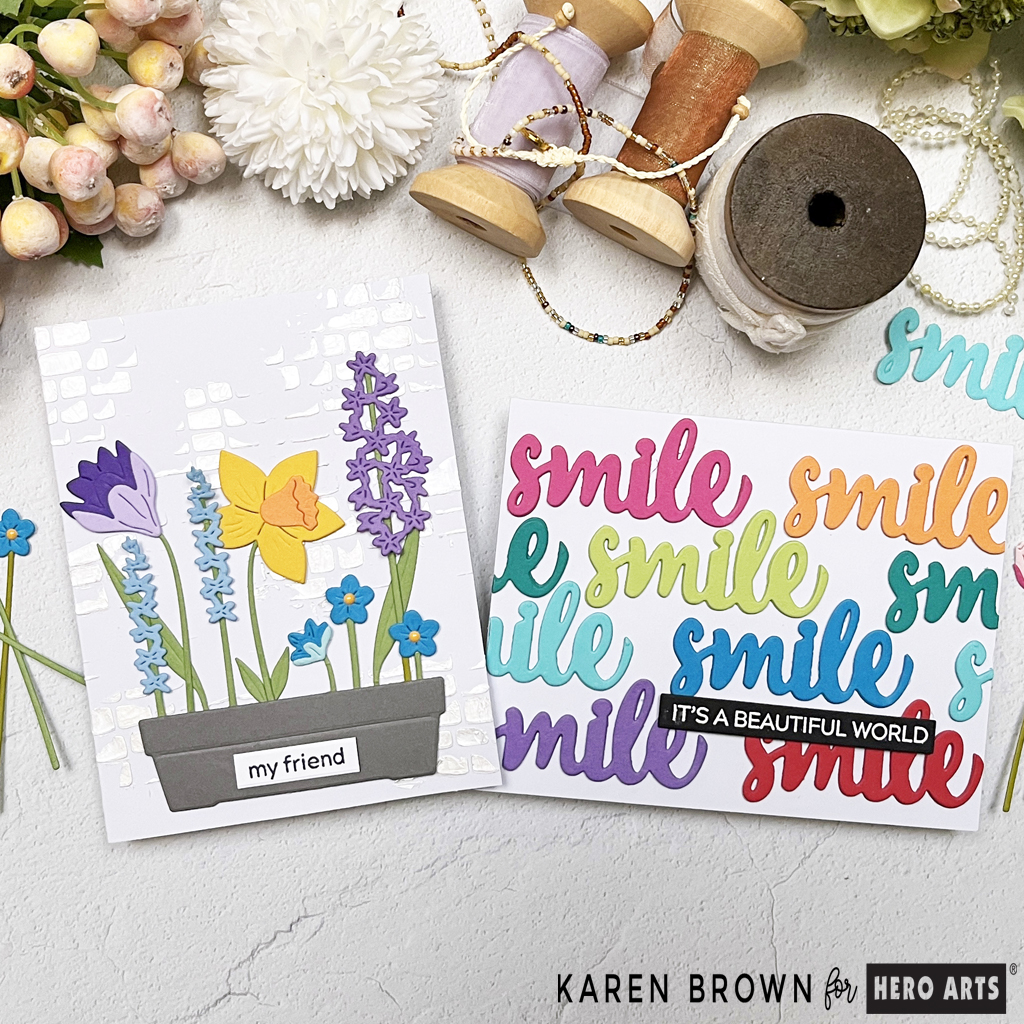
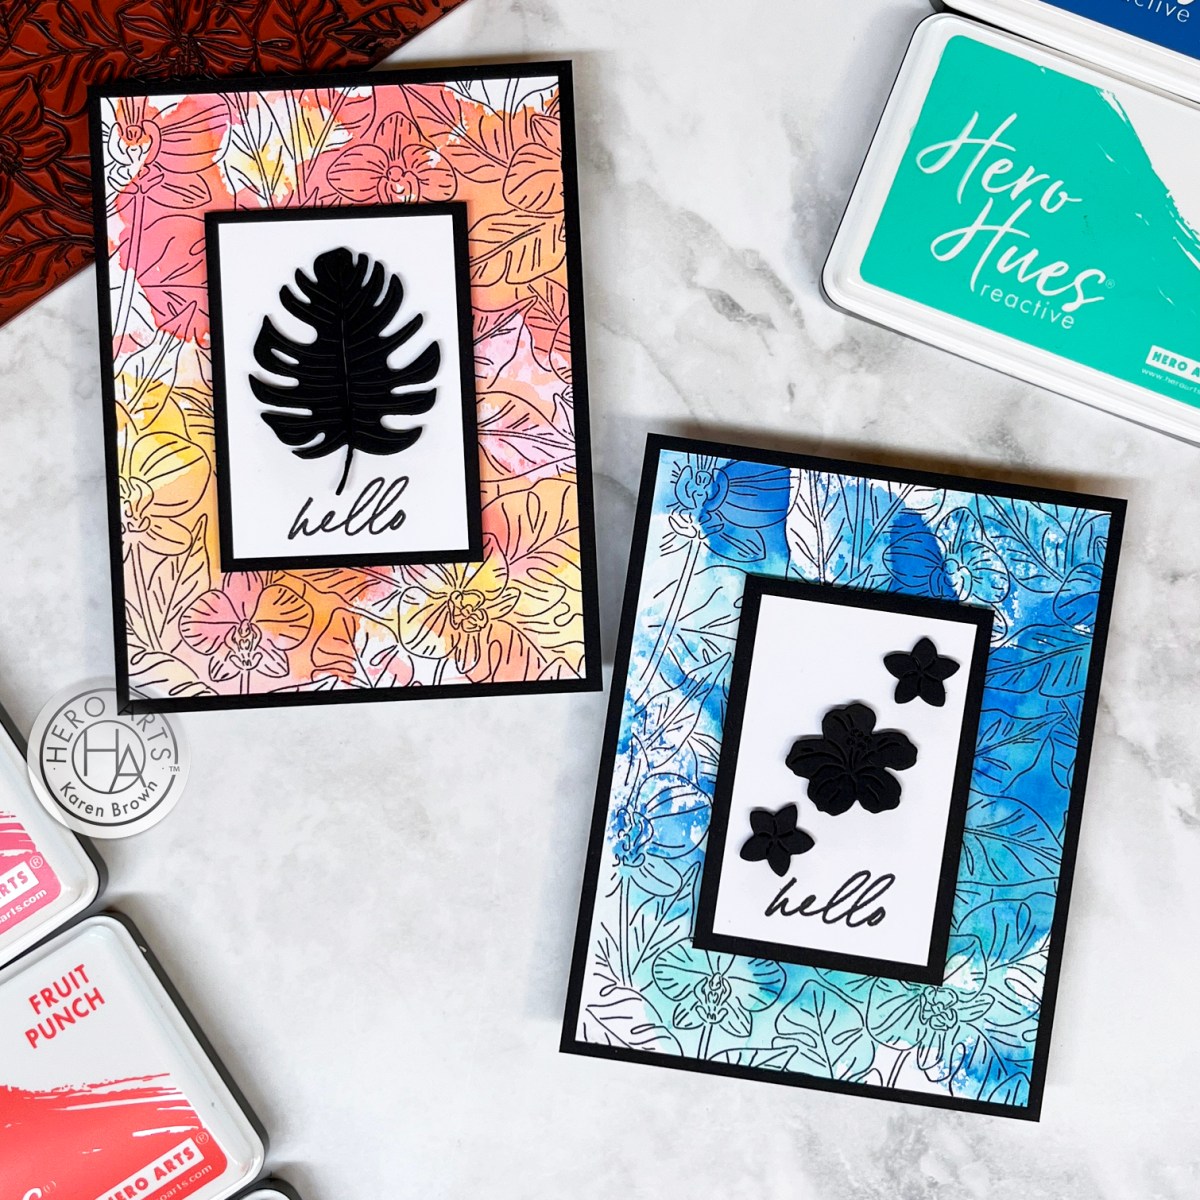
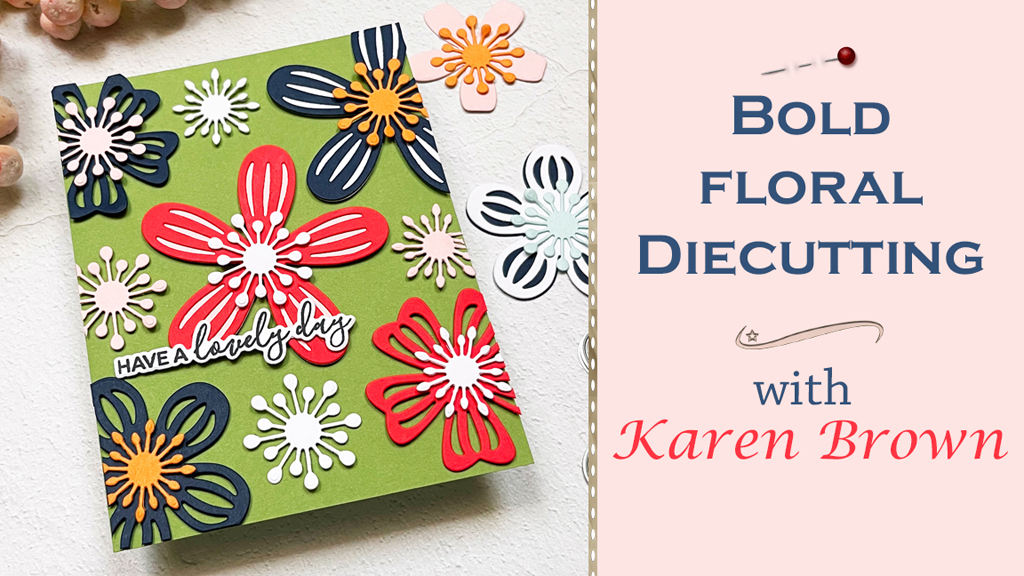
For this project, I used the Hero Arts Small and Large Floral Layering Fancy Dies from their new Friendship Blossoms Collection. These dies are incredibly versatile, offering a mix of intricate floral designs that layer beautifully to create dimension and texture. The combination of the small and large dies allowed me to build a dynamic floral arrangement that feels lush and full of life.
Crafting the Bold Floral Card

In the video, I start by selecting my color palette, focusing on bold, contrasting shades that complement the meadow green background. Then, it’s on to die cutting—lots of it! I show how to layer the floral die cuts to add depth and interest, arranging them into a cohesive design. Finally, I assemble the card, finishing with the sentiment “Have a Lovely Day” for a cheerful touch.

Join the Video Hop!
This video is part of a fun video hop featuring talented creators sharing their unique takes on cardmaking. I’d love for you to:
- Subscribe to my channel to catch more creative tutorials.
- Leave a comment on the video—I’d love to hear your thoughts!
- Visit the other channels in the hop for more inspiration:
- Hero Arts: https://youtu.be/UqVvLA27XXY
- Channin Pelletier: https://youtu.be/uzuUICkELRM
- Karen Brown: https://youtu.be/egNeuhWJfC4. <<< MY VIDEO
- Mindy Eggen: https://www.youtube.com/watch?v=6fLuFIFrR-s
- Natasha Polite: https://youtu.be/oFmb5KP8ga4
- Rachel Kleinman: https://youtu.be/wQ_l1z3ZS-Q

Thank you for stopping by, and I hope you feel inspired to create your own bold floral cards!