Die cutting · stitching

Fergus the Gnome – Tips and Tricks for Stitching

Hand-stitched wool felt Fergus the Gnome decorated with a die cut lemon and flowers in teal, aqua, yellow, lavender, and pink  Two photos:  one of the front and a second showing the back.

Meet Fergus the Gnome—Spellbinders’ newest Felt Décor project! Fergus is a hand-stitched wool felt doll with endless opportunities for personalization. Using high-quality merino wool felt, I created my own version: a cheerful Lemon Gnome, decorated with citrus and flowers.

the front of hand-stitched merino wool felt Fergus the Gnome decorated with a die cut lemon and flowers in teal, aqua, yellow, lavender, and pink

✂️ Why Wool Felt?

I’ve tried different felts in the past, but they sometimes frayed or stretched, leaving me frustrated. Merino wool felt cuts beautifully with Spellbinders dies and keeps its shape. For this project, I used my Platinum 6 Die Cutting System + felt from the Trend and Holiday Collections—smooth, sturdy, and vibrant.

🍋 My Lemon Gnome

The back of Fergus the Lemon Gnome's coat and hat with all the embellishments.

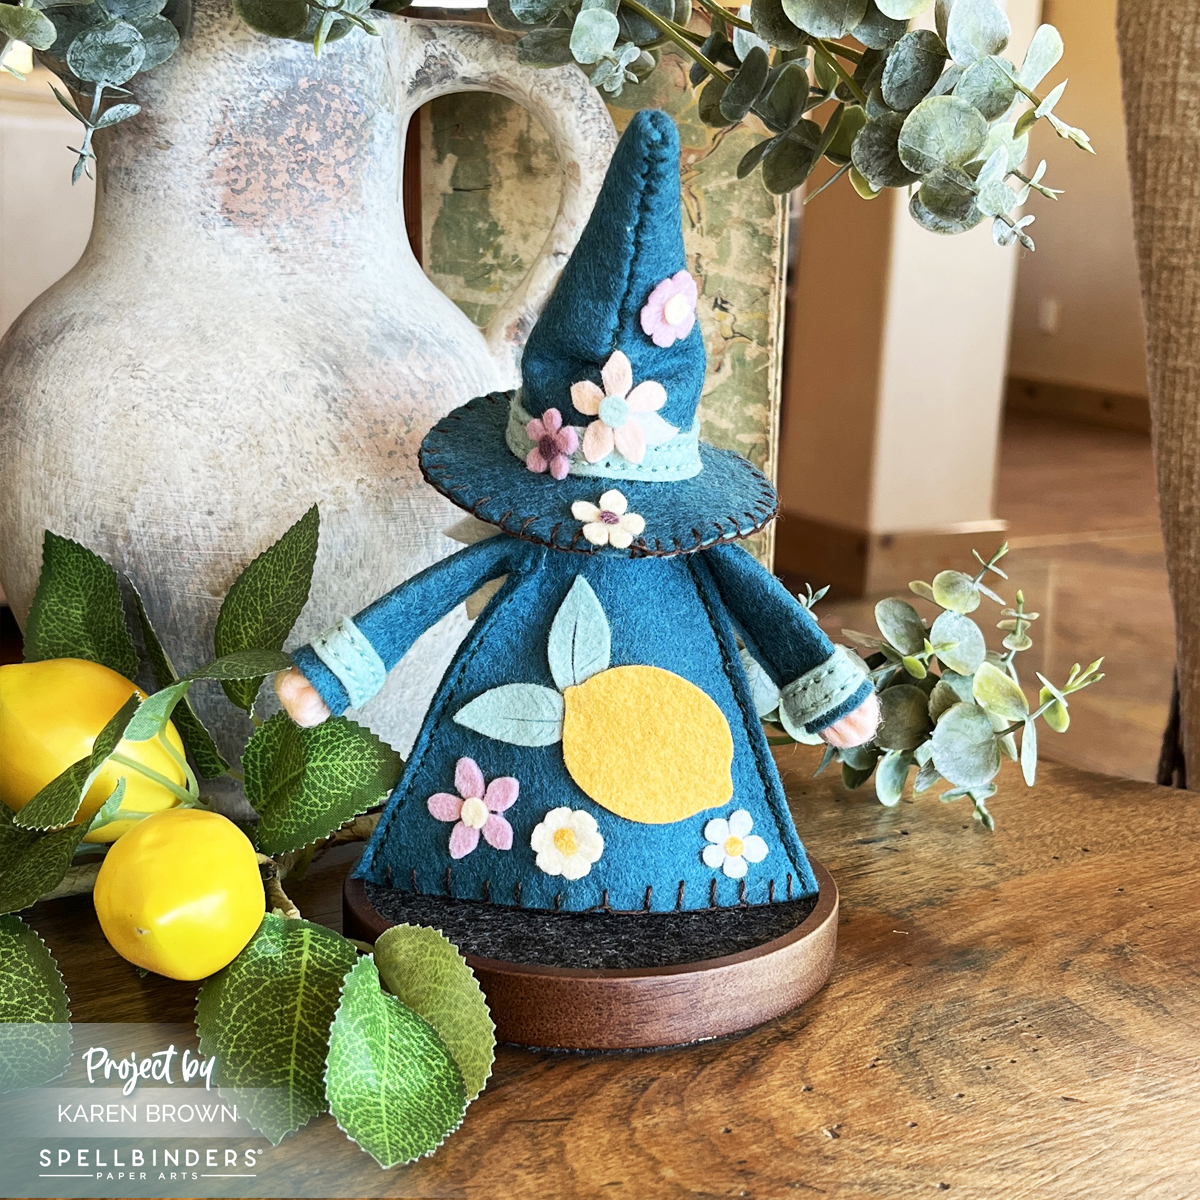
Fergus can be customized with accessory kits or your own creativity. I decided to make a “Lemon Gnome” using the Citrus Spritz dies:

  • A die cut lemon + layered flowers for front and back
  • Teal, aqua, and white wool felt for Fergus himself
  • Yellow, lavender, and pink flowers for accents

To add personality, I stitched:

  • Blanket stitching along Fergus’s giant hat brim and coat edges
  • Running stitches for construction
    I stitched with 3 strands of embroidery floss, pulling up, not sideways, to keep the felt smooth.

🧵 Stitching & Assembly

Process photo showing me handstitch Fergus the Gnomes felt hat.

  • LINK to multiple YouTube Fergus Instruction Videos
  • Stitches used: running stitch + blanket stitch. I used three strands of DMC floss.
  • Accessories: Fergus has two coordinating accessories die sets, but I used one of my favorite die sets, Citrus Spritz. Use your favorite dies to personalize your gnomes.
  • Die cutting: use a regular sandwich in your machine; Spellbinders Platinum 6 dies cut felt beautifully
  • Stitching: For my Fergus running stitch assembly, I used floss the same color as the felt. For the decorative blanket stitching, I used chocolate brown floss, which contrasted nicely with the teal and aqua felt.
  • Stuffing: I used cotton fiber filling for the stuffing and then added uncooked rice to the bottom of the gnome’s body to add ballast. I inserted about an inch of rice right before I stitched on the base.
  • Assembly: Bearly Art Glue worked great for securing embellishments and components. I used a generous amount. I also cut a little triangle from deli paper and inserted inside the coat prior to gluing (see photo 2 down). This kept the glue from seeping to the other side.
  • Tip: keep floss taut, not tight, for smooth edges

You build Fergus piece by piece—hat, coat, nose, accessories—and then assemble him. He’s adorable, sturdy, and so fun to make.

Process photo showing die cut felt lemon and flowers ready to be attached  to  Fergus the Gnome

📸 Organization Process Photo

I used my Stash Stax to keep me organized while I created Fergus.

Process photo showing die cut felt Fergus the Gnome in my  to the front of Fergus the Gnome in my Stash Stax organizer.

Giftable & Customizable

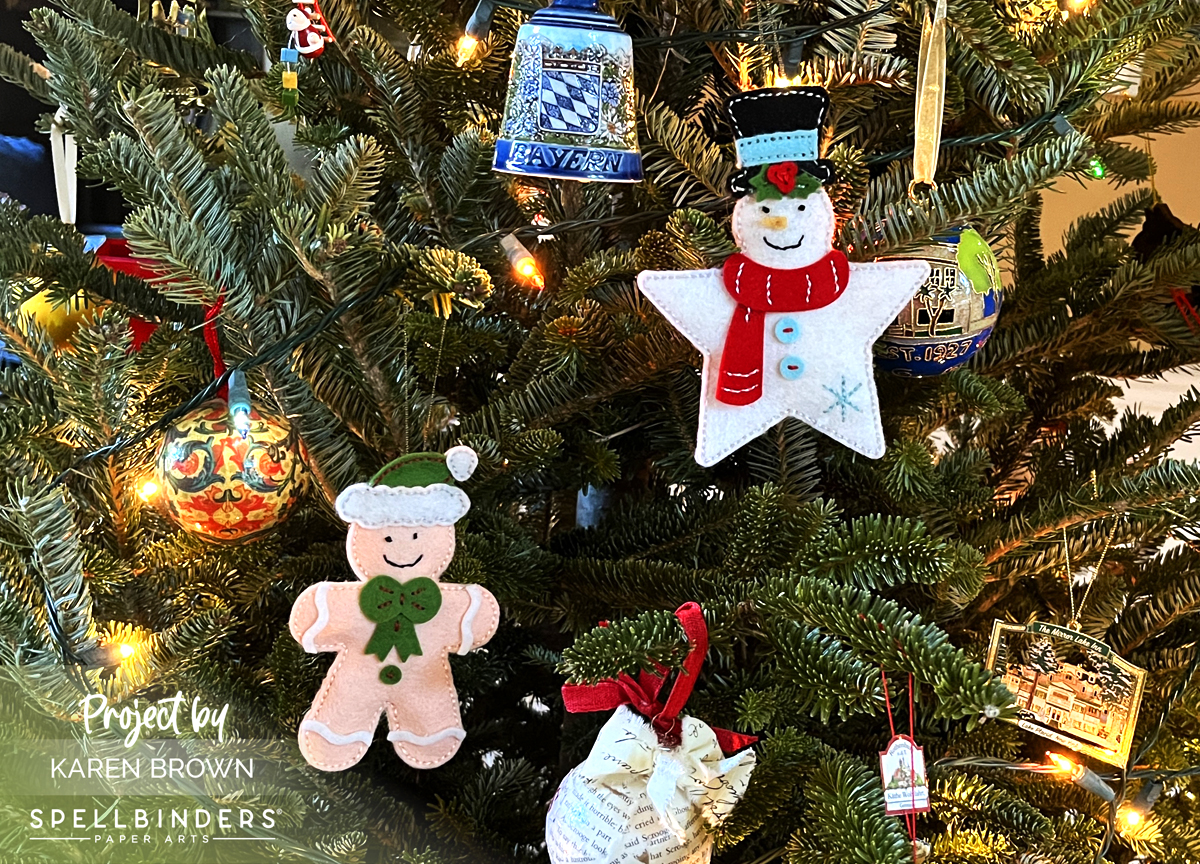
You can decorate Fergus for any season, occasion, or holiday. Imagine Christmas gnomes, Valentine’s gnomes, Easter gnomes, or even citrusy summer gnomes like mine. They make unique gifts, handmade keepsakes, or cheerful décor.


stitching

Let’s Decorate the Tree! Hand Crafted Stitched Felt Ornaments

Spellbinders Nichol Spohr Felt Stitch and Create hand-crafted stitched Christmas ornaments with a darling star shaped snowman and an adorable Gingerbread Girl.

There’s something about handmade ornaments that makes a Christmas tree feel extra special—like it’s dressed in memories and love. This year, why not add a touch of cozy charm to your tree with hand-stitched felt ornaments? Today, I’m sharing how to create two adorable characters: a Snowman Star and a Gingerbread Girl using Spellbinders/Nichol Spohr’s Felt Stitch and Create Kits. These cuties are sure to bring a smile to everyone’s face!

Hand-Stitched Christmas Cheer: Felt Ornaments for Your Tree

Creating a handmade felt Snowman Christmas ornament with Spellbinders and Nichol Spohr's Stitch and Create Ornament Die Kit.

Nothing says winter wonderland like a snowman! This star-shaped snowman brings the frosty fun with its dapper hat and a cheery scarf.

My Process:

  • I die cut my felt using my Platinum 6 Machine and a regular die cutting sandwich. I used Spellbinders Merino Wool Felt Holiday Collection Sampler but there are other Felt Samplers as well.
  • I used my Pokey Tool to pop out any remaining felt chads for easier stitching.
  • I stuffed my ornaments with felt for dimension.
  • I used the running stitch and three strands of thread for my stitching. Using the running stitch, I went around my felt twice to have continous stitching.
  • I used a mini hot glue gun to adhere the pieces and accessories that were not stitched on.
  • To make my hangar, I ran a needle with floss through the back layer of felt and then knotted the floss at the top.
Creating a handmade felt Gingerbread Girl Christmas ornament with Spellbinders and Nichol Spohr's Stitch and Create Ornament Die Kit.

Sweet as can be, this Gingerbread Girl brings a dash of whimsy to your tree. Her hat and bow gives her a festive flair, perfect for the holiday season.

Key Products Used:

Creating  handmade felt  Christmas ornaments with Spellbinders and Nichol Spohr's Stitch and Create Ornament Die Kits.

These felt ornaments are keepsakes that I will hang on my tree year after year. They would also make wonderful gifts for family and friends. Happy Holiday!

Karen