Happy New Year, crafty friends! Let’s kick off 2025 with something truly special—Hero Studio’s brand-new January Card Kit is here, and it’s all about spreading love and creativity. This kit invites you to explore a world of vibrant designs that celebrate love in every shade. Plus, we’re celebrating with a Blog Hop full of inspiration and a $50 gift card. You can see the entire January Release HERE.
Colorful Die Cut Hearts: Hero Studio January Card Kit of the Month

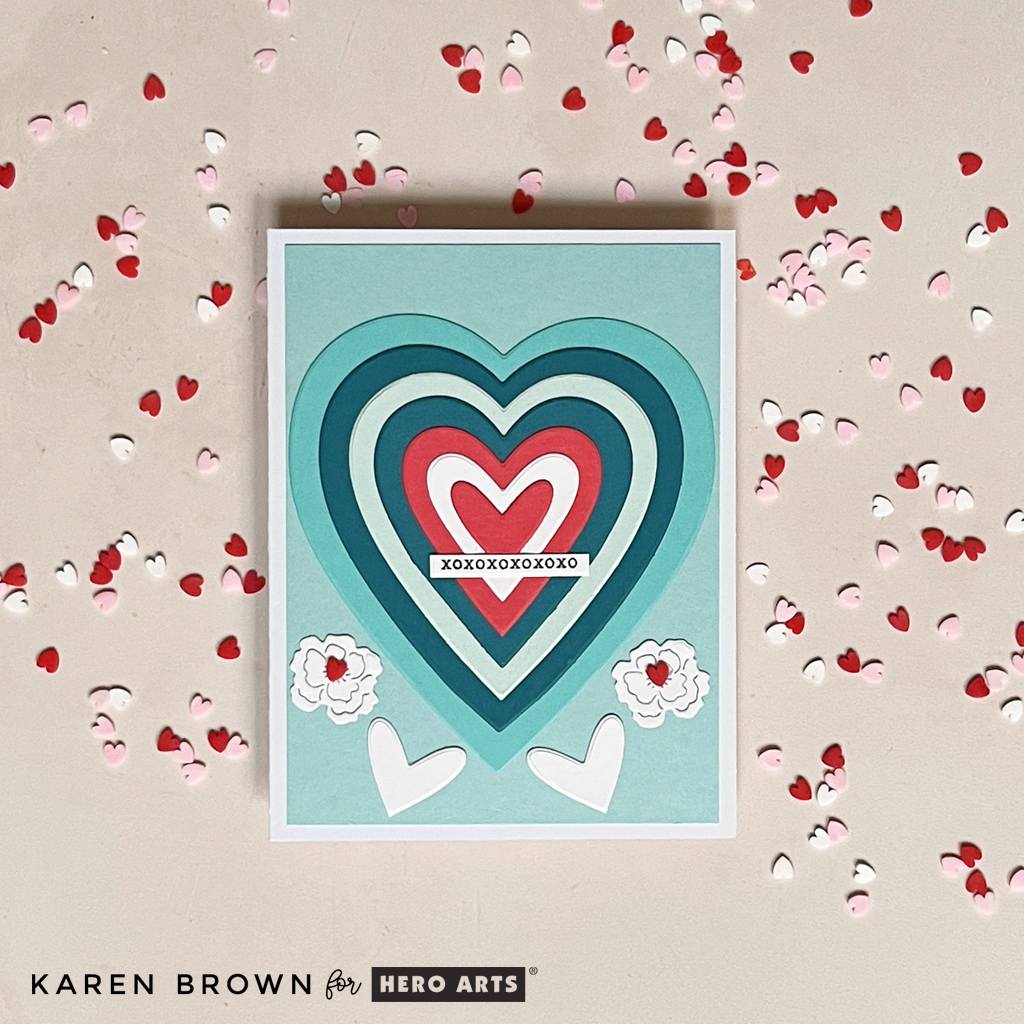
My color palette for the January Kit combines cool teals and aquas with warm pinks, reds, and plums for a luscious duo of cards.

Products Used on my Kit Cards:
- January Card Kit
- Hero Hues Cardstock: Paradise, Adriatic, Mist, Arctic, Nautical, Coral and Dove White Cardstock
- Mini Clay Heart (included in the kit or can be purchased separately)
- Platinum 6 Die Cutting System
I used the negative, or leftover die cuts, from Card 1 and added a few more hearts to create a second card (below).
What’s Inside the Kit?

Let’s take a peek inside the January 2025 Kit:
• Color Layering Typewriter Clear Stamp Set, 6” x 8”,
• Typewriter Messages Clear Stamp Set, 4″ x 6″
• 7 Typewriter Frame Cut Dies
• 8 Typewriter Fancy Dies
• Nesting Hearts Cover Plate Die
• Mini Clay Hearts
• 8 Sheets of Cardstock, 5.5″ x 8.5
January 2025 The Whole Studio
The Whole Studio includes ALL 5 of the monthly subscriptions in one discounted bundle. Cling of the Month, Clear + Dies of the Month, Layering Stencil of the Month, Fancy Dies of the Month, and the Card Kit of the Month.
Hero Arts has many different Monthly Kits that you can subscribe to including:
- The WHOLE Studio – All 5 Kits ($120 subscription + Free Shipping)
- Card Kit of the Month ($46 Subscription + Free Shipping)
- Clear Stamp and Die of the Month ($27.50 Subscription + Free Shipping)
- Fancy Studio Dies of the Month ($25 Subscription + Free Shipping)
- Cling Stamp of the Month ($15 Subscription + Free Shipping)
- Layering Stencil of the Month ($15 Subscription + Free Shipping)
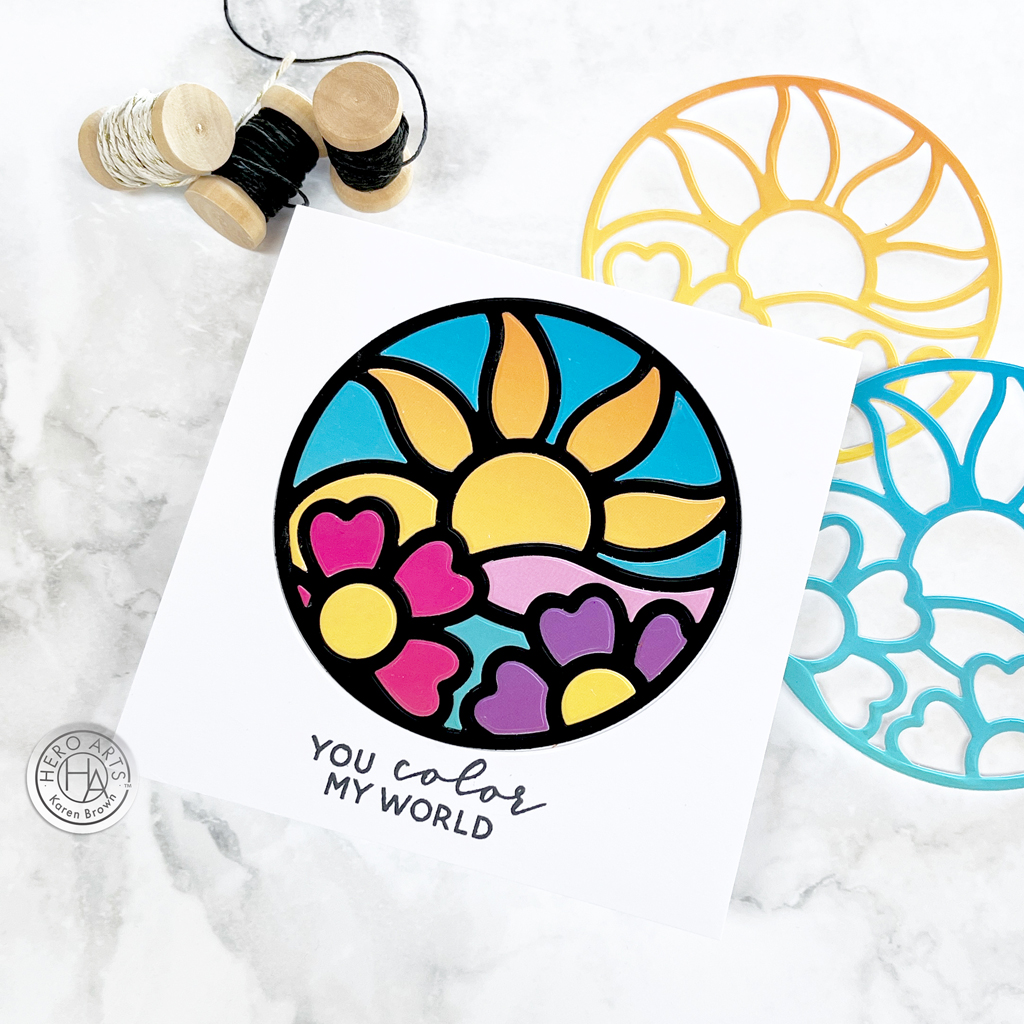
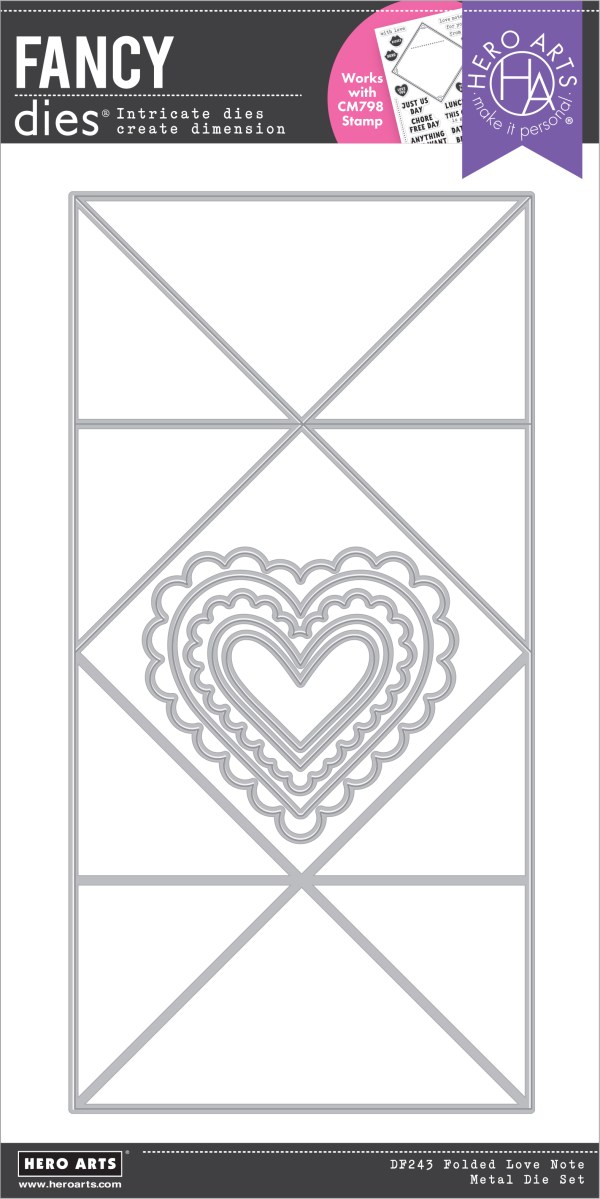
Rainbow of Hearts: A Burst of Color | Folded Love Notes Fancy Die Kit

You can craft a unique card using the “Extraordinary Extra” Folded Love Notes. Layer colorful die-cut hearts on the folds to create a dynamic, interactive design…. This is the idea I started with, but once I began die cutting my concept totally changed! I used a vibrant mix of colors from the rainbow and then stacked them on different sized hearts with a high contrast value. I love the end result. All the hearts were cut with dies from the kit. I used Cardstock in the following colors: Arctic, Paradise, Adriatic, Kiwi, Cranberry, Cherry, Plum, Passion Flower, Amethyst, Peony, Papaya, Azalea.

Join the Blog Hop!
Our Blog Hop is your chance to see this kit in action. Some of your favorite crafters are showcasing their takes on the January Release, and trust us—the inspiration is next-level! Hop along, leave comments on each blog for a chance to win a fabulous prize, and pick up tips and tricks to use in your own projects.
Hero Arts
Hero Arts Creative Team:
Anna Mahtani
Channin Pelletier
Charlene Madrid
Jeannie Lieu
Jennifer Kotas
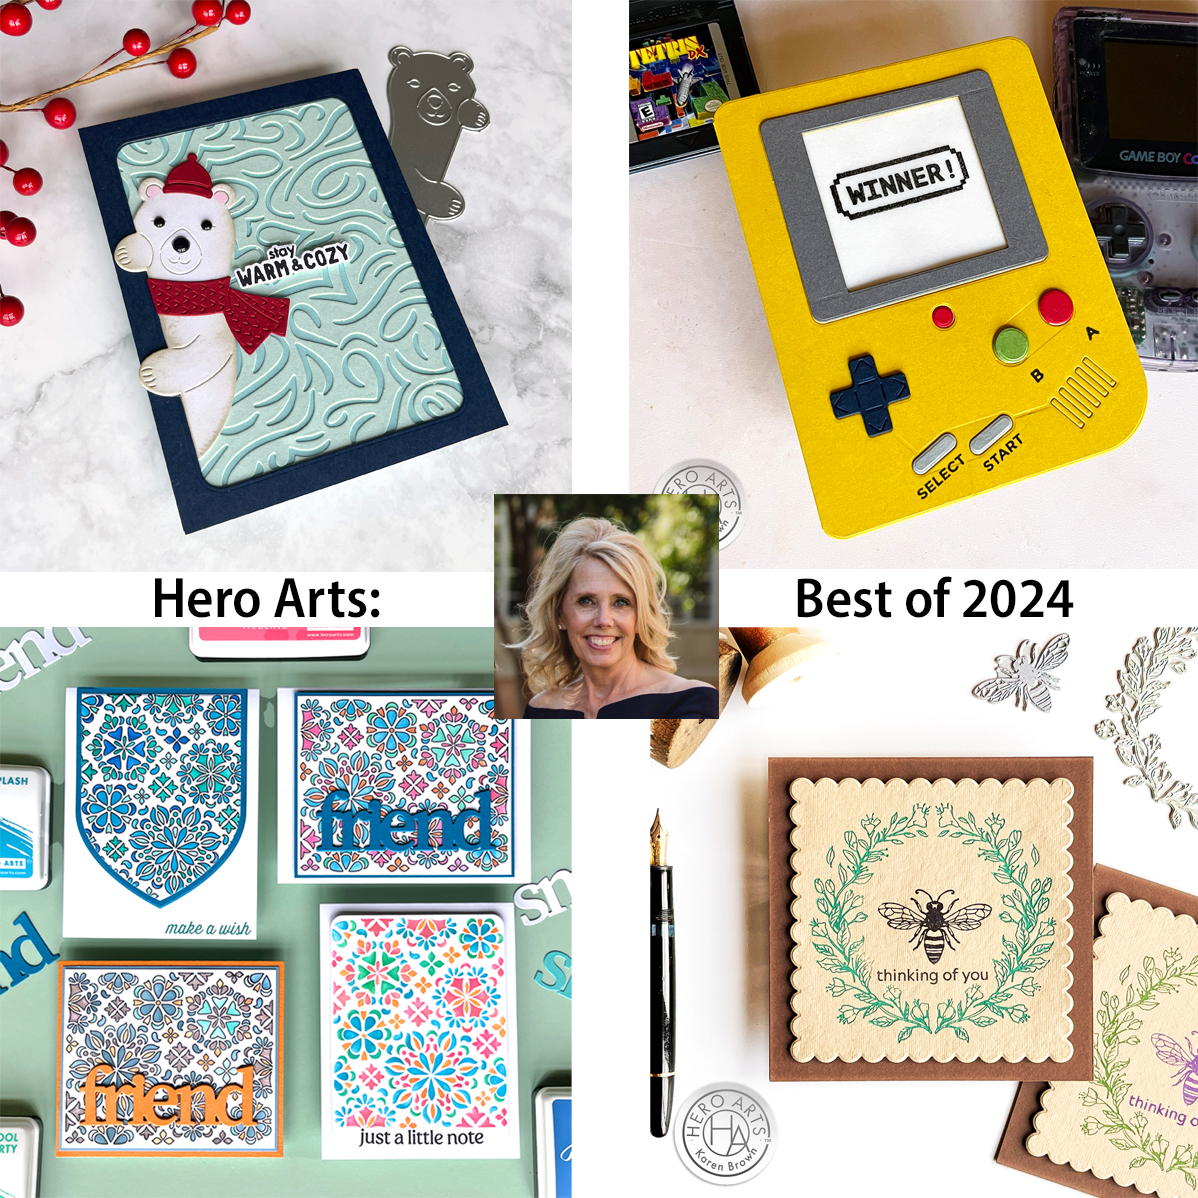
Karen Brown You Are Here!
Lisa Tilson
Michelle Lupton
Mindy Eggen
Natasha Polite
Natasha Vacca
Rachel Kleinman
Rosie Lopez
Seeka
Special Guests:
Nichol Spohr
Kelly Taylor
Don’t Miss Out!
The January Card Kit is available now, but supplies are limited. Be sure to grab yours before they’re gone, and join us on the Blog Hop for a chance to win, get inspired, and start 2025 on a crafty high note!
Let me know in the comments—what’s your favorite element in this month’s kit? ❤️