Today, the Hero Arts Creative Team is thrilled to offer you a sneak peek into their newly re-imagined subscription cardmaking kit called Hero Studio Card Kit of the Month. Each month will have a fresh beautiful collection of handpicked supplies that are sure to ignite your creativity. The kits will go live the first Monday of the month so you can view the entire kit on Monday, June 3rd at 2:00 PM PST. Or, you can pre-order today! Until then, here is your sneak peek….
To celebrate, Hero Arts is hosting a Blog Hop and Giveaway that you can find HERE.
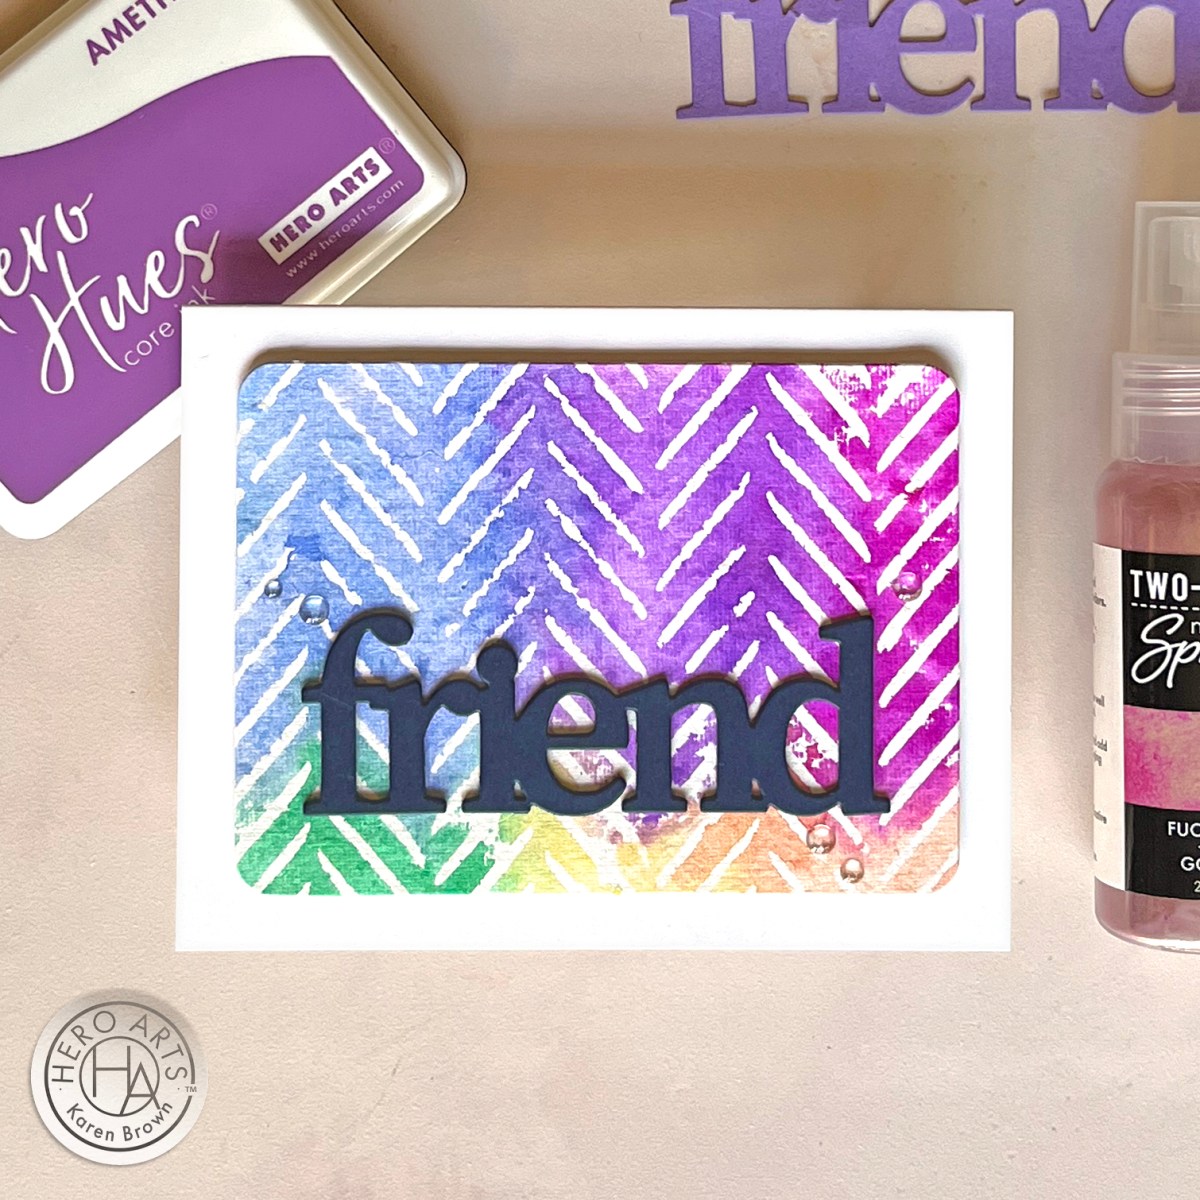
As we countdown to the premiere, I wanted to share two sunset cityscape tags I created with The June 2024 Studio Card Kit. Liquid Watercolors make the MOST vibrant backgrounds, which is what I wanted for this project.
Crafting the Urban Skyline: A Sneak Peek into Hero Arts Studio Card Subscription Kit
My Process:
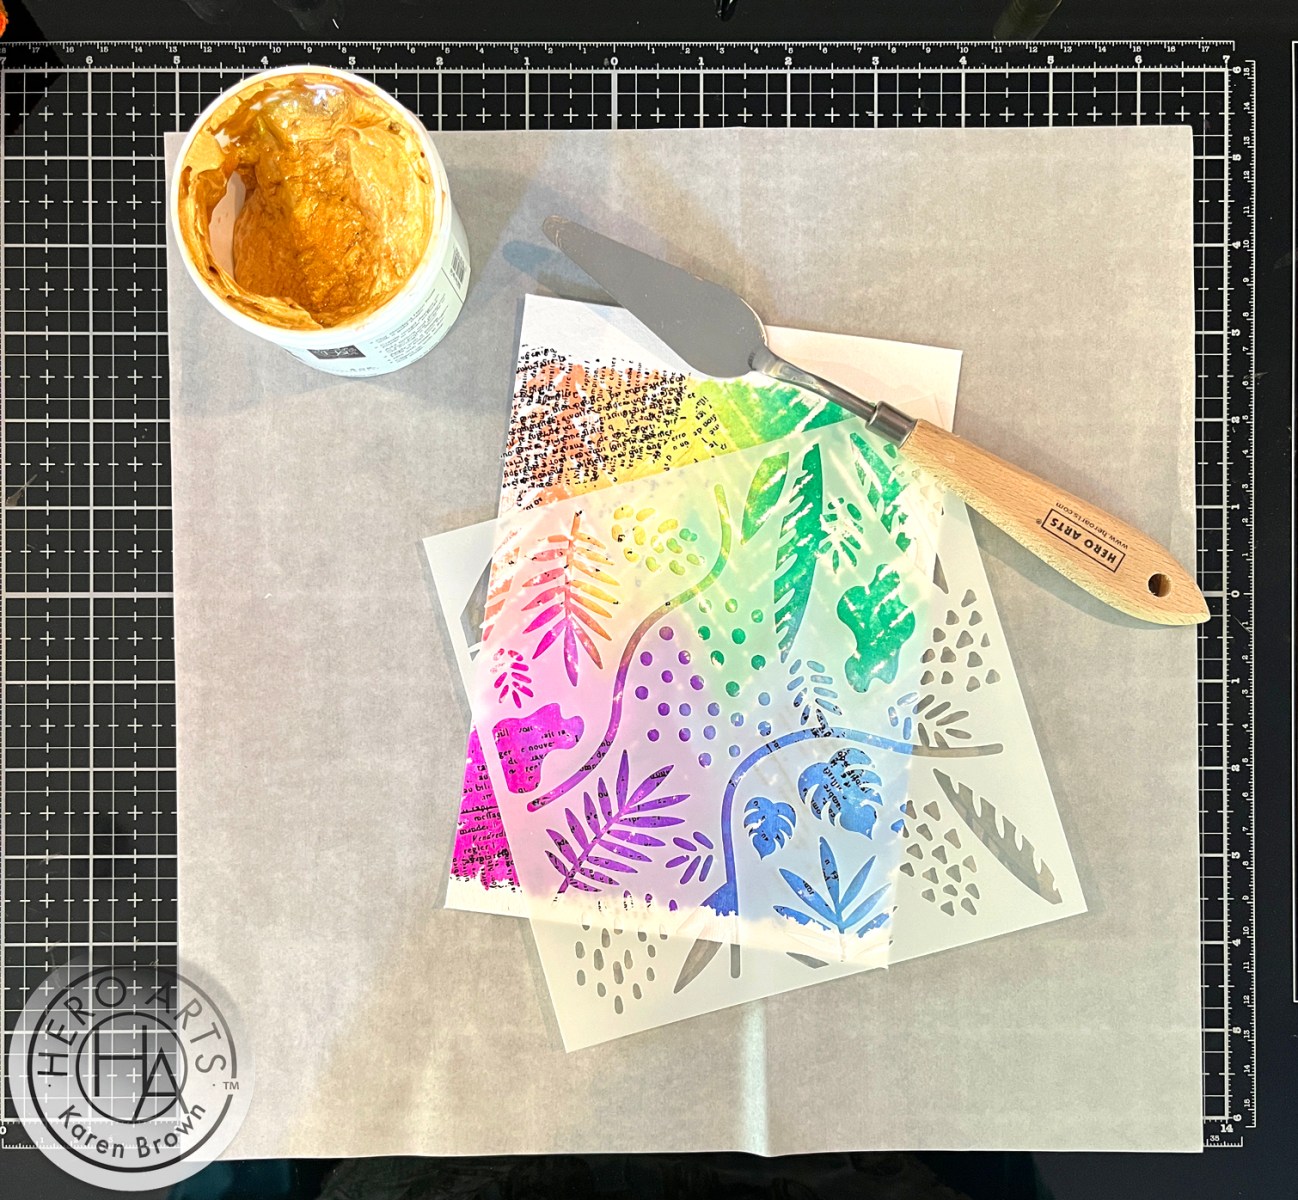
- I started by using Liquid Watercolors to create my sunset background. I put a sheet of Luxe Watercolor Paper on my craft mat, brushed the paper with water and then painted bands of color with Dandelion, Orange and Brights Pink liquid watercolor.
- I dried my panel and repeated step one.
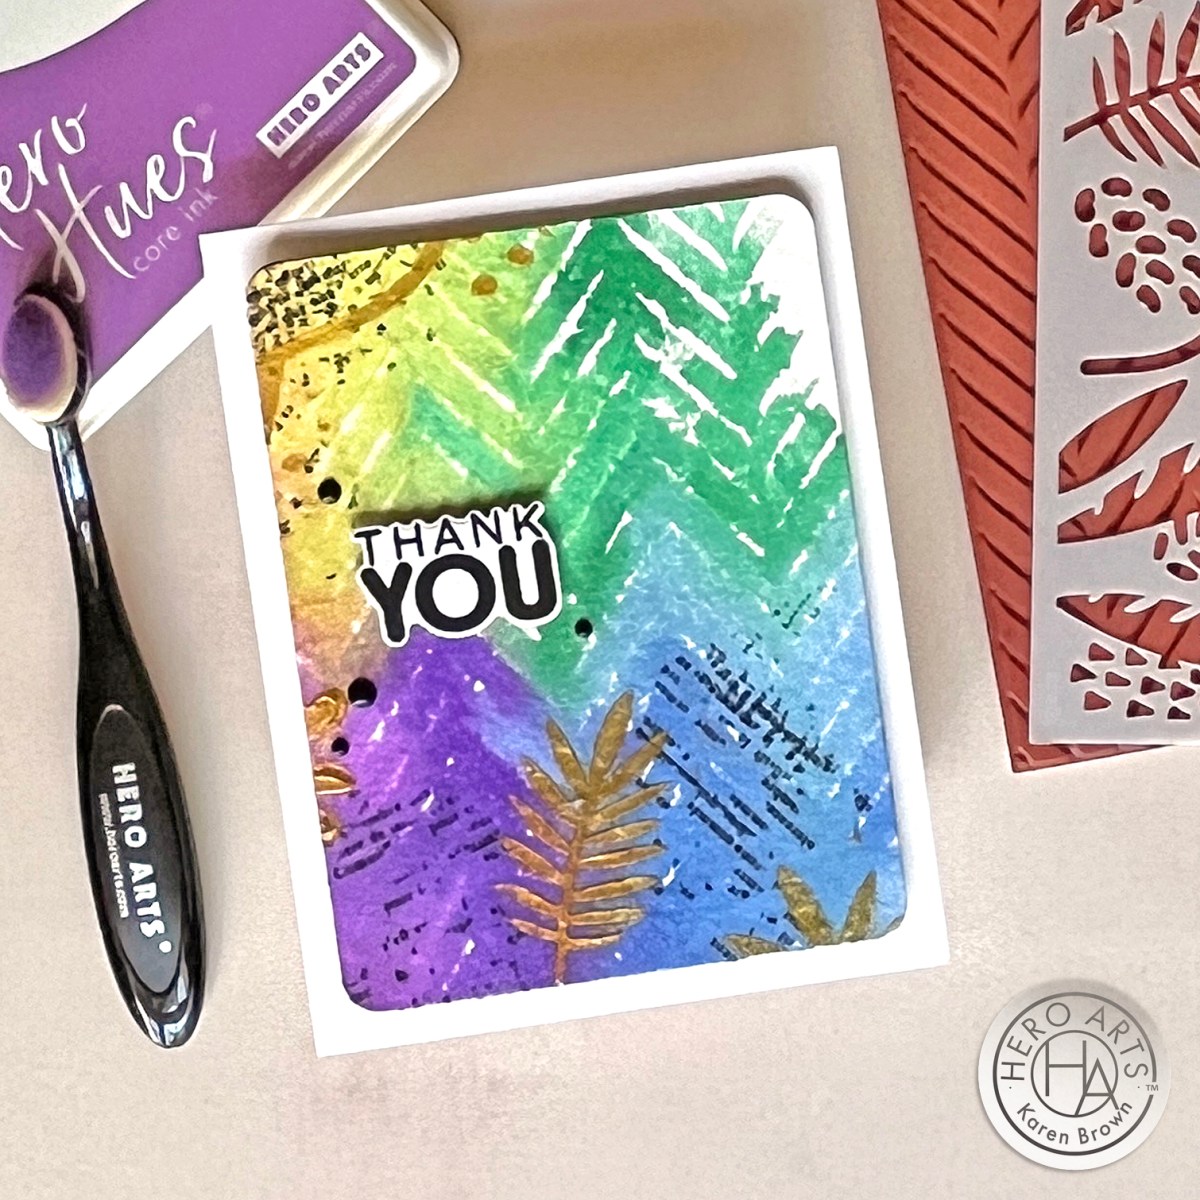
- I put my sunset panel on my Sticky Mat, attached the cityscape stencil to my background with washi tape and applied Onyx Pigment Ink with a Small Blending Brush to create my building silhouettes.
- Using the next stencil, I applied Gold Wax to simulate lighted windows. While the stencil was still in place, I smoothed the wax with an old gift card. Work quickly so the wax doesn’t dry on the stencil. This will give you a good result when you peel back the stencil. I did let the wax set on the stencil while I finished my tags, but I soaked it for a bit and the wax washed right off.
- I cut my tags with Nesting Infinity Tags.
- I used sentiments included in this months kit and then added some black twine that I had saved from some packaging.

Here are links to all of the new Hero Studio Kits:
- The Whole Studio
- Hero Studio Subscription Options
- Hero Studio Card Kit of the Month
- Clear Stamp and Die of the Month
- Cling Stamp of the Month
- Fancy Studio Dies of the Month
- Layering Stencil of the Month
Be sure to stop by the other Countdown Posts, here are the links:
You are going to love this kit and I can’t wait for you to see the big reveal on Monday!
Thanks for stopping by!