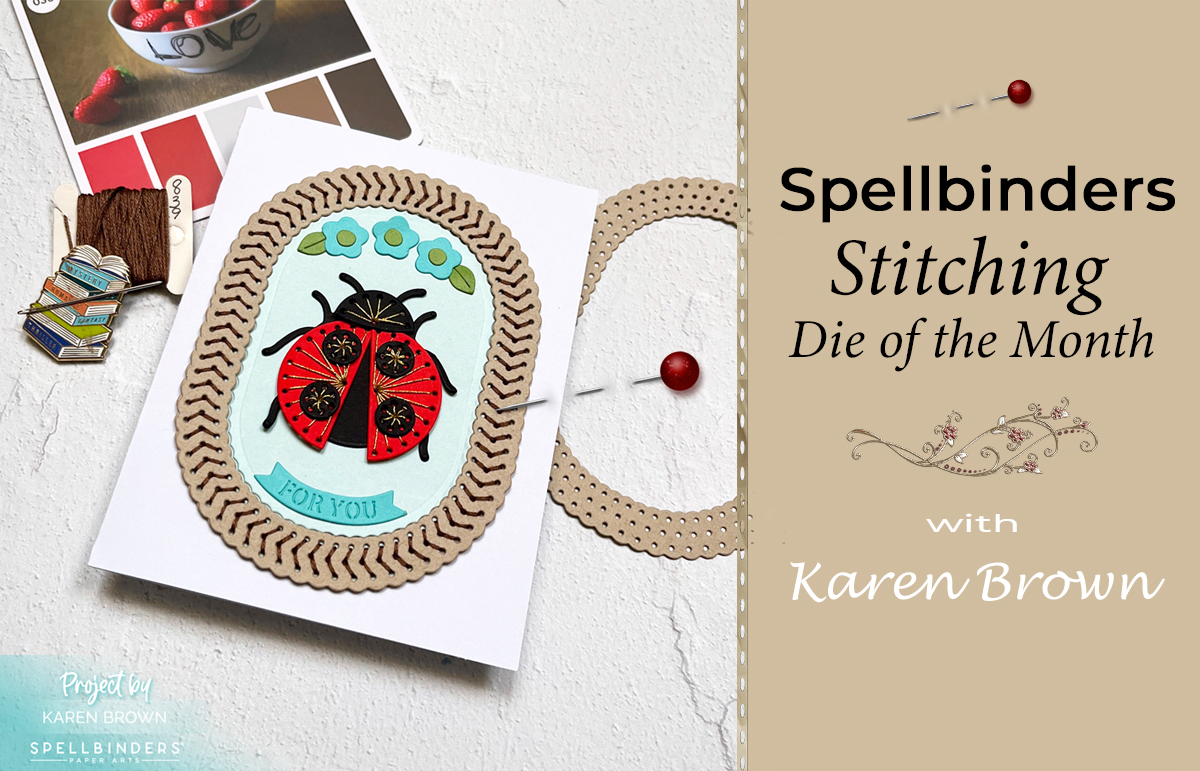
Get ready to fall in love with stitching! Today, we’re exploring how to create a charming handmade card featuring a stitched ladybug and an elegant stitched oval frame using Spellbinders January 2025 Stitching Die of the Month. This project is a delightful mix of texture, color, and whimsy, making it perfect for a wide range of occasions.
You might also enjoy my blog post about this months Small Die of the Month.
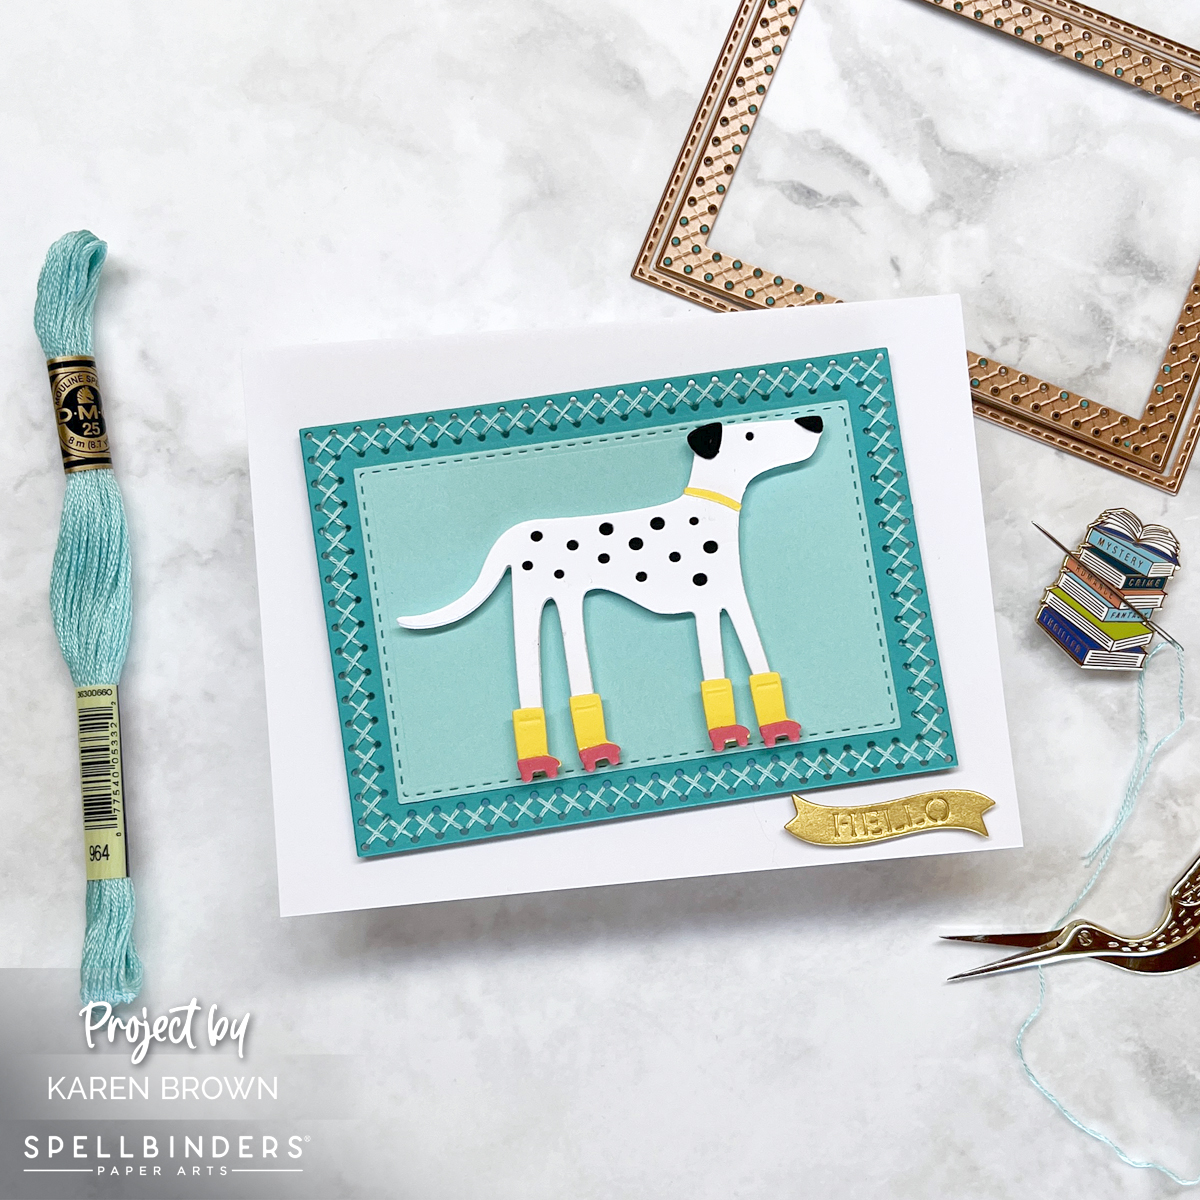
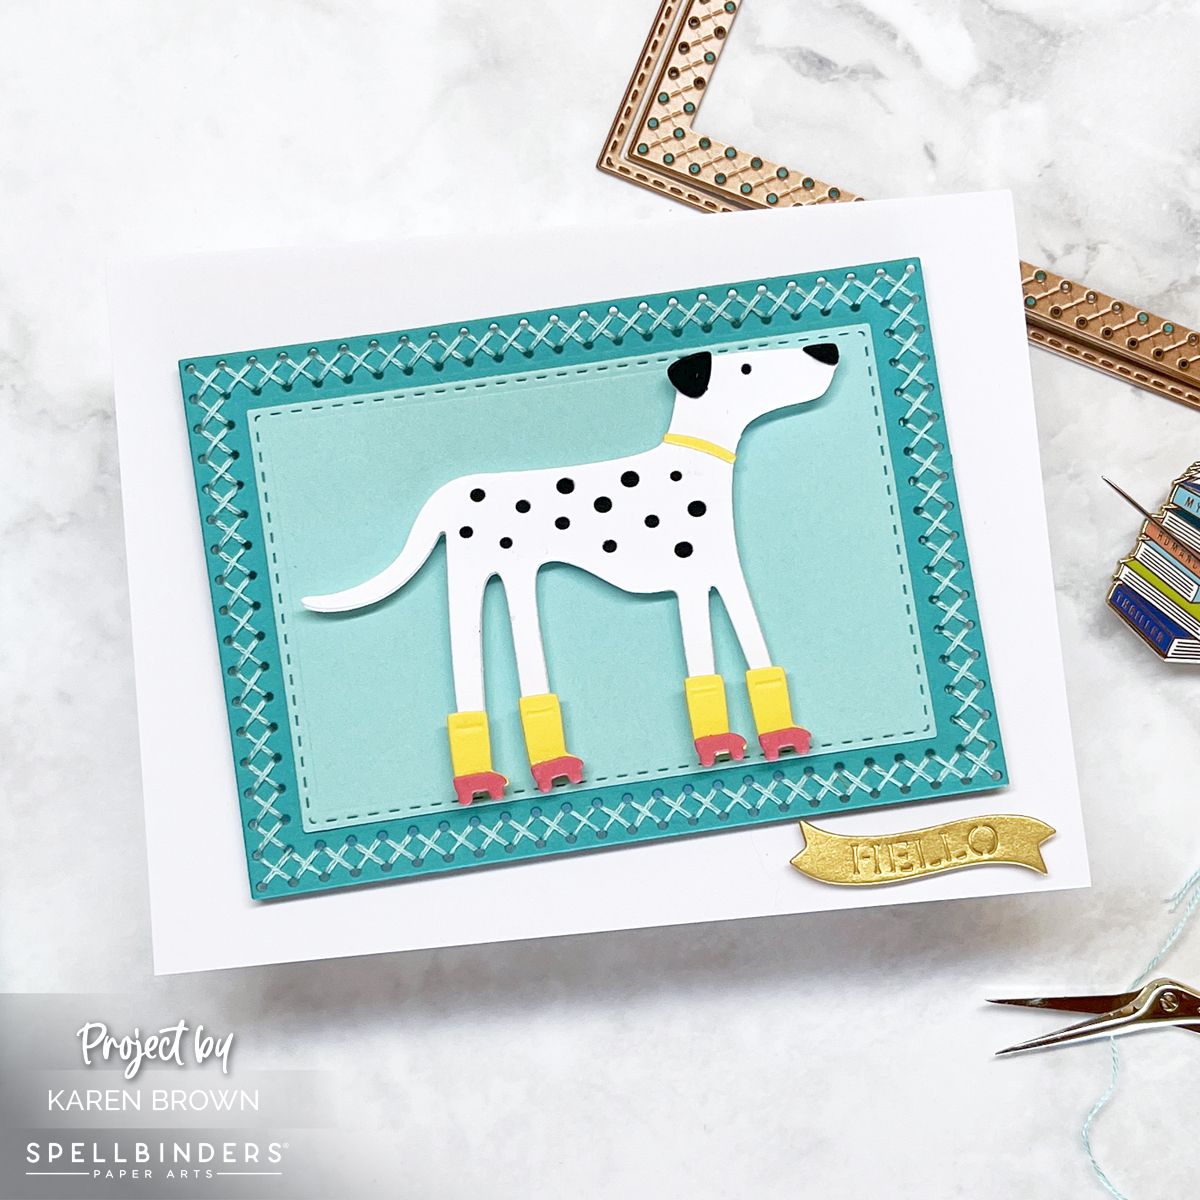
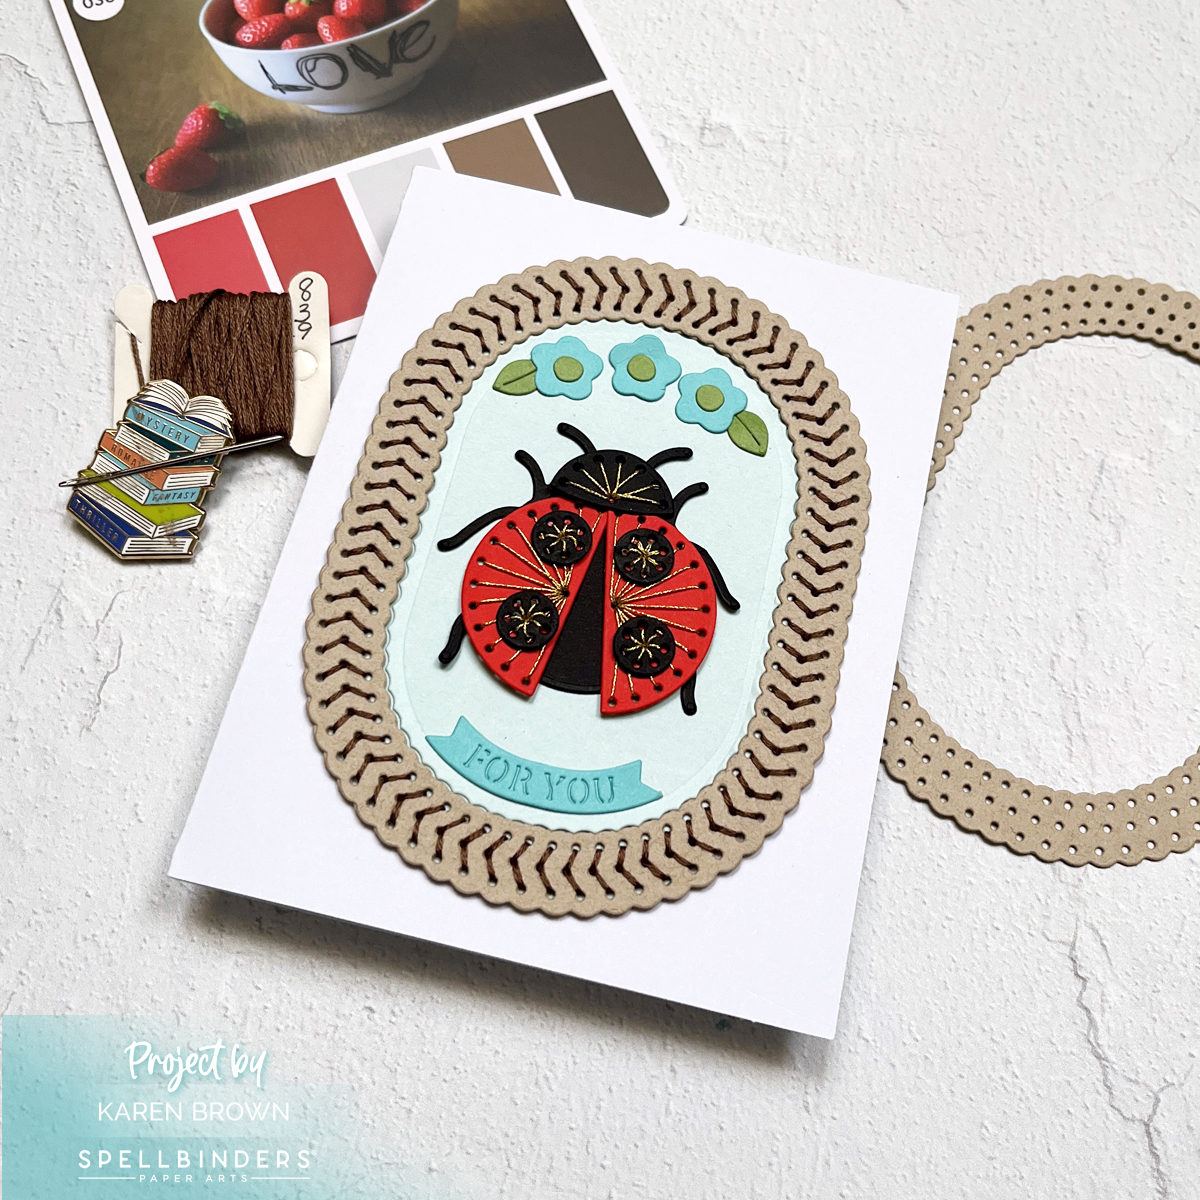
Whimsical Stitching: A Handmade Ladybug Card
My Cardmaking Process:
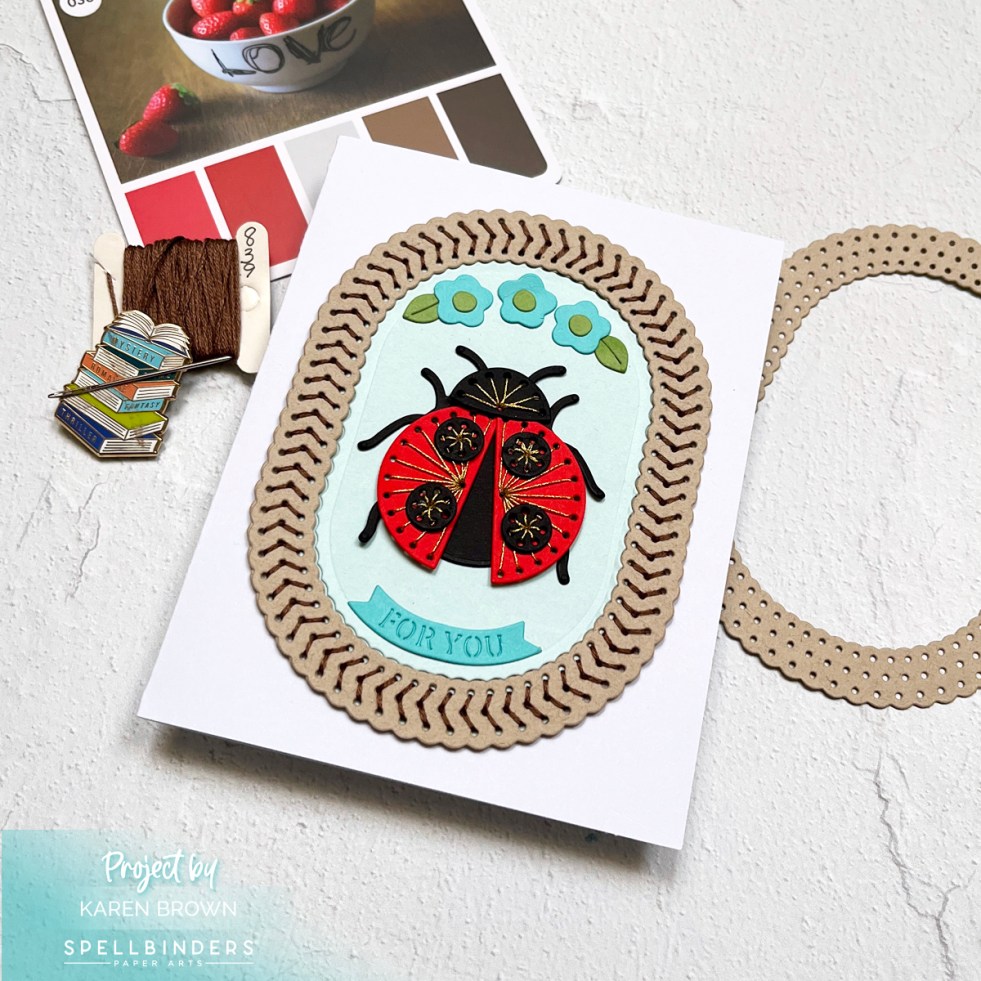
- I started by die cutting my Stitching Kit pieces with my Platinum 6 die cutting machine. I die cut the Sand stitched oval frame twice and glued them together for easier stitching. Next, I cut my lady bug components plus the sentiment (included in kit) and flowers.
- Prepping your stitching pieces: I use the piercing/pokey tool to ensure clean stitching holes on the die-cut pieces. This will make stitching a breeze.
- I frequently use Sarah Renae Clarks Color Cubes Volume 1 and Volume 2 for color inspiration. I received mine for my birthday and they are a great gift!
- Spellbinders has a nice selection of stitching accessories in their shop that you can find HERE. I stitched with DMC Gold and 839 Brown threads. I hope you can see the shimmer on the ladybug!
- I usually stitch with size 22 Tapestry needles.
- I used thin double sided tape to secure my floss to the die cuts. I like that this tape is easy to hide behind the die cuts and I don’t even bother to take the top release paper off the tape.
- Remember to keep your floss taught as you stitch.
- When I move from one area to the next, I run the floss through the just finished stitched area to keep the thread secure. This gives a nice look on the finished project.
- Don’t stitch with threads that are too long or they are likely to knot.
- When I was done, I added a bit of Bearly Glue to the ends so that they would stay in place.
- Adhere the stitched oval frame to an aqua cardstock background for a beautiful pop of color. Place the stitched ladybug at the center of the frame, creating a striking focal point. I assembled with Bearly Glue .

Here is a photo of me stitching in front of a crackling fire—it’s the perfect way to add warmth (literally and figuratively) to your crafting session. I always like to pick a cozy or picturesque spot to stitch.

Why You’ll Love This Card
This project combines the tactile joy of stitching with the charm of die-cut details. The vivid red ladybug against the aqua background is eye-catching, while the stitched elements add a handmade touch that’s sure to impress. Whether you’re crafting for a birthday, thank-you note, or just because, this stitched ladybug card is a creative way to show you care.
Helpful Links:
- Spellbinders Stitching Die of the Month
- Spellbinders Deluxe Caboodle Kit – Get All 10 Kits at a Great Value!
- Stitching Accessories
- Club Overview and Club Options
- Past Club Kits
- Spellbinders Shop
- Sarah Renae Clark’s Color Cubes
Spellbinders Club Info:
- Clubs Preview on the 1st of each month.
- Club members can cancel, upgrade or change clubs from the 1st-5th of each month. Popular Clubs frequently sell out during this period so club members get first dibs on everything.
- Club Members get EARLY access to new releases on the 6th!
- On the 6th, Clubs become available to non-members.
- On the 27th, Club registration closes for the current month.
- If a club did not sell out, you can buy under “Shop Past Clubs”. Past kits are available on the 10th of the FOLLOWING month.
Karen